Make a Sit Upon - great camp craft!
Supplies
- water resistant fabric I used a roll of heavy duty shelf liner
- recycled pillow
- hole punch
- scissors
- ruler
- yarn
- tape
- wide ribbon
- needle
- clear thread
Instructions
- You’ll want to start by measuring your fabric to be two inches wider than your pillow. Because I used an actual bed pillow, I used my scissors to cut the pillow to approximately 13″ square.
- Now take your fabric of choice and fold it over the pillow so that you have 3 open sides.
- Trim the 3 sides so that they are 2 inches of fabric overlap on all three sides. Now remove the pillow and set aside and fold the fabric so that the right sides are facing out. Use a hole punch to create holes 1-inch apart about 1/2-inch from the three open edges.
- Cut a piece of yarn about two times the length of one side of the fabric. Tie a knot in one end and wrap a piece of tape around the other end (to make it easier to thread through the holes). Starting near the folded end, sew up one side of the fabric using a blanket stitch.
- Repeat this process on the other side, leaving the top open. Insert the pillow into the opening.
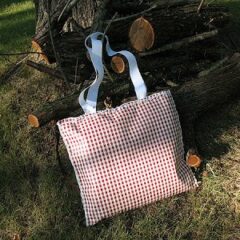
- If you plan to add handles you will need some clear thread and a needle. First, to measure the correct length of ribbon, have child stand comfortably and drape the ribbon over their shoulder. Cut the proper length based on where you want the cushion end to be. You will need 2 equal lengths of ribbon. Place the ribbon inside the opening and hand sew the ends inside the fabric. Finally, finish the stitching across the top opening.