As the years pass, I get better and better at gardening. My husband used to call me black thumb because there wasn’t a houseplant in the world I could keep alive. It really had nothing to do with my gardening skills, but rather neglect. I always forgot about the poor things and they’d die of thirst. Not anymore.
While I may not have the largest garden, I do have a small, but flourishing herb garden and several plants along the front of my house that are doing quite well. Considering the drought we had last year that actually says quite a lot! In fact, I have become so confident in my flower growing abilities, I’ve written a couple of articles on the subject. If you’d like, you can read “Planting Your Own Rose Garden” and “All About Tulips” over at P&G Everyday and Homemade Simple.
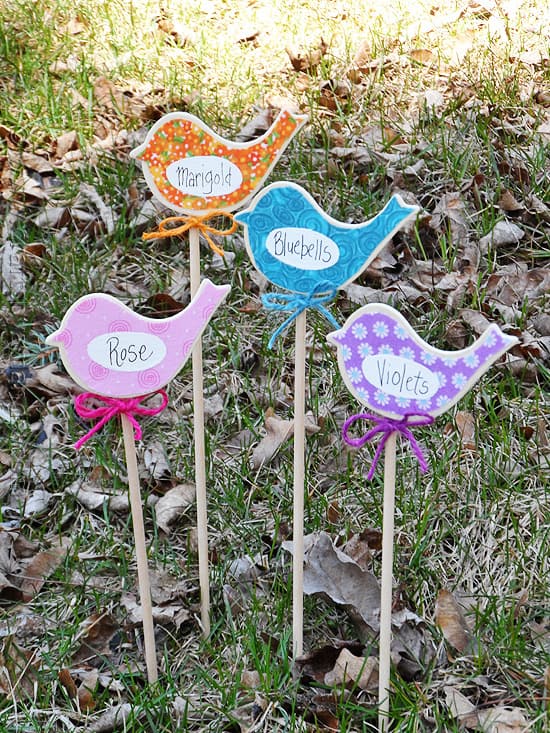
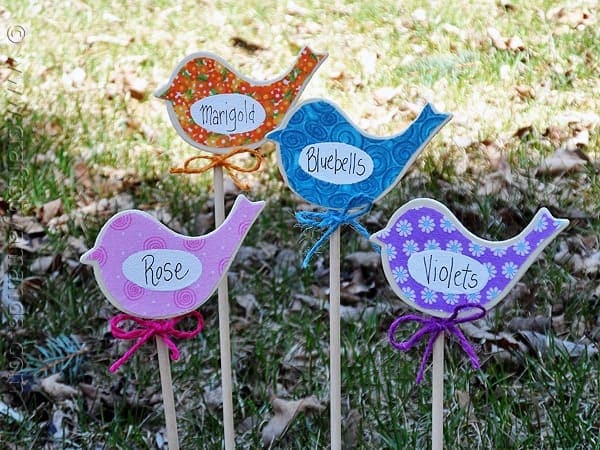
Anyway, it’s no surprise that garden markers are one of my favorite warm weather crafts. They add such fun and whimsy to a garden, don’t they?
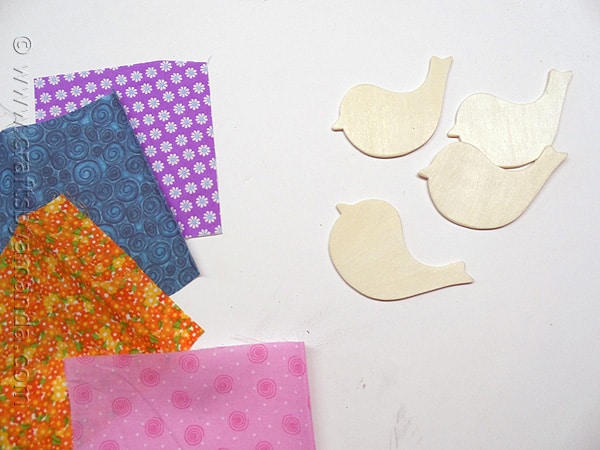
These plant markers are really easy to make. I used these cute bird shaped wood cut-outs that I found at Michaels. The fabric I’ve been buying from WalMart, these are those fat quarters you can find on a shelf near the fabric/craft department. However, a little birdy told me that on June 28, 2013 the majority of Michaels locations nationwide will begin carrying fourteen styles of craft fabric, including cotton, canvas, burlap, felt, faux fur, crushed velvet and tulle. I can’t tell you how many times I had said to myself “I wish Michaels carried fabric” and now it’s actually happening! For a crafter like me, that’s music to my ears!
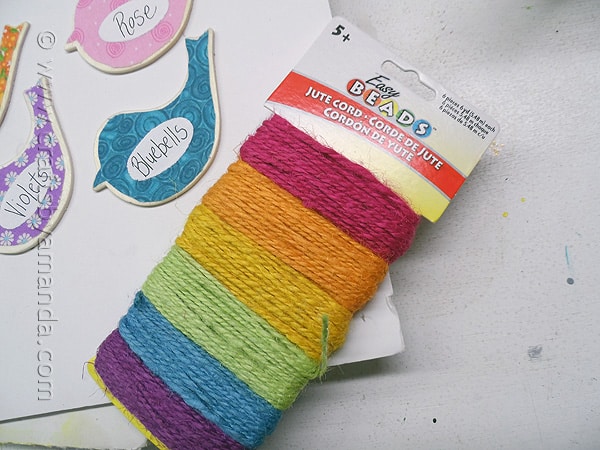
I also used some colorful jute cord. You’d actually be amazed at how many different colors you can find jute in now! This I bought at Michaels as well, look in the jewelry department.
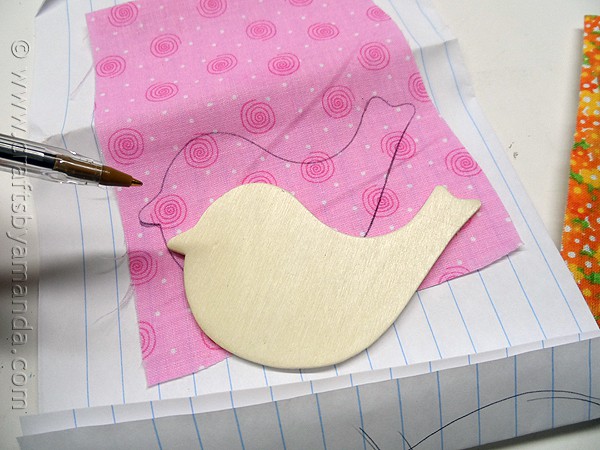
Once you’ve chosen your fabrics, trace the bird shape onto each one.
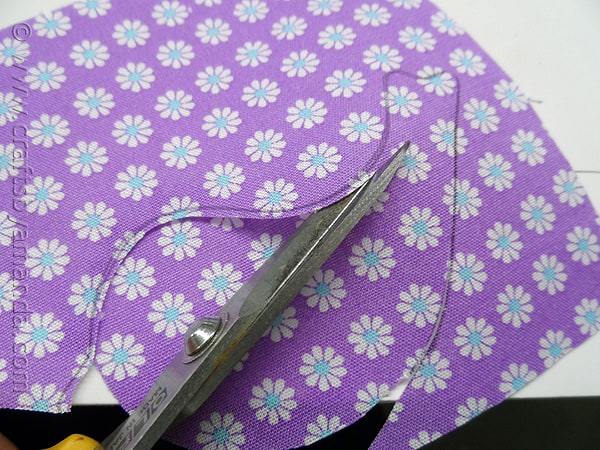
When you cut these out, cut inside the line about an 1/8 of an inch. When you attach the fabric to the wooden bird shape, you’ll want it to be smaller than the wood, leaving a small border.
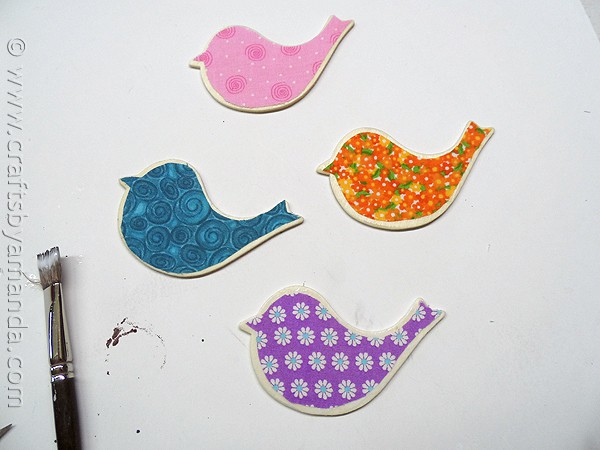
Next you’re going to attach the fabric to the birds using decoupage medium, such as Mod Podge Outdoor. Apply the decoupage to the back of the fabric and attach it to the wood, don’t decoupage over the top just yet. Treat it like you are just gluing the fabric in place.
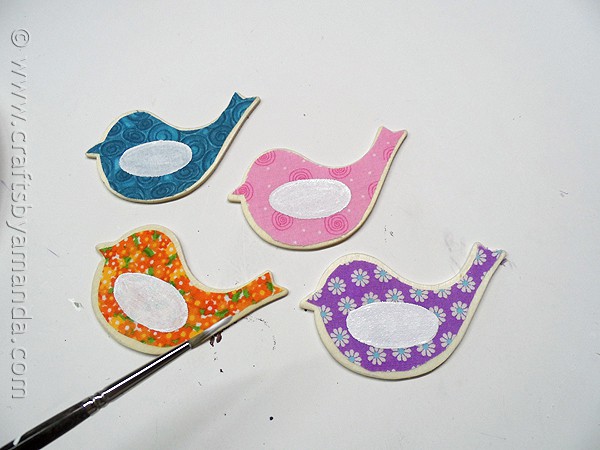
After it has dried, use a liner paintbrush to paint an oval in the center of each fabric covered bird. That will have to dry completely as well.
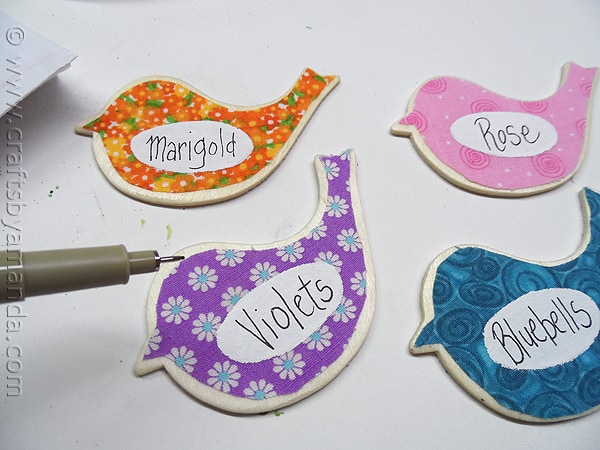
Now you’ll need a fine tip pen. I use Micron pens, available in several places like Amazon, and you can also find them at Michaels. Look in the artist section. They are a little pricey, but if you do a lot of fine line work they are worth it. You could also use a Sharpie, BUT make sure you let the words dry for several hours before continuing. Sharpies have a bad habit of running and smearing when decoupage medium or sealer is applied over the top. Don’t ruin your work by being impatient!
The finishing touches are to give both sides of the bird two coats of Outdoor Mod Podge. Attach a dowel to the back of the bird using E6000 adhesive. E6000 is better than hot glue, as hot glue doesn’t hold up long enough. Tie twine into a bow around the dowel, just underneath the bird.
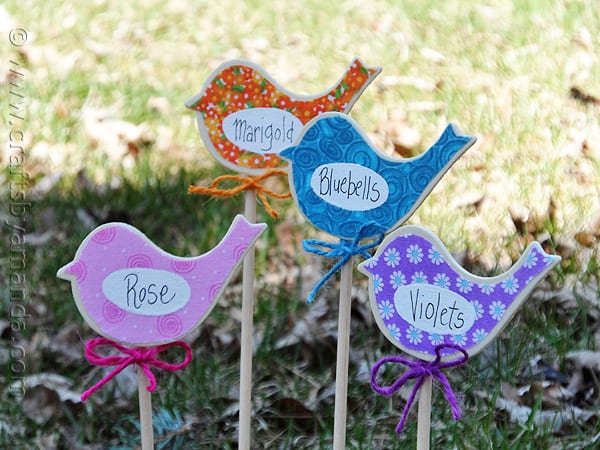
Should you leave these out over the winter? No, probably not a good idea. However, if you want to keep your markers in place so you are able to remember what’s coming up where in the spring, cover the markers with plastic bags and secure the bags well with rubber bands. Check them throughout the winter to make sure they are not exposed.
Oh, and one last thing. A little disclaimer. There’s a link in this post that goes to Amazon. I’m required to tell you that if you click over and happen to buy something while you’re there, I’ll earn a small commission. The FTC says that by law I have to tell you, so there you have it. :)
Hope you enjoyed this project!
Birdy Flower Markers for Your Garden
Supplies
- Wooden bird shapes
- Wooden dowels
- Fabric
- White craft paint
- Fine point black Micron pen
- Outdoor Mod Podge
- Colored twine
- E6000 Glue
Instructions
- Use a pen to trace around the wooden bird onto your fabric.
- Cut out the bird shape, trimming about 1/8-inch off around the entire design.
- Use Mod Podge to attach the fabric to the wooden bird.
- Paint a white oval onto the fabric. You may need 2-3 coats so that the fabric does not show through.
- When fabric is completely dry, write the flower names in the white oval. Let dry for about an hour.
- Give both sides of the bird two coats of Outdoor Mod Podge.
- Attach a dowel to the back of the bird using E6000 adhesive.
- Tie twine into a bow around the dowel, just underneath the bird.
- Snowman Slime - December 20, 2024
- Paper Plate Santa, Snowman and Rudolph - December 13, 2024
- Cinnamon Ornaments - December 6, 2024


Melinda Zinda says
Love these! Would you tell me how wide & tall these are so that I know what to order?
Amanda Formaro says
These numbers are approximate, but the birds are about 4-inches wide by 2-3″ high
Melinda Zinda says
Love these! I found bird cut outs similar to yours online but they are in different sizes. About how wide are the ones you used?
Amanda Formaro says
I don’t have them here with me now but they are approximately 3-4″
Donna Phelan says
WOW! These are fabulous and easy! Thanks so much for your step by step tutorial! I love to garden and I love to craft, so when I can do both I am in heaven! Just saw this on Pinterest! Thanks so much for sharing!!!
Amanda Formaro says
Thanks Donna! I really appreciate that and hope you get a chance to make some for your garden :)
kari says
How thick are the bird cutouts? How tall is the wooden dowel?
Amanda Formaro says
The dowel is 12″ and the bird cut outs are thin, probably 1/8″
Judy White says
This would also be a cute idea to add family members names instead of plants or flower names.
Amanda Formaro says
That would! Thanks for stopping by Judy :)
Donna Bridges says
My daughter is getting married in November… Love bird theme… I am sure we can incorporate these into the reception… they are so easy and cute!!! Thank you!!
Amanda Formaro says
Oh what a fun idea Donna, a great way to mark each table!
Natasha says
love these Amanda!!!
Amanda Formaro says
Thank you Natasha!
Cecilia @ Crearescout says
I love these little birds! :)
Especially the marigold one
Cecilia
Amanda Formaro says
Thanks Cecilia!
Terri Betz says
Awesome Amanda! You are keeping me busy! I just love your projects! Thanks so much!
Amanda Formaro says
Thanks Terri, always love your supportive comments :)