Do you know what’s cooler than a colorful scrunchie? Learning how to make a scrunchie all by yourself! It’s easier than you might think, only takes a few simple sewing supplies, and is a great beginner sewing project.

Why this project really works
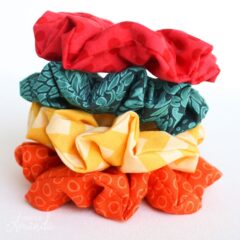
These homemade hair ties are super addictive to create and you’ll want to sew them with different fabrics for yourself and all your friends. Here’s how to bring this 1990’s hair accessory into the 2020’s and make your own!
I recently visited a local boutique where they were selling scrunchies for $10 each! Once you get your basic sewing supplies for this project, you can create a ton of scrunchies for that same price. Also by making your own you can create a scrunchie to match all your favorite outfits!

Here are the craft supplies you need

Psst – you can go to the bottom of this post and find a printable version of this project!
- Fabric in colors/patterns of your choice
- 1/4 inch wide elastic (cut in 9 inch lengths)
- Rotary cutter and/or fabric scissors
- Sewing ruler
- Cutting mat
- Sewing Machine
- White thread
- Safety pin
- Dress pins
- Iron & ironing board
Crafting Tips
- Scrunchies we made in this tutorial required 9-inch strips of the 1/4-inch wide elastic, so expect 4 strips per yard
- If you don’t have a sewing machine, you can hand sew your scrunchies with needle and thread, but you will want to make sure to use small stitches
- I preferred using a rotary cutter to cut my fabric, but you can use regular fabric scissors too
- I used white thread for my project, but you can also change out thread to coordinate with your fabric.
- It’s recommended you iron your fabric before and during your sewing for a nice, finished look!
- This version used cotton fabric, but you can try other fabrics as well like knit, velour, or satin.
How To Make A Scrunchie
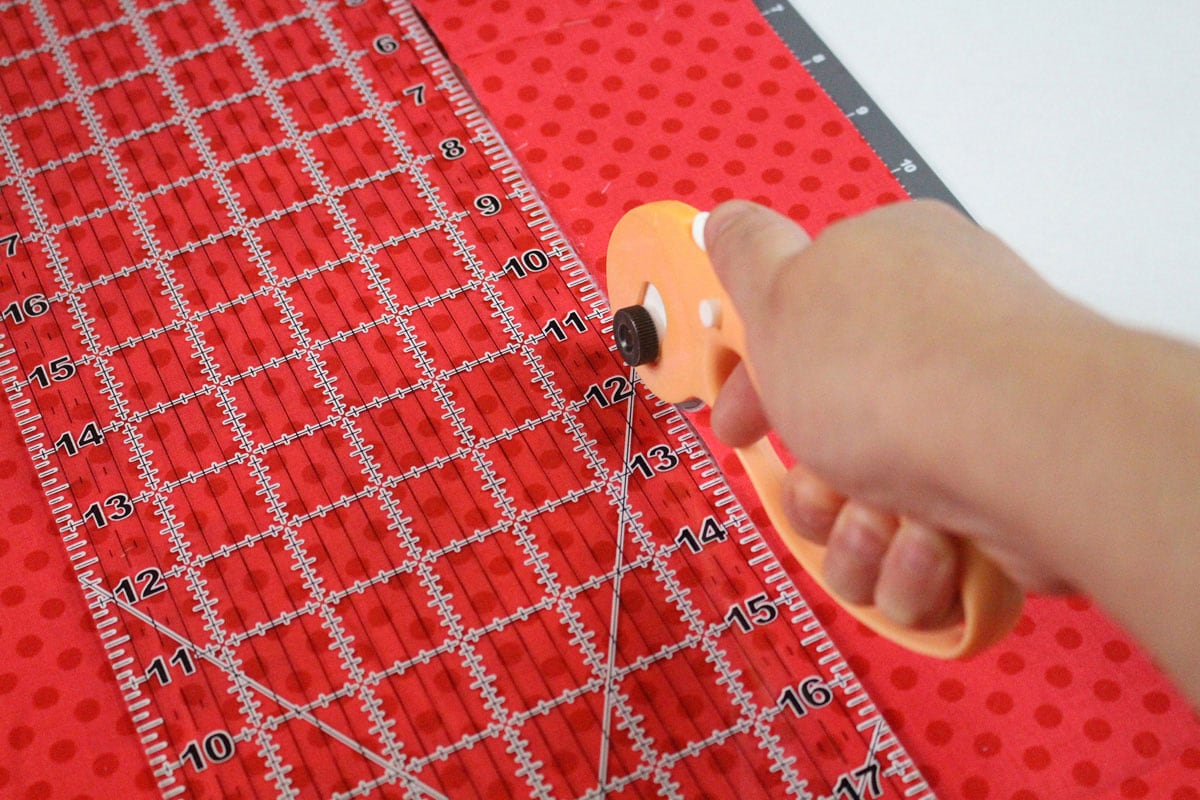
- On your cutting mat, use your rotary cutter or fabric scissors to cut a 22” tall by 3.5” wide fabric strip.
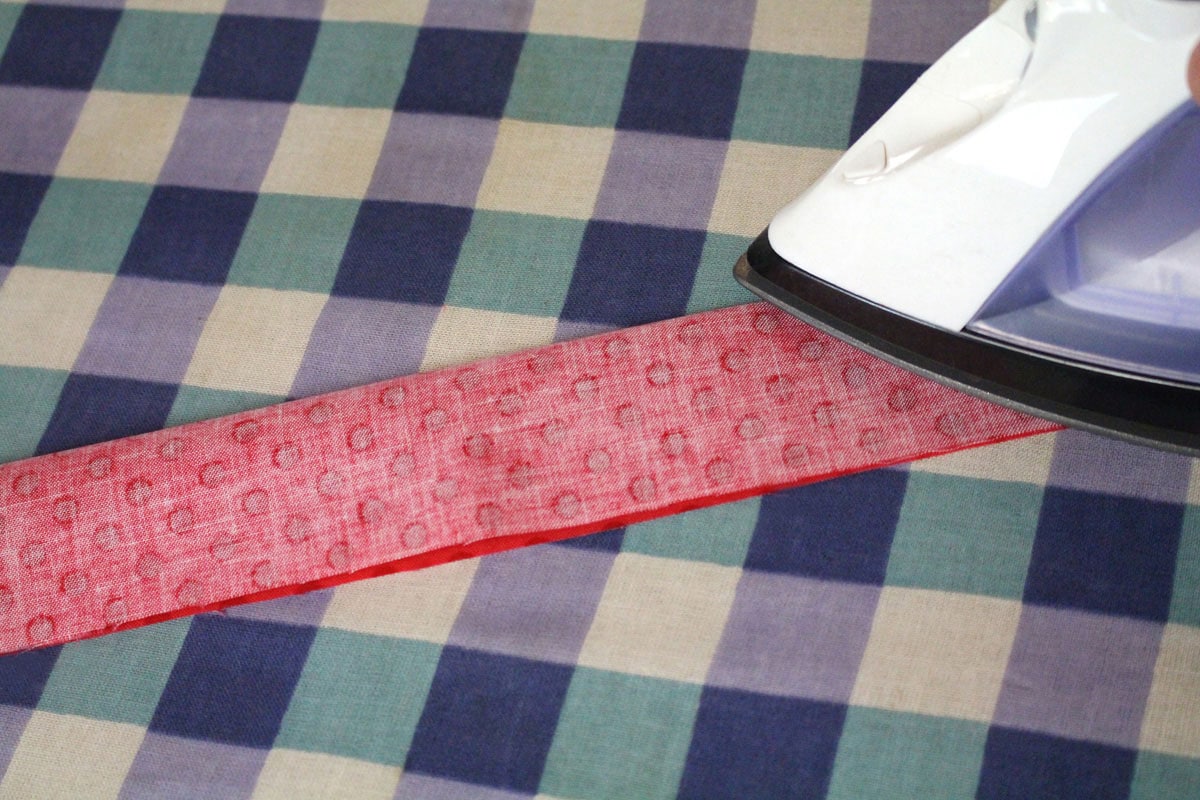
- Fold your fabric strip lengthwise in half. Iron to create a pleat.
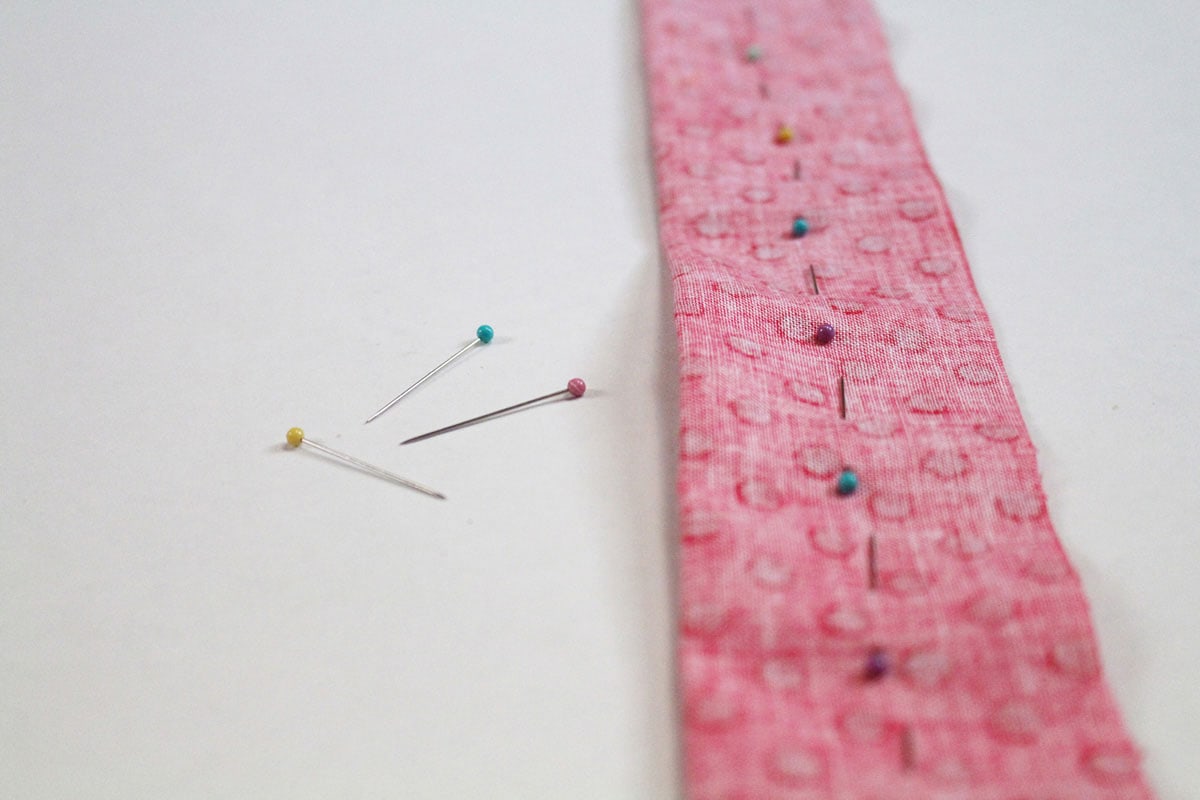
- Pin strip of fabric together for sewing with dress pins.
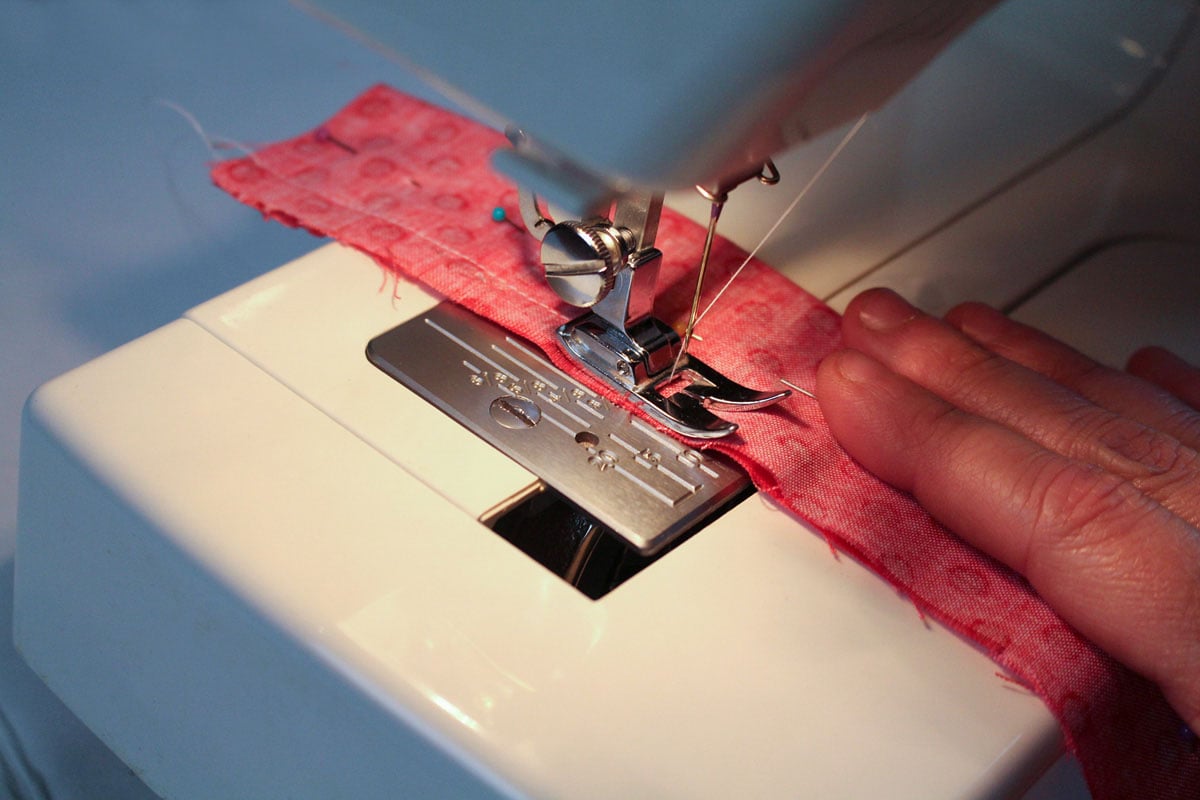
- Sew a straight stitch 1/4” in from the edge along the length of the fabric strip.
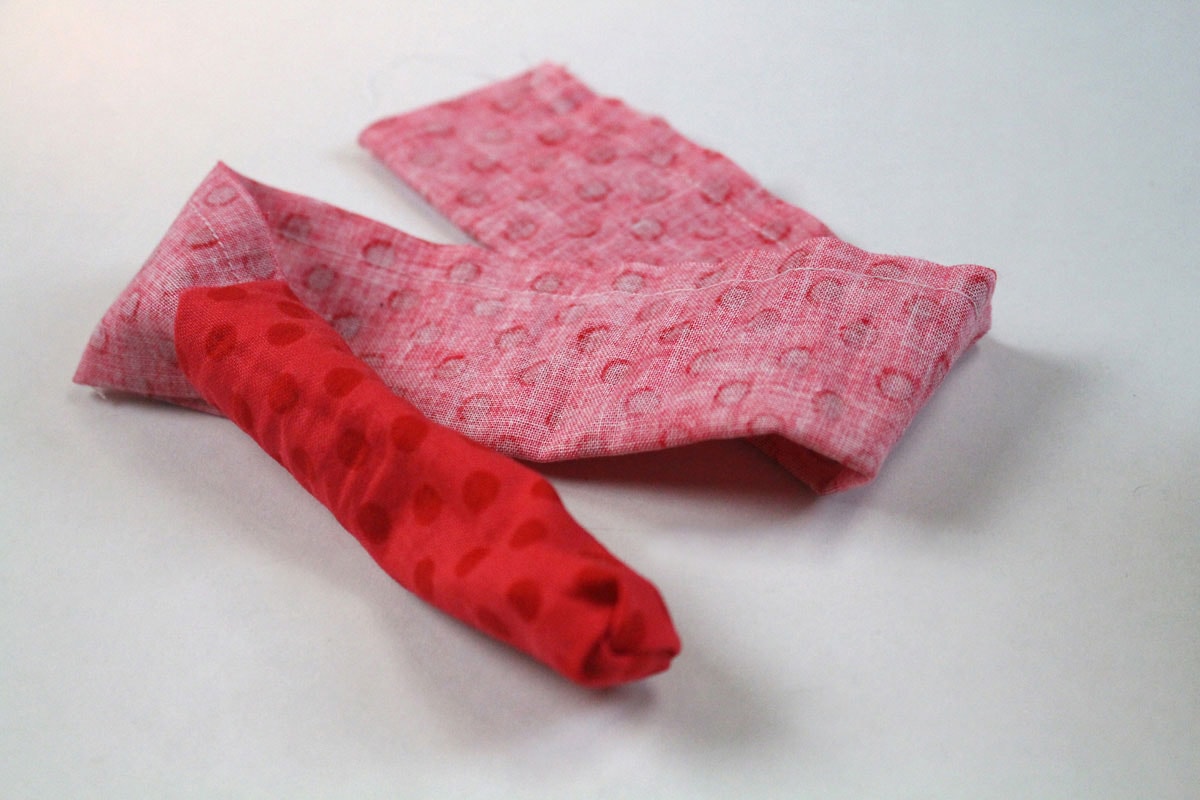
- Turn your fabric right side out. You’ll need to stick your finger through the fabric tube and pull it back fabric back through itself.
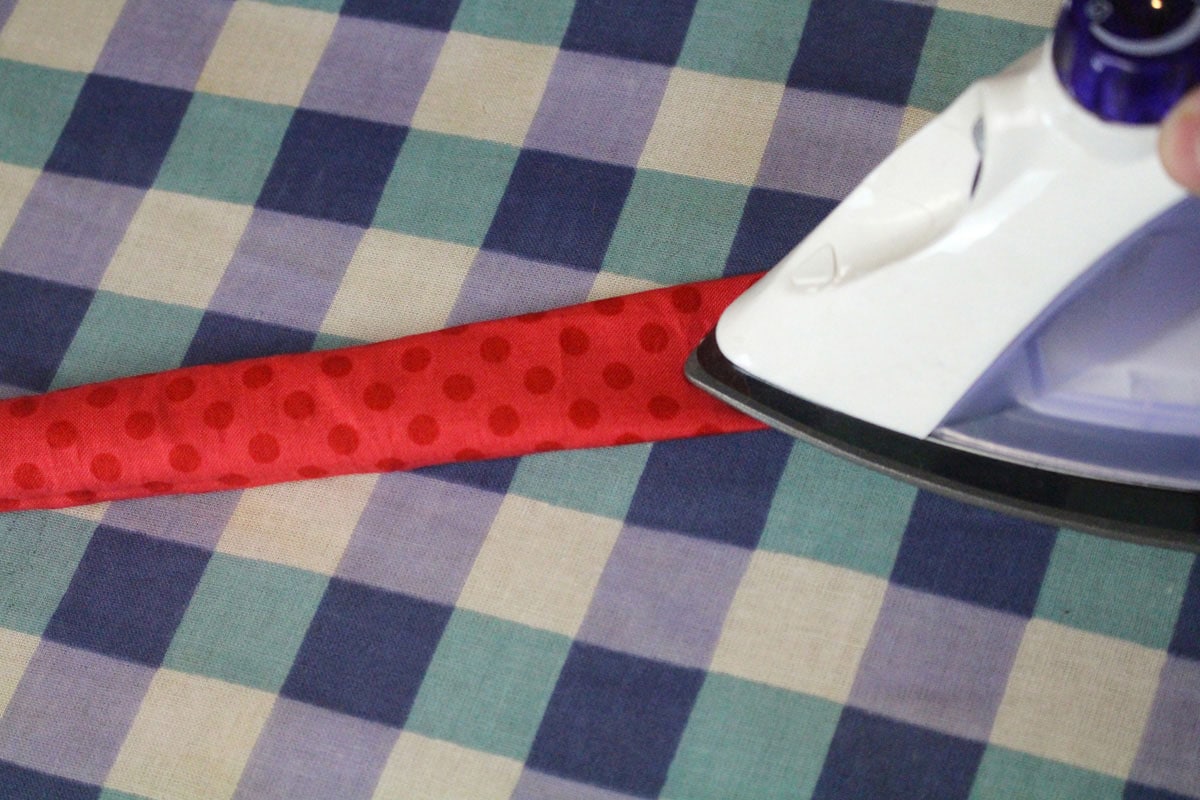
- Iron your scrunchie flat to dewrinkle fabric.
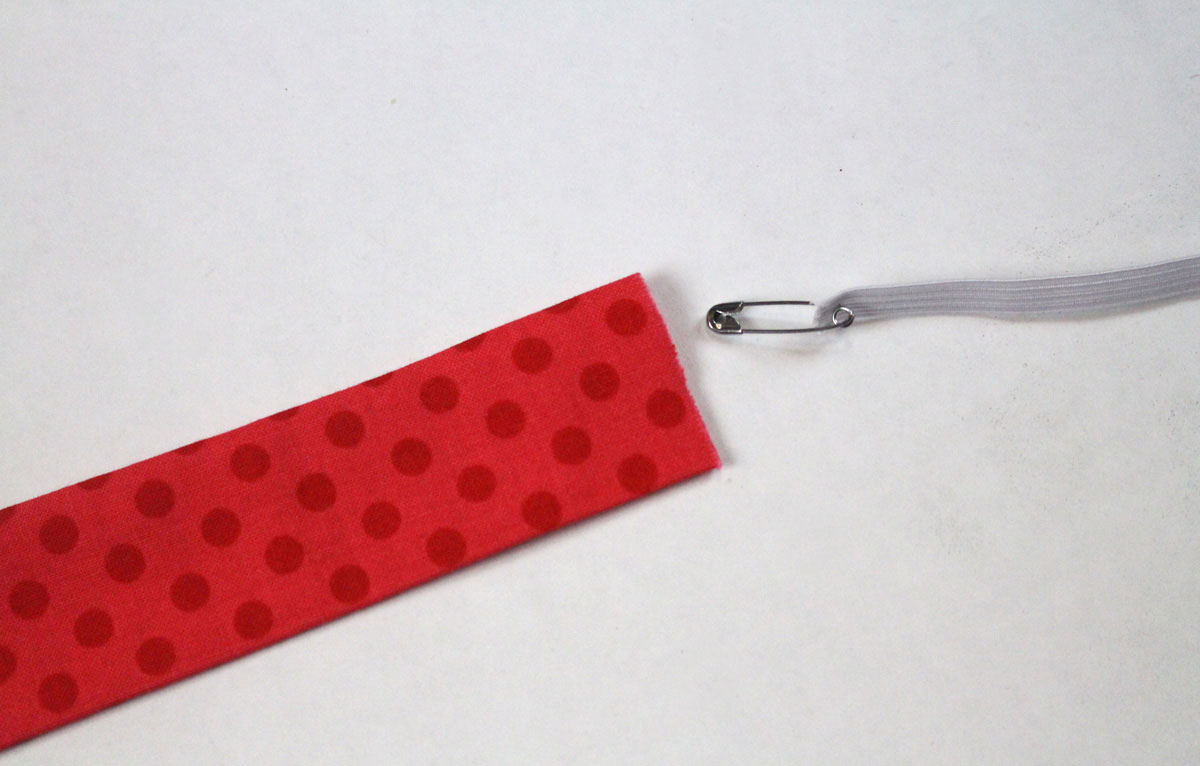
- Add a safety pin to your 9” piece of elastic and guide it through your fabric tube. It helps to scrunch the fabric tightly around your index finger to help guide the elastic through. The safety pin is a helpful marker to hold onto to push the elastic.
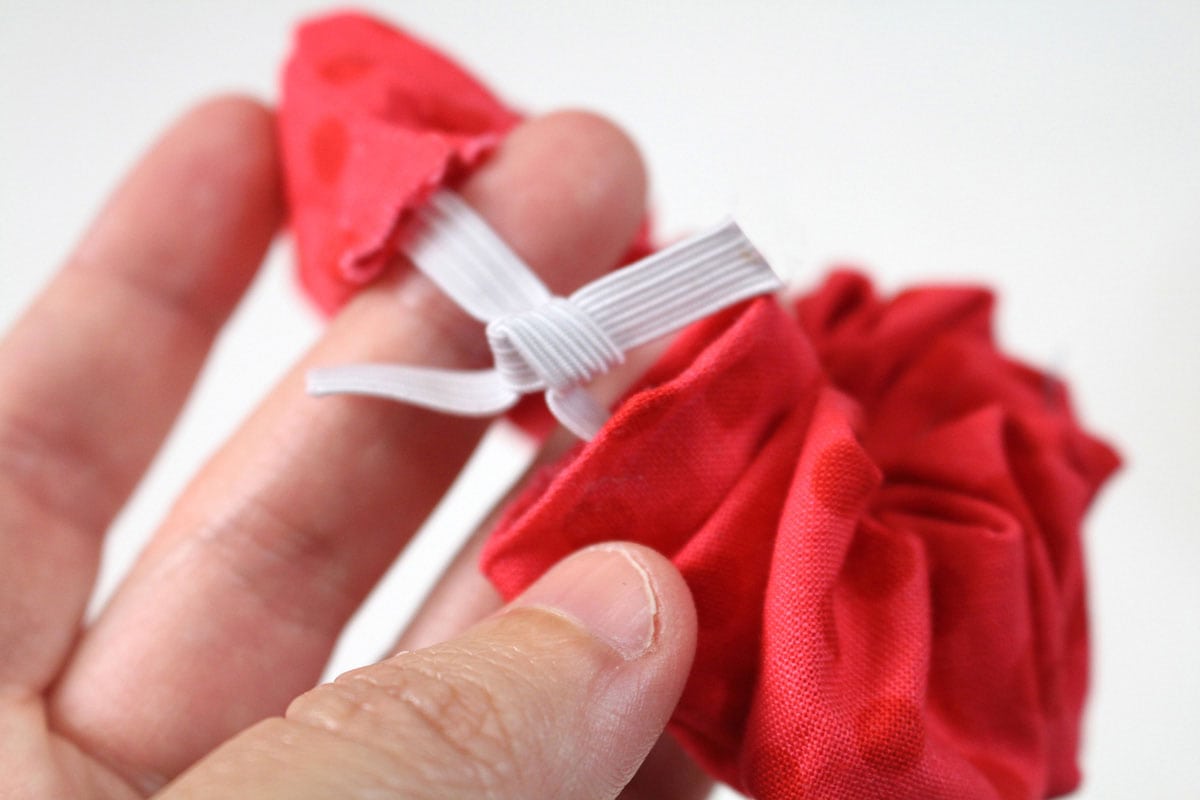
- Once you pull the elastic through, hold it securely and tie it in a tight knot, then trim. If you let go of your elastic during this project, it will fly back through the tube and you’ll have to fish it back through, so take note!
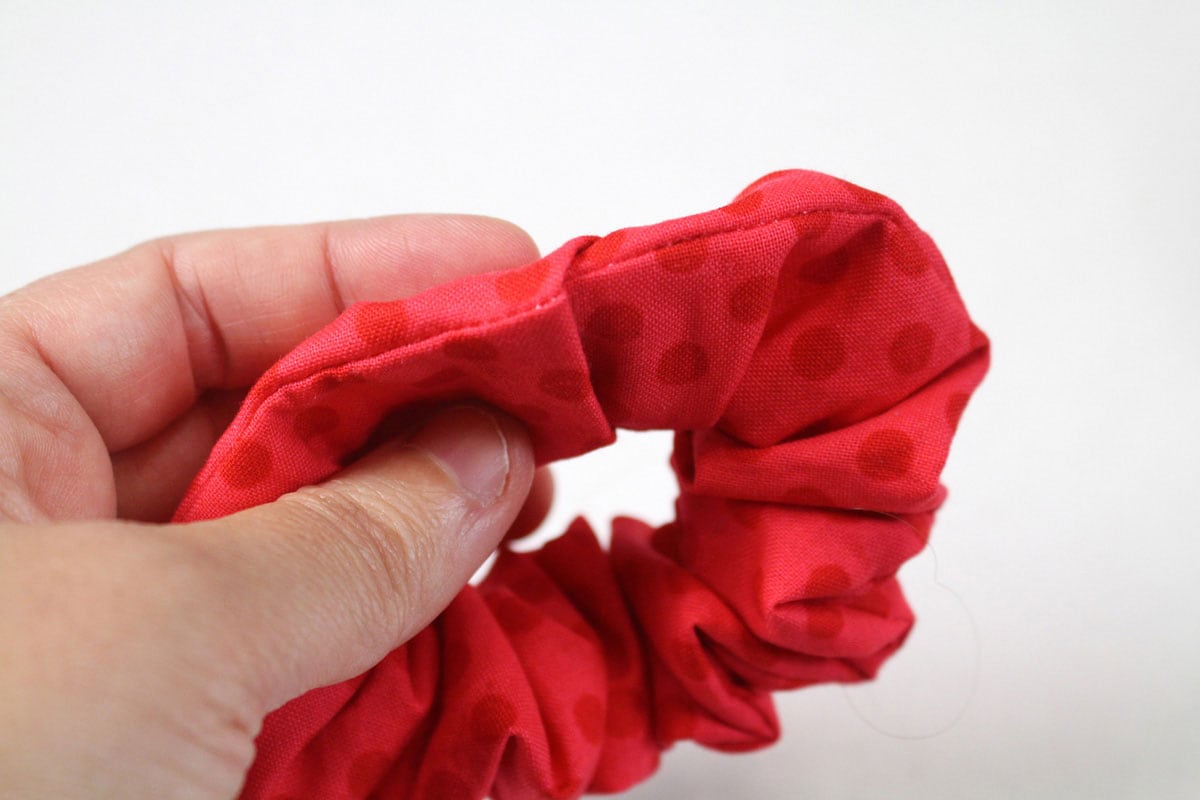
- Tuck the ends of the tube into itself. I chose to fold my fabric over into itself about 1/4 inch to create a nice clean edge; this also keeps the fabric from having frayed edges. Line up the seam and check to make sure your scrunchie isn’t twisted before the next step.

- Sew a straight stitch across your closure and backstitch to secure.
Now that you know how to make your own DIY scrunchies, you will want to make them for all your family and friends. These are also a great item to make and sell for profit at local craft fairs; we have a feeling once you start making these you’ll be hooked.

More Fun Wearable Crafts to Make
- Summer wouldn’t be summer without making some friendship bracelets!
- And while you’re at it, use old t-shirts to make these colorful t-shirt bracelets.
- While we are talking about DIY bracelets, try these popsicle stick bracelets too!
- Another hair accessory project is my braided recycled t-shirt headband.
I love to create and share my projects with you! I know it’s hard to remember to come back and search, so I’ve made it easy for you with my weekly newsletter! You can subscribe for free and I’ll send you fun crafts and delicious recipes every week right to your email.
How to Make a Scrunchie
Supplies
- 1 yard elastic
- 4 fat quarters fabric
- 1 safety pin
- 10 dress pins
- 1 white thread
Craft tools
- Sewing machine
- Iron & Ironing Board
- Self-healing Mat
- Sewing ruler
- Fabric Scissors or Rotary Cutter
Instructions
- On your cutting mat, use your rotary cutter or fabric scissors to cut a 22” tall by 3.5” wide fabric strip.
- Fold your fabric strip lengthwise in half. Iron to create a pleat.
- Pin strip of fabric together for sewing with dress pins.
- Sew a straight stitch 1/4” in from the edge along the length of the fabric strip.
- Turn your fabric right side out. You’ll need to stick your finger through the fabric tube and pull it back fabric back through itself.
- Iron fabric to dewrinkle and create a pleat.
- Add a safety pin to your 9” piece of elastic and guide it through your fabric tube.
- Once you pull the elastic through, hold it securely and tie it in a tight knot, then trim.
- Tuck the ends of the tube into itself and line up your seam.
- Sew a straight stitch across your closure and backstitch to secure.
Expert Tips & FAQs
- Scrunchies we made in this tutorial required 9 inch strips of the 1/4 inch wide elastic, so expect 4 strips per yard
- If you don’t have a sewing machine, you can hand sew your scrunchies with needle and thread, but you will want to make sure to use small stitches
- I preferred using a rotary cutter to cut my fabric, but you can use regular fabric scissors too
- I used white thread for my project, but you can also change out thread to coordinate with your fabric.
- It’s recommended you iron your fabric before and during your sewing for a nice, finished look!
- This version used cotton fabric, but you can try other fabrics as well like knit, velour, or satin.
- How to Make Patriotic Slime - June 30, 2026
- St. Patrick’s Day Slime - February 27, 2026
- How to Paint Glass - September 25, 2020


Leave a Reply