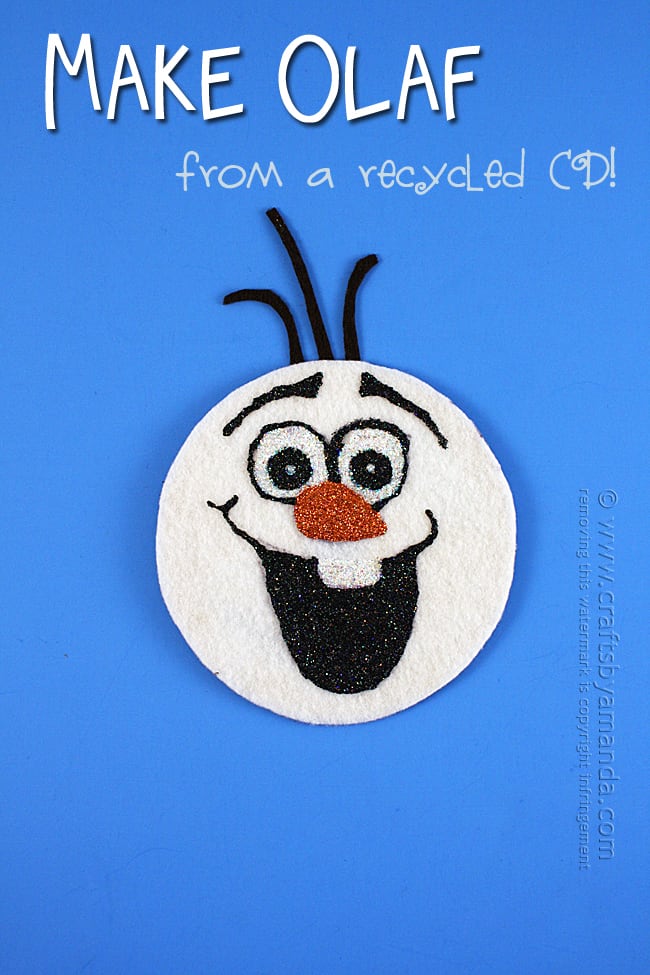
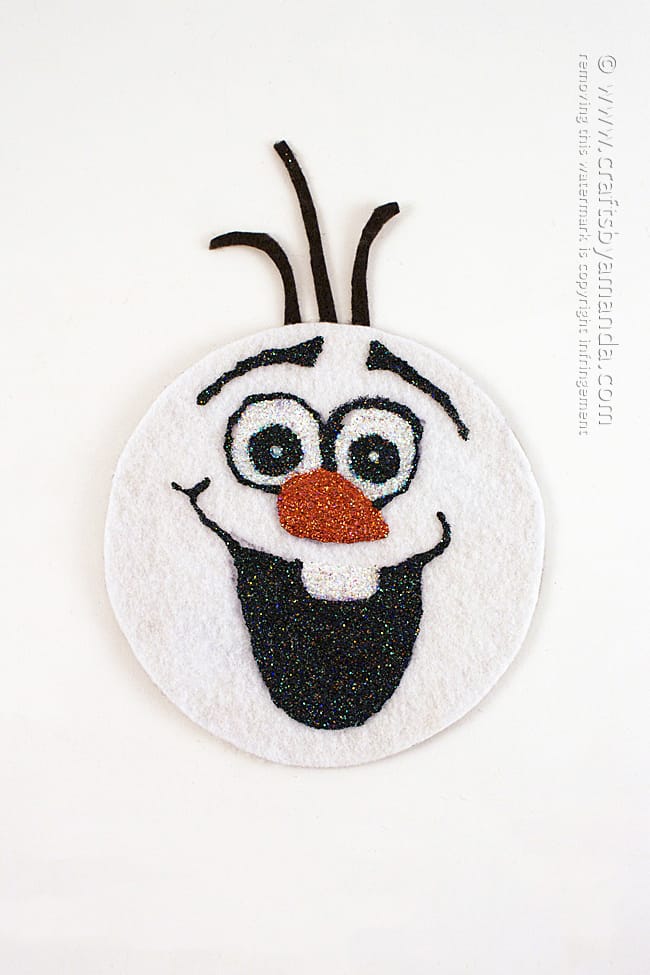
While it might seem like I’m a little late to the Frozen craft train, I actually made this project over the summer. I’m not sure if Frozen is still as crazy as it was six months ago, but I do know that while waiting in the checkout line the other day, two little girls behind me were singing “Do You Want to Build a Snowman”. So apparently Frozen is still alive and well in some households! So let’s build a CD Olaf craft, shall we?
Olaf Craft
I originally made this project for my friends over at Kids Activities Blog where I contribute regularly. I have a drawer in my craft room with a stack of old CDs and DVDs and will often turn them into something fun. When the Frozen madness was flying around the Internet, I knew I had to turn one of these old CDs into Olaf.
Note: some links below are affiliate links. That means if you happen to buy something, a small percentage of that sale goes back into this site, which enables me to continue to bring you free tutorials such as this one. So, thanks!
As always, a full printable supply list and instructions are at the end of this post.
For this project you will need the following supplies:
Note: I used a glitter paint called Craft Twinkles which is available from most craft stores. I’ve seen it at Joann’s and at Michaels
. You can use any glitter paint you want, just look for the kind that have a writer tip on them.
- Recycled CD/DVD
- White and brown felt
- Glitter puffy paint or writer paint: black, white, orange
- Olaf pattern
- Tools: white craft glue
, scissors
, pen
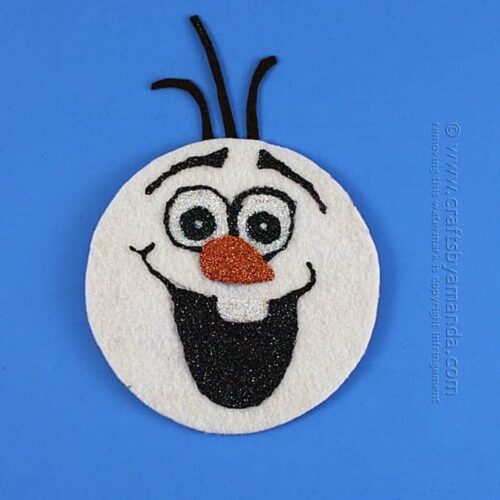
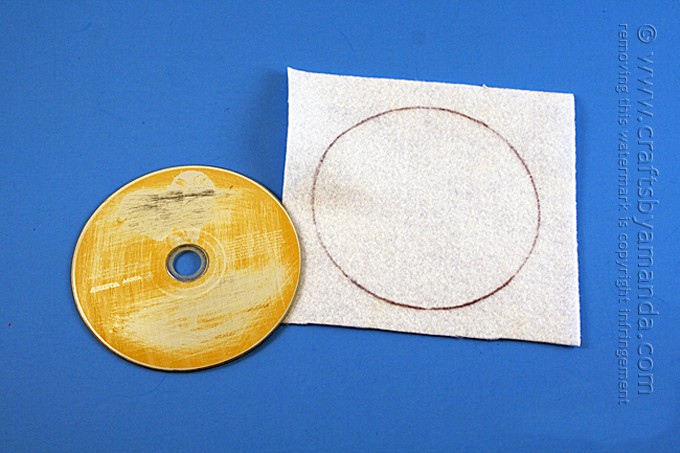
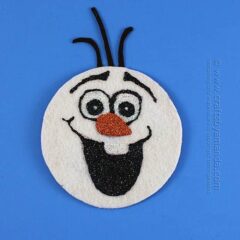
Trace CD onto white felt. Cut out the felt circle and glue it to the CD.
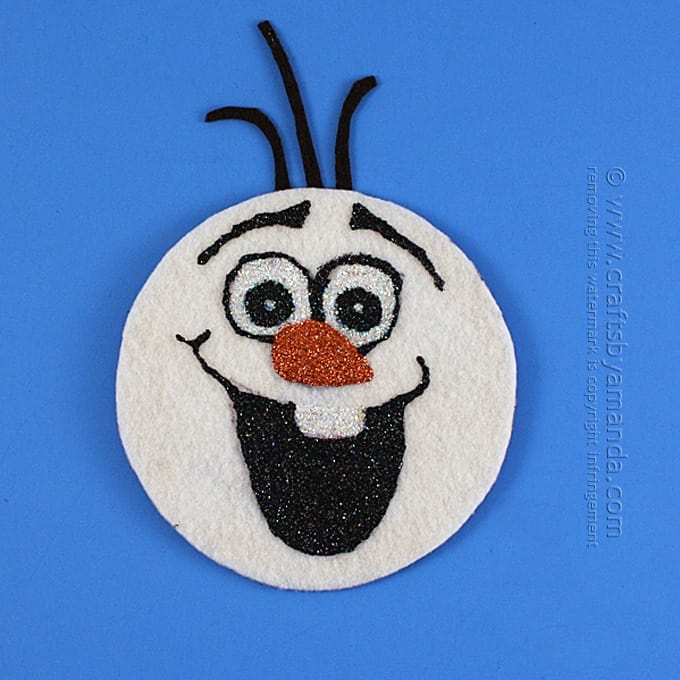
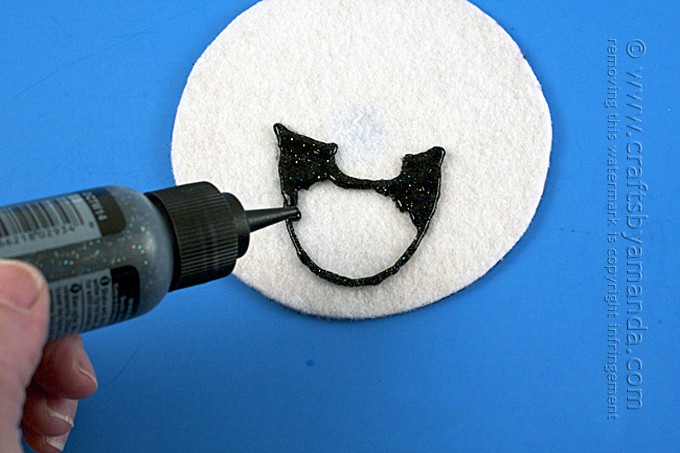
Print the pattern and cut out the smile. Trace around the smile onto the white felt. Use black glitter paint to draw the smile and fill it in, leaving the tooth untouched.
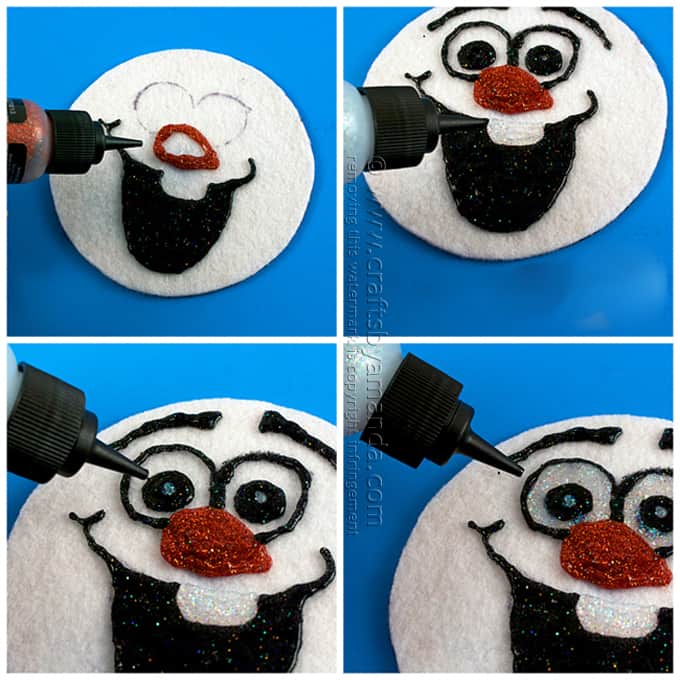
Cut the eyes and nose from the pattern and trace in onto the felt above the smile. Use orange glitter paint to draw and fill in the nose. Do the eyes, pupils and eyebrows with black. Fill in the tooth, the eyes and the center dot on the pupils with white glitter paint.
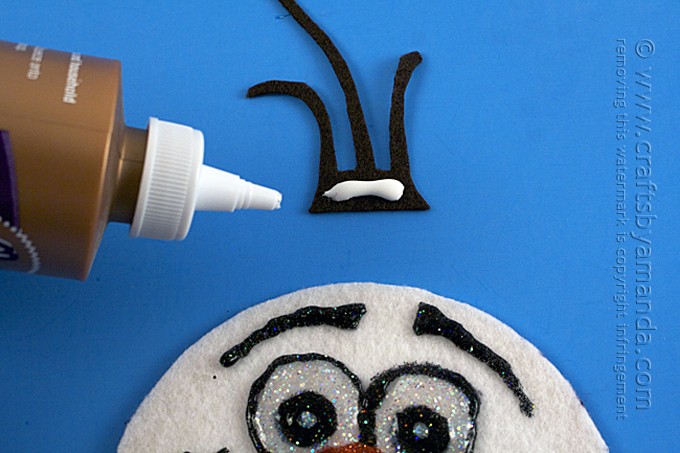
Cut a few strands of hair out of brown felt, leaving a little tab at the bottom. Add white glue to the tab and stick it the back of the CD.
Let the paint dry for a full 24 hours. In some cases, 48 hours may be needed.
There! Cute huh? If you have a Frozen fan in your house this would be a great afternoon project. Hope you have fun!
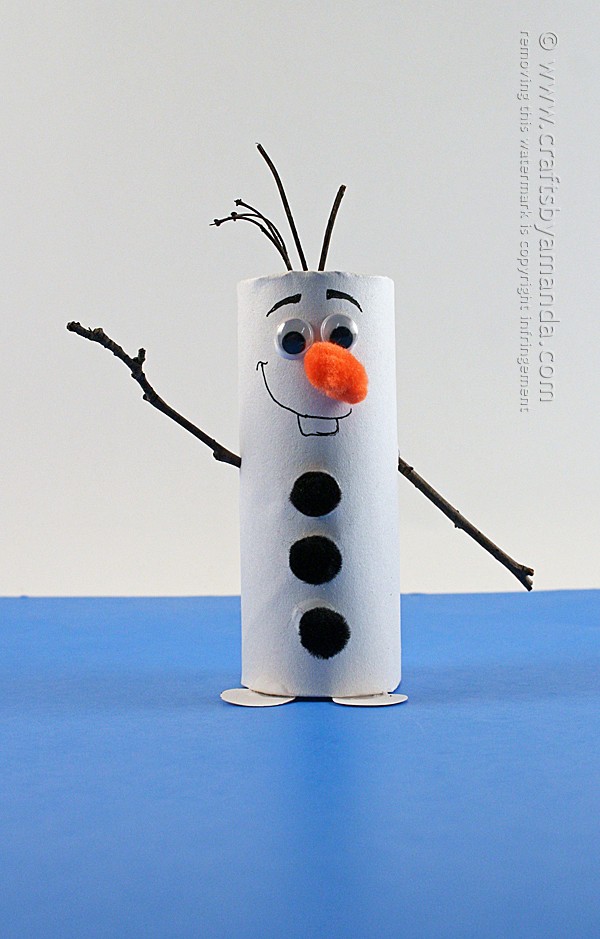
Also, if you haven’t seen him yet, get the instructions for my Cardboard Tube Olaf as well!
More snowman crafts
CD Olaf Craft from Frozen
Supplies
- Recycled CD/DVD
- White and brown felt
- Glitter puffy paint or writer paint: black white, orange
- Olaf pattern
- Tools: white craft glue scissors, pen
Instructions
- Trace CD onto white felt. Cut out the felt circle and glue it to the CD.
- Print the pattern and cut out the smile. Trace around the smile onto the white felt. Use black glitter paint to draw the smile and fill it in, leaving the tooth untouched.
- Cut the eyes and nose from the pattern and trace in onto the felt above the smile. Use orange glitter paint to draw and fill in the nose. Do the eyes, pupils and eyebrows with black. Fill in the tooth, the eyes and the center dot on the pupils with white glitter paint.
- Cut a few strands of hair out of brown felt, leaving a little tab at the bottom. Add white glue to the tab and stick it the back of the CD.
- Let the paint dry for a full 24 hours. In some cases, 48 hours may be needed.
Expert Tips & FAQs
- Watercolor Luminaries - February 11, 2025
- Free Valentine Printables: Cards, toppers, and tags - February 4, 2025
- Valentine Hugs - January 31, 2025


Leave a Reply