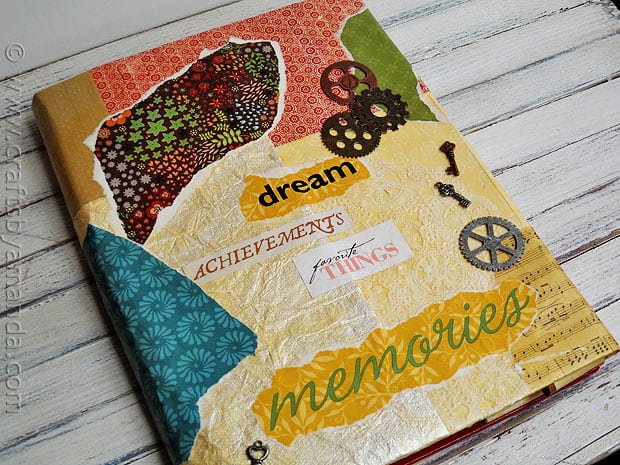
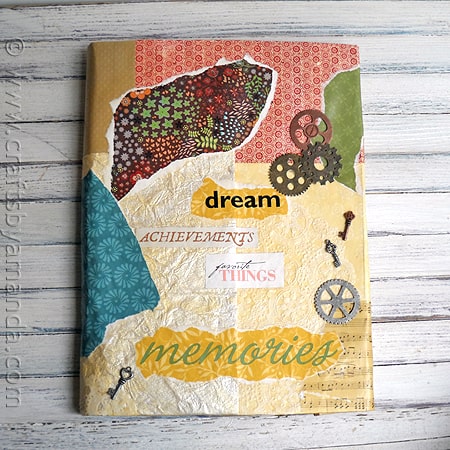
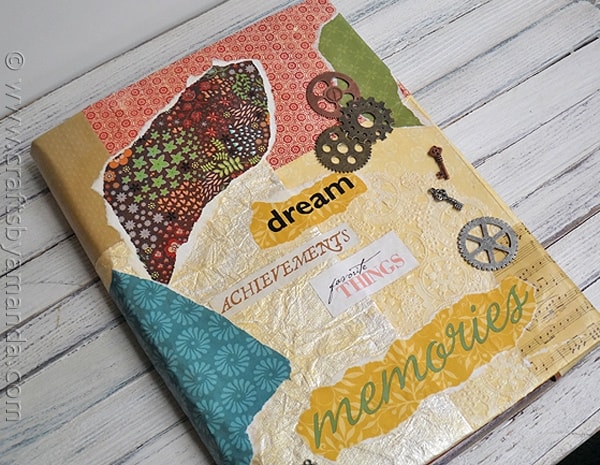
While I realize that a book cover craft would probably be more popular during the back to school season, decoupage, or Mod Podge, is always in style. This book cover feels like vinyl and I’m absolutely in love with it. I will definitely be making more, I only wish I had discovered how good these feel before all my kids grew up!
You can use any method of design that you like, I happened to use scrapbook paper and a few steampunk type embellishments. So, if your son is a baseball fan or your daughter is into flower power, you can decorate it to fit their likes and wants. Maybe this book cover craft is for you, like this one was for me. Design it however you like.
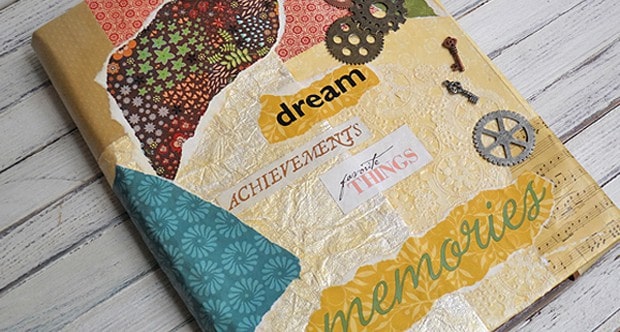
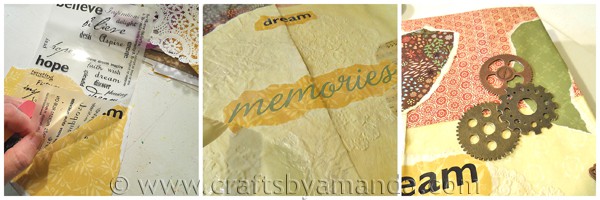
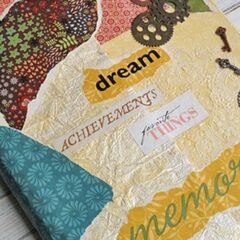
I chose to create a cover for my high school yearbook. Therefore, the scrapbook rub-ons that I used seemed quite fitting. Adding the little gears and keys simply states my style now that I’m many years out of high school.
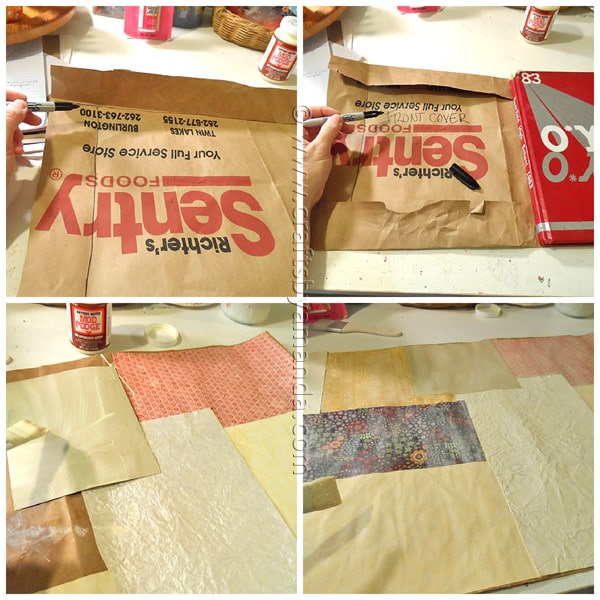
You must start with the actual book you want to cover. If you’ve ever made a book cover from a brown paper grocery bag, then you’re halfway there already. The full instructions are below, but you can see from the pictures that I’ve marked the inside of the cover after creating it so that I can remove it, decoupage it, and then put it back together when I’m finished.
I used several different patterns of paper, you could use all one color if you like. I used rub-ons for the words. Put those on to the paper first, then decoupage that on to the cover. After it’s all dry and your book is inserted, you can use hot glue or E6000 to attach embellishments.
That’s it, all done! I love the feel of this book cover. I was actually quite bummed out back in August when I made this because my 14-year old said he didn’t need any book covers. Boo! I was totally ready to make some for him. Oh well, guess I’ll just have to make more for me then!
More Book Cover Crafts
Tie Dye Book Cover – Kaboose
Polka Dot Cover – Craft Passion
Blue Jean Book Cover – Free Kids Crafts
Mod Podge Book Cover
Supplies
- Book you want to cover
- Brown paper grocery bag
- Black marker
- Scissors
- Decoupage medium Mod Podge, etc
- Various scrapbook papers I also used paper doilies
- Paintbrush
- Embellishments optional
- Glue gun optional for embellishments
Instructions
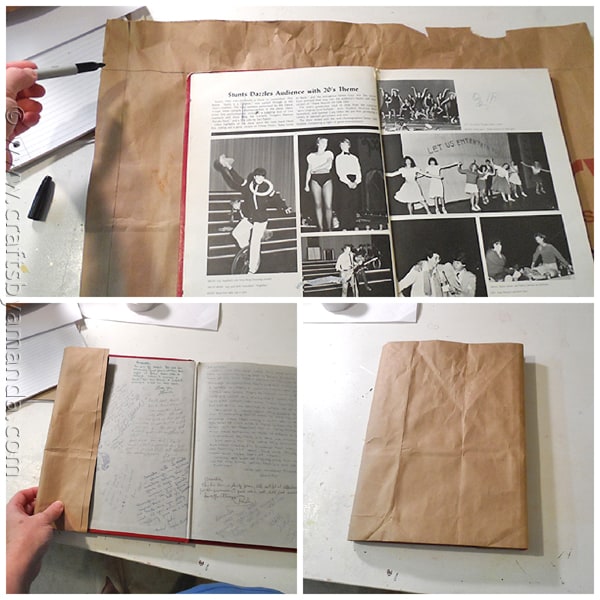
- First you’ll need to fashion your book cover from the paper bag. Many of you have been making these simple book covers for years, but if you’ve never made one they are quite simple.
- Cut down one of the bag’s seams until you reach the bottom of the bag. Now cut out the bottom of the bag and discard or recycle it.
- Lay the brown paper down flat and place your book on top. First, open the book and leaving about four inches on each the left and right sides of the book, trim off the excess. You will be folding the top and bottom edges to make the bag of equal height to the book. To do this, use a marker to draw a line from the top and bottom edges of the book to the edge of the brown paper.
- Fold the top and bottom edges and place the book on top again. The paper should be the same height as your book. Fold the left side of the paper over the open left cover. Repeat on the back cover.
- Make sure the book fits nicely and is as even as you can get it, then fold all the edges to create noticeable creases. Remove the book and set it aside. Open up the brown paper and mark your creases (on the inside of the paper, the side that touches the book) with black marker. Also, write the words “front cover” inside.
- Open up the paper and turn it over so that your markings are face down.
- Apply decoupage to the back of a piece of scrapbook paper and press down onto the paper bag. Repeat until the entire bag is covered. You can cut paper for a cleaner look or tear the edges for a more rustic look. Give the entire thing a coat of decoupage.
- You can decorate by using rub on transfers, stickers, stamps, whatever you like. Be sure to decoupage over everything and let it set.
- When the decoupage is dry to the touch, use the lines on the back of your paper to guide you and refold the book cover. Place the book inside and insert the front and back covers into the flaps.
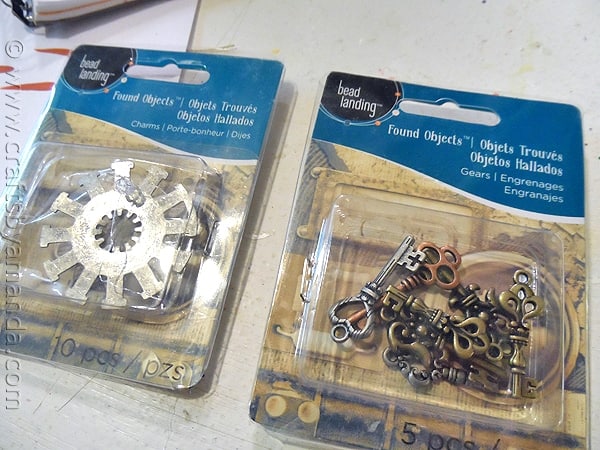
- If you want to add embellishments (I used gears and keys) you can attach them with hot glue.
- Watercolor Luminaries - February 11, 2025
- Free Valentine Printables: Cards, toppers, and tags - February 4, 2025
- Valentine Hugs - January 31, 2025


Laurel says
I’m inspired to embellish the cover of my Messiah choral score
Every December I enjoy participating in a local Sing it Yourself Messish
When I got out my good old score this year I thought it needed a facelift
And I certainly would not mix it up with my other music scores!
Brenda P says
I’ve done this for the top of sketch books for my daughter. I like to include items that will inspire her, or that are memories from the past. I make color copies of the originals and then mod podge them.
I hadn’t thought of this for her school books – we’ll do this!
Amanda Formaro says
Thanks Brenda, hope you have fun with it!
Michele Pacey says
I’ve been reading about making books lately so your book-covering craft makes me happy. It looks so lovely with this new facelift. Warm texture too!
Amanda Formaro says
Thank you Michele!
Debra says
I love this! I think I want to do this to my daughter’s little diary!
nest of posies says
how fun is this! you’ve got my head turning with ideas.
Deborah Jennings says
I love this! Now to go and get the Mod Podge. I have the book(s) and the paper. I would love to do Hubby’s yearbook.