
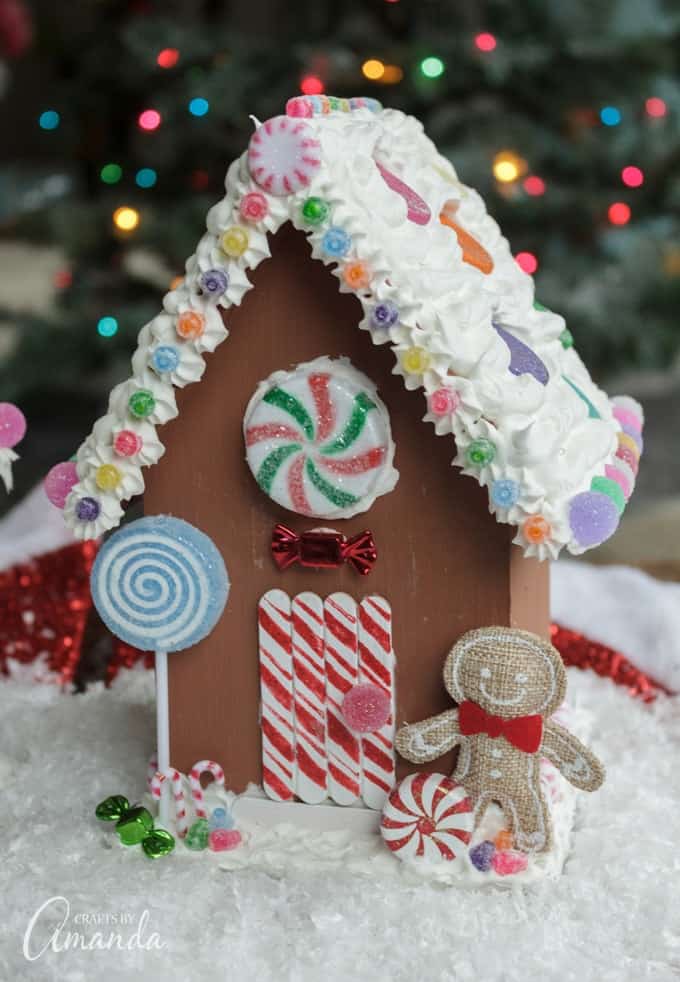
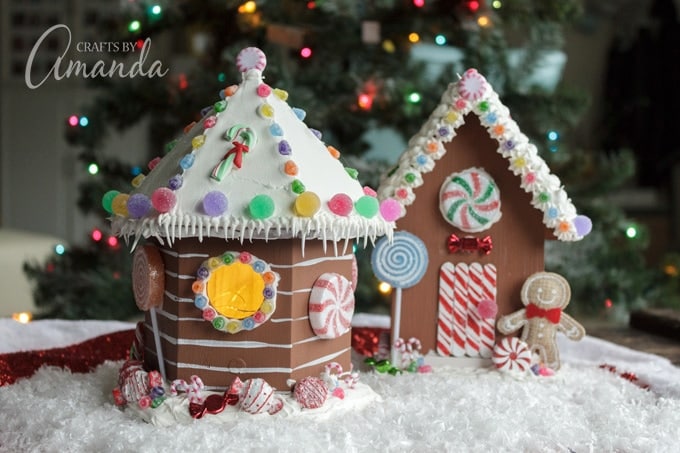
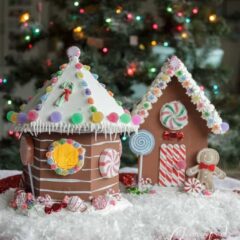
This adorable birdhouse gingerbread house is non-edible but perfect for yearly Christmas decorations! Adorned with loads of cute embellishments, you can make these gingerbread houses in so many different ways.
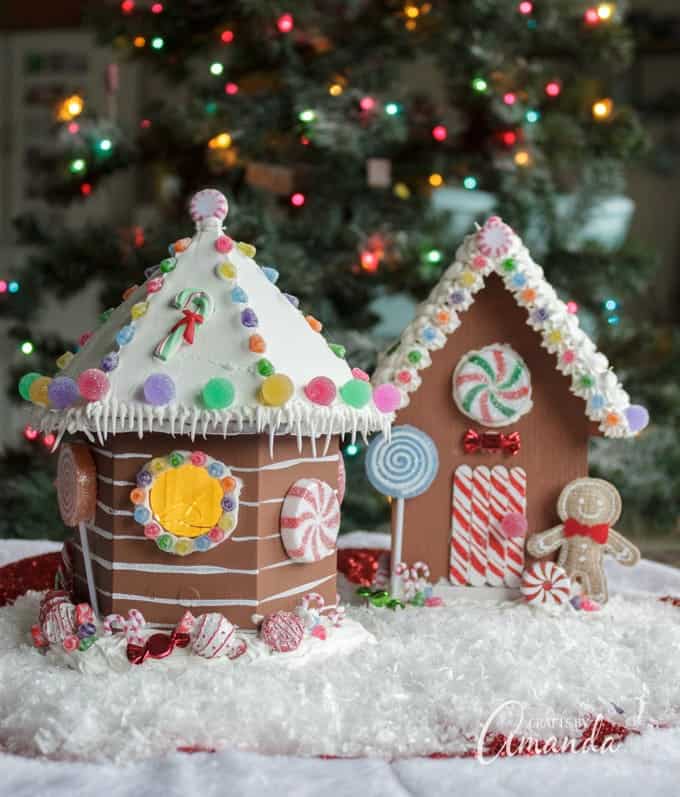
Birdhouse Gingerbread House
Last year I posted a gingerbread house ornament made from a miniature birdhouse. Because I love gingerbread houses, I decided to grab some regular-sized birdhouses and turn them into adorable winter wonderland houses as well!
You can find wooden birdhouses at pretty much any craft supply store, and at discount department stores that carry craft supplies. Be sure to check places like Walmart, Michaels, Hobby Lobby, and even the dollar store.
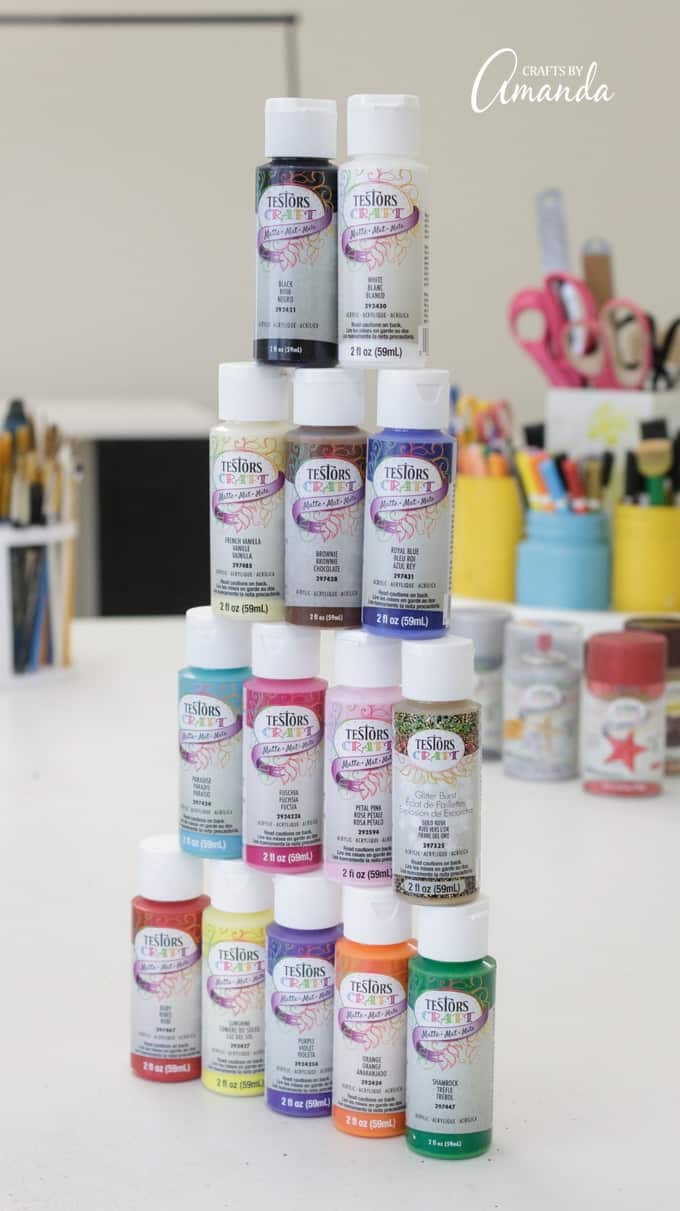
For this project I’m using Testor’s acrylic paints along with their red glitter paint.
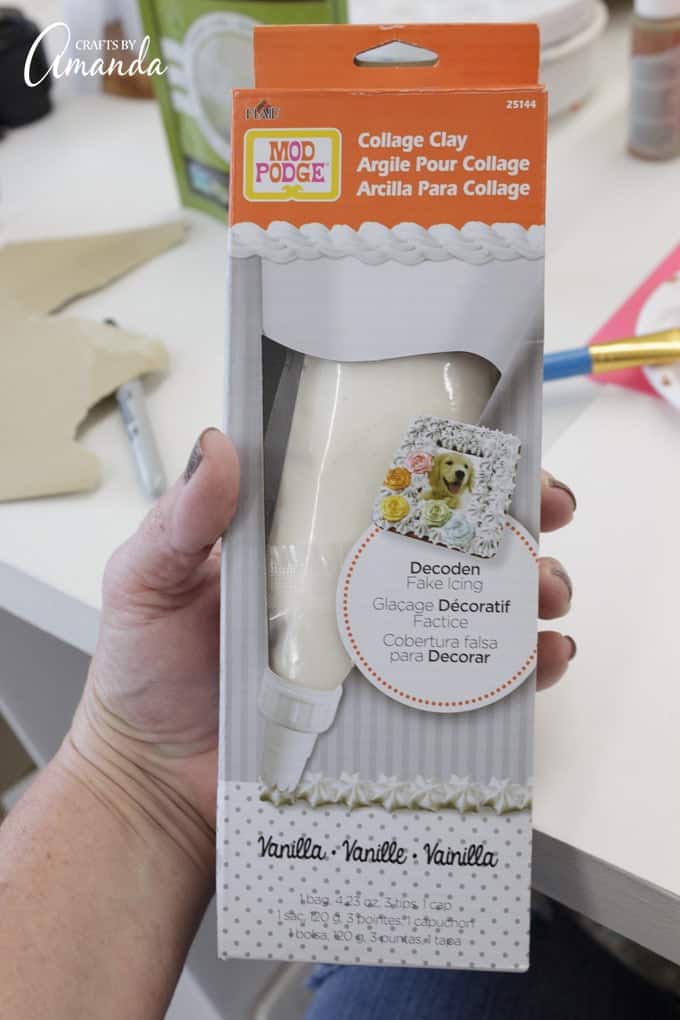
I also used Collage Clay to create the look of snow on the roof. Since I made this birdhouse back in 2017, it seems that collage clay is no longer available. You can use this white whipped clay which is similar and can be found at Michael’s stores. You can also cover the roof in Snowtex for a textured look or simply paint the roof with white paint.
As for embellishments, I actually searched all through the Christmas section at Hobby Lobby, picking out things here and there.
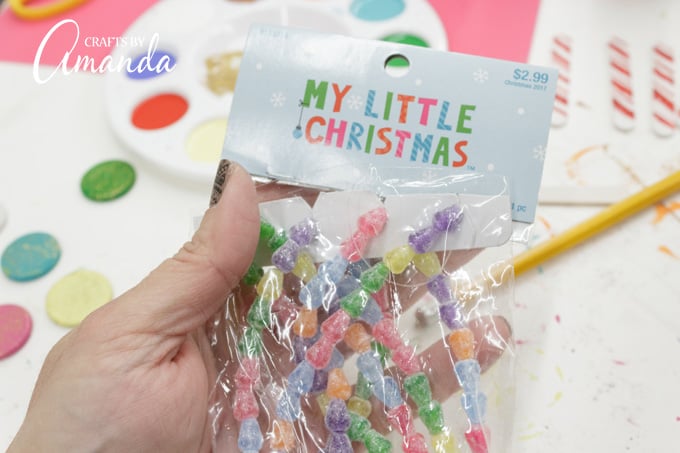
However, where I really found the motherlode of Christmas embellishments was over by the Christmas trees. There’s a big trend right now with kid-sized Christmas trees, so many of the decorations made for those I used for my gingerbread houses.
Non-Edible Gingerbread Houses
Important note – nothing on these gingerbread houses is edible! That means you can store these and pull these out year after year so you can enjoy them for many Christmases to come.
What you need to make a birdhouse gingerbread house:
- Wooden birdhouse
- 12 wood circles (approximately 1-inch)
- Small embellishments such as plastic candy, candy canes, gingerbread men, colorful beads or garlands, etc (I found a bunch at Hobby Lobby by the Christmas trees)
- Paint brushes
- Collage Clay or whipped clay
- 5 mini craft sticks
- Paint Palette
- White Glitter
Testor’s acrylic paint:
We used Testor’s acrylic paints, but you can use any kind of acrylic paint in similar colors.
- Brownie (for the house)
- White (door)
- Red Rocket Glitter Burst (door)
- Paradise
- Orange
- Shamrock
- Sunshine
- Fuschia
- Purple
- Gold Rush Glitter Burst
Other helpful tools:

Start by cutting off the perch from the birdhouse. No need to sand it because we will be covering that area.
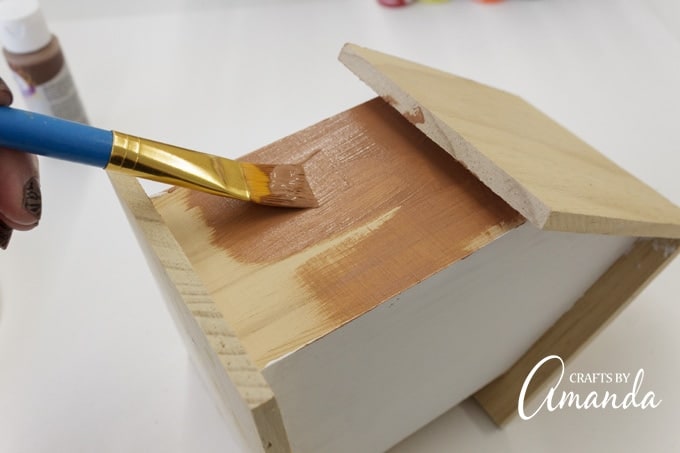
Paint the outside of the birdhouse with “Brownie”. Let it dry then give it a second coat.
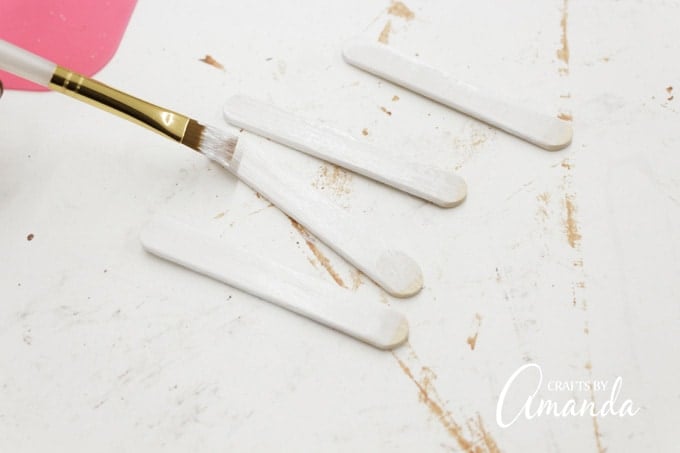
Meanwhile, paint all the miniature craft sticks with white and let them dry. You only need to paint one side.
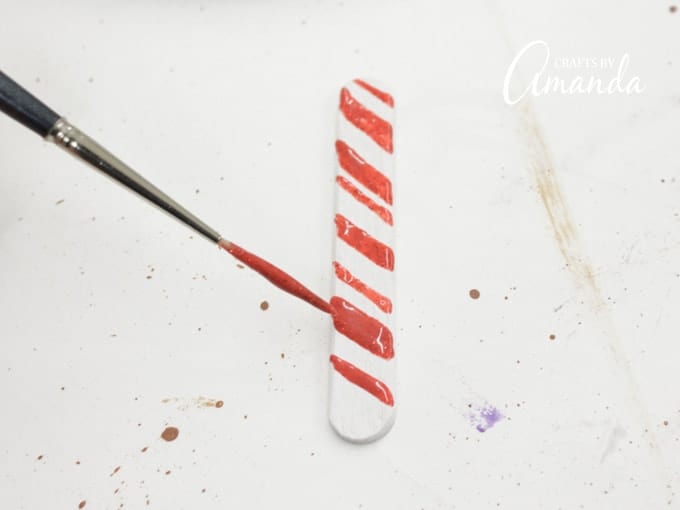
Use a liner brush dipped in Red Rocket glitter paint to add diagonal lines onto 4 of the 5 white sticks. Set these aside to dry.
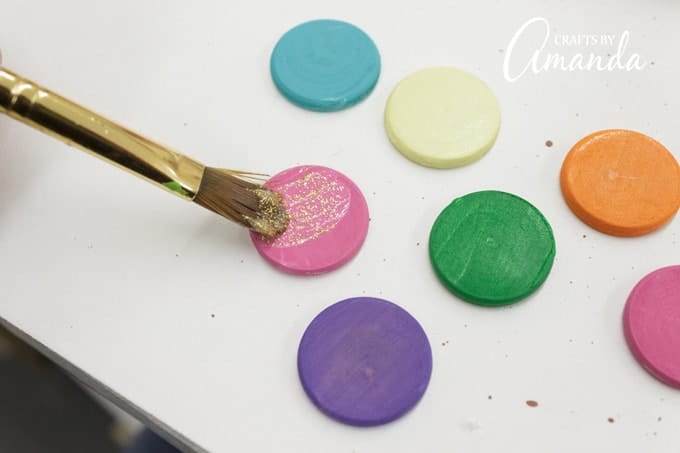
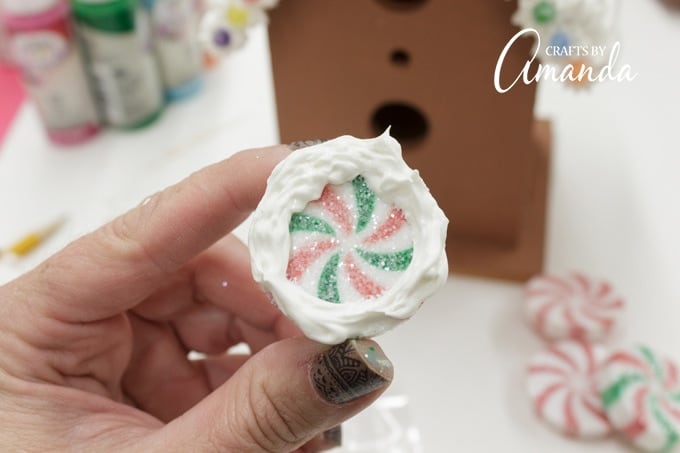
Paint the wood circles (only one side) with Paradise, Orange, Sunshine, Fuschia, Purple and Shamrock.
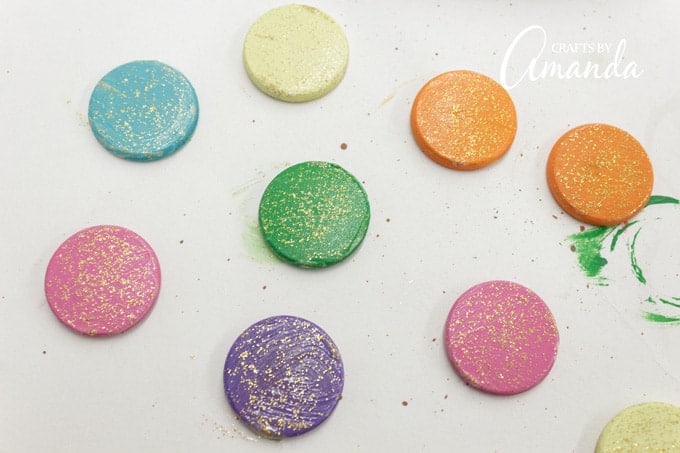
Once the wood circles are dry, add a thin layer of Gold Rush glitter paint. Set aside to dry.
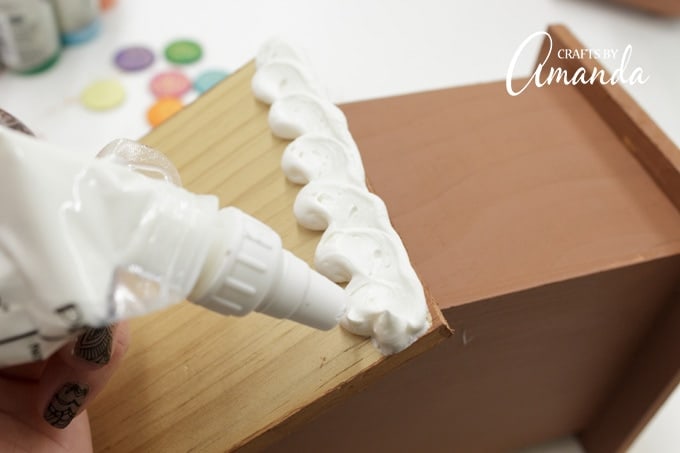
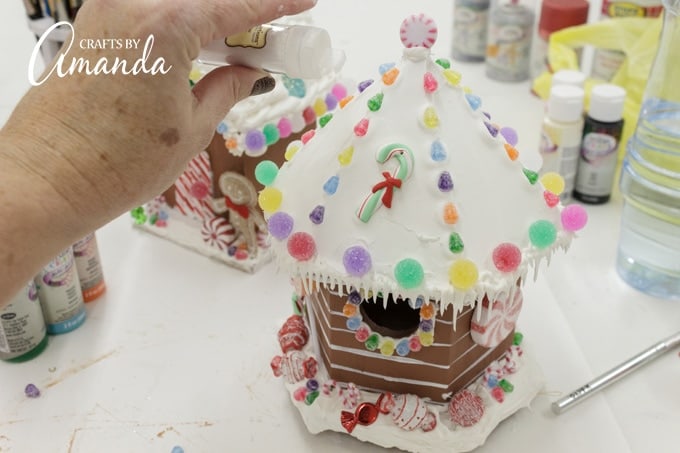
Follow the directions on the tube of Collage Clay (or similar product such as whipped clay) and add “snow” to the roof. It’s similar to piping icing onto a cake!
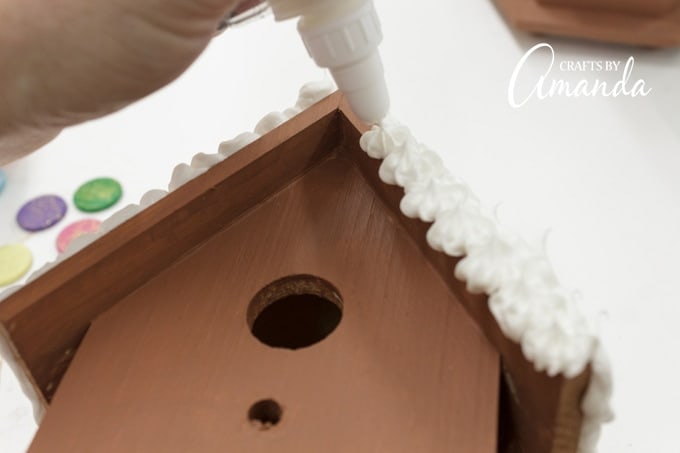
Using the star tip included with the Collage Clay, add decorative stars to the front edge of the roof.
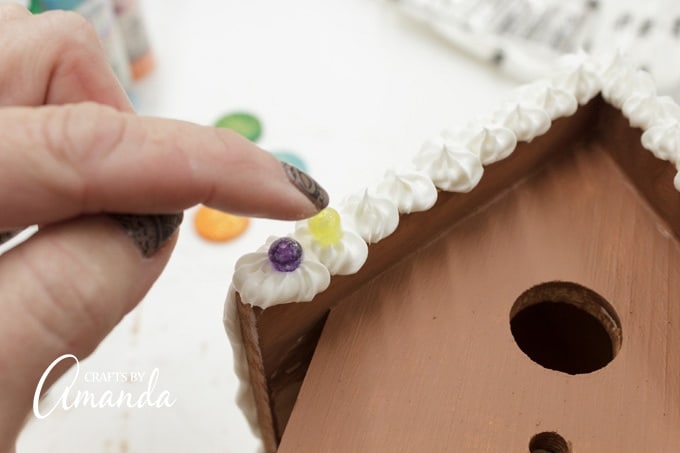
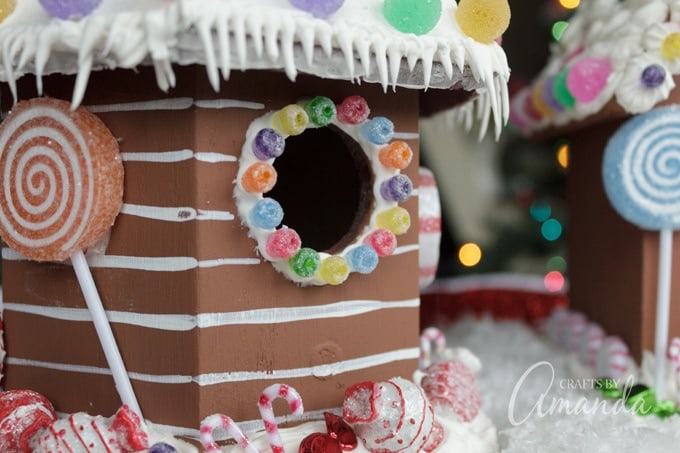
Add a colorful bead to each star, gently pressing it into place.
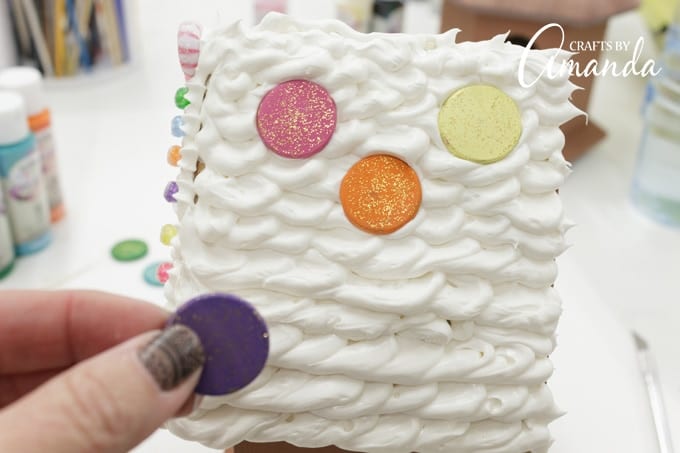
Now that the wood circles are dry, gently press them into the Collage Clay on the roof.
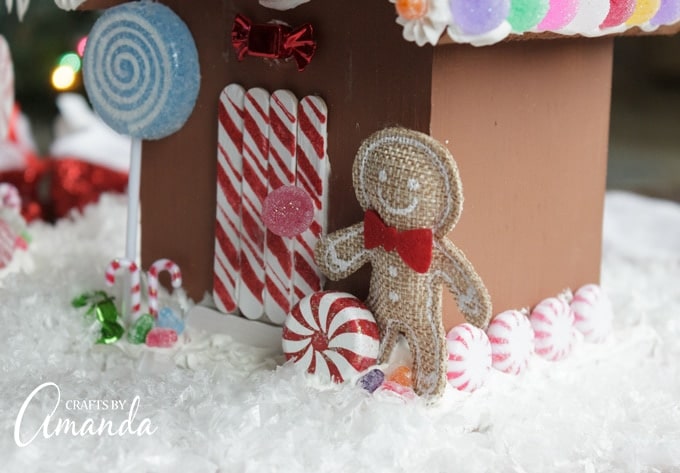
Use Collage Clay to add your plastic candy embellishments.
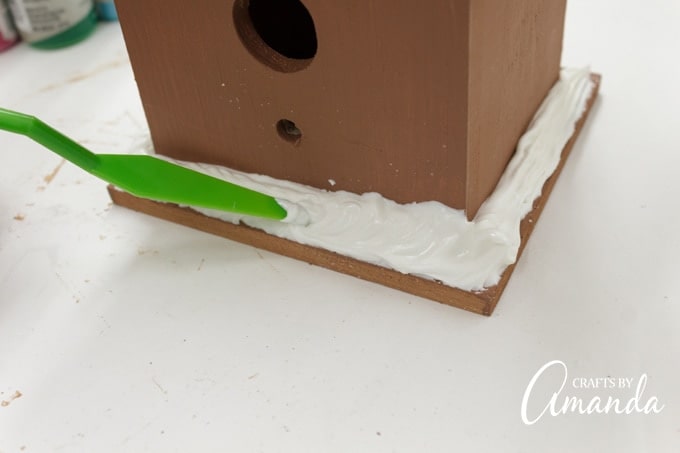
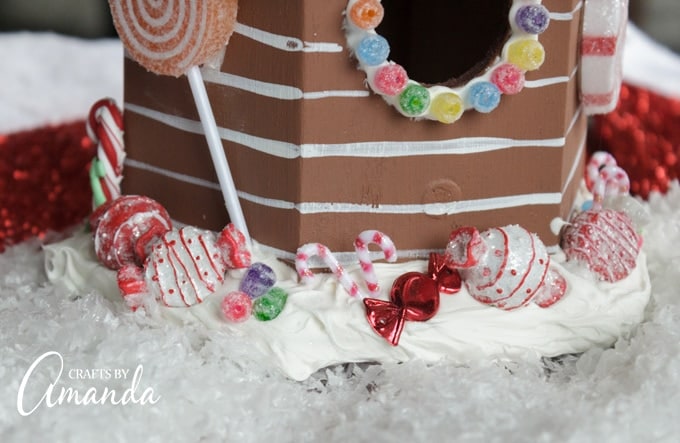
Spread Collage Clay along the bottom of the birdhouse and insert candies.
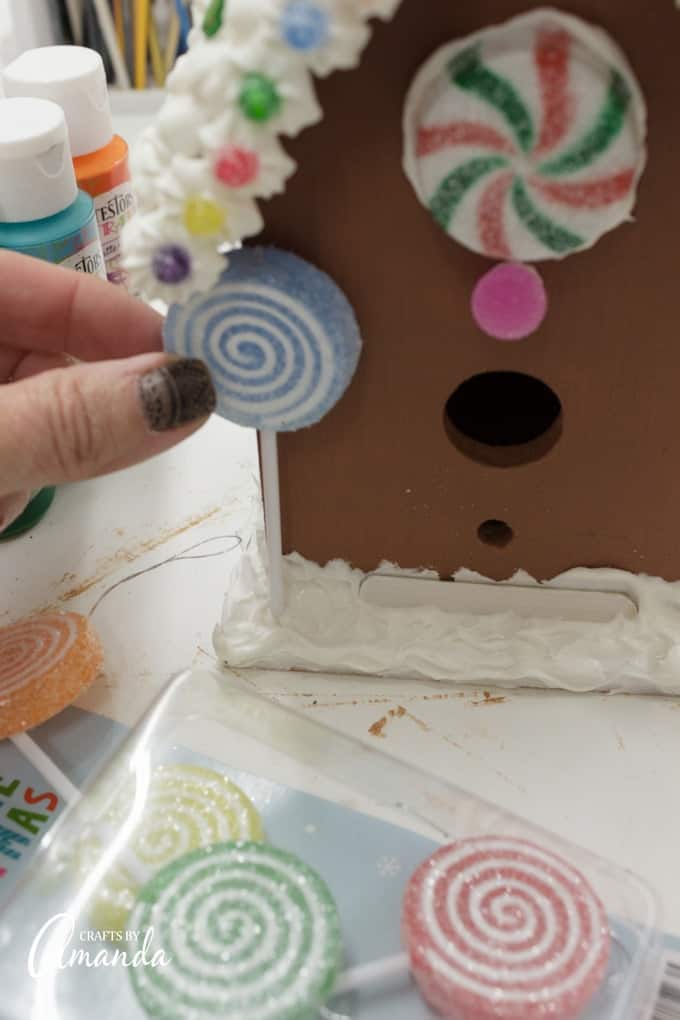
Place the solid white craft stick along the bottom where the door will be to serve as a step.

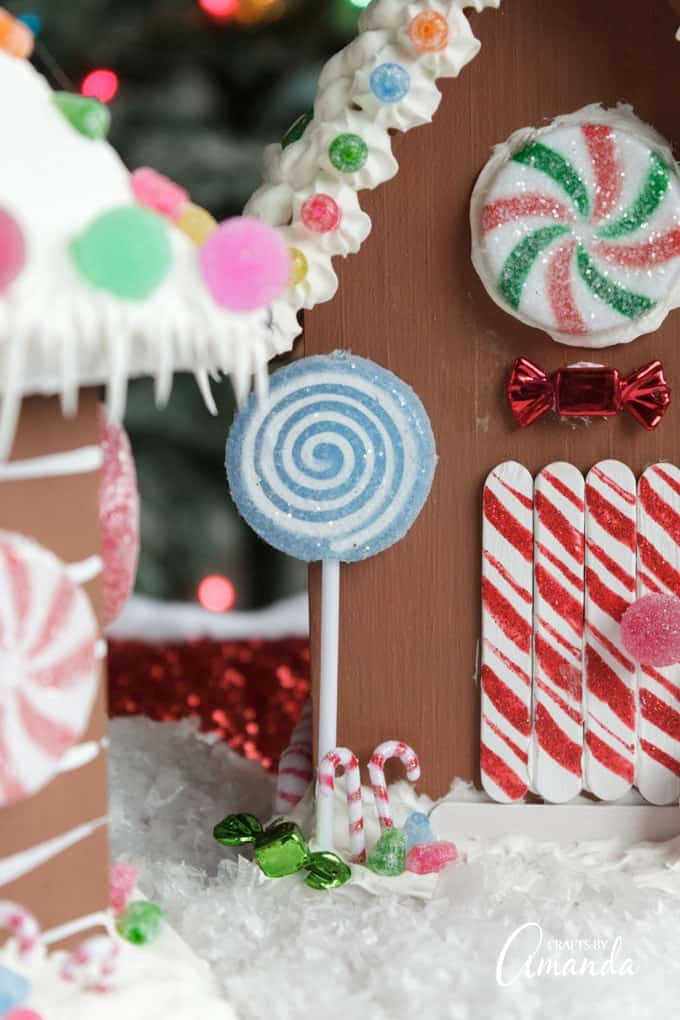
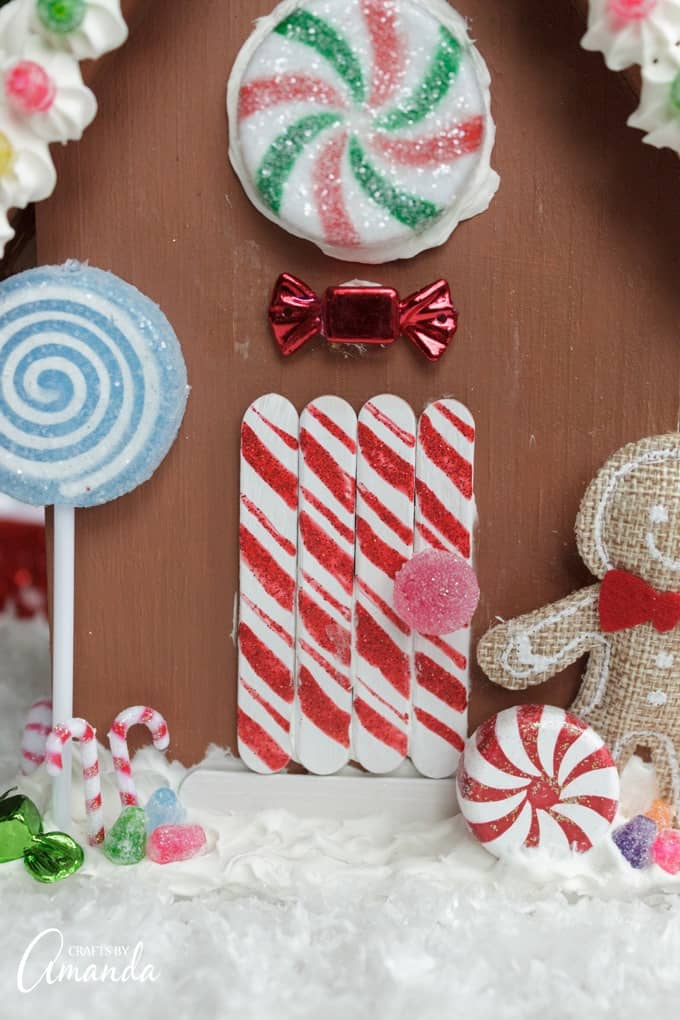
Make sure the peppermint craft sticks are dry, then attach them to the front of the house as the door, lining them up next to each other above the “step” stick. Attach a “candy” as the door knob.
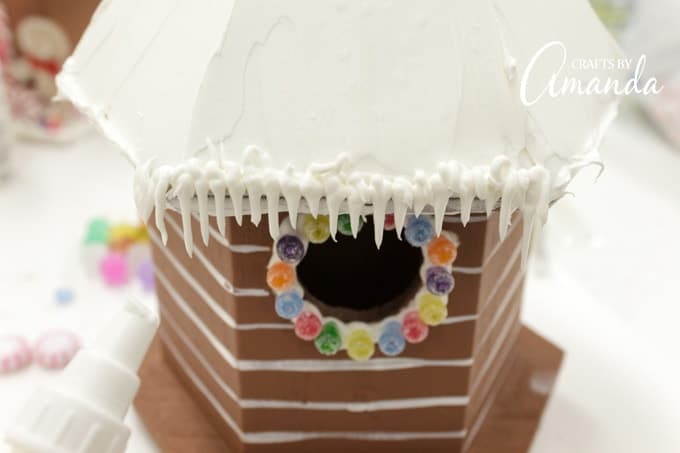
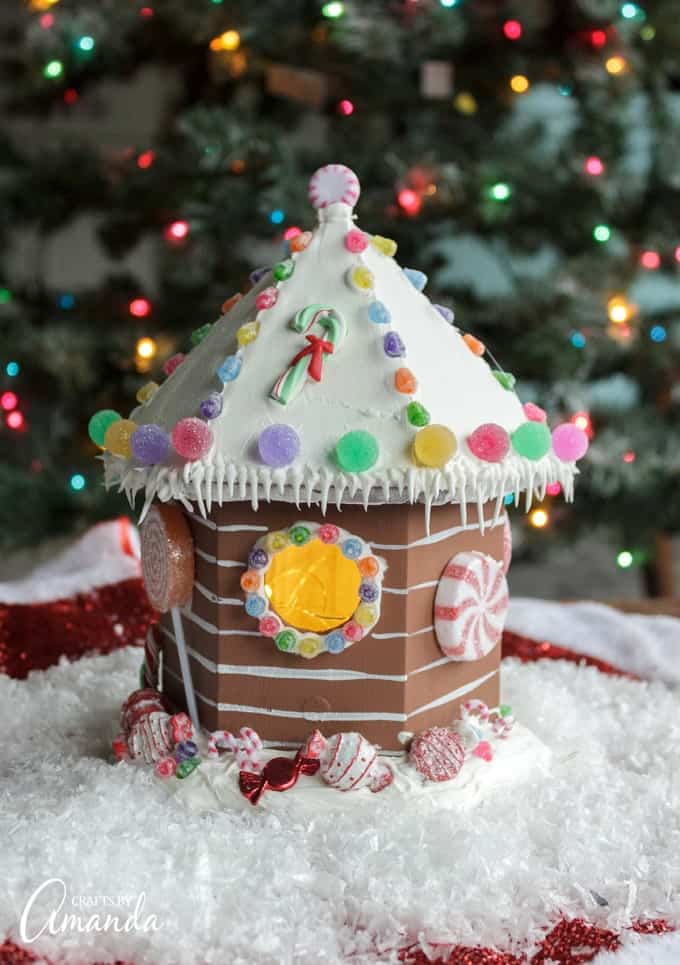
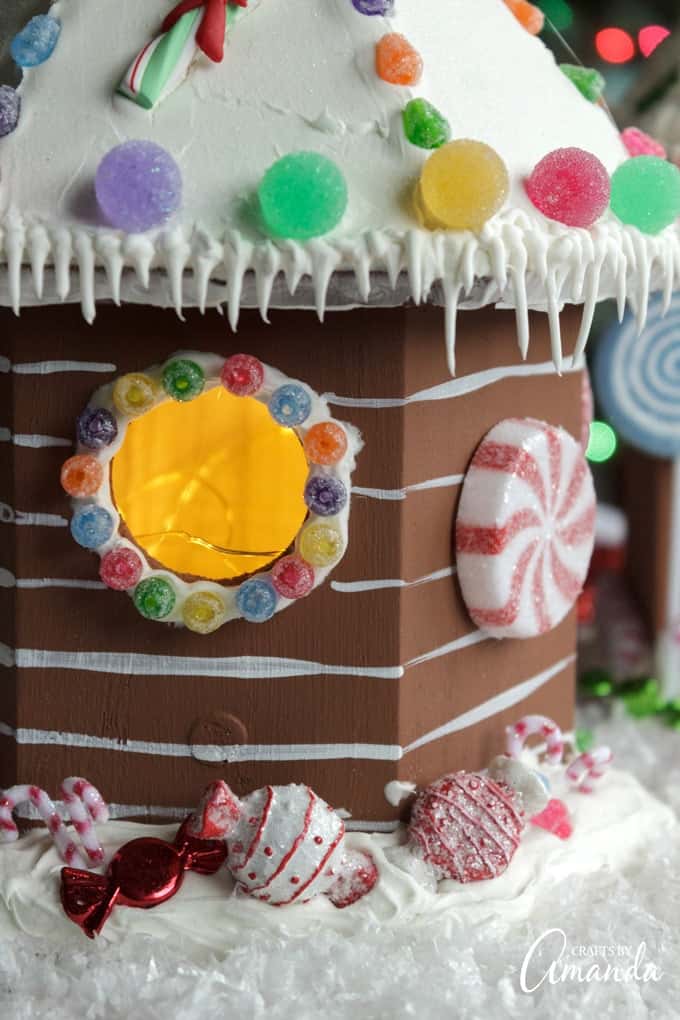
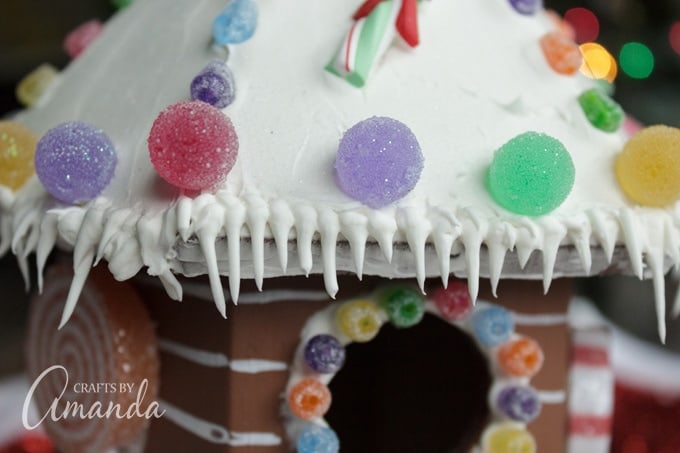
For the second house I chose to smooth out the Collage Clay on the roof with a palette knife. Then I used the writer tip to add icicles.
I also used white paint and a liner brush to add the lines on the house.
After embellishing the roof, I sprinkled it with white glitter.
Collage Clay takes a couple of days to dry completely. Be careful when handling your gingerbread houses until they are completely dry.
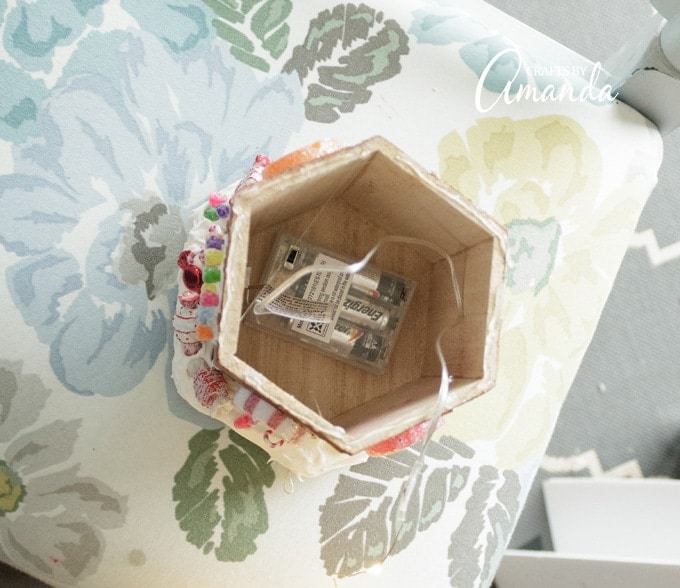
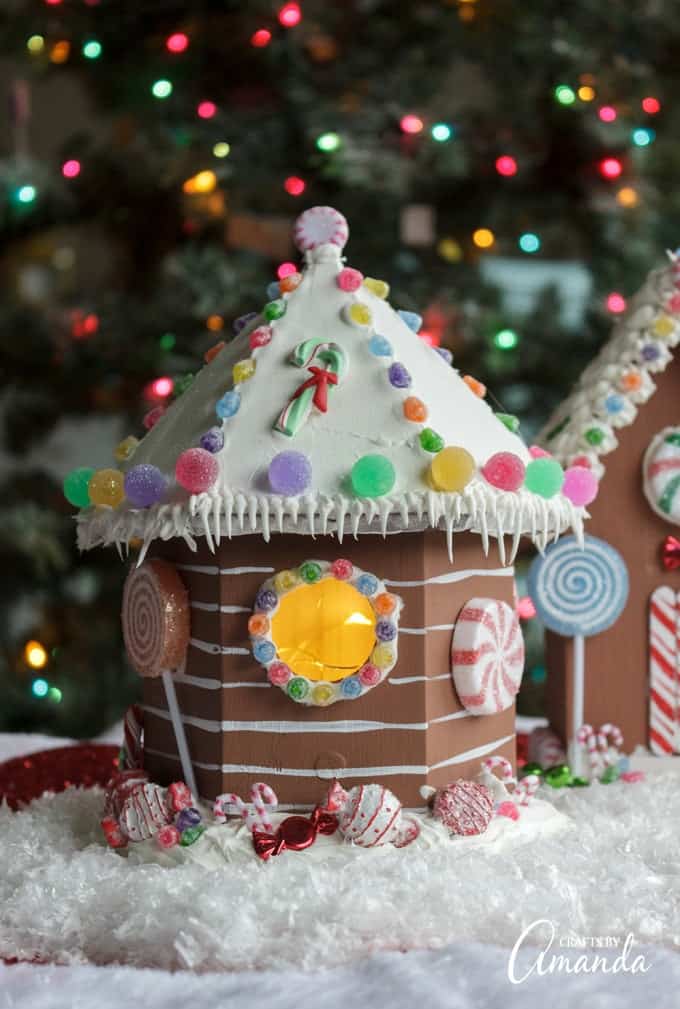
OPTIONAL – this octagonal birdhouse roof was glued on. I was able to gently pry it off and place some battery operated string lights inside. However, it’s best to do this before you begin decorating. Otherwise you will need to wait until the Collage Clay has dried completely.
Note: Testors also makes glitter spray paint! This would be fun to coat your brown house (prior to embellishing of course) if you want your birdhouse gingerbread house to shimmer.
Below are some close ups of the embellishments to give you some ideas for decorating your birdhouse gingerbread house!
Birdhouse Gingerbread House
Supplies
Supplies:
- Wooden birdhouse
- 12 wood circles approximately 1-inch
- Small embellishment s such as plastic candy candy canes, gingerbread men, colorful beads or garlands, etc
- Paint brushes
- Collage Clay white. or similar product such as whipped clay or Snowtex
- 5 mini craft sticks
- Paint Palette
- White Glitter
- Palette knife
- Craft knife
- Battery operated small string of light optional
- Hot Glue Gun
Testor's acrylic paint
- Brownie for the house
- White door
- Red Rocket Glitter Burst door
- Paradise
- Orange
- Shamrock
- Sunshine
- Fuschia
- Purple
- Gold Rush Glitter Burst
Instructions
- Start by cutting off the perch from the birdhouse. No need to sand it because we will be covered that area.
- Paint the outside of the birdhouse with "Brownie" (brown paint). Let it dry then give it a second coat.
- Meanwhile, paint all the miniature craft sticks with white and let them dry. You only need to paint one side.
- Use a liner brush dipped in Red Rocket glitter paint (red) to add diagonal lines onto 4 of the 5 white sticks. Set these aside to dry.
- Paint the wood circles (only one side) with Paradise, Orange, Sunshine, Fuschia, Purple and Shamrock.
- Once the wood circles are dry, add a thin layer of Gold Rush glitter paint. Set aside to dry.
- Follow the directions on the tube of Collage Clay and add “snow” to the roof. It’s similar to piping icing onto a cake!
- Using the star tip included with the Collage Clay, add decorative stars to the front edge of the roof.
- Add a colorful bead to each star, gently pressing it into place.
- Now that the wood circles are dry, gently press them into the Collage Clay on the roof.
- Use Collage Clay to add your plastic candy embellishments.
- Spread Collage Clay along the bottom of the birdhouse and insert candies.
- Place the solid white craft stick along the bottom where the door will be to serve as a step.
- Make sure the peppermint craft sticks are dry, then attach them to the front of the house as the door, lining them up next to each other above the “step” stick. Attach a “candy” as the door knob.
- For the second house I chose to smooth out the Collage Clay on the roof with a palette knife. Then I used the writer tip to add icicles.
- I also used white paint and a liner brush to add the lines on the house.
- After embellishing the roof, I sprinkled it with white glitter.
- Collage Clay takes a couple of days to dry completely. Be careful when handling your gingerbread houses until they are completely dry.
- OPTIONAL – this octagonal birdhouse roof was glued on. I was able to gently pry it off and place some battery operated string lights inside. If you do this, you will need to hot glue your roof back in place.
Expert Tips & FAQs
- I used Collage Clay to create the look of snow on the roof. Since I made this birdhouse back in 2017, it seems that collage clay is no longer available. You can use this white whipped clay which is similar and can be found at Michael’s stores. You can also cover the roof in Snowtex for a textured look or simply paint the roof with white paint.
- You can use any acrylic paint in similar colors or get creative and use your own favorite color combinations!
This post originally appeared here on Nov. 22, 2017.
- Fingerprint Daddy & Me Coffee Mug - June 12, 2026
- Patriotic Bandana Wreath - June 9, 2026
- Ladybug Painted Rocks - June 5, 2026


Shannon Jones says
This would be so cute to use them as actual birdhouses!
Can you imagine these scattered around a cabin in the woods come winter time? I sure can – and I will!
Thank you for the tutorial and inspiration!
Tina says
They are perfect. Will be making them for family and friends. Love them and looks very easy. I might just make a few for the birds around my home and will make sure to put lots of bird seeds out for them. Thank you so much
Amanda Formaro says
Sounds so fun, thank you!
sue Petrachek says
I like painting ornaments and right now I am doing mermaids. I have painted one, and after painting I put glitter on it to make it sparkle. I have another one to do, but I want to make the hair a ginger look, not very red , more ginger looking. All my other stuff I have done, has hair with blonde, brown, black. But I want to change up my hair colors. Could you advise me please?
Amanda Formaro says
have you checked the craft paints available at craft stores? There are a lot of different colors that would work for a red haired look :)
Cindy deRosier says
Adorable! I love the idea of using the Collage Clay.
Beth @ Hungry Happenings says
What a fun idea. I love all the little decorations you found and the collage clay was the perfect “frosting” for the houses.
Amanda Formaro says
Thanks Beth! It was really fun to make :) I’m glad it’s not candy or I’d be tempted to eat it haha!