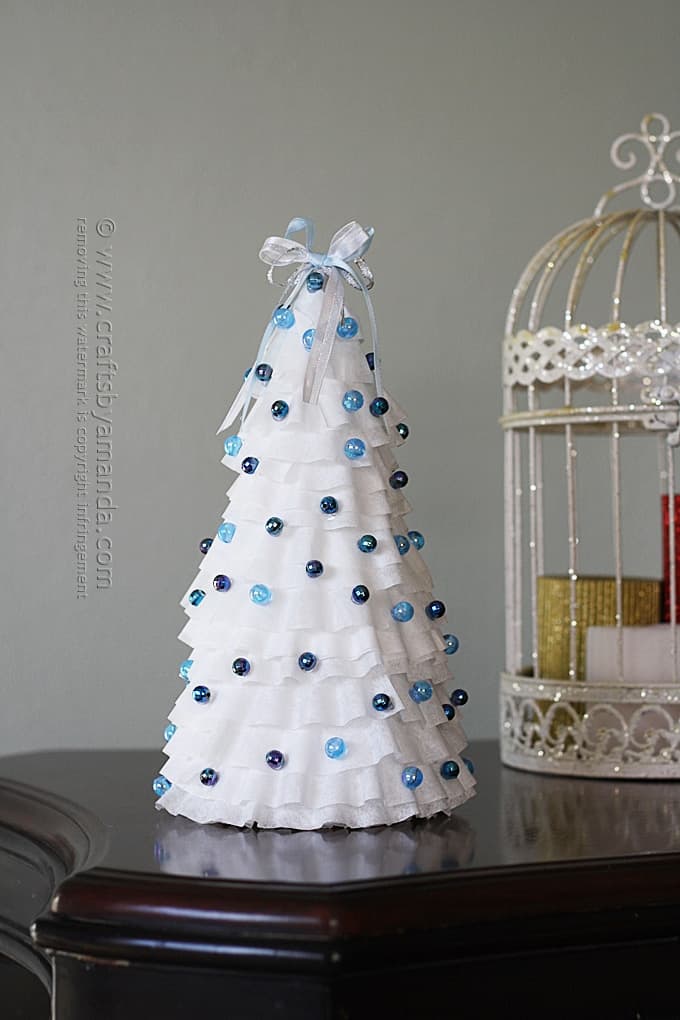
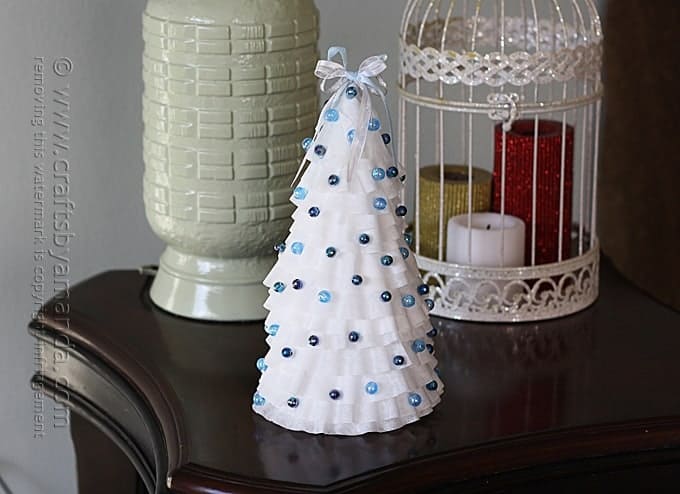
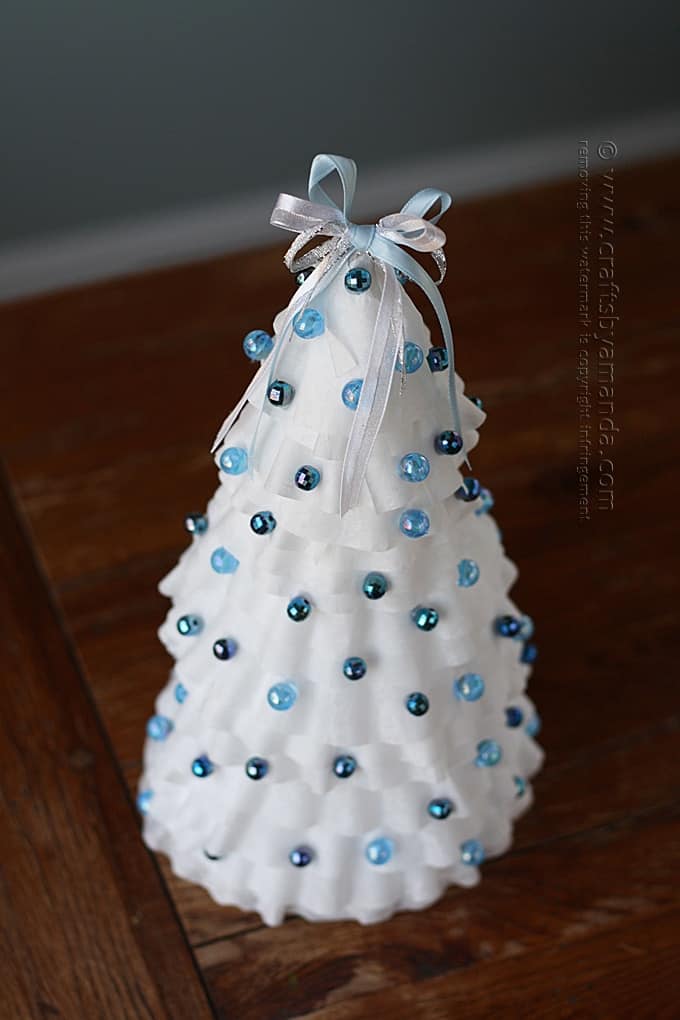
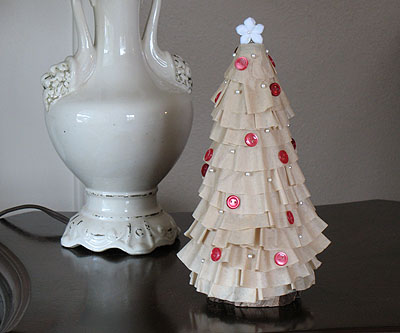
In 2010 I made a coffee filter Christmas tree using tan coffee filters and red buttons. Then in 2013 I was asked by Disney to provide a couple of crafts to the ABC Family website and this white tree was one of them! They are very easy to make and are such pretty Christmas decorations.
It’s kind of funny that this year I’ve decided to actually go with a white tree for our Christmas tree, like my aunt had all the years I was growing up. My house is decorated in a coastal theme, so white seems to be fitting. I am working on some other decorations in that theme and will share those soon.
Note: some links below are affiliate links. That means if you happen to buy something, a small percentage of that sale goes back into this site, which enables me to continue to bring you free tutorials such as this one. So, thanks!
As always, a full printable supply list and instructions are at the end of this post.
For this project you will need the following supplies:
- Cardboard or paper mache cone
- White coffee filters
- Blue beads
(these are not the beads I used, but they are similar)
- Blue and white ribbon
- Hot glue gun
Print the instructions below. I hope you enjoy this project and have a Merry Christmas!
Here’s my other Coffee Filter Christmas Tree where I used “natural” coffee filters.
Blue & White Coffee Filter Christmas Tree
Supplies
- Cardboard or paper mache cone
- White coffee filters
- Blue beads
- Blue and white ribbon
- Hot glue gun
Instructions
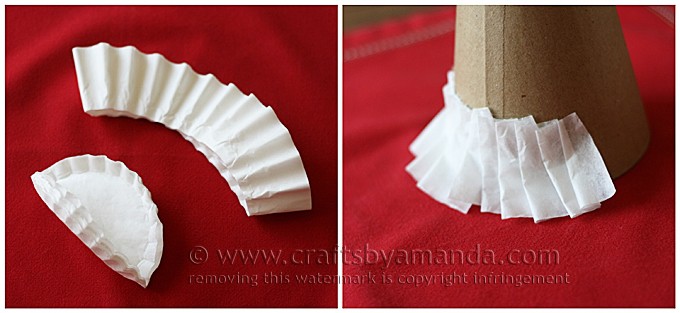
- Take a small stack of coffee filters (10 or so) and fold in half to create a half circle. Cut the center out of the filters.
- You should be left with a doughnut shape. Cut through one section of the “doughnut” to break the circle. Repeat these steps as needed for more filters.
- Starting at the bottom of the cone, begin gluing the coffee filters on, working your way around the cone. Keep layering the filters over the previous ones, working your way up the cone. Cover the top of the tree with one of the coffee filter centers that you cut out earlier.
- For a fuller tree, add another layer of coffee filters over the first set.
- Use hot glue to add beads all over the tree.
- Tie ribbon into a small bow and trim the excess to desired length and hot glue to the top of the tree.
I originally made this project for Spoonful. Spoonful has since closed and the instructions were taken down. I am putting the instructions here until such time that Spoonful projects are redirected to a new home. At that time I will remove the instructions and link directly to the project on their site.
- Watercolor Luminaries - February 11, 2025
- Free Valentine Printables: Cards, toppers, and tags - February 4, 2025
- Valentine Hugs - January 31, 2025


Yvonne says
I love the tree, Thank you
PAT says
Ok…i may have missed it, but how many filters?
Amanda Formaro says
There’s no set number, just as many as it takes until you are done. :)
Bonnie Moulton says
WE LOOK FORWARD. TO SEEING YOUR POSTS!! OUR grandchildren love crafts…
Amanda Formaro says
So nice of you Bonnie, thank you! :)
Diane says
The so called beads look like marbles.
Amanda Formaro says
They are beads :)
Diane says
What are the blue ones? They are really something I like and always liked the coffee filter trees but didn’t know how to do.
Amanda Formaro says
Hi Diane. They are just beads I found at Michaels :)
Diane says
Wow they look like marbles, thanks for letting me know. I might just have to try this.
Cynthia Garcia says
Thank you!!!! this will be my Xmas activity for my 3rd grade class, when they’re finished I will send you some pictures
Amanda Formaro says
Thanks Cynthia, so glad you liked it!
Peggy says
Great craft for Girl Scouts! Love it.
liz says
Love this! THanks for sharing it with us!
Amanda Formaro says
Thank you Liz!
Martha says
Very nice Christmas tree for a desk or just a small decoration. love it.
Amanda Formaro says
Thank you Martha!