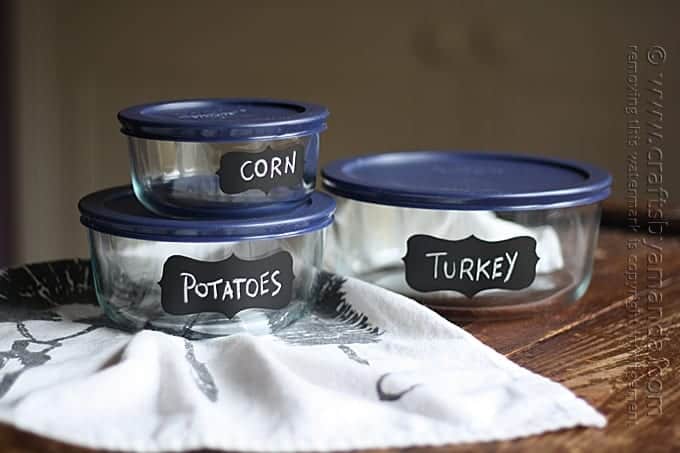
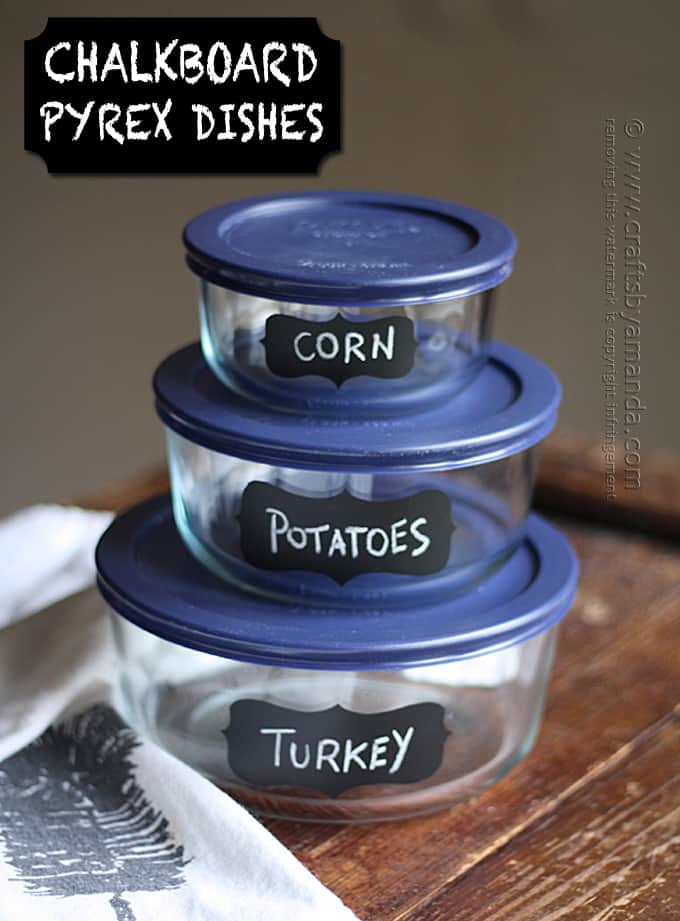
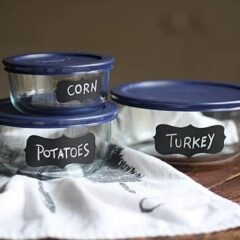
I love my Pyrex storage containers. They don’t absorb odors from food, they don’t stain (think tomato and plastic, ick!) and they are stackable and see-through. If you’re looking for a useful gift for a friend or relative, you can turn ordinary Pyrex storage containers into a gift that keeps on giving all year long! Use glass chalkboard paint to turn ordinary storage containers into easy to find leftover dishes. This makes an ideal gift for anyone who loves to cook!

Chalkboard Pyrex Dishes
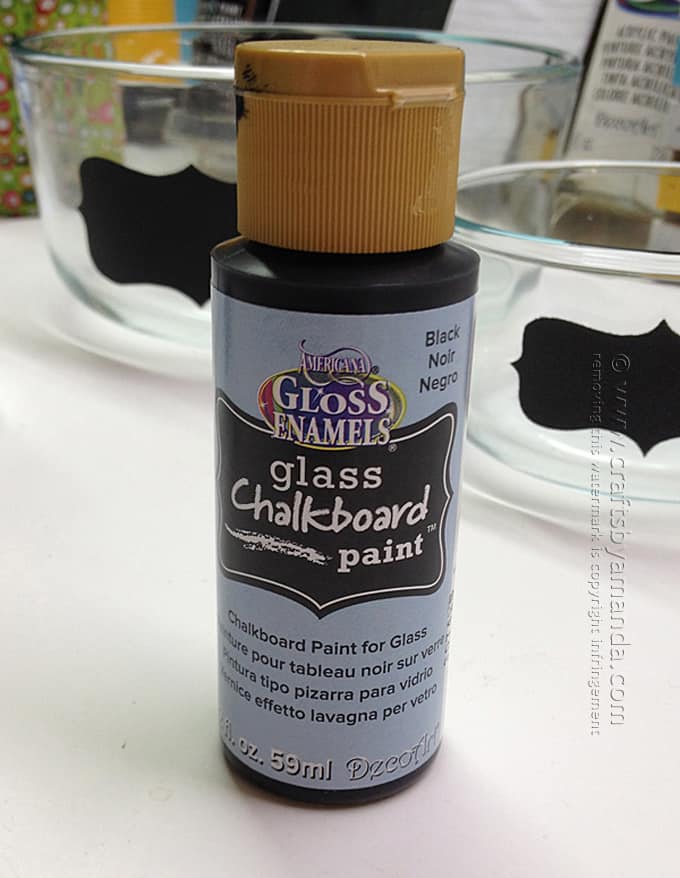
Be sure to follow the directions for curing the chalkboard paint, which is baking in the oven. This is important so that the paint doesn’t scratch or wear off.
To make these you can use any label pattern you like. Here’s one I found at 100 Directions.
Note: some links below are affiliate links. That means if you happen to buy something, a small percentage of that sale goes back into this site, which enables me to continue to bring you free tutorials such as this one. So, thanks!
As always, a full printable supply list and instructions are at the end of this post.
For this project you will need the following supplies:
Supplies:
Tools:
- Scissors
- Pen
- Cosmetic sponges

- Paper plate
Print off your preferred label and be sure the size will fit your Pyrex dish with the lid on.
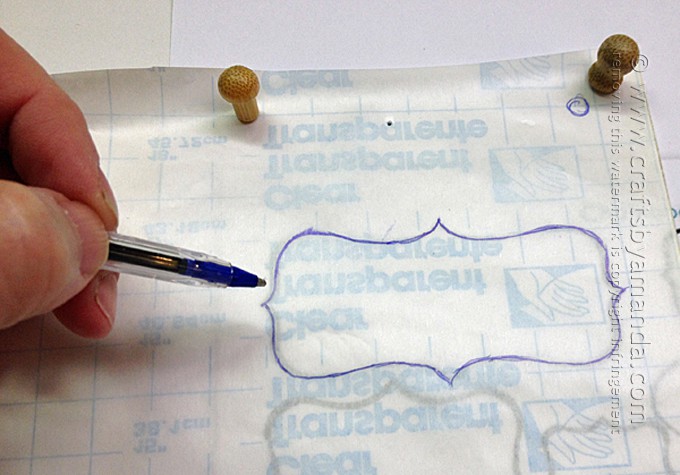
- Place the print out underneath the contact paper and trace the label with a pen.
- Hint: I use a foam core board and push pins to hold everything in place while I trace.
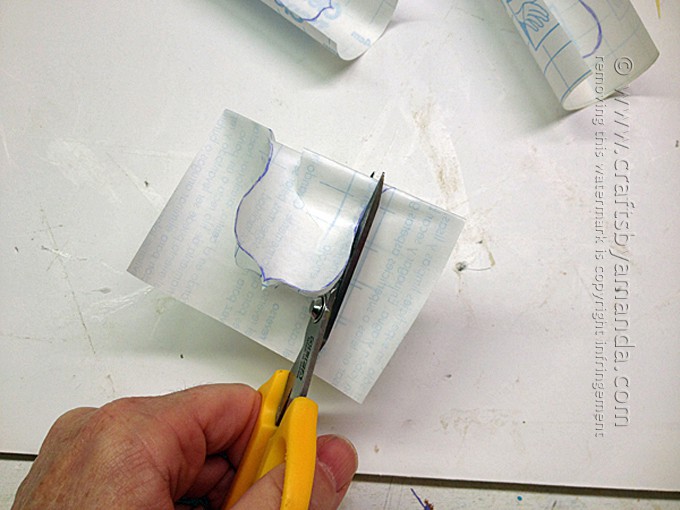
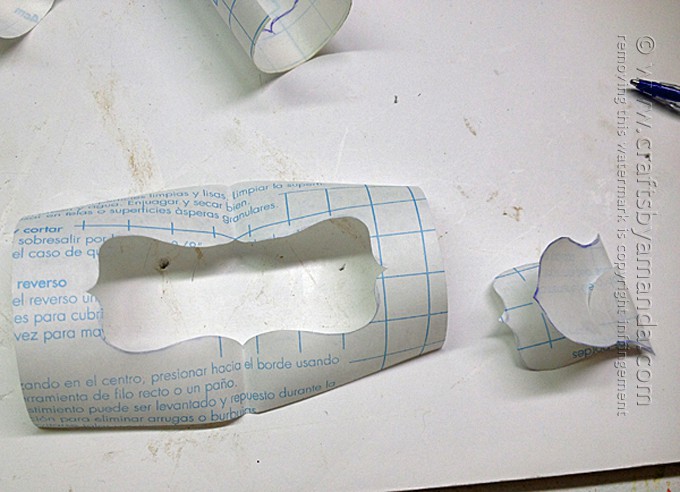
- Once you’ve traced all your labels cut the inside of the label out. Be sure that you leave about ¾-inch border around the label shape so that you have room when stenciling.
- Hint: To be sure both sides are symmetrical, fold the contact paper in half and cut both sides at once as shown.
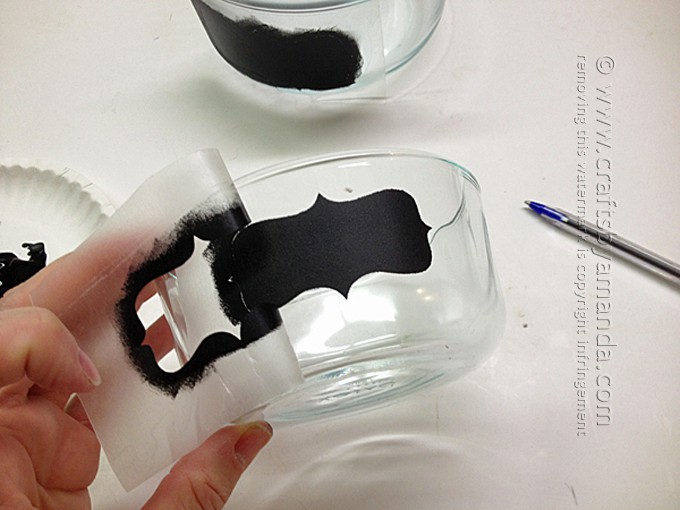
- Peel the adhesive backing off of the stencil and carefully position it on the glass dish.
- Work slowly and make sure that all air bubbles are out before you start applying paint.
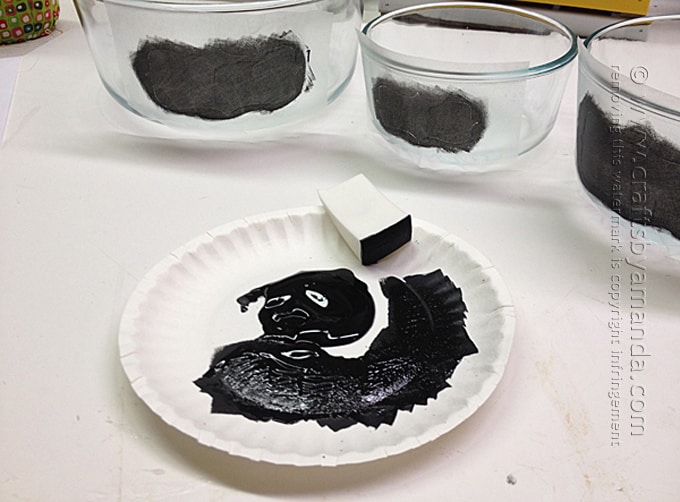
- Squeeze some chalkboard paint onto a paper plate. Load the cosmetic sponge with paint then dab off the excess.
- Stencil one layer of chalkboard paint over the stencils on each dish. Start over again for a second coat.
- Don’t wait, go ahead and peel the stencils off of the glass. If there are any blemishes fix them with a fine point paintbrush.
- Now for the hard part; drying time. You will need to let these sit for 4 days. After the 4 days is up, put the glass containers (remove the lids) in a cold oven. Close the door and turn the temperature to 325 F. Bake for 30 minutes. When finished, crack the door open and leave the containers in the oven until the oven has cooled completely.
- Remove the dishes from the oven and condition the chalkboard by rubbing a piece of chalk all over the surface of the label. Erase the chalk with a soft cloth. Your dishes are now ready for use!
- These dishes can be washed in the dishwasher, top rack is recommended.

Hope you enjoyed the project and it inspires you to try to recreate something with your own style!
More chalkboard projects
- Chalkboard Menu from an Upcycled Cutting Board
- Faux Chalkboard Herb Pots
- DIY Craft Table with Magnetic Chalkboard
Chalkboard Pyrex Dishes
Supplies
- Clear contact paper
- Americana Gloss Enamel Glass Chalkboard Paint
- Scissors
- Pen
- Cosmetic sponges
- Paper plate
Instructions
- Print off your preferred label and be sure the size will fit your Pyrex dish with the lid on.
- Place the print out underneath the contact paper and trace the label with a pen.
- Once you’ve traced all your labels cut the inside of the label out. Be sure that you leave about ¾-inch border around the label shape so that you have room when stenciling.
- Peel the adhesive backing off of the stencil and carefully position it on the glass dish. Work slowly and make sure that all air bubbles are out before you start applying paint.
- Squeeze some chalkboard paint onto a paper plate. Load the cosmetic sponge with paint then dab off the excess. Stencil one layer of chalkboard paint over the stencils on each dish. Start over again for a second coat.
- Don’t wait, go ahead and peel the stencils off of the glass. If there are any blemishes fix them with a fine point paintbrush.
- Now for the hard part; drying time. You will need to let these sit for 4 days. After the 4 days is up, put the glass containers (remove the lids) in a cold oven. Close the door and turn the temperature to 325 F. Bake for 30 minutes. When finished, crack the door open and leave the containers in the oven until the oven has cooled completely.
- Remove the dishes from the oven and condition the chalkboard by rubbing a piece of chalk all over the surface of the label. Erase the chalk with a soft cloth. Your dishes are now ready for use!
- Swirling Twirling Ladybugs - July 21, 2026
- Drip Tie Dye Backpack - July 17, 2026
- Mini Coastal Clay Houses - July 14, 2026


Stephanie says
This is brilliant, thank you so much! I’ve been looking for a way to easily label my dishes.
Amanda Formaro says
Glad you like it Stephanie! Thanks :)
The Wellness Wife says
Great idea! Especially if you are going to freeze the leftovers. I love these Pyrex containers because you don’t have to worry about staining or chemicals. I have two sets!
Amanda Formaro says
Me too! I love them :)