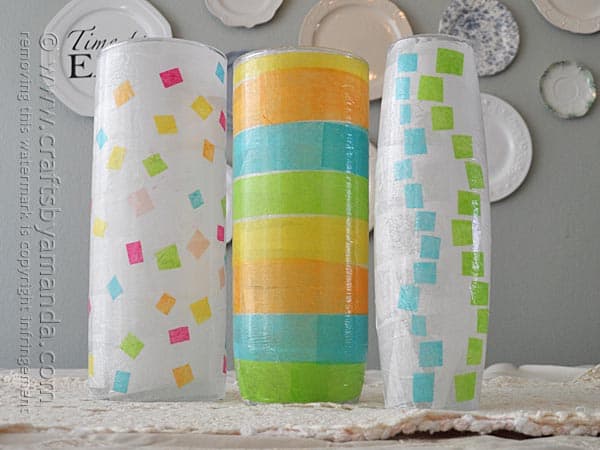
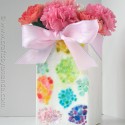
When I think of spring, I think of bright colors, flowers, rain, and chirping birds. It’s a time of renewal and freshness, which is what these cheerful vases represent as well. This decoupage craft project is great for kids and adults alike. They are wonderful for Easter flowers or as a Mother’s Day gift.
I used glass vases I bought at the craft store. However, you could use vases you’ve got sitting around, you know the ones. They came with your anniversary flowers or maybe you picked one up at a thrift store three years ago with the intention of painting it. Instead it’s sitting in your “crafts to do” cabinet. Yeah. I have one (or two, or three, but who’s counting??) of those too.
This can easily be done on recycled glass jars or mason jars as well. Add a candle or votive inside the vase and you’ll have a lovely centerpiece! While these vases are perfectly fine for holding fresh flowers with water, you don’t want to submerge the vases in water to clean them. That can loosen the finish of the decoupage medium. Instead, wipe them down with a damp cloth when they need cleaning or dusting.
Start off by giving your vase a thin coat of decoupage medium. Mod Podge works great as does Americana Decou-page
.
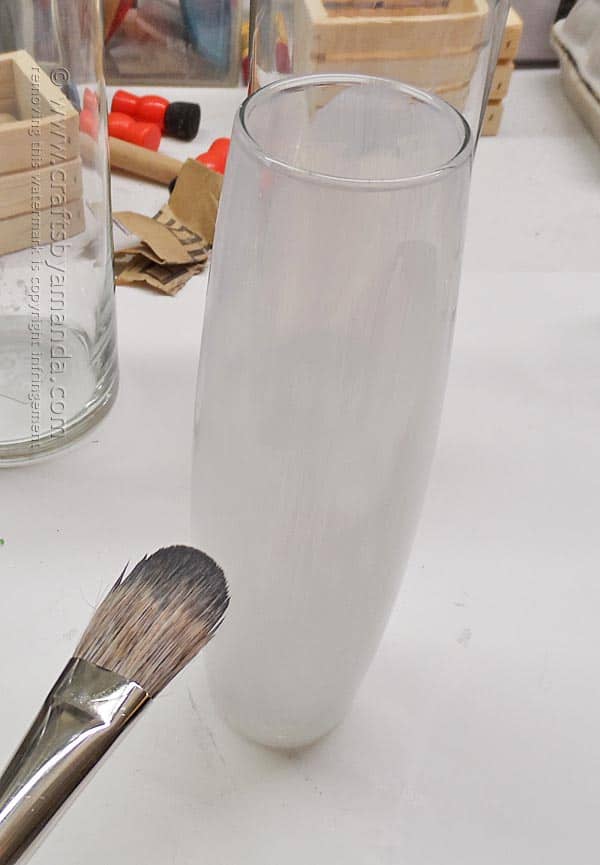
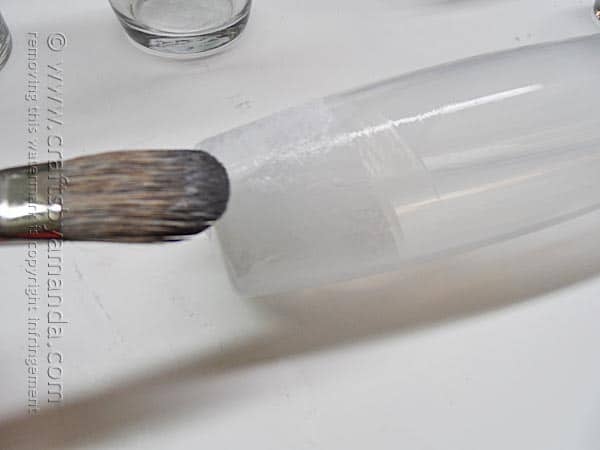
Cut or tear your white tissue paper into pieces then cover the entire vase with them using decoupage and a paintbrush.
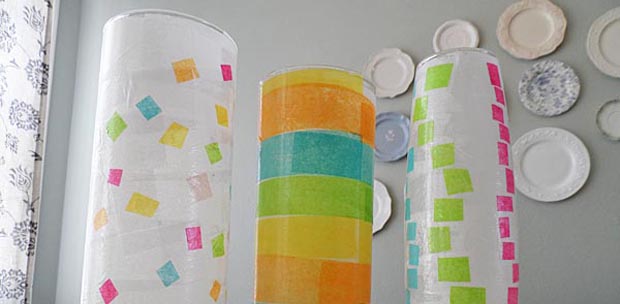
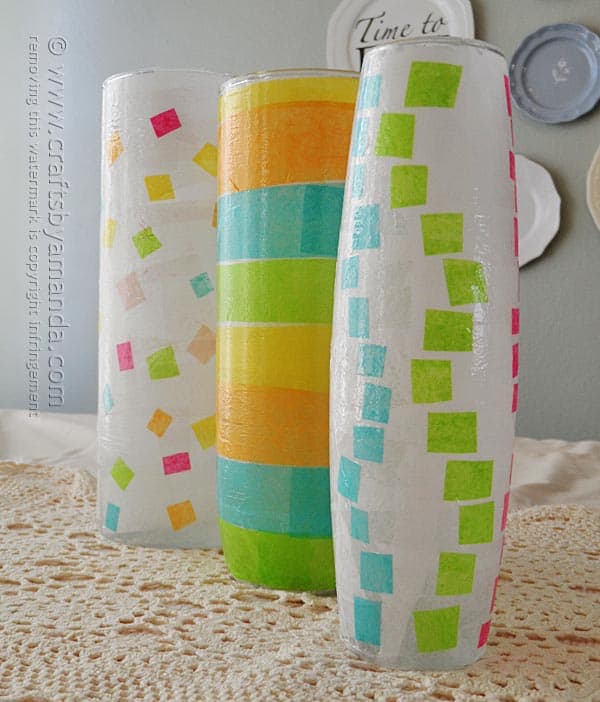
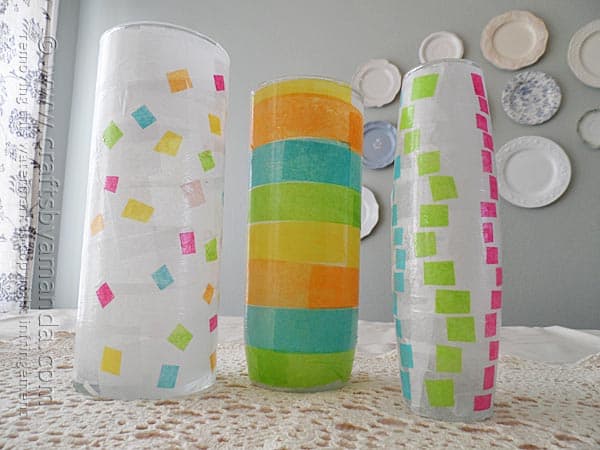
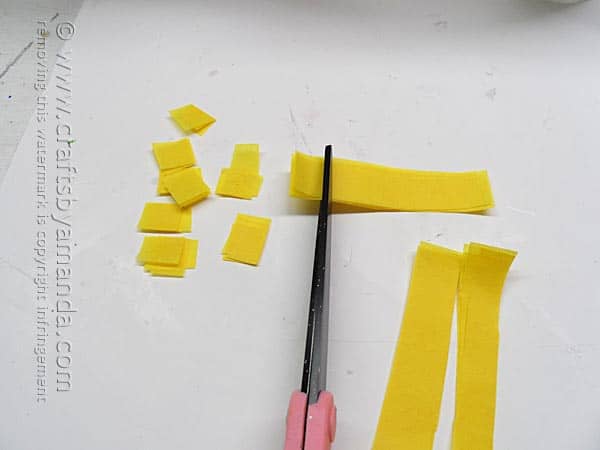
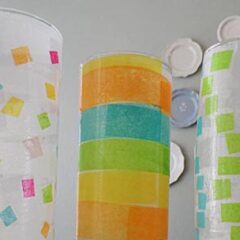
Cut the different colored tissue papers into squares and strips. Decorate the outsides of the vases with the shapes in whatever pattern pleases you.
Allow your vases to dry completely before using them. I gave mine a coat of gloss sealer as well. See below for the full printable instructions.
More decoupage crafts
If you like decoupage crafts, I’ve selected some of my favorites for your below. Or you can browse all the adult decoupage crafts here, or the decoupage crafts for kids here.
Geometrical Decoupage Spring Vases
Supplies
- Glass vases
- Tissue paper in different colors
- Decoupage medium such as Mod Podge
- Scissors
- Paintbrush
- Gloss spray sealer
Instructions
- Wash and dry the vases, then use a paintbrush to apply a coat of decoupage to the outside of all the vases. The surface does not have to be completely dry to move on to the next step.
- Cut white tissue paper into strips about 3-4” long. Apply strips to glass with decoupage medium and a paintbrush until glass is covered.
- For stripes, cut tissue paper into strips and apply to glass using decoupage medium and a paintbrush. Continue applying different colors around the vase until covered.
- For confetti design, cut tissue paper into small squares and apply to vase using decoupage medium and a paintbrush.
- Allow vases to dry for 4 hours then apply 1-2 coats of gloss sealer.
[There are affiliate links within this post. If you purchase anything from those links, I will earn a small commission.]
- Watercolor Luminaries - February 11, 2025
- Free Valentine Printables: Cards, toppers, and tags - February 4, 2025
- Valentine Hugs - January 31, 2025


onel says
Cute project! I have been doing decoupaging on boxes but never laid my hand on glasses, I should give this a try :)