
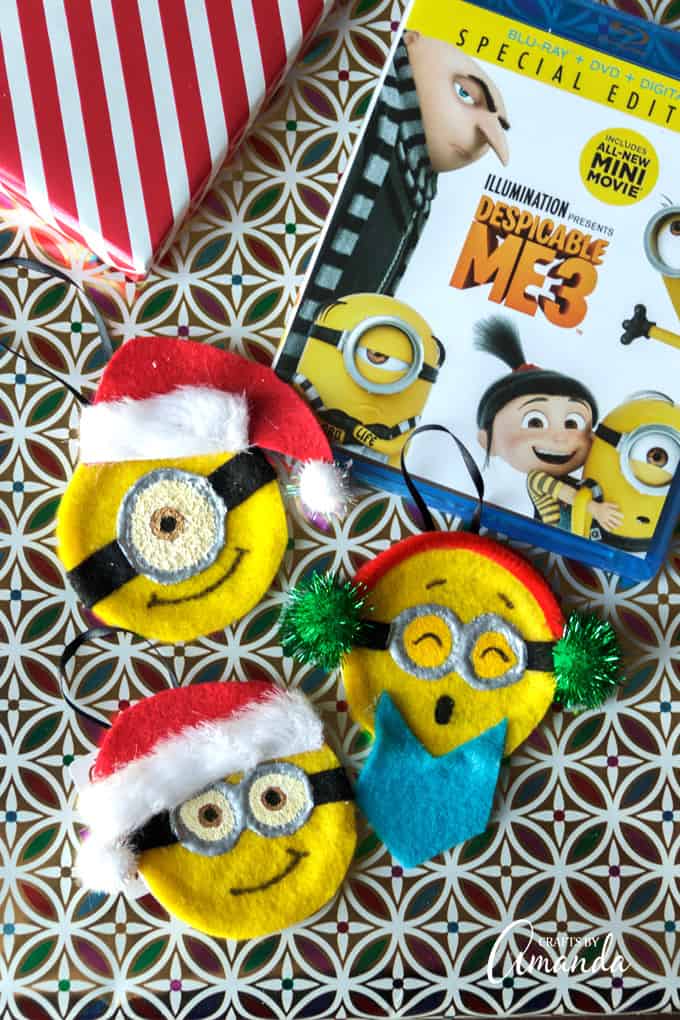
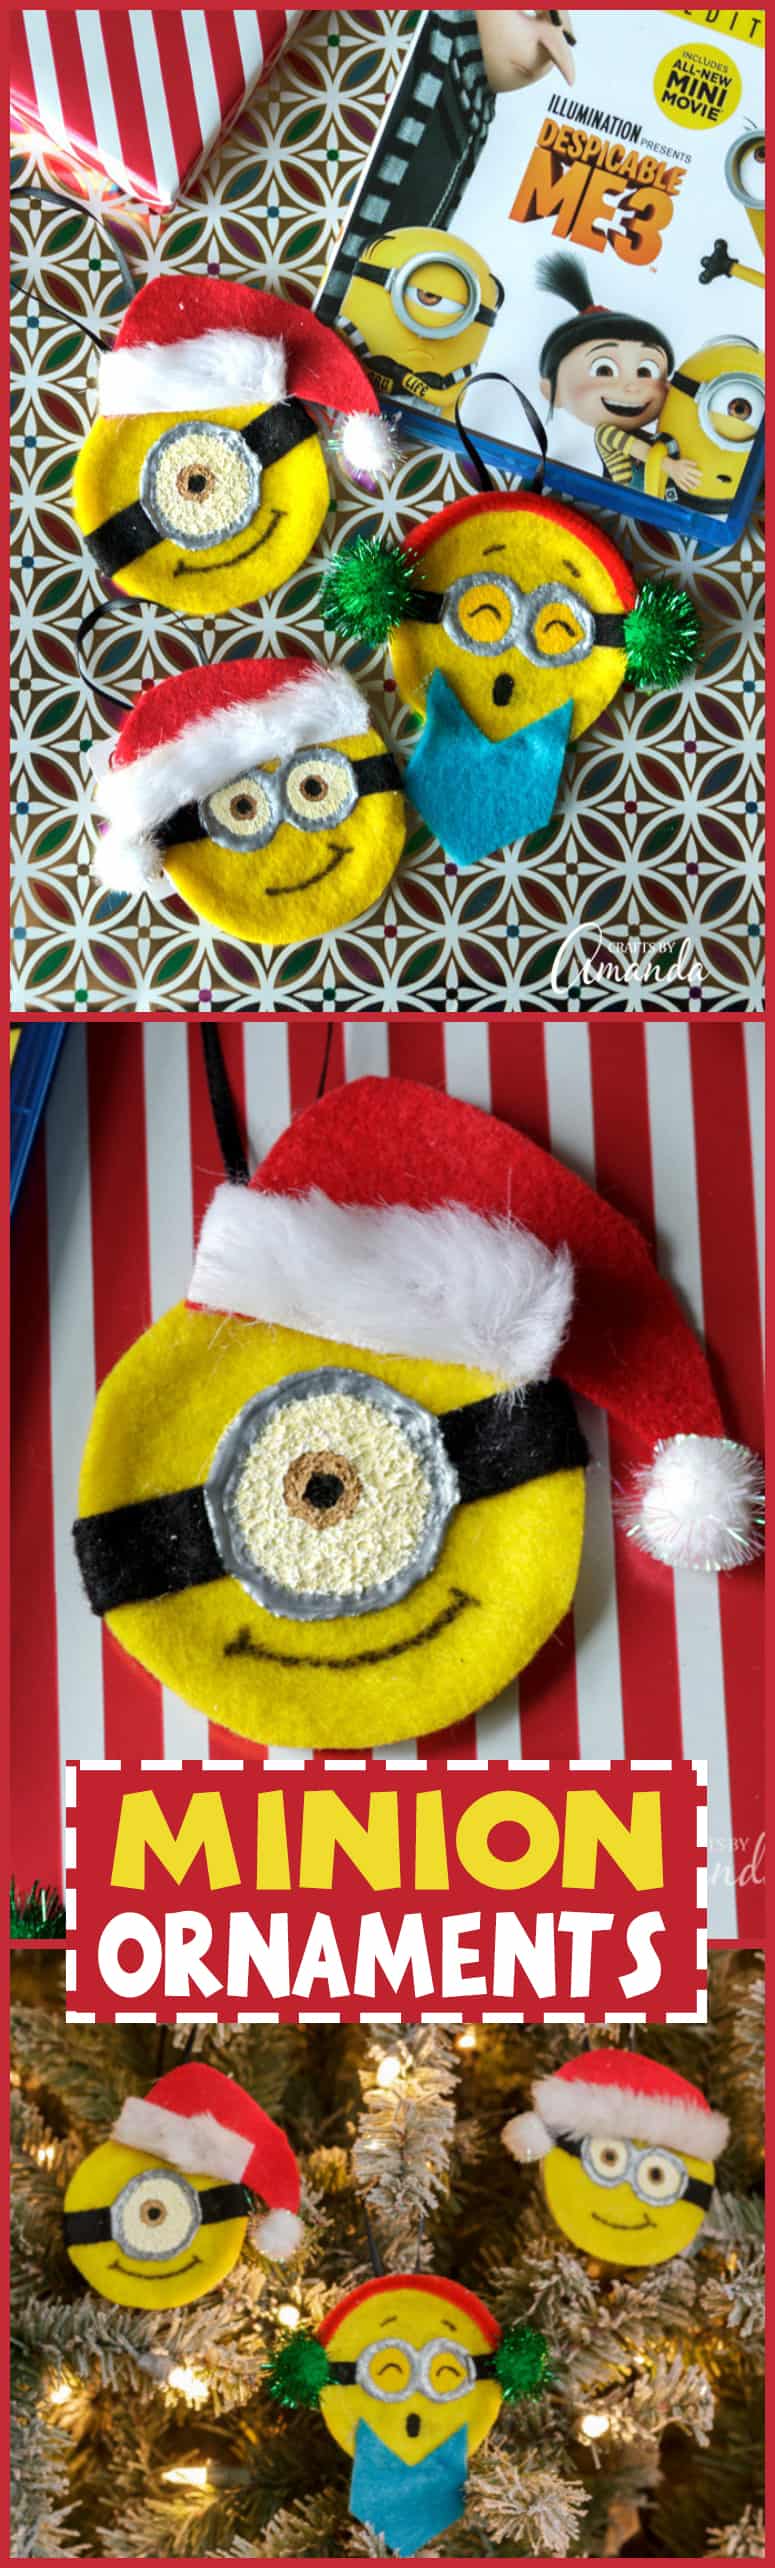
This post is in partnership with Universal Pictures Home Entertainment. In case you haven’t heard, Despicable Me 3 Special Edition is coming out on DVD and Blu-Ray December 5th! I love all those adorable minions, so this year I’ve decided to make some super cute minion ornaments to hang on my tree. I always have a lot of canning lids around because of my mason jar obsession, so turning them into minion ornaments was a no brainer!
Minion Ornaments
Who can resist minions?? I know I can’t, they are so darn cute! Thanksgiving is over and Christmas is right around the corner, so I’m celebrating by making adorable minion ornaments made from canning lids!
I don’t know about you, but I’m excited that Despicable Me 3 Special Edition is available on Blu-ray & DVD on December 5! It’s the #1 animated comedy of the year and makes a great holiday gift with an All-New Mini Movie, Minion Moments and more! The characters beloved by everyone – Gru, his wife Lucy, their three adorable daughters—Margo, Edith and Agnes—and the Minions provide hours of family fun in this heartwarming comedy. Be sure to watch the trailer below!
I know several people on my list that will be getting this under the tree this year. So are you ready to make your own minion ornaments?
Supplies you will need:
- Canning lids
- Sheet of paper
- Felt: yellow, black, red white
- Silver or gray 3D paint
- Acrylic paint: white, brown, black, yellow
- White faux fur
- Pom poms
- Pipe cleaner
- Ribbon
- Scissors
- Paintbrush
- Black fine point marker
- Round sponge applicators
- Craft glue or hot glue gun
- Patterns
NOTE: Printable version of these instructions at the end of this post.
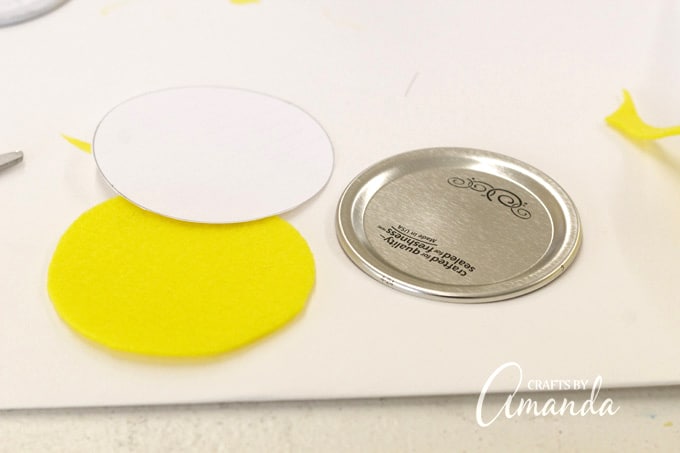
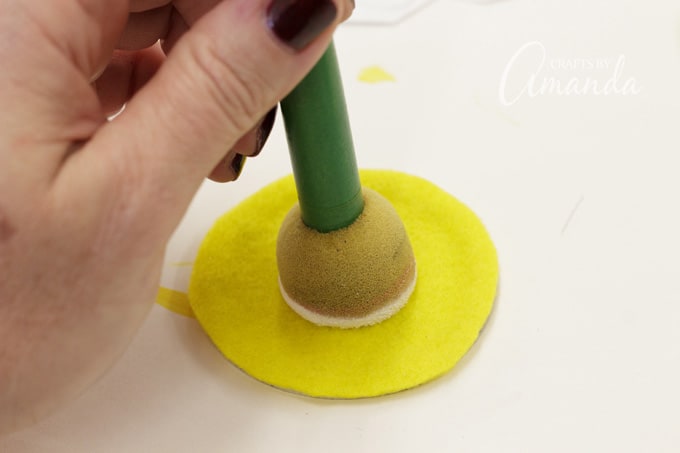
Trace canning lid onto paper and cut out. Use this as a template to cut circles from yellow felt. You will need 2 yellow circles per ornament.
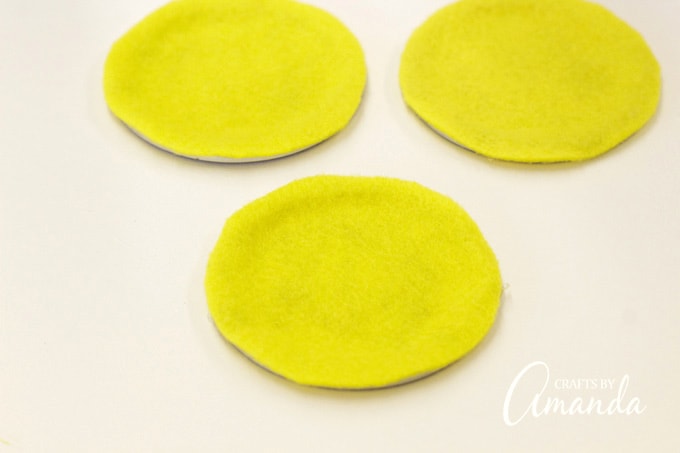
Glue a yellow felt circle to the front of the canning lid.
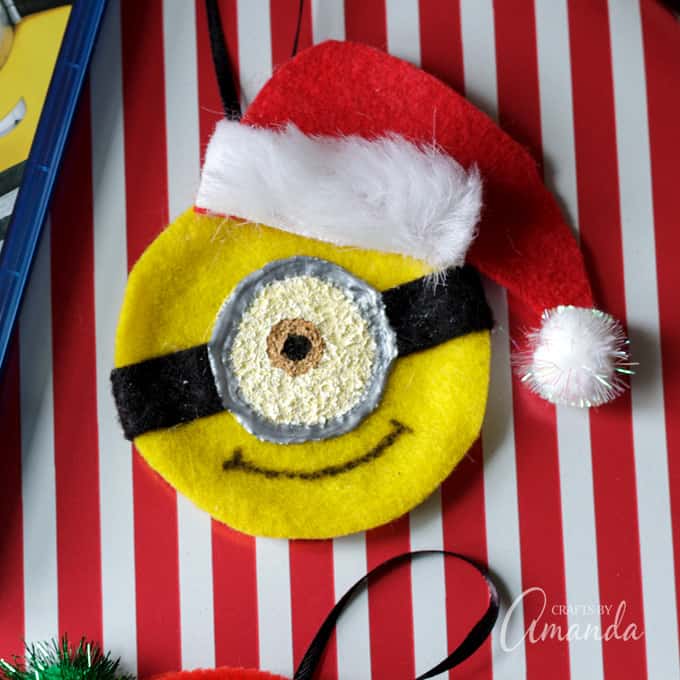
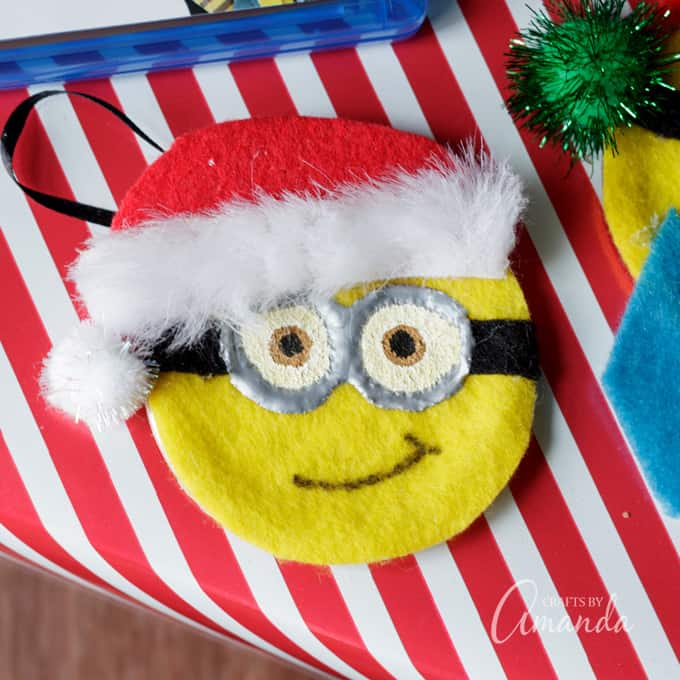
Dip a round applicator into white paint and press into the yellow felt (see photo). Use large applicator for single eye, and a medium applicator for two eyes.
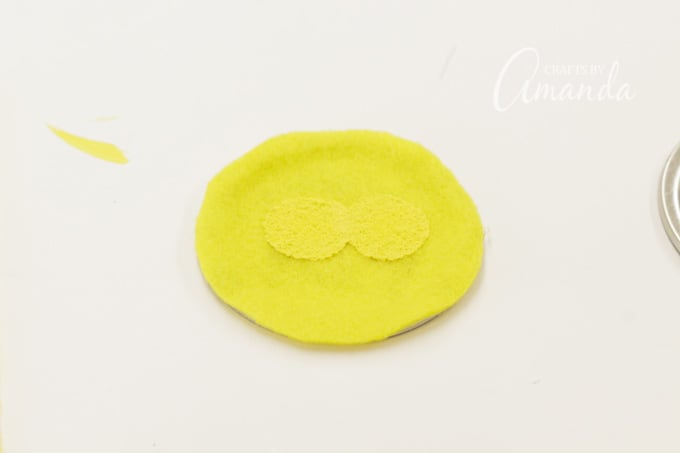
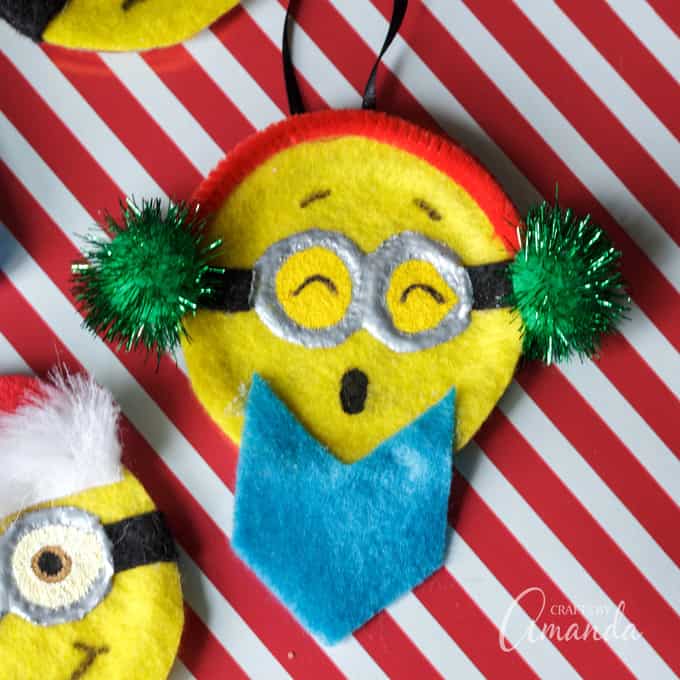
For the caroling minion, apply two eyes using yellow paint instead of white. (This makes it easier to add the goggles later)
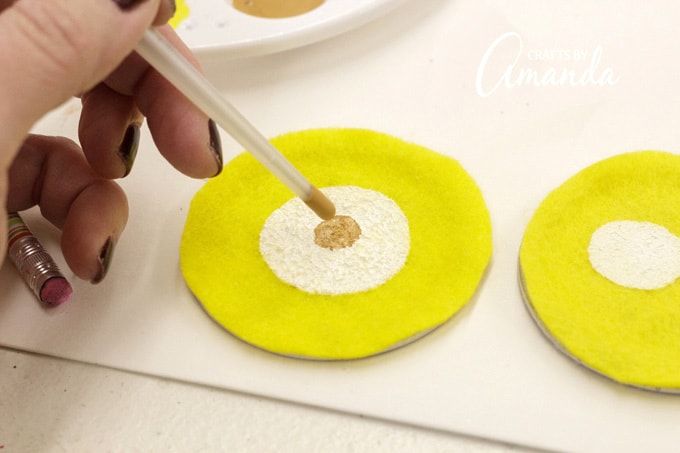
Dip the handle end of a paintbrush into brown paint and add to the white eyeball.
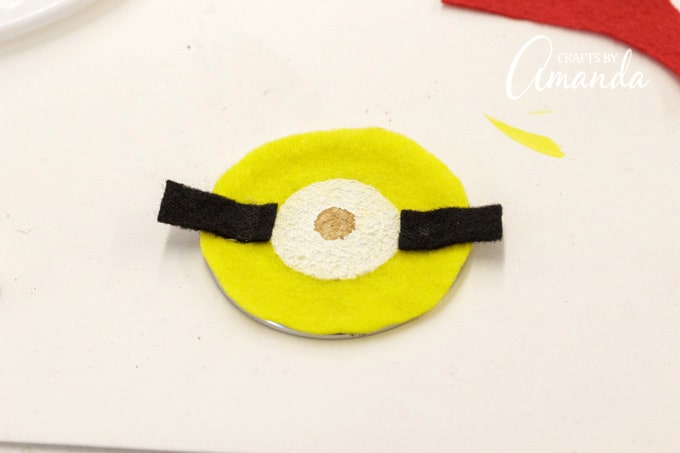
While that is drying, cut 1/2-inch strips of black felt for the goggle straps. Glue in place, wrapping around the back of the canning lid.
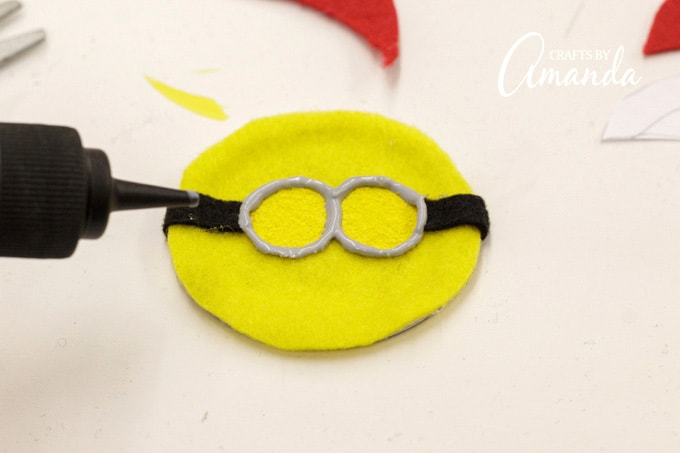
Use gray or silver 3D paint (use the kind that has a tip allowing you to write with it instead of using a paintbrush) to draw on the goggles, tracing around the outline of the eyes.
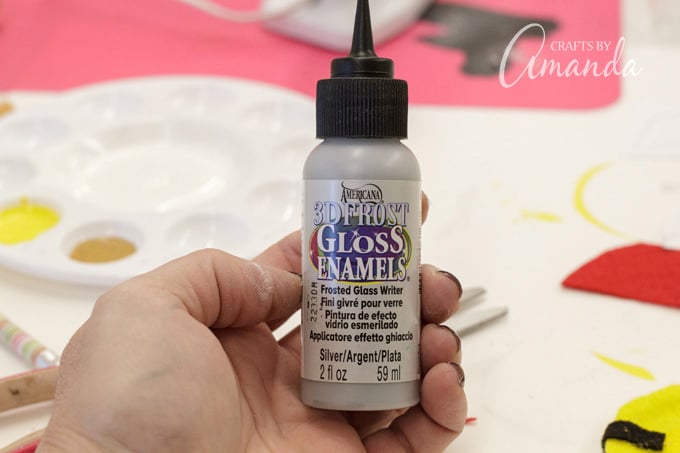
I used an Americana Writer.
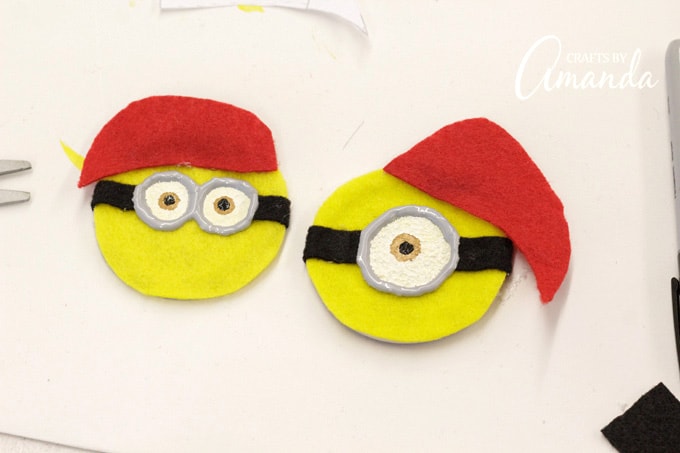
Use the handle end of a small paintbrush dipped in black paint to add the pupil of the eyes.
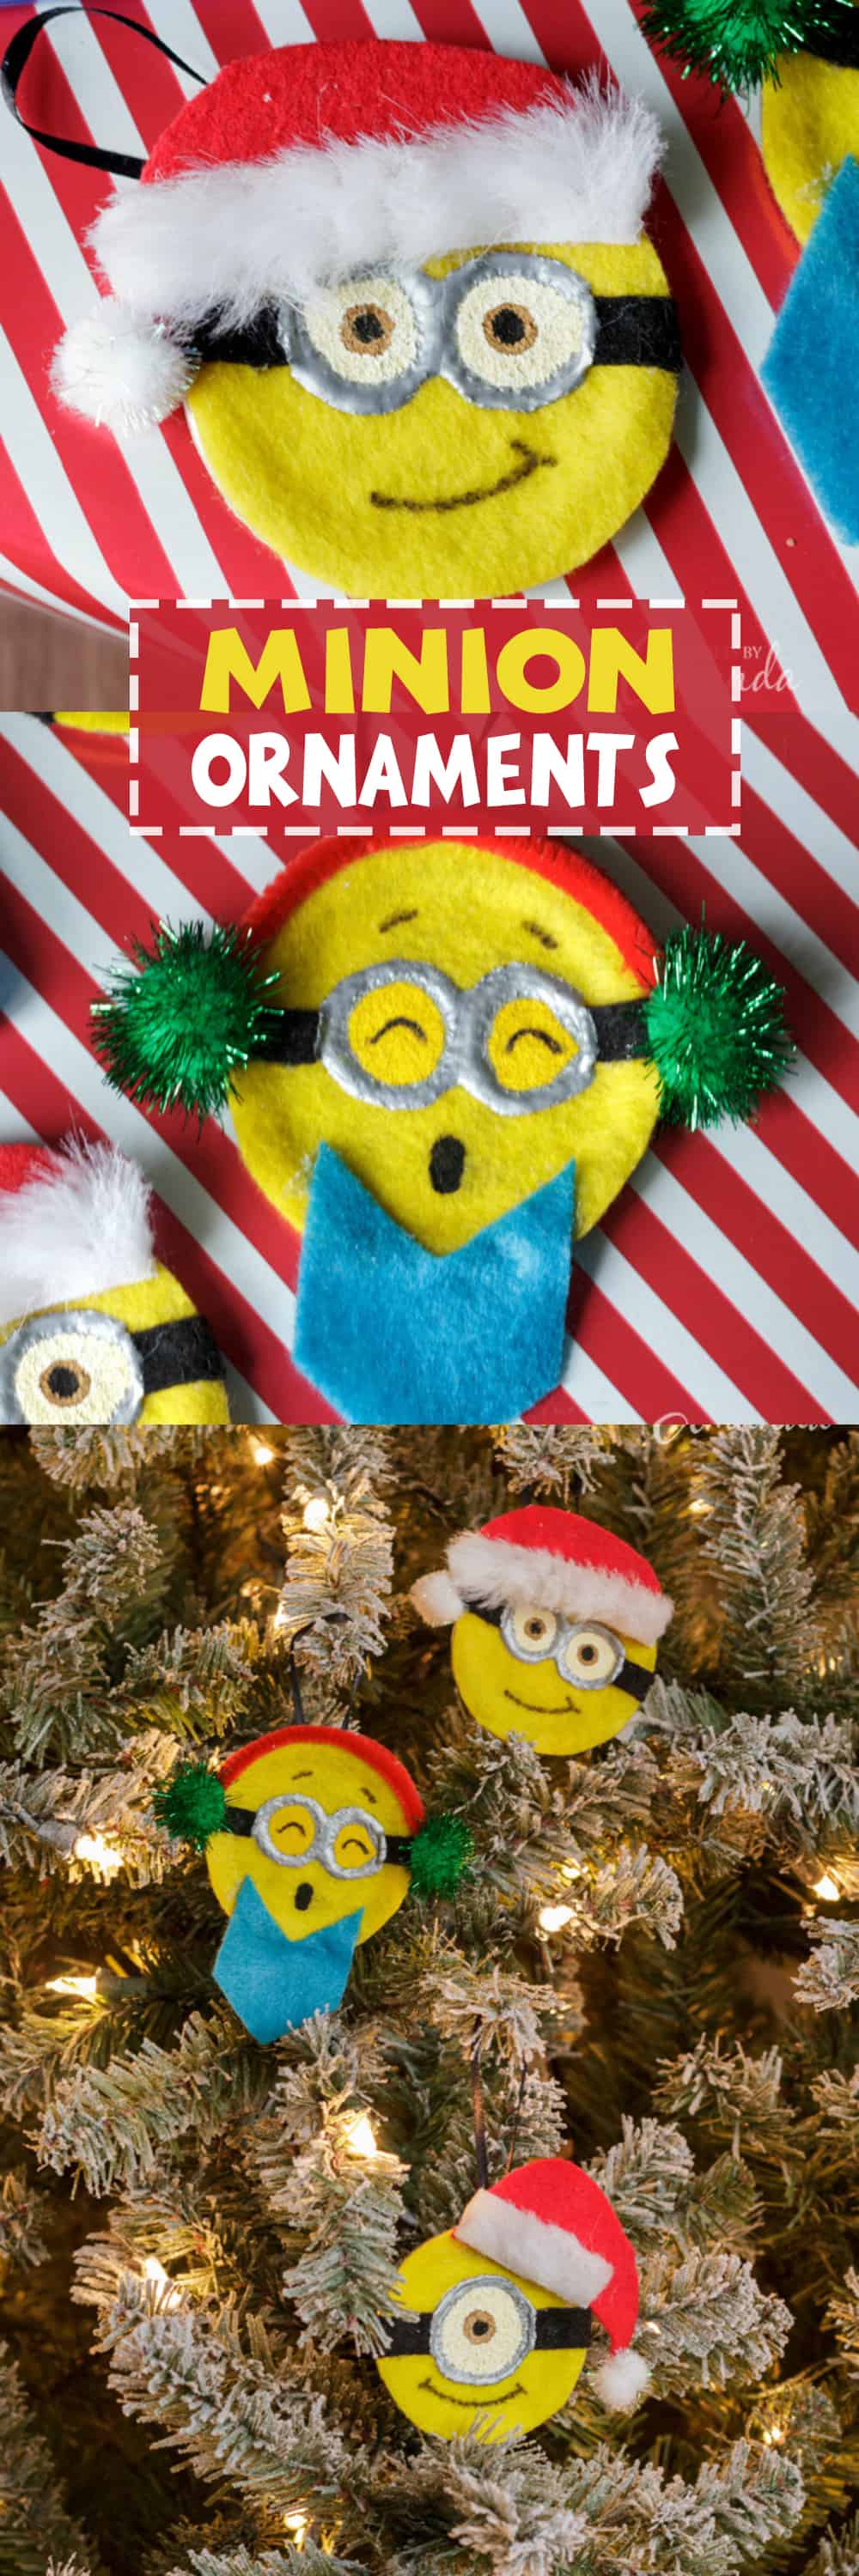
Use pattern to cut out Santa hats and glue to the minion’s head.

Add white faux fur to the hat and glue on a white pom pom.

For the caroling minion, cut pipe cleaner to fit around the top of the minion’s head then glue a pom poms to the sides. Add mouth with black paint using the handle end of a paintbrush.
Glue hymn book to the bottom of the caroling ornament.
Use black marker to add smiles and for the caroling minion curved lines to indicated closed eyes.
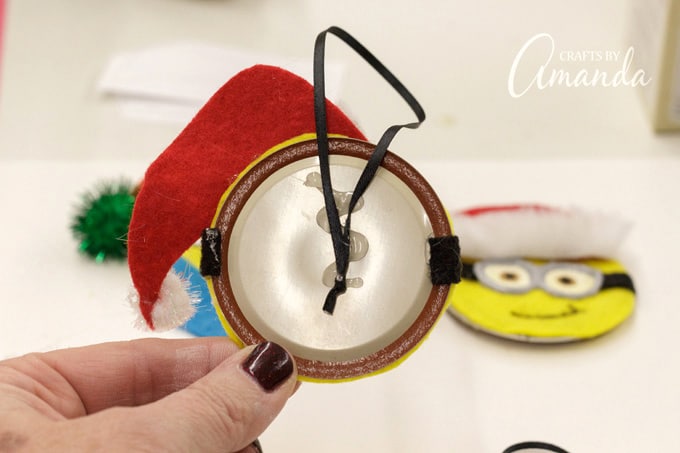
Tie ribbon into a loop hanger and glue to the back of the canning lid then cover with another yellow felt circle.
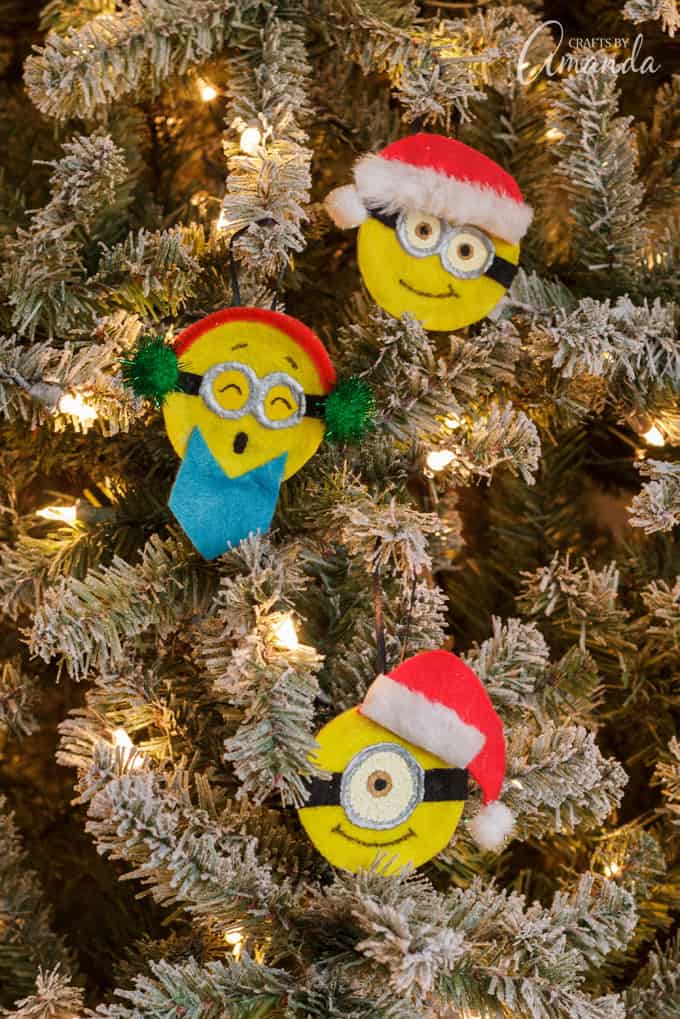
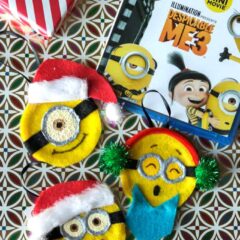
Here’s the ornaments close up!
Aren’t they cute?? So easy to make and a fun craft project to do with the kids. When you’re all done be sure and sit down as a family to watch Despicable Me 3!
FOLLOW @DESPICABLEME ON SOCIAL
Facebook | Twitter | Instagram
Minion Ornaments for Christmas
Supplies
- Canning lids
- Sheet of paper
- Felt: yellow black, red white
- Silver or gray 3D paint
- Acrylic paint: white brown, black, yellow
- White faux fur
- Pom poms
- Pipe cleaner
- Ribbon
- Scissors
- Paintbrush
- Black fine point marker
- Round sponge applicators
- Craft glue or hot glue gun
- Pattern
Instructions
- Trace canning lid onto paper and cut out. Use this as a template to cut circles from yellow felt. You will need 2 yellow circles per ornament.
- Glue a yellow felt circle to the front of the canning lid.
- Dip a round applicator into white paint and press into the yellow felt (see photo). Use large applicator for single eye, and a medium applicator for two eyes.
- For the caroling minion, apply two eyes using yellow paint instead of white. (This makes it easier to add the goggles later)
- Dip the handle end of a paintbrush into brown paint and add to the white eyeball.
- While that is drying, cut 1/2-inch strips of black felt for the goggle straps. Glue in place, wrapping around the back of the canning lid.
- Use gray or silver 3D paint (use the kind that has a tip allowing you to write with it instead of using a paintbrush) to draw on the goggles, tracing around the outline of the eyes.
- Use the handle end of a small paintbrush dipped in black paint to add the pupil of the eyes.
- use pattern to cut out Santa hats and glue to the minion's head.
- Add white faux fur to the hat and glue on a white pom pom.
- For the caroling minion, cut pipe cleaner to fit around the top of the minion's head then glue a pom poms to the sides. Add mouth with black paint using the handle end of a paintbrush.
- Glue hymn book to the bottom of the caroling ornament.
- Use black marker to add smiles and for the caroling minion curved lines to indicated closed eyes.
- Tie ribbon into a loop hanger and glue to the back of the canning lid then cover with another yellow felt circle.
- Swirling Twirling Ladybugs - July 21, 2026
- Drip Tie Dye Backpack - July 17, 2026
- Mini Coastal Clay Houses - July 14, 2026


Leave a Reply