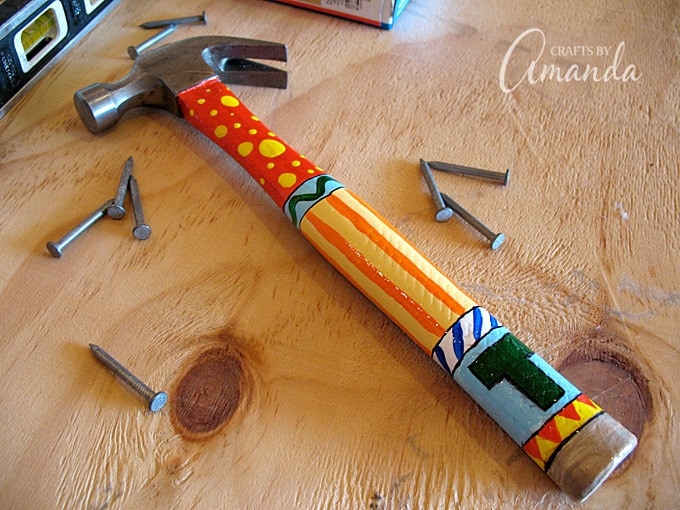
Father’s Day is just around the corner! We’re getting close, which means that it’s crunch time for deciding on a gift for Dad. One gift that will never fail is a helpful tool for him to use around the house. There’s no doubt that Dad would love this painted hammer with his initial monogrammed on it! If your child makes this Father’s Day craft, he’s sure to cherish it.
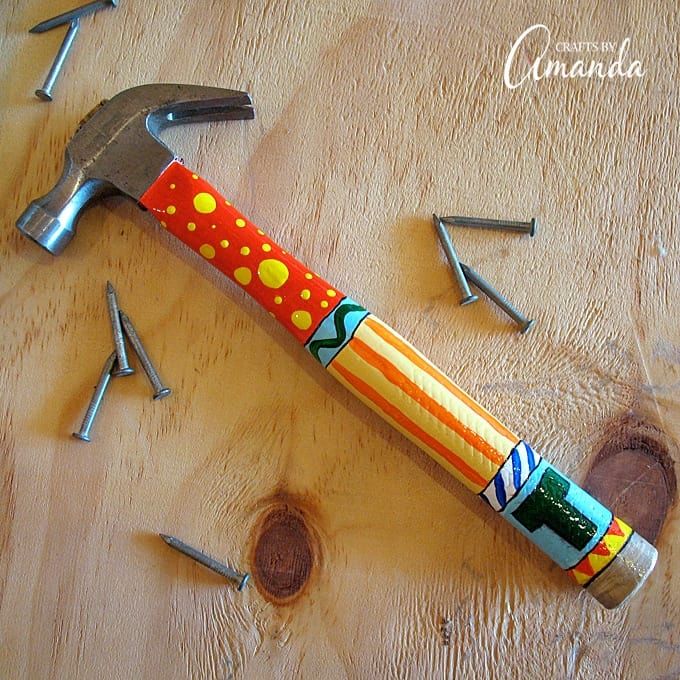
Painted Hammer for Father’s Day
Dads are known for fixing things around the house. While he probably has all sorts of tools lying around, this hand painted hammer will likely become his new favorite. He’ll love that your child made it for him!
The first step is to decide how you want to decorate the hammer. Once you have an idea in mind, lay out your supplies and get started.
There are affiliate links in this post. That means if you buy something from that link, I will earn a small commission, but it won’t cost you anything additional.
Supplies you will need:
- 1 wood handled hammer
- sandpaper
- acrylic paints, any colors plus white
- paintbrushes
- black fine point marker
- clear acrylic glaze or sealer
THINGS YOU MAY FIND HELPFUL:
- Smocks to keep the kids from messing up their clothes
- Mugs or heavy bowls for water so they aren’t easily spilled
- Paper towels
- Newspaper or a plastic or vinyl tablecloth to cover the work surface
How to make it:
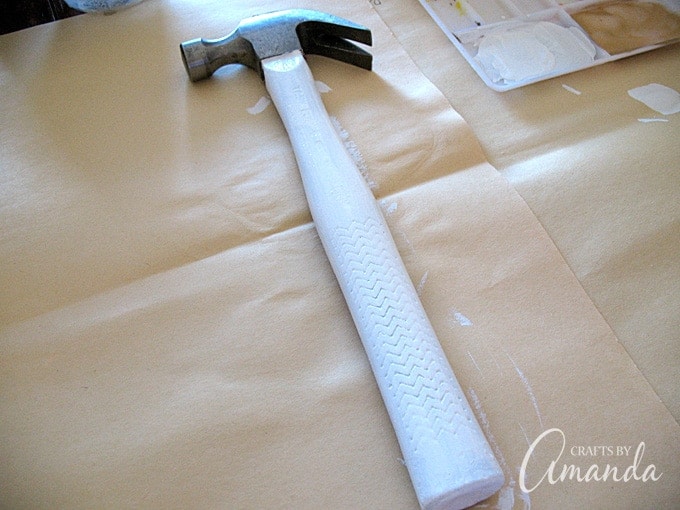
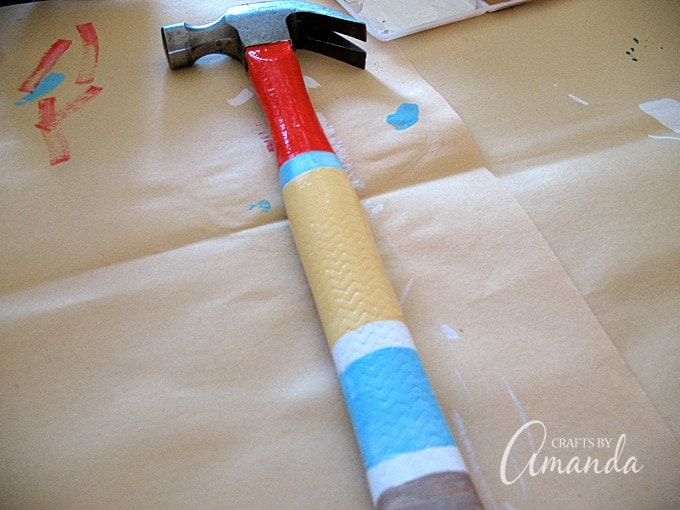
Sand the wood handle of the hammer to rough up any coating that may have been added. Paint one side of the wooden handle white. Once it’s dry, paint the other side white.
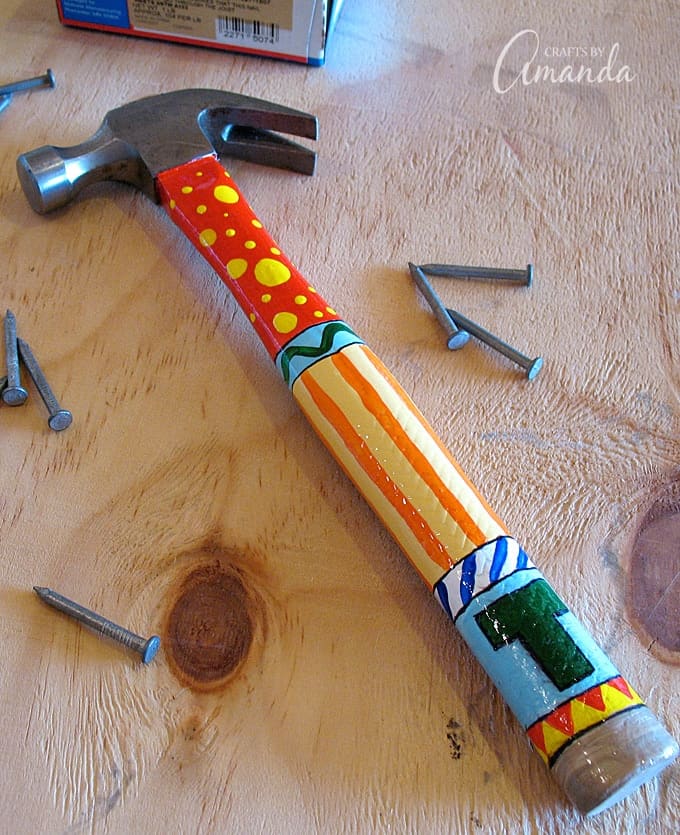
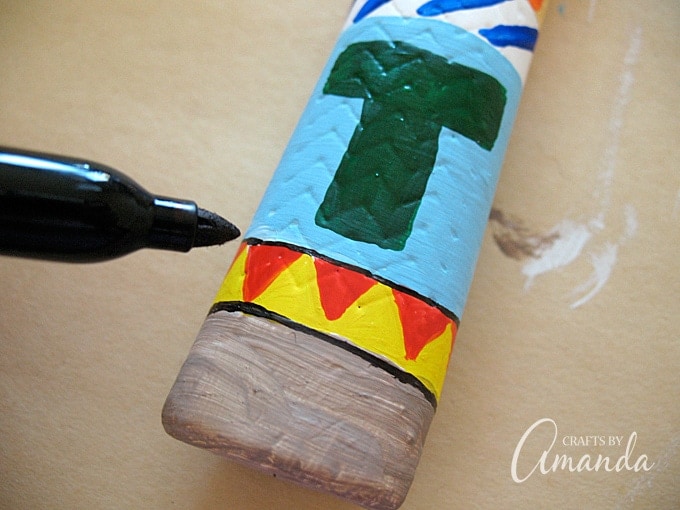
To monogram the hammer, paint the first letter of dad’s name toward the bottom of the handle (T for Tom, B for Bob, etc).
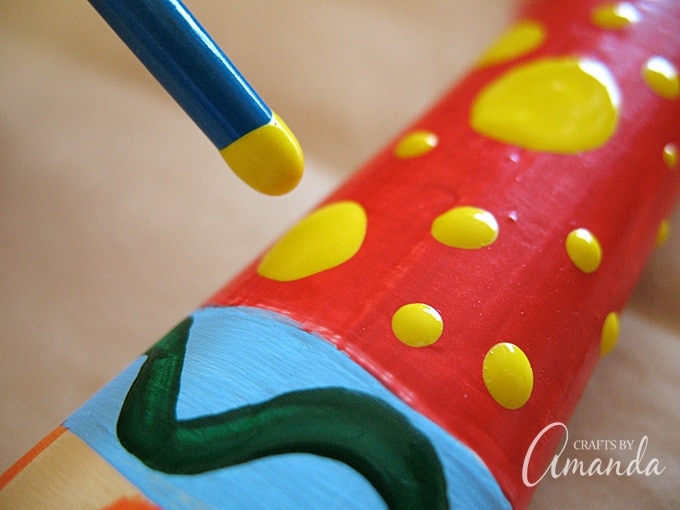
Decorate the rest of the hammer in whatever fashion you like! You will need to paint one side, let it dry, then paint the other side. Let dry completely.
Use a black fine point marker to add any details, such as outlines. It’s important to let the marker dry for a good 30 minutes, otherwise your sealer may cause the marker ink to bleed.
Spray with a clear sealer or glaze. Let dry and repeat for a second coat. Allow to dry overnight.
Some craft tips:
- This project will require some patience. There’s quite a bit of dry time involved, depending on what level of detail your child wants his/her decorations to have. For small children, a coat of white and a few different colors of finger painting or brush painting is usually fine. For older kids, they may want to be more intricate, adding stripes, lines, and polka dots. Just be sure to allow dry time for each layer.
- You can speed up the process of this project by sanding the hammer and painting it white ahead of time and just allowing kids to decorate.
- Crayons or markers are also an alternative to paint! Have kids color directly on the white painted surface, then spray with sealer afterward.
Remember to let your painted hammer fully dry before giving it to Dad, and remember to thank your father for all that he does for you! Happy Father’s Day to all the dads out there!
Scroll down for the printable version of this craft
More Father’s Day craft ideas:
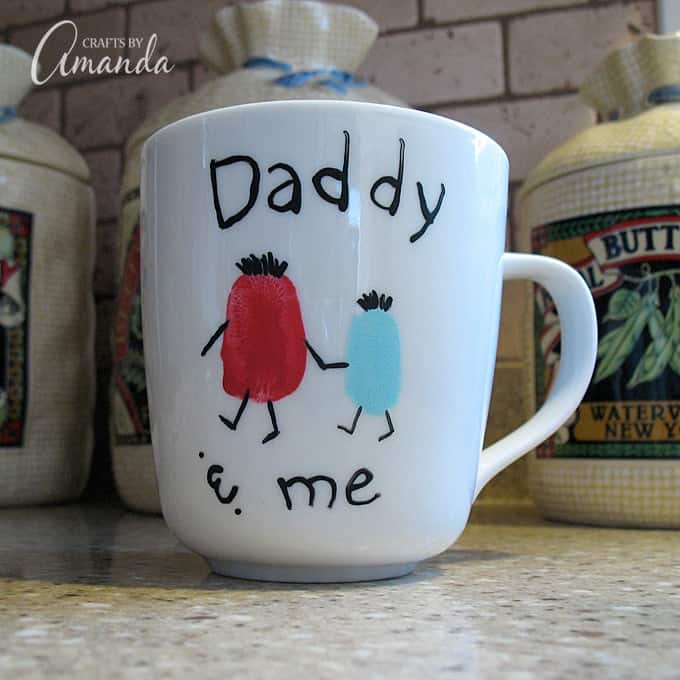
This Fingerprint Daddy and Me Mug is the perfect keepsake for Dad to start his morning with.
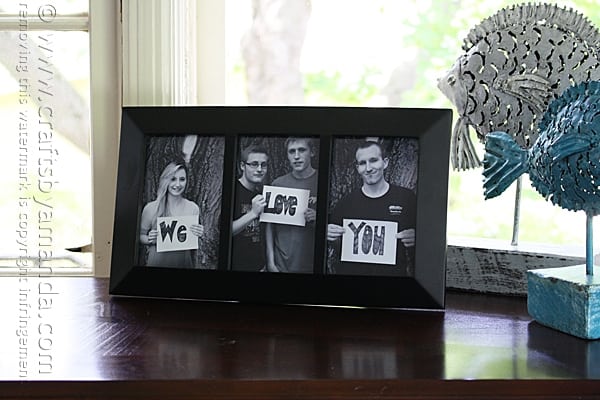
Dad will have to try his best not to get teary-eyed when he sees this meaningful We Love You Photo Frame on Father’s Day.
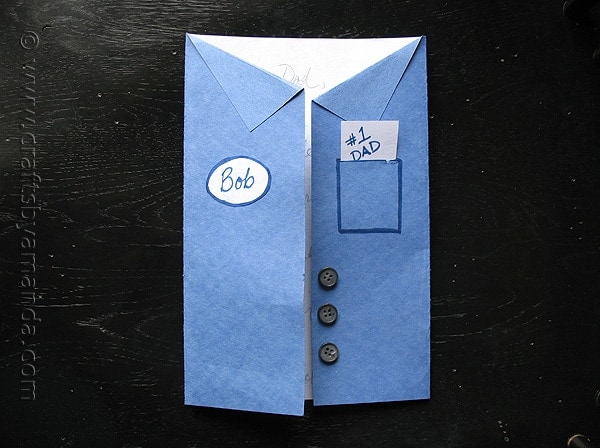
If your dad works in the service industry instead of the office, this Blue Collar Uniform Shirt Card is the perfect Father’s Day card for him!
Want even more free craft ideas? Be sure to subscribe to my newsletter for FREE and craft ideas sent to your inbox every week.
Painted Hammer with Monogram for Dad
Supplies
- 1 wood handled hammer
- sand paper
- acrylic paints any colors plus white
- paintbrushes
- black fine point marker
- clear acrylic glaze or sealer
Instructions
- Sand the wood handle of the hammer to rough up any coating that may have been added. Paint one side of the wooden handle white. Once it’s dry, paint the other side white.
- To monogram the hammer, paint the first letter of dad’s name toward the bottom of the handle (T for Tom, B for Bob, etc).
- Decorate the rest of the hammer in whatever fashion you like! You will need to paint one side, let it dry, then paint the other side. Let dry completely.
- Use a black fine point marker to add any details, such as outlines. It’s important to let the marker dry for a good 30 minutes, otherwise your sealer may cause the marker ink to bleed.
- Spray with a clear sealer or glaze. Let dry and repeat for a second coat. Allow to dry overnight.
This project was created by Amanda Formaro, originally for Kaboose/Spoonful.
- Watercolor Luminaries - February 11, 2025
- Free Valentine Printables: Cards, toppers, and tags - February 4, 2025
- Valentine Hugs - January 31, 2025



Renee Campbell says
Hey there. I want a broom done the same way not he handle as you did the hammer. I thought these existed but I don’t see them anywhere.
cookie17 says
I like hammer idea & I do a broom handle & paint in a circle & neon glow paint paint kind like hammer I love sweep my hubby tells my daughter she like me all ways sweeping Thank’s love you idea’s..
Amanda Formaro says
Thank you Cookie, you are always so supportive!