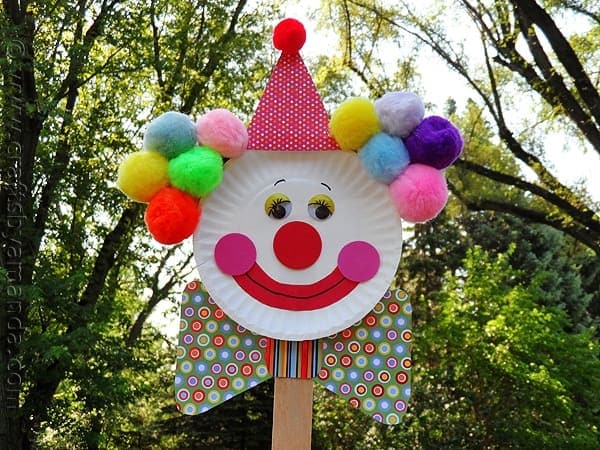
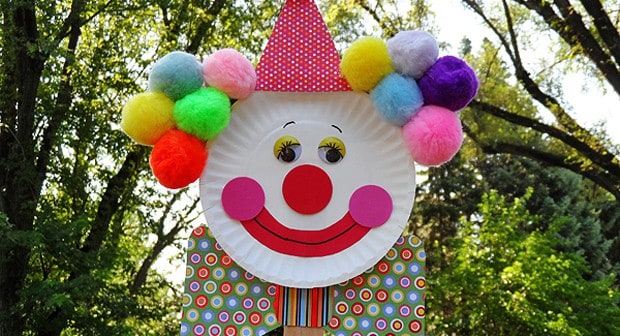
Have you and the kids been to the circus lately? If you have, then chances are you laughed at the entertaining car full of clowns that put on a great show. The fun doesn’t have to stop just because you left the circus. How about making some fun clown puppets from paper plates to carry on the show? They say “the show must go on”!
Clowns have been making audiences laugh for literally hundreds of years. These days they are most commonly seen at the circus, but there are many a birthday party that has been graced by a funny clown’s presence.
National Clown Week is the first week of August. So sit the kids down with their supplies and let them create their own funny clowns! Or, use the pattern I have provided in the printable version below. When all done, have a puppet show for all the parents. A great neighborhood or playgroup project.
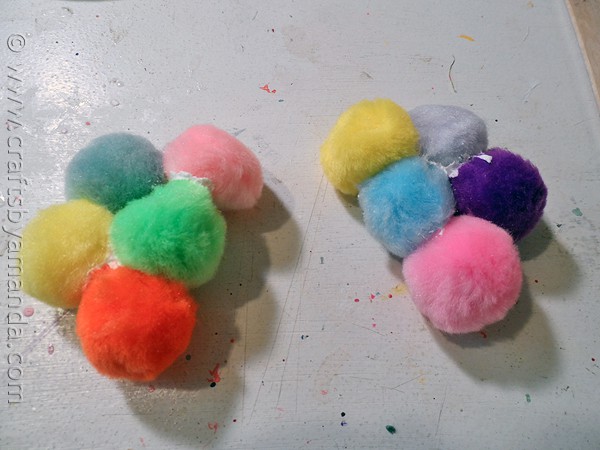
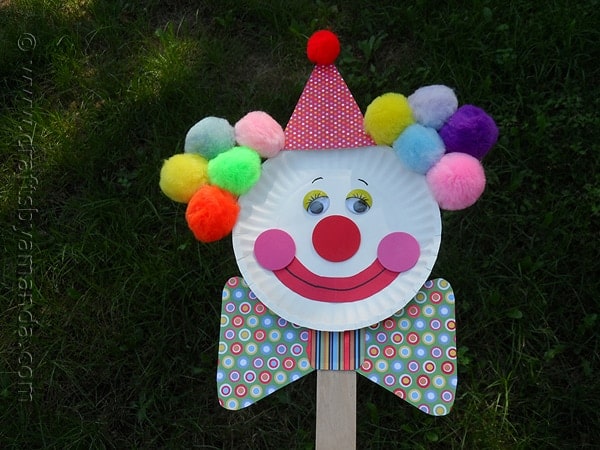
Glue five pom-poms together, two on top and three on the bottom. Repeat with the remaining five. Set these aside to dry.
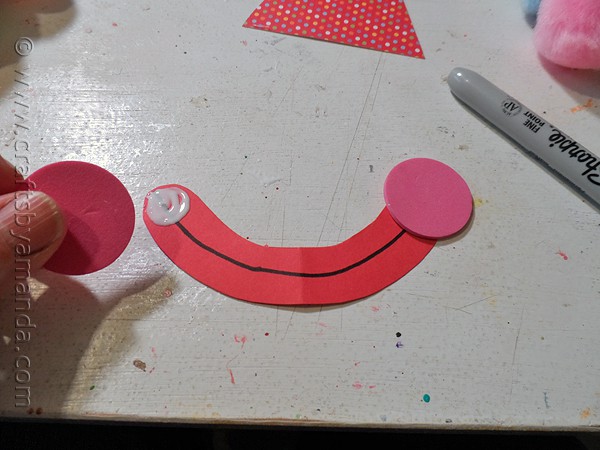
Using the pattern cut out the mouth from red paper. Use black marker to draw smile line. Glue the pink foam circles on as cheeks.
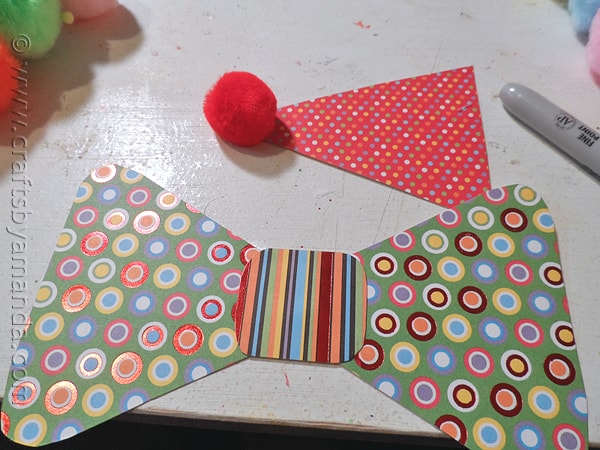
Cut the bow tie from scrapbook paper as well as the hat. Glue the red pom-pom to the top of the hat.
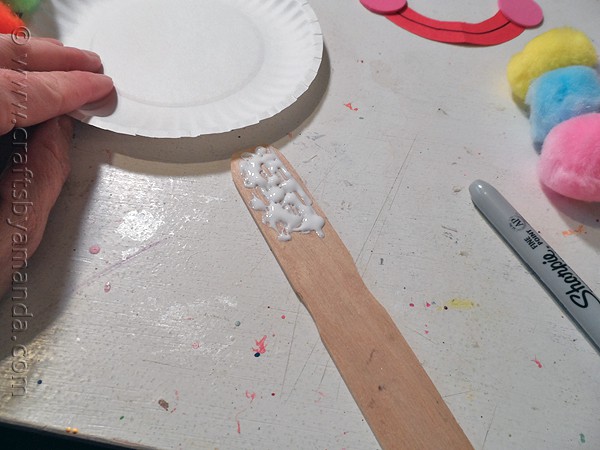
Glue the paper plate to the paint stick.
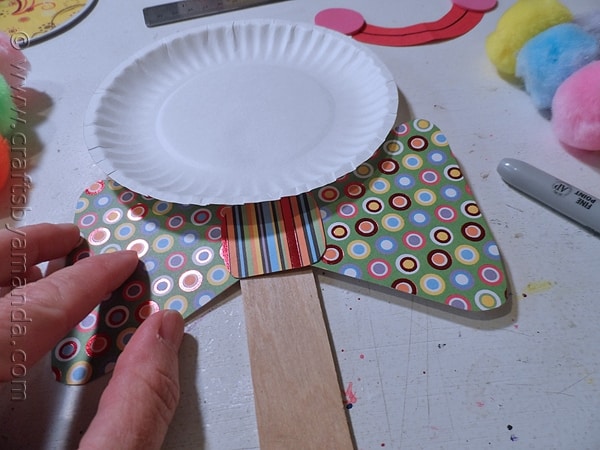
Glue the blow tie just under the bottom of the plate.
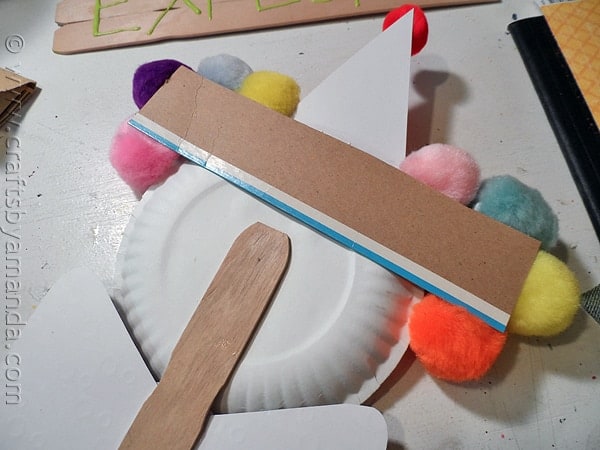
Glue all the pieces in place; mouth, nose, eyes. Attach the hat to the top of the plate first then attach the “hair”. Glue a strip of cardboard to the back to keep the hair from flopping around.
Paper Plate Clown Puppet
Supplies
- Miniature paper plate
- Paint stir stick
- 10 large pom-poms in various colors
- 1 medium red pom-pom
- 1 large red foam circle
- 2 medium pink foam circles
- Red card stock or construction paper
- Colorful scrapbook paper or card stock polka dots work great!
- 2 large googly eyes
- Black marker
- Scissors
- White craft glue
- 7 ”x2” piece of recycled cardboard
- Pattern See link in post
Instructions
- Glue five pom-poms together, two on top and three on the bottom. Repeat with the remaining five. Set these aside to dry.
- Using the pattern cut out the mouth from red paper. Use black marker to draw smile line. Glue the pink foam circles on as cheeks.
- Cut the bow tie from scrapbook paper as well as the hat. Glue the red pom-pom to the top of the hat.
- Glue the paper plate to the paint stick. Glue the blow tie just under the bottom of the plate.
- Glue all the pieces in place; mouth, nose, eyes. Attach the hat to the top of the plate first then attach the “hair”. Glue a strip of cardboard to the back to keep the hair from flopping around.
- Watercolor Luminaries - February 11, 2025
- Free Valentine Printables: Cards, toppers, and tags - February 4, 2025
- Valentine Hugs - January 31, 2025


Tammy says
Is there still a printable pattern? I can print out the directions to the project, but I don’t see the pattern with it.
Amanda Formaro says
My apologies, I have corrected the post. Here is the pattern https://craftsbyamanda.com/wp-content/uploads/2013/07/Clown-Puppet-on-a-Stick-pattern.pdf
Nina Lewis says
This is absolutely adorable!!!!!!!!!!
Amanda Formaro says
Thanks Nina!
Shaina says
These would be a wonderful craft for the kids. Super cute.
Amanda Formaro says
Thanks Shaina!
nest of posies says
positively adorable!
Amanda Formaro says
Thank you!