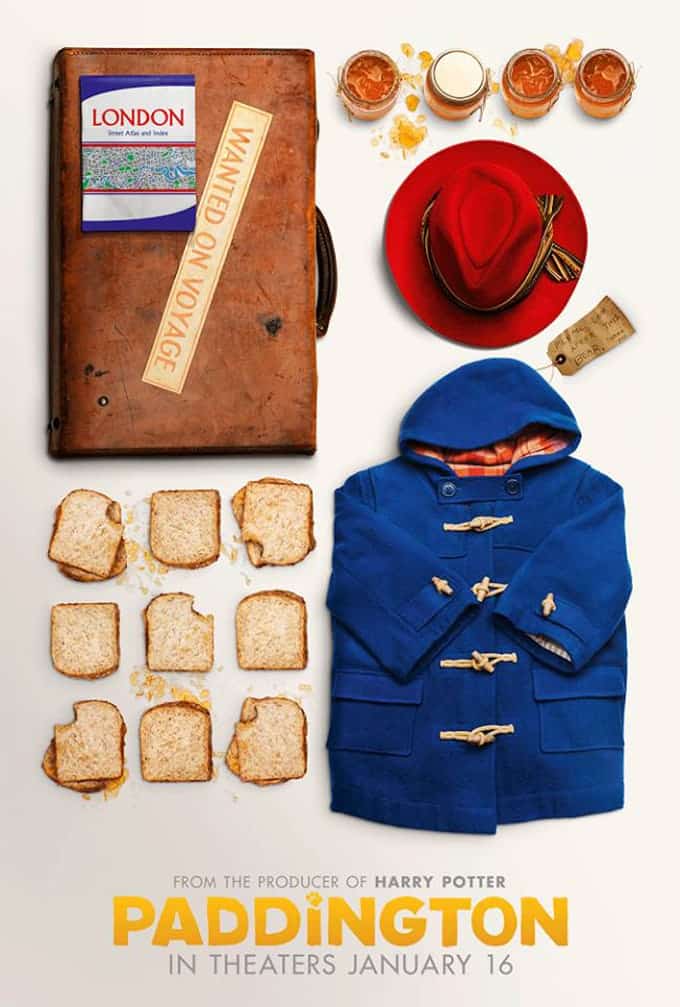
Have you heard? Paddington Bear is coming to the big screen! That’s right, you can see one of your favorite book characters come to life in theaters on January 16th. Paddington comes from the beloved novels by Michael Bond that you probably remember from your childhood. With the magic of Hollywood and the brilliance of producer David Heyman (HARRY POTTER); and a cast that includes Nicole Kidman and Hugh Bonneville (Downton Abbey) it’s sure to be hit!
Paper Plate Paddington Bear
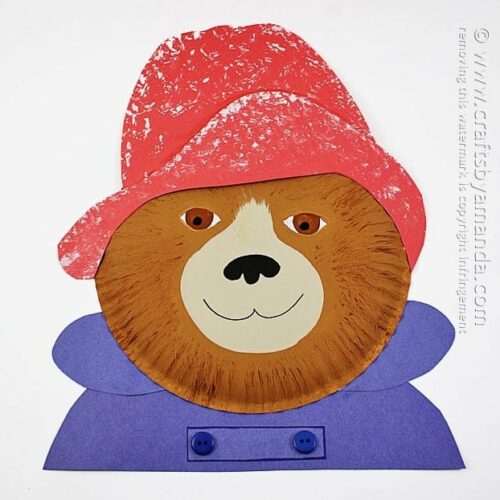
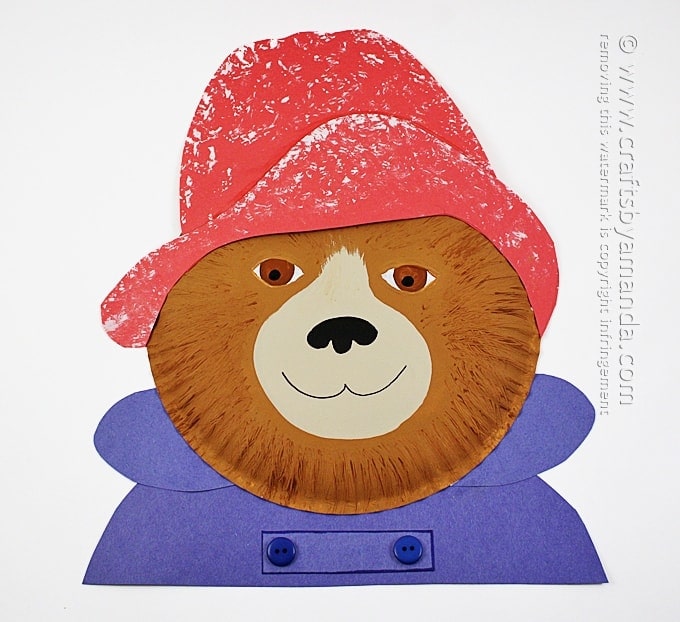
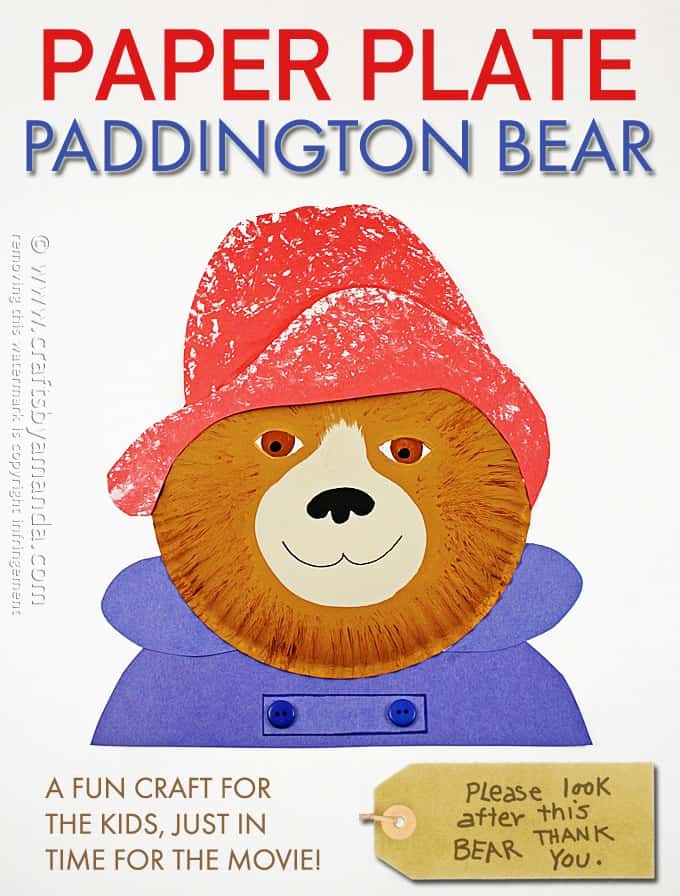
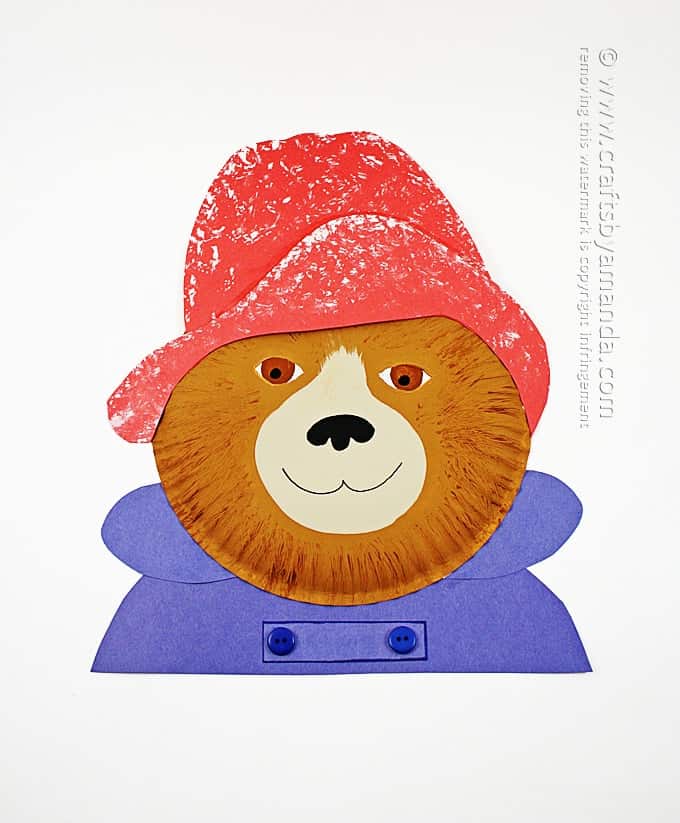
To help celebrate the opening of the movie Paddington, I’ve put together this adorable Paddington Bear made from construction paper and a paper plate! I have a printable pattern for you too and some step by step photos to help you make it. You may notice that he looks more like a real bear than the Paddington you know from bedtime stories. That’s because in the movie Paddington is a “real” bear, so I wanted him to look like the movie character.
Before making this, I watched the movie trailer and now I really can’t wait for January to come! You can watch it here:
I remember reading A Bear Called Paddingtonto my kids when they were little and they loved him! Here are some fun things to remember about Paddington:
- He loves marmalade
- He’s a talking bear!
- His name comes from Paddington Station, a train station where the Brown family discovered him
- He first appeared in 1958
- Been featured in more than 20 books
- He comes from Peru
- He has a knack for getting into trouble, though he always tries to do things right
As always, a full printable supply list and instructions are at the end of this post.
For this project you will need the following supplies:
- 1 paper plate
- Paint: honey brown, tan, brown, black, white
- Black marker
- Plastic fork
- Red and blue construction paper
- 2 blue buttons
- Tools: paintbrush, old toothbrush, scissors, glue
- Patterns – print them here
- Turn the paper plate upside down.
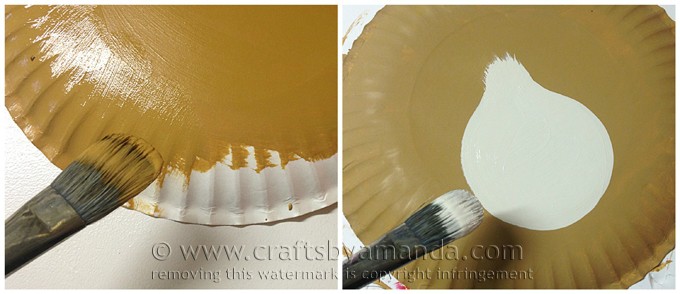
- Paint the back of the paper plate with honey brown paint.
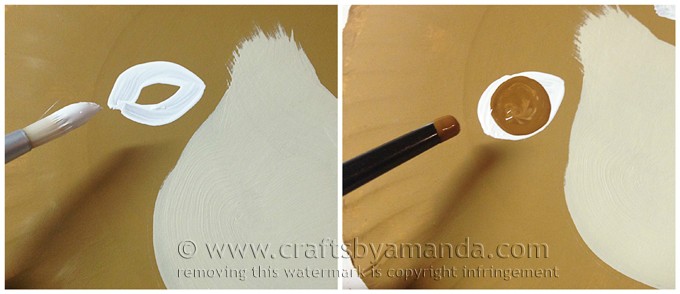
- When dry, paint a circle with tan paint.
- use tan paint to drag the top of the circle higher, like a pear shape.
- Paint an almond shape for the eyes with white paint (younger kids can use googly eyes if they prefer).
- When dry, use the handle end of a paintbrush dipped in brown paint to add the circles for the eyes.
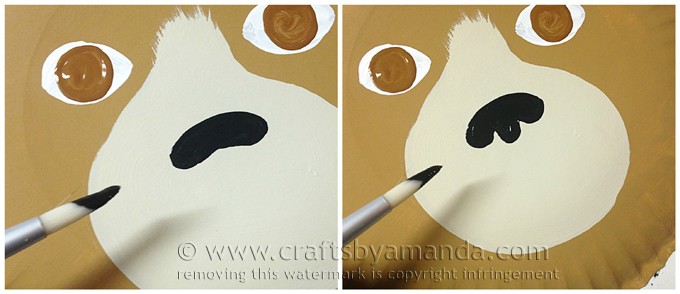
- Paint the nose using black paint in the shape of a bean.
- Add nostrils and center of the nose.
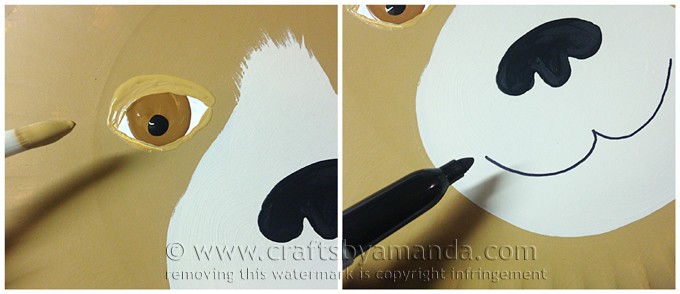
- When eyes are dry dry, use the handle end of a paintbrush to dot black onto the brown.
- Paint eye lids using honey brown.
- Add a smile with black marker.
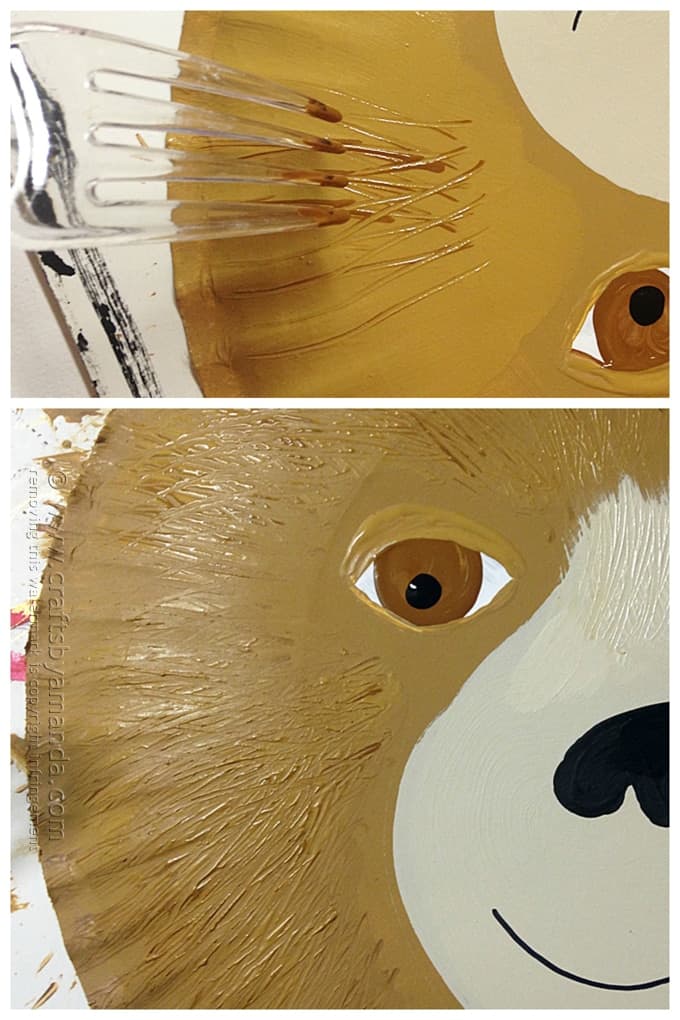
- To add the details to look like fur, first paint some more honey brown onto the face so that the paint is white.
- Dip the tines of the plastic fork into brown paint and drag them through the honey brown.
- Continue this process all around the face.
- Use the patterns to cut the hat pieces from red paper, and the coat pieces from blue paper.
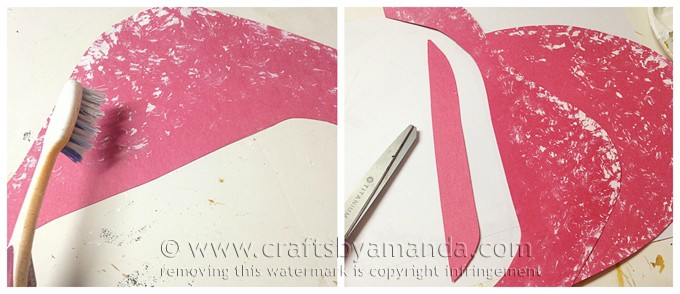
- Use a toothbrush dipped in white paint to add snow to the red hat.
- Glue the hat pieces together and trim any excess.
- Note: you may need to trim the hat more to make it fit the paper plate properly.
- Glue the hat to the top of the bear’s head.
- Assemble the coat and glue the buttons in place.
January 16th!
Remember, mark the date on your calendar. Paddington comes to theaters on january 16, 2015!
Follow Paddington!
Like Paddington on Facebook
Follow on Twitter, Instagram, and Pinterest
Paper Plate Paddington Bear
Supplies
- 1 paper plate
- Paint: honey brown tan, brown, black, white
- Black marker
- Plastic fork
- Red and blue construction paper
- 2 blue buttons
- Tools: paintbrush old toothbrush, scissors, glue
- Patterns
Instructions
- Turn the paper plate upside down.
- Paint the back of the paper plate with honey brown paint.
- When dry, paint a circle with tan paint.
- Use tan paint to drag the top of the circle higher, like a pear shape.
- Paint an almond shape for the eyes with white paint.
- When dry, use the handle end of a paintbrush dipped in brown paint to add the circles for the eyes.
- Paint the nose using black paint in the shape of a bean.
- Add nostrils and center of the nose.
- When eyes are dry dry, use the handle end of a paintbrush to dot black onto the brown.
- Paint eye lids using honey brown.
- Add a smile with black marker.
- To add the details to look like fur, first paint some more honey brown onto the face so that the paint is white.
- Dip the tines of the plastic fork into brown paint and drag them through the honey brown.
- Continue this process all around the face.
- Use the patterns to cut the hat pieces from red paper, and the coat pieces from blue paper.
- Use a toothbrush dipped in white paint to add snow to the red hat.
- Glue the hat pieces together and trim any excess.
- Note: you may need to trim the hat more to make it fit the paper plate properly.
- Glue the hat to the top of the bear’s head.
- Assemble the coat and glue the buttons in place.
Expert Tips & FAQs
This post is sponsored by The Weinstein Company. I was compensated for the work that went into this post, however all opinions are 100% mine.
- Watercolor Luminaries - February 11, 2025
- Free Valentine Printables: Cards, toppers, and tags - February 4, 2025
- Valentine Hugs - January 31, 2025



Nina Lewis says
What a darling idea! I’m going to do this with the grandkids! You are so creative and talented!!!!
Amanda Formaro says
Thank you Nina!