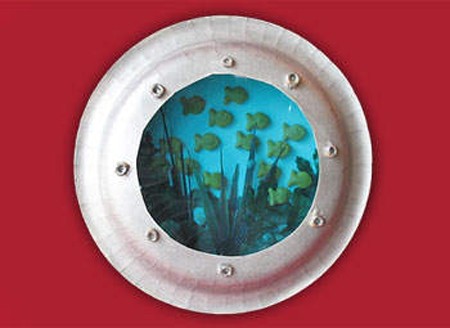
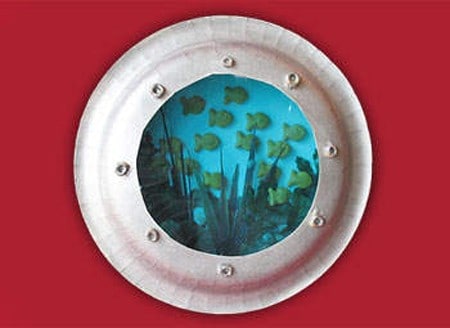
There have been many versions of this classic paper plate craft. This paper plate porthole has a different version as well, called the paper plate aquarium. When I created this particular kid’s craft several years ago, I wanted it to look like your were peering through a ship’s porthole. Kids love this craft because it’s fun to make and looks adorable when they are all done.

Paper plate craft: Ship’s Porthole
You can simplify this craft for younger kids if you like. Simply skip the painting step and instead of the blue cellophane, use a blue paper plate for the back plate instead.
The cereal around the outside of the porthole window are there to look like rivets you would see on a real ship’s porthole! using the cellophane gives the feel of looking through the window into water.
Another idea for making this craft easier, or if you don’t have all the supplies on hand, you can use construction paper to make your own fish as well as the plants.
Don’t want to buy a roll of blue cellophane just for this paper plate craft? I get it! Instead, use regular plastic wrap and a blue plate for the scene, or paint the plate blue before adding the sea life.
You will need:
- 2 paper plates
- Silver craft paint
- 8 pieces of ring shaped cereal
- Fish-shaped crackers
- Silk plant leaves
- Sea shells
- Sand
- White craft glue
- Blue cellophane
- Wax paper
- Scissors
Hope you have fun making this fun paper plate craft! Looking for more? Happy Hooligans has 17 paper plate crafts for kids!
For another fun idea, try this mason jar aquarium!
Paper Plate Ship’s Porthole
Supplies
- 2 paper plates
- Silver craft paint
- 8 pieces of ring shaped cereal
- Fish-shaped crackers
- Silk plant leaves
- Sea shells
- Sand
- White craft glue
- Blue cellophane
- Wax paper
- Scissors
Instructions
- Take both paper plates and set them on the table. One should be right side up and the other should be upside down.
- On the plate that is right side up, draw your sea floor about 1/3 up the center of the plate.
- Line the floor area with white glue, use an old paintbrush or your finger to spread the glue out evenly.
- Cover the wet glue with sand and set aside to dry.
- On the upside down plate, draw a circle where you will cut out your porthole in the center of the plate.
- Glue ring shaped cereal pieces around the circle; these are the bolts on the porthole. Let dry.
- Paint the cereal pieces and the paper plate from the outer edge to your penciled lines. Don’t worry about painting over the lines a little, as you will be cutting it out. Set aside to dry.
- Take the paper plate with the sand on it and hold it over a sheet of wax paper. Turn the plate sideways and gently tap it to loosen any excess sand. The sand should end up on the wax paper and you can save that for another project.
- Glue sea life onto the plate with the sand floor. Glue on shells, silk leaves, and fish shaped crackers. Let dry.
- Take the silver painted plate and cut out the center circle to create your porthole window. Place it gently over the top of the other plate to see if you are happy with its size and viewing area. Increase size of the hole if you like.
- Turn silver plate upside down.
- Cut a piece of blue cellophane large enough to cover the hole on the plate and glue in place. Let dry.
- Place porthole plate over the top of the sea life plate and glue together. Let dry.
- You can add a hanger to the project if you like, simply glue some string or yarn between the two plates at the top during step 13.
Expert Tips & FAQs
Make your fish scene more cartoonish by adding wiggle eyes to the fish.
If you don’t have blue cellophane, use clear plastic wrap and paint the background of the seal life plate blue before adding sand and sea creatures.
- Watercolor Luminaries - February 11, 2025
- Free Valentine Printables: Cards, toppers, and tags - February 4, 2025
- Valentine Hugs - January 31, 2025


Frank says
I’ve done this project two summers in a row at the museum I work at, during our beach week. Kids have LOVED making this and their own undersea images. Thanks for sharing/making this!