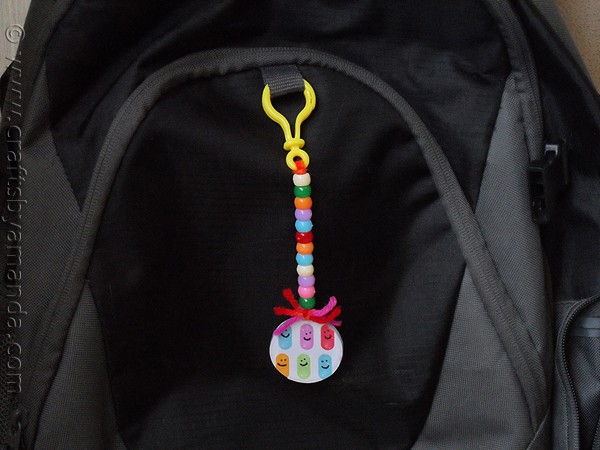
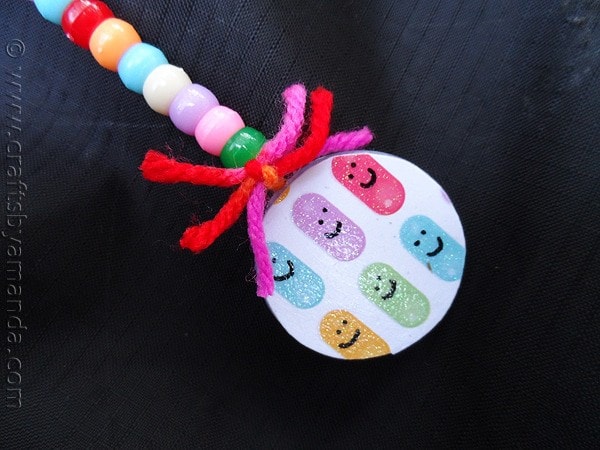
School will be back in session shortly, so that means it’s time for supply shopping and getting the kids to bed earlier from here on out. Kids love to accessorize, and the backpack has become the new way to express your child’s creativity and likes. Favorite colors and cute charms are commonplace, so why not make one of your very own? This fun little tag is full of smiles and ready to head to school with you!
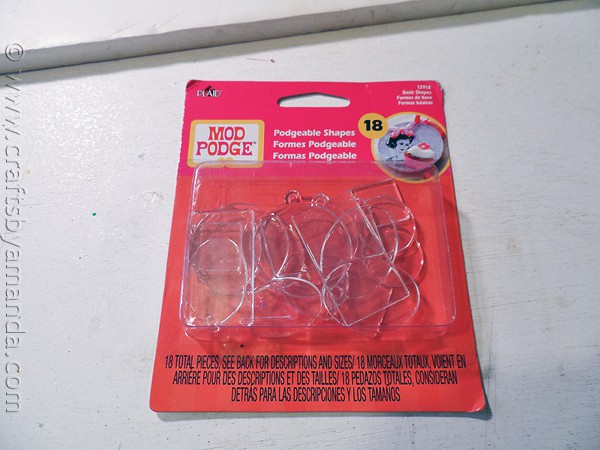
I found these really fun little acrylic shapes called Podgeables. These Mod Podge Acrylic Shapes are made by Mod Podge and are sturdy and clear. You can decoupage on the front or the back and they look really great when finished. You can find these at craft stores like Michaels, though I haven’t checked Walmart to see if they have them too. Some of them have a little hole for a chain or string, great for jewelry, or in our case, a backpack tag! When you’re finished, try your hand and making these backpack tags from Duck tape!
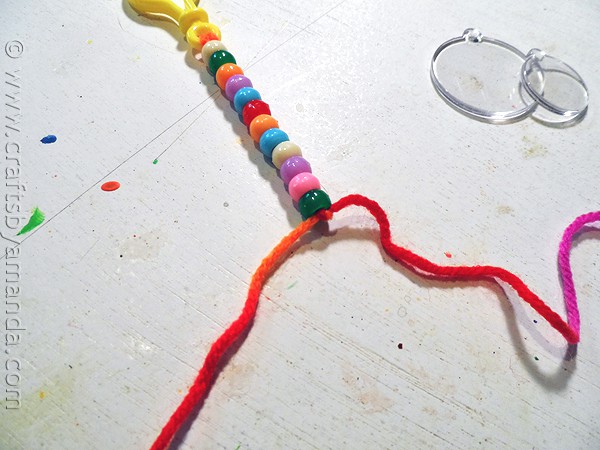
To make these start by cutting a piece of yarn about 24 inches long. Fold in half and insert the looped end into the hole of the backpack ring. Run the open ends of the yarn through the yarn loop and pull tight to secure.
Thread pony beads onto the yarn and tie the two ends of yarn into a knot.
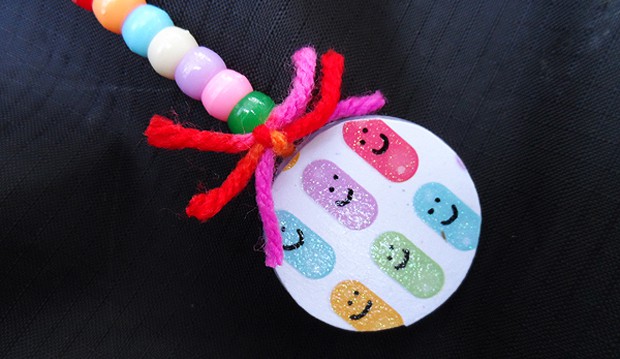
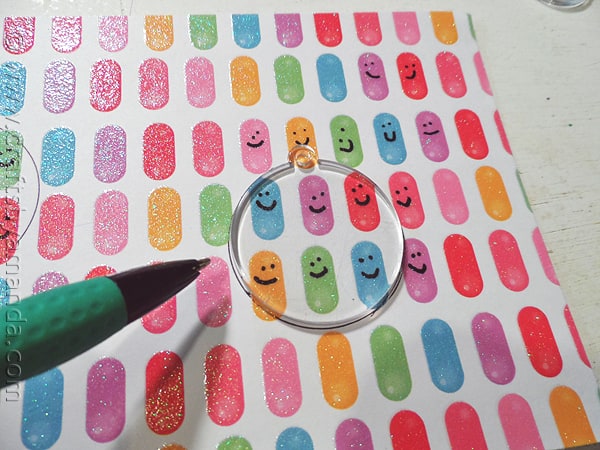
Draw smiley faces onto your scrapbook paper and place podgeable plastic circle over the smiles, trace around the circle. Do this twice, one for each front and back. Allow the marker to dry for about 20 minutes.
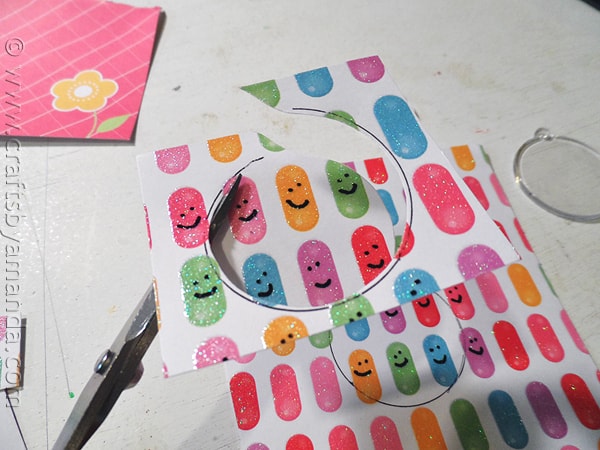
Cut the circles out, trimming a small amount off the entire circle so that there are no edges hanging over the plastic once attached.
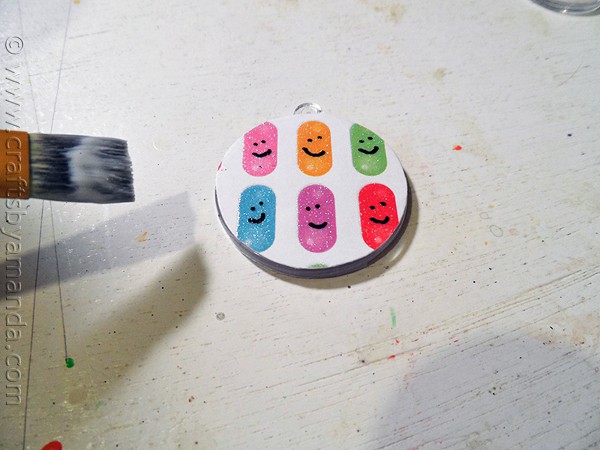
Paint an even layer of decoupage medium onto the plastic circle and onto the back of the paper. Attach the paper to the circle and let dry 10 minutes. Repeat on the other side and let dry ten minutes.
Apply a layer of decoupage medium over the top of the paper, let dry and repeat on the back.
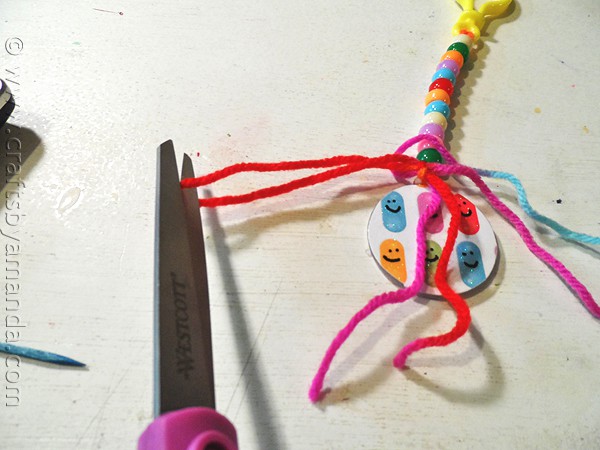
Run one end of the yarn through the circle’s hole and tie into a bow. Cut the loops of the bow. Trim all ends.
Smiley Backpack Tag
Supplies
- Plastic Podgeable shapes
- Scrapbook paper we used candy themed
- Fine point Sharpie marker
- Decoupage medium
- Pony beads 12-15
- Yarn
- Plastic backpack ring
Instructions
- Cut a piece of yarn about 24 inches long. Fold in half and insert the looped end into the hole of the backpack ring. Run the open ends of the yarn through the yarn loop and pull tight to secure.
- Thread pony beads onto the yarn and tie the two ends of yarn into a knot.
- Draw smiley faces onto your scrapbook paper and place podgeable plastic circle over the smiles, trace around the circle. Do this twice, one for each front and back. Allow the marker to dry for about 20 minutes.
- Cut the circles out, trimming a small amount off the entire circle so that there are no edges hanging over the plastic once attached.
- Paint an even layer of decoupage medium onto the plastic circle and onto the back of the paper. Attach the paper to the circle and let dry 10 minutes. Repeat on the other side and let dry ten minutes.
- Apply a layer of decoupage medium over the top of the paper, let dry and repeat on the back.
- Run one end of the yarn through the circle’s hole and tie into a bow. Cut the loops of the bow. Trim all ends.
- Watercolor Luminaries - February 11, 2025
- Free Valentine Printables: Cards, toppers, and tags - February 4, 2025
- Valentine Hugs - January 31, 2025



Casse-bonbec says
it’s lovely ! this afternoon, I made a spinner for my little boy by glueing a marble into the hole of an old CD. I’m not sure but I think I found that idea on your blog, some time ago.
Amanda Formaro says
Yes, I have that CD Spinner Craft here on the blog :) Glad you are having fun!
Mary Martin says
So very cute. Would love to make these for a shelter’s children. They would brighten up the children so much. If I were wealthy……