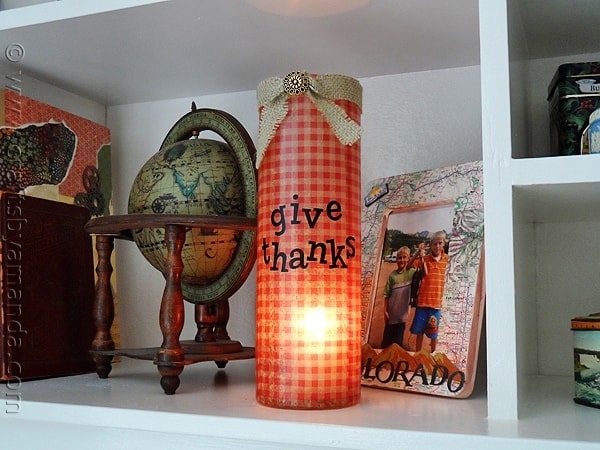
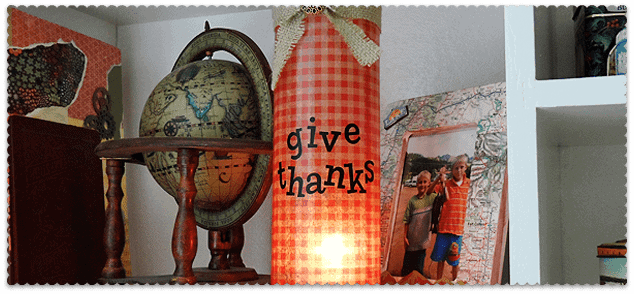
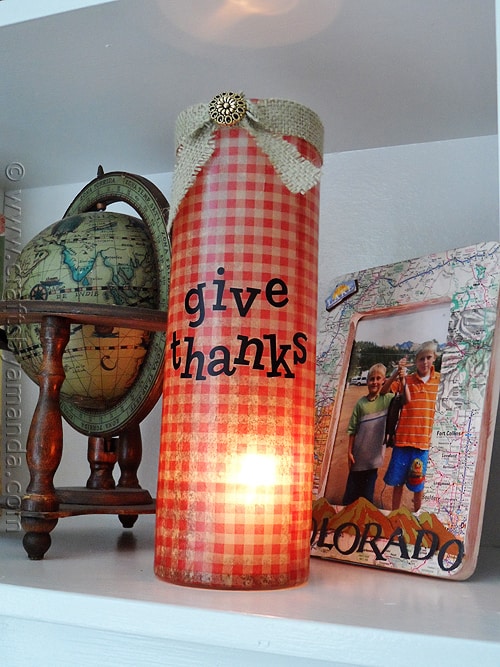
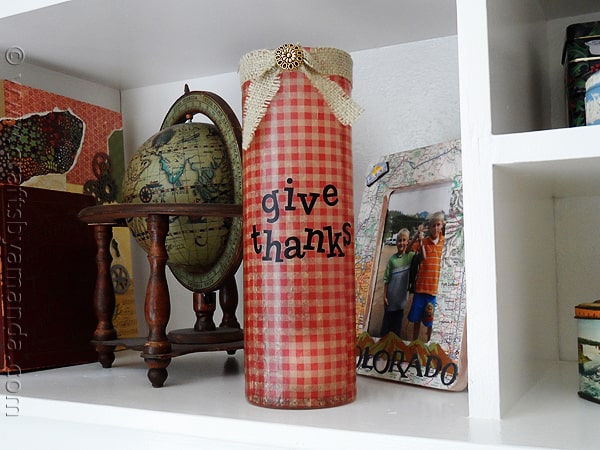
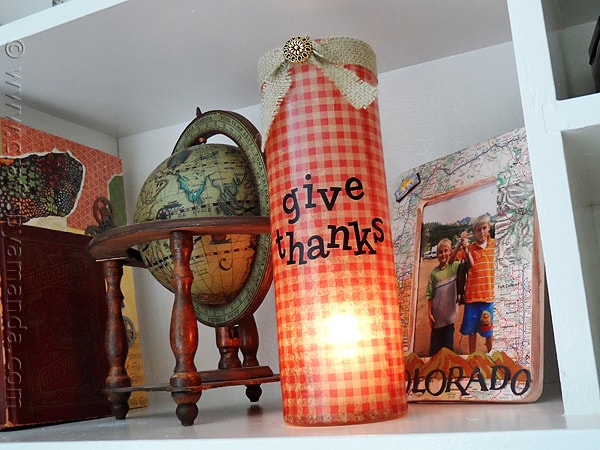
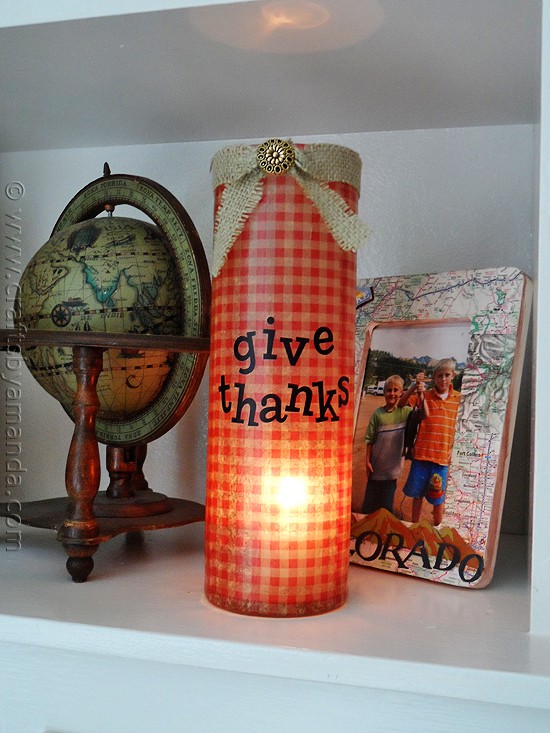
This Thanksgiving themed vase turned candle holder is a perfect example of one of the things that will grace my home this holiday season. It’s easy to make and looks warm and inviting with a votive candle lit inside. So if you need a quick idea for Thanksgiving this year, there’s still time to whip one of these up!
Every year I make Thanksgiving dinner for our family. Generally it’s just the six of us, my husband and I and our four children. Our families are scattered all over, so Thanksgiving for us hasn’t been a big family affair for many years. A few years ago we did make the 5 hour drive to Iowa and spent Thanksgiving with my husband’s family. It was a wonderful time!
This year we are actually doing a work around. Instead of having Thanksgiving dinner on Thursday like we usually do, we’ll be having it Friday so that some family members that live fairly close can attend and it won’t interfere with their traditional visits.
So this year I’ll be hosting dinner for more than just us and I can’t wait. Decorations will be modest, I’m not going overboard, but there will be some here and there. This candle holder will be one of them. It can double as a vase as well, so if you prefer, fill it halfway with water and add some pretty fall blooms.
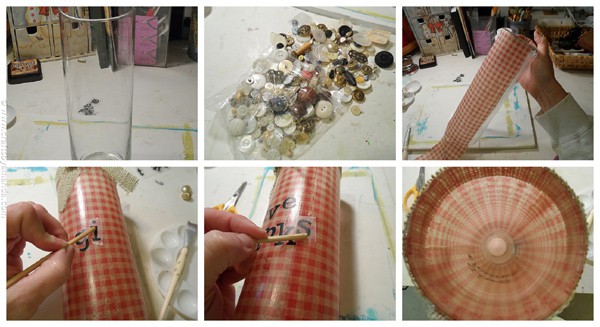
I started with a tall glass cylinder vase I picked up at Michaels. The funnest part was digging through a bag of old buttons I picked up at the flea market this summer!
Happy Thanksgiving to all of you. may you be blessed with friends and family this holiday season!
My burlap & doily luminaries would be gorgeous for Thanksgiving as well.
Thanksgiving Luminary Vase
Supplies
- Fall themed tissue paper
- Tall cylindrical glass vase
- Alphabet rub-ons
- Decoupage medium
- 12 "x1" strip of burlap
- Vintage button
- Hot glue gun
Instructions
- Turn vase upside down. Apply decoupage medium to vase, covering only a section about 3-4 inches wide.
- Cut a strip of tissue paper about the same width. Line up the straight edge of the tissue paper with the top of the vase. Gently press down the center of the tissue paper, all the way down the length of the vase. Next, flatten the left side of the tissue paper against the glass and do the same for the right side. Trim off excess from the top of the vase.
- Repeat these two steps until the vase is covered. Apply a coat of decoupage medium over the top of the tissue paper.
- Wrap burlap around the top of the vase while the decoupage is still wet. Tie into a knot and trim the ends. Allow the decoupage to dry completely.
- When dry, apply rub-on letters "give thanks".
- Use hot glue to secure the burlap to the top of the vase. Hot glue vintage button to the center of the knot.
- You can fill the vase with flowers or fall foliage, or insert a candle and light for a lovely centerpiece.
Expert Tips & FAQs
- Watercolor Luminaries - February 11, 2025
- Free Valentine Printables: Cards, toppers, and tags - February 4, 2025
- Valentine Hugs - January 31, 2025


Leave a Reply