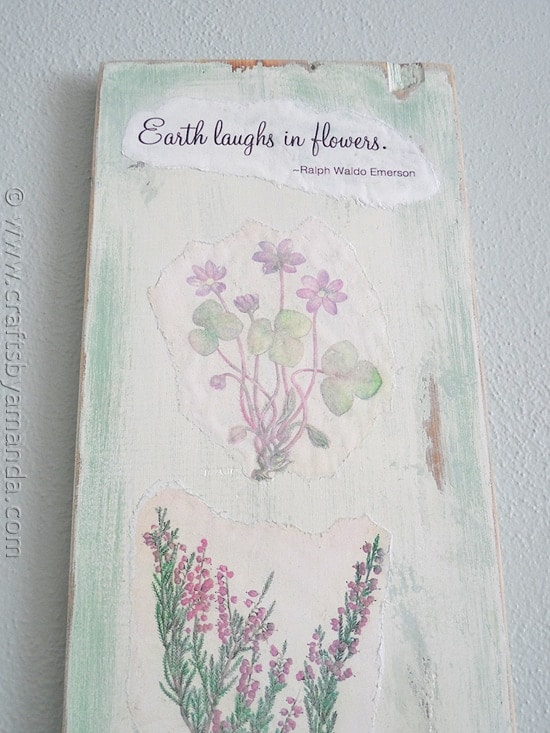
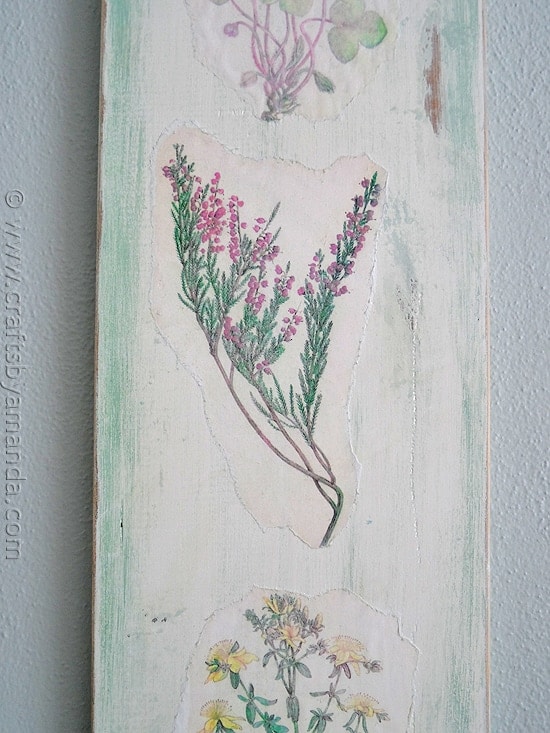
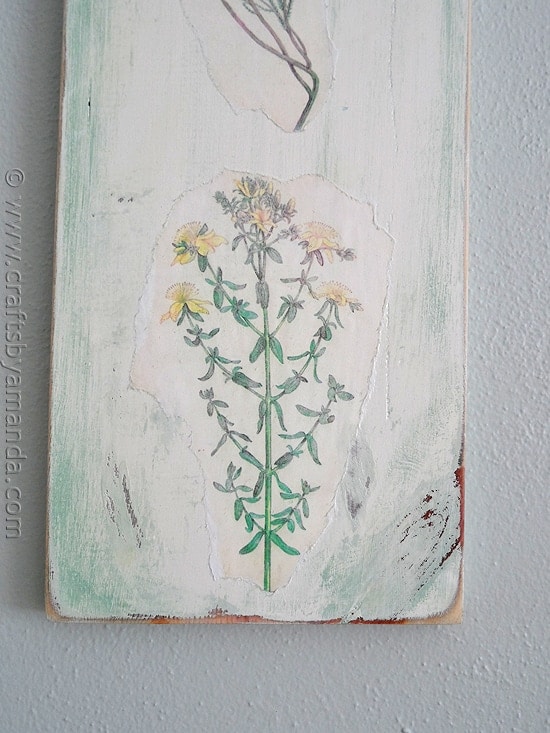
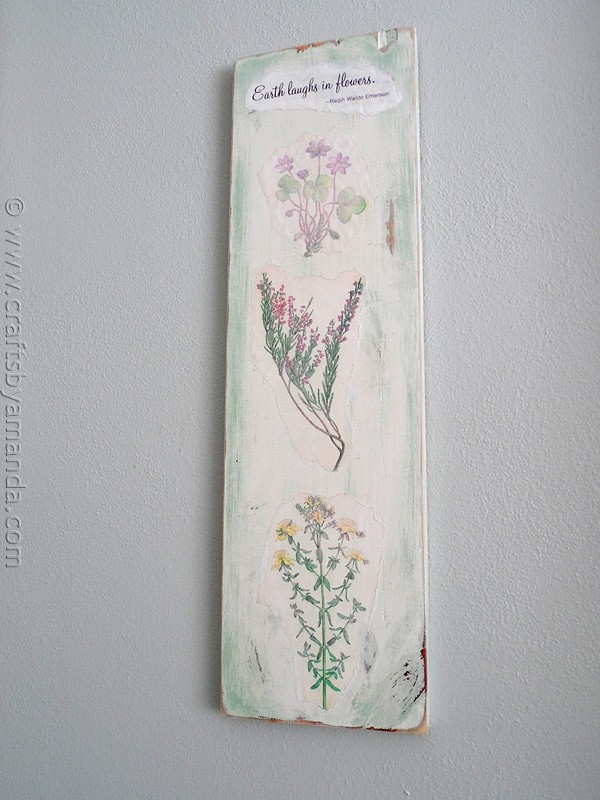
Wildflowers, beauty among the weeds. That’s what these botanical prints said to me when I found them at the Randolph Street Market in Chicago last year. I’ve been saving them, trying to decide how to use them. The beauty of this project is that I still have the originals, hence I can use them again, not just once! How? I used Mod Podge Photo Transfer Medium.
It works with photocopies or print outs on plain copy paper, not photo paper. In fact, photos and things printed on photo paper won’t work, it has to be plain paper. That’s how I was able to preserve my original botanical prints.
The final appearance is much like that of decoupaging, but the process takes a full 24 hours, so you have to be prepared to walk away and not peek!
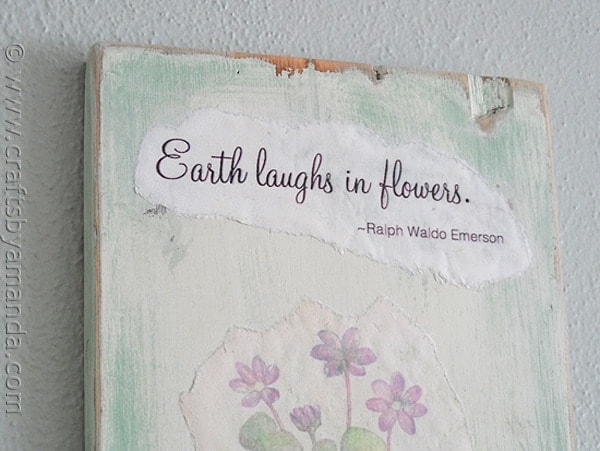
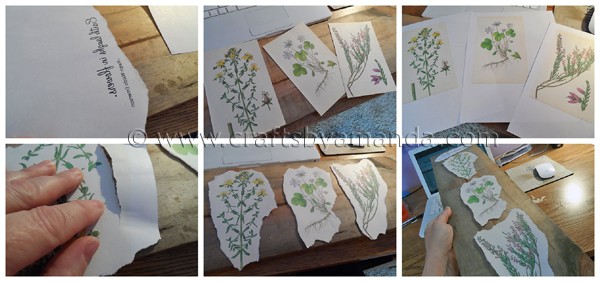
The process is actually pretty simple. Print out or photocopy your photo or graphic. If you want to use text, you have to reverse the image. I typed mine out in Word, and since I couldn’t figure out a way to reverse it in there (certainly there has to be a way) I did a screenshot and opened that in Photoshop. In Photoshop I was able to easily reverse the image and print it out.
I photocopied my original botanical prints then tore around the edges as I wanted a more rustic look. It’s important to note that you need to trim your item to exactly how you want it to appear. For example, if you print out a photo and leave a white border around it, the white border will transfer to your surface. So ultimately, what you see on the print out is what you will see in the finished project, no different than decoupaging.
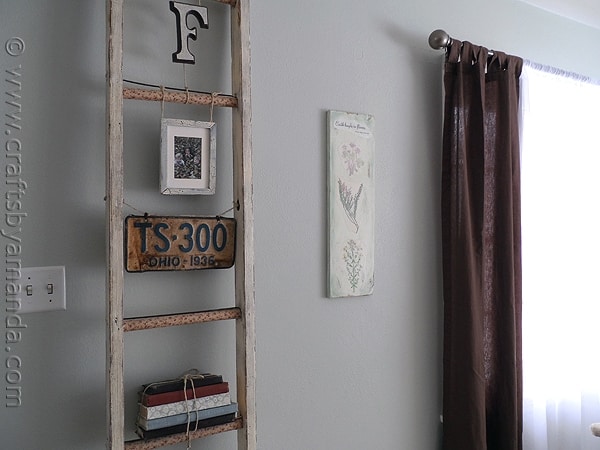
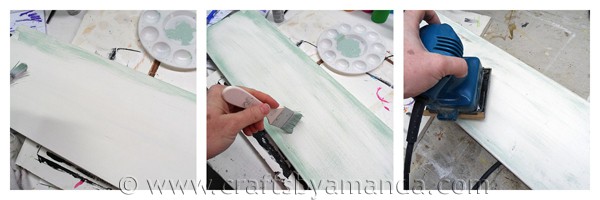
I painted a plank of wood white and dry brushed on a light sage looking green. I sanded the surface and edges to distress it.
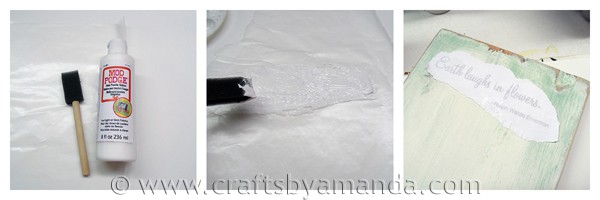
To apply the medium you’ll need some waxed paper and a sponge applicator. Place your photocopy face up onto the waxed paper. Paint the medium on to the surface generously, you basically want to obscure the design of your print out. Now carefully lift it and place it face down where you want to transfer it to. The words you see on the plank above are showing through the backside of the paper because its wet.
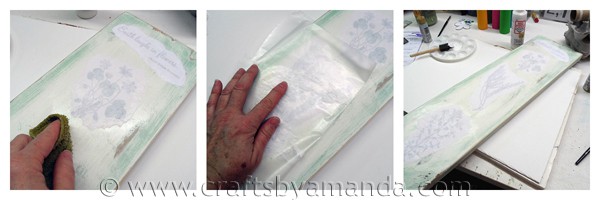
Next you’ll want to carefully press the design onto your surface, making sure no air bubbles are under the paper, it’s best to start from the center and squeegee outward. I found the best way to do it was to actually place waxed paper on top of the item an press that way. The medium will ooze out the sides, so use a damp cloth to carefully clean it off.
Now the hard part, the waiting. 24 hours. Go do something else and come back tomorrow.
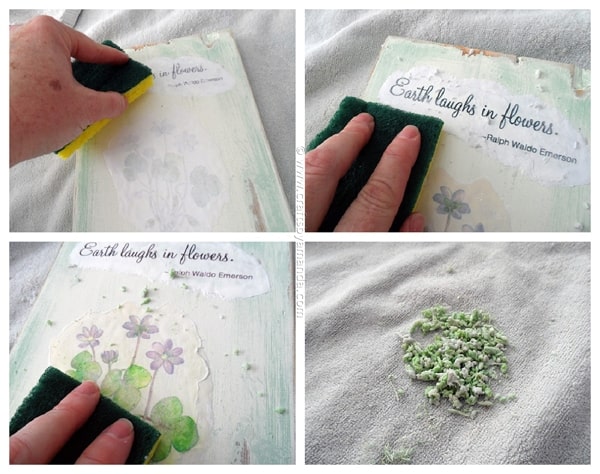
Now you need to remove the outer surface to expose the transfer. You’re basically removing the backside of the paper, but the front side will remain on your surface. Sounds weird, I know. Get a sponge wet and place it onto the design, you want the paper to get soaked. Now wring out the sponge and carefully, not too hard, rub with the sponge to begin the exfoliation process. Rubbing too hard can remove some of your design, so be careful. I had that issue with the flowers at the top and lost some of their color.
When all done you can add a coat of Mod Podge to seal it.
You can use this product on several surfaces including wood, like I did here, as well as glass and fabric. I hope you get to try it out!
Mod Podge Photo Transfer Medium is available at Michaels.
Visit Paint Me Plaid
Follow Plaid Crafts on Twitter
Like Plaid Crafts on Facebook
Follow Plaid Crafts on Pinterest
This post was written as part of a campaign with The Blueprint Social. All opinions are my own.
To see some other projects using this product, check these out!
- Tulip Wreath - March 11, 2025
- St. Patrick’s Day Activity Sheets - March 4, 2025
- Watercolor Luminaries - February 11, 2025
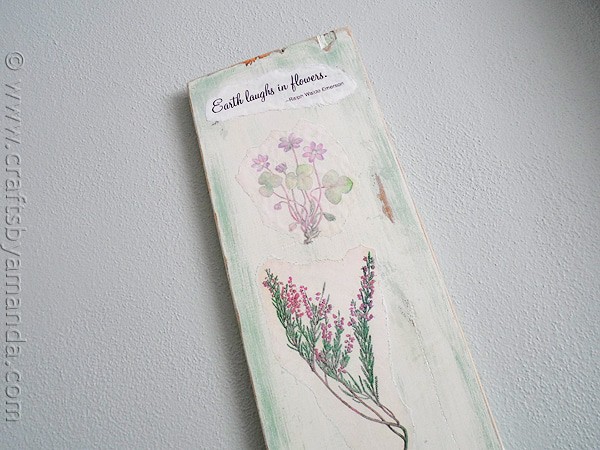
 Photo Transfer Medium.




Beckie says
Lovely decor! Looks amazing on your wall Amanda! Thanks for sharing this project!
Amy Anderson says
So beautiful Amanda! I love the vintage look!
Lana @ Never Enough Thyme says
I really love the weathered look of this. Sometimes a project makes me want to get all my old craft supplies out and start back. This is one of those kinds of projects :-)
Angie @ Big Bear's Wife says
ooo how pretty, Amanda! That would be perfect beside an indoor window garden! I think I might have to make one of these!
Dawn says
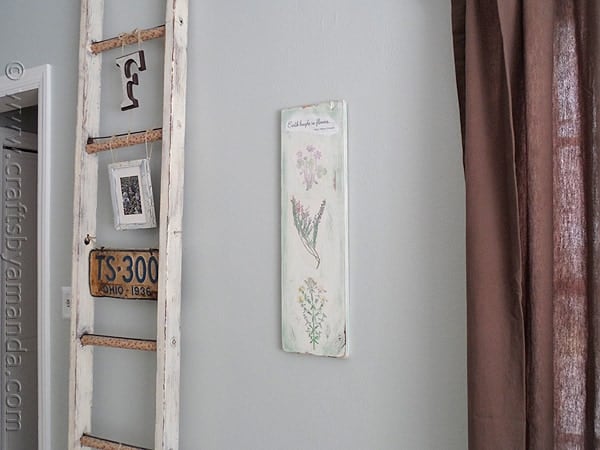
I like how this wood turned out but I have to say was mighty impressed by the altered ladders (Amazing) Dxx
Amanda Formaro says
Thank you Dawn! You can see the ladder transformation here if you like https://craftsbyamanda.com/2010/11/shabby-chic-decoupage-ladder.html
Jeanine says
Oh ThankYou Sincerely for this post! My teen and I have BOTH been highly interested and conversating, about projects we BOTH want to do using this technique lately. Until now ive had to disappoint her telling truthfully i have NO CLUE HOW This precise process works or is done LOL LOL !!
So when i say a Sincere Thank You; i mean seriously thank you for saving my butt! Im a single mother and the children are conditioned to believing “Momma can DO ANYTHING!”
LOL HAHA i been falling short lol! THANKS AGAIN! ;) Jeanine H!