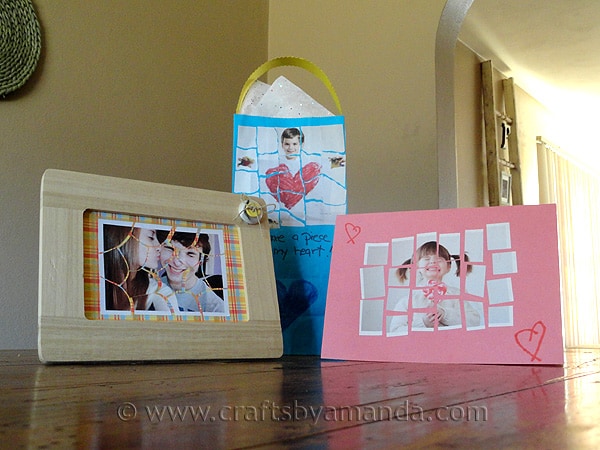
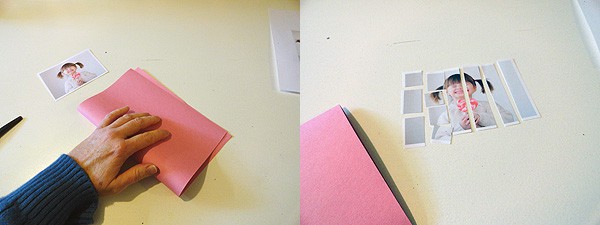
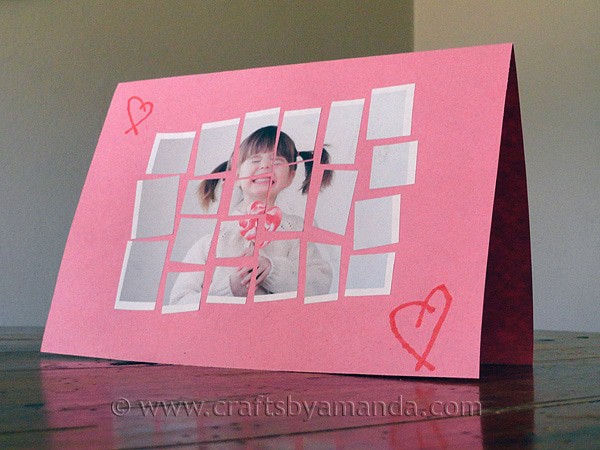
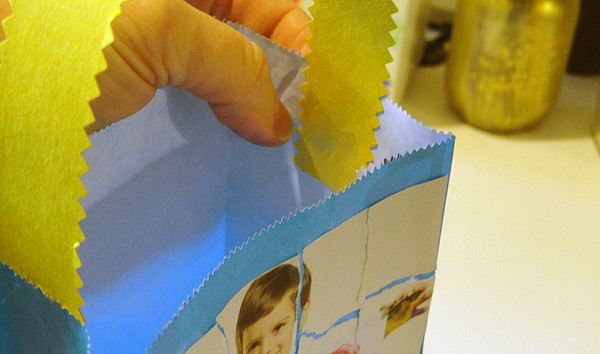
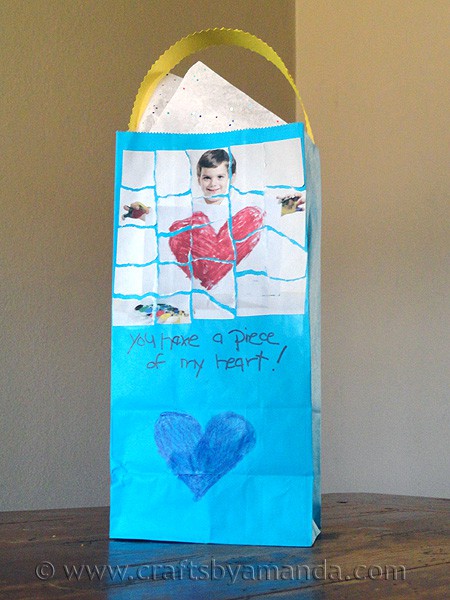
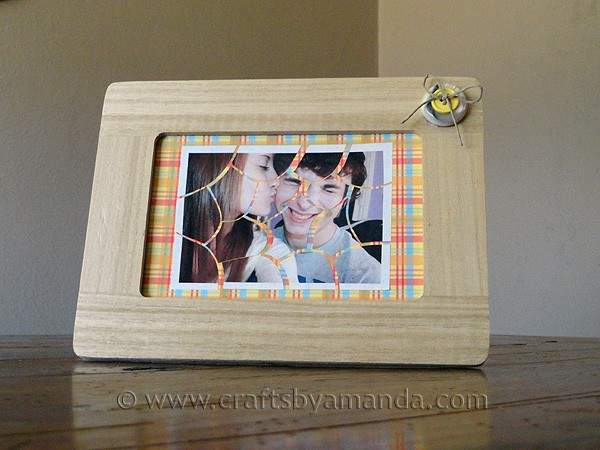
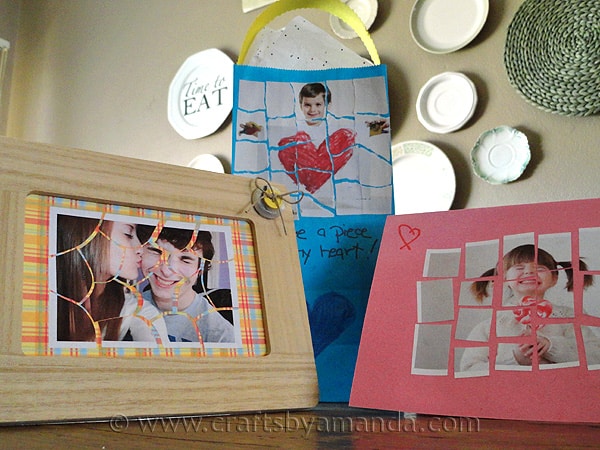
Fun valentine greetings and gifts made from your children’s photos! And the best part is you can adjust one craft that’s fitting for a preschooler all the way up to a teen friendly craft. Make a mosaic photo card, a mosaic photo gift bag and even a framed mosaic photo, all using the same concept.
Growing a craft from preschool to teenagers, this was the topic today during my monthly video craft show at TheMotherhood. Each month I’ll host a live video demonstration focusing on craft ideas for your kids. Watch for announcements on Facebook as well as Twitter for upcoming shows. You can also get announcements from AmandaFormaro.com. Hope to “see” you at the next one as I chat with viewers live after the show. Watch today’s show below:
To make these cute Valentine projects you’ll want to start with photos that you print from your computer. You can certainly use real photos if you like, but I would suggest saving those for your frames, scrapbooks and photo albums.
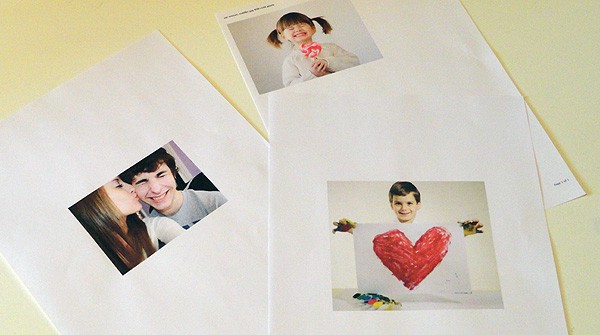
A little disclaimer. The two photos of the younger kids are from a stock photography site. My kids aren’t that young anymore. The one of the teenagers is my 18 year old daughter and her boyfriend.

If you would like more tips on “growing a craft” and adapting projects to grow with your kids, read my article “Crafting with Kids: From Preschool to Teenagers” on my other blog, Fun Family Crafts.
Below is a list of craft parties I link to each week. There’s lots of creative talent out there, check them out :) |
||
Craftomaniac Monday
|
Hookin’ Up with HOH
|
Weekend Wrap Up
|
- Watercolor Luminaries - February 11, 2025
- Free Valentine Printables: Cards, toppers, and tags - February 4, 2025
- Valentine Hugs - January 31, 2025


Amanda L Grossman says
Cute idea!!
Kristen S- Craft Gossip says
Love this Amanda! Watched the video, feel like I know you now, ha ha:) Posted this awesome ‘Growing’ craft on Craft Gossip!
Terri says
I love this! What a cute idea!
Kristi says
This is so super cute! I love it with the “piece of my heart” saying…that’s PERFECT! Would be delighted for you to link up with us at Mop It Up Mondays (going on through Friday): http://www.ishouldbemoppingthefloor.com/2012/02/mop-it-up-mondays-party-2.html
{HUGS},
kristi
Dawn @ Designed by Dawn Nicole says
What a cute, simple idea! I love the one with the plaid background!