I have been making monster crafts for kids for years, like these adorable Plastic Spoon Monsters. They are probably one of my all time favorite things to create! I realized I have 20 different monster craft projects on this blog alone, and that’s not counting all the ones I’ve done prior to that.
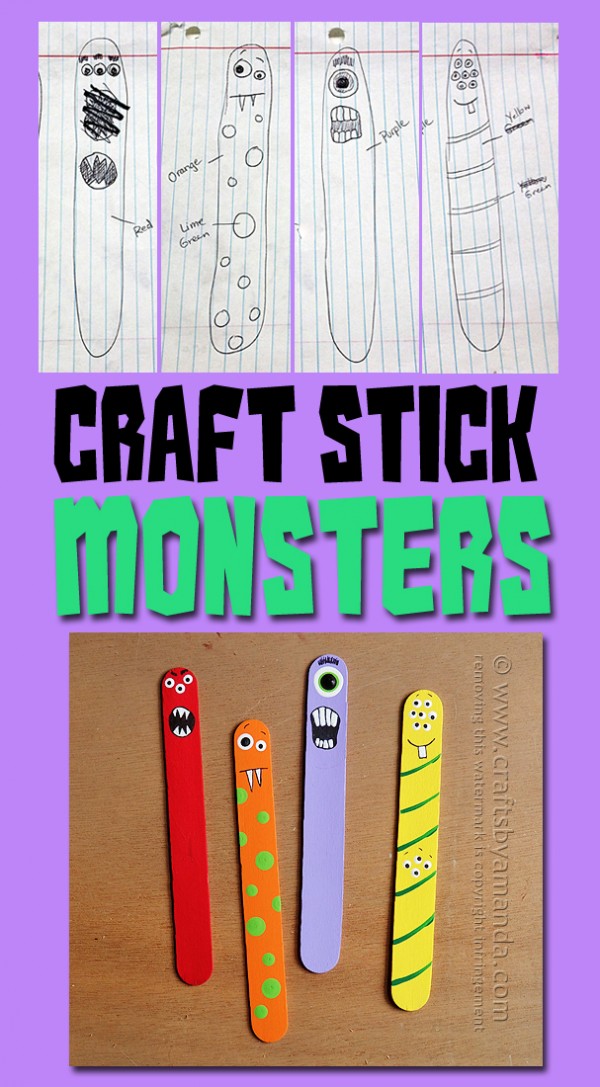
My monsters generally aren’t scary. And if they have any scary elements, like sharp teeth or turned down eyebrows, they are still a cute type of scary. I wish monsters had been this fun when I was a kid!
You can use my designs as a guide, or you can create your own monster faces. I always draw mine out first to get a vision of them in my head. Above is the sketch I did before I began painting. So it’s kind of like two activities in one, if your kids like to draw that is. :)
As far as colors go, you can use whatever you like for your monsters. In the instructions below I’ll tell you how to make these with the colors I used. Green and yellow always go well together, as do orange and green.
Purple and green goes well together too, and so does red and yellow. But you pick whatever you want and make these monster craft sticks your own!
Note: some links below are affiliate links. That means if you happen to buy something, a small percentage of that sale goes back into this site, which enables me to continue to bring you free tutorials such as this one. So, thanks!
As always, a full printable supply list and instructions are at the end of this post.
For this project you will need the following supplies:
- Red
- Orange
- Purple
- Yellow
- Light green
- Green
- Black
- White
Craft Stick Monsters
So let’s get started. These monsters are made from jumbo craft sticks, not the smaller popsicle stick sized ones. I always buy a big box of these sticks because there are just so many things you can make from them. At the end of this posts, I’ll give you some more ideas for using these craft sticks!
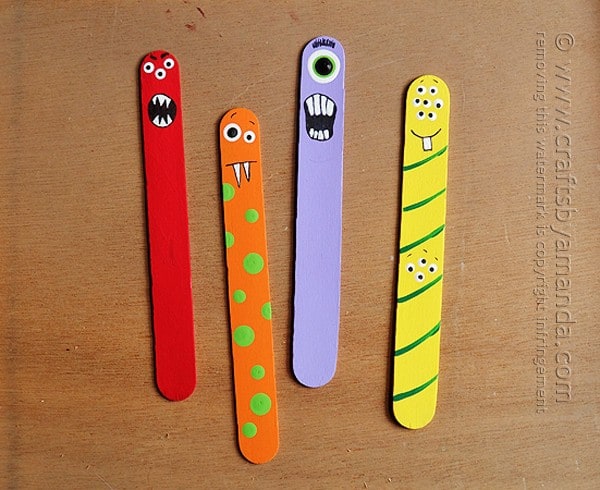
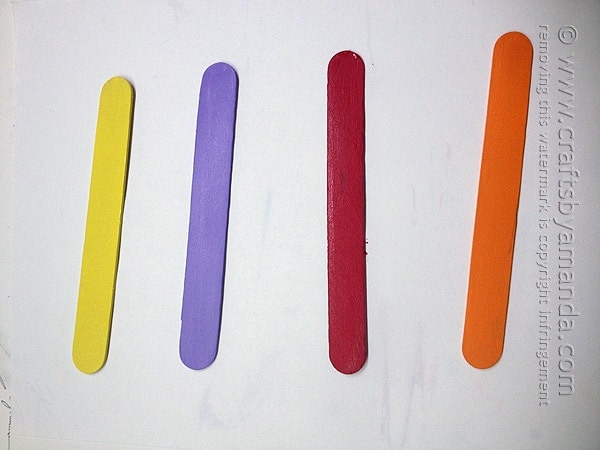
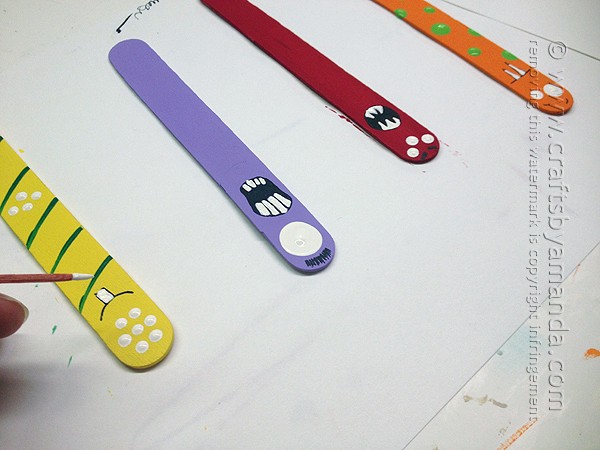
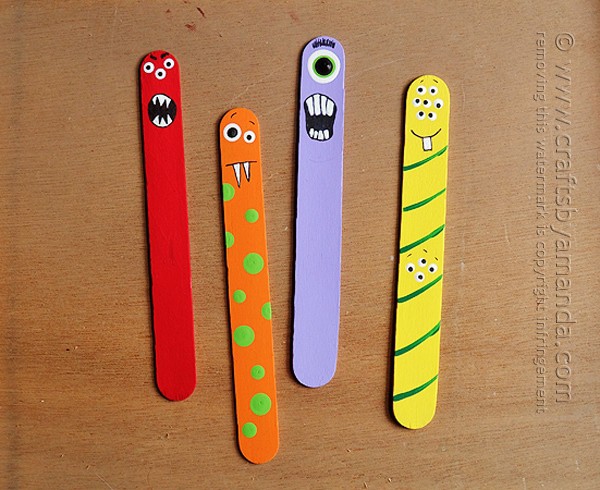
Paint the craft sticks, one each in red, orange, purple and yellow.
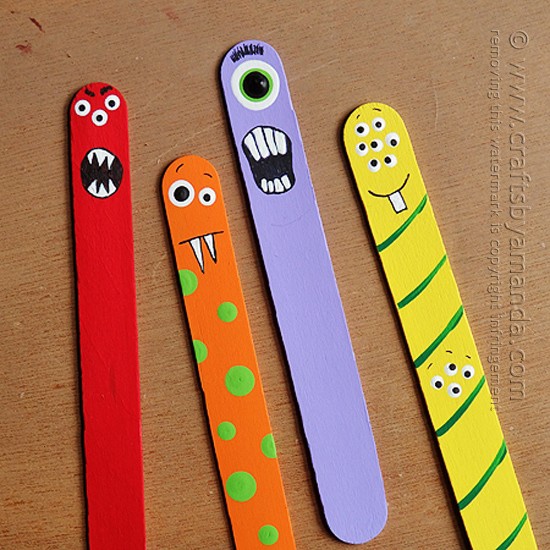
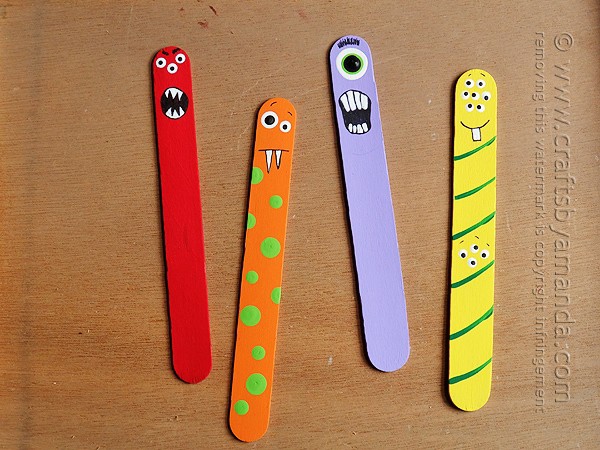
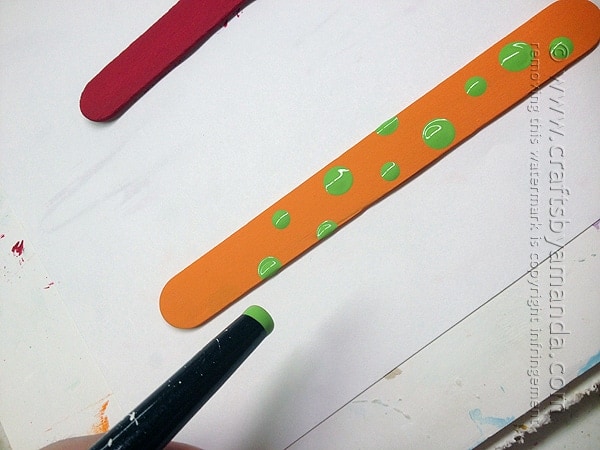
Use the handle end of a large paintbrush dipped in light green paint to add large spots to the orange stick. Use a medium paintbrush to add smaller dots.
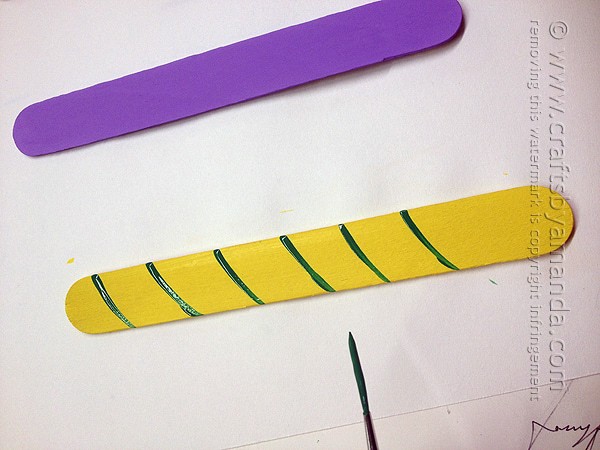
Use a liner brush to add green stripes to the yellow stick.
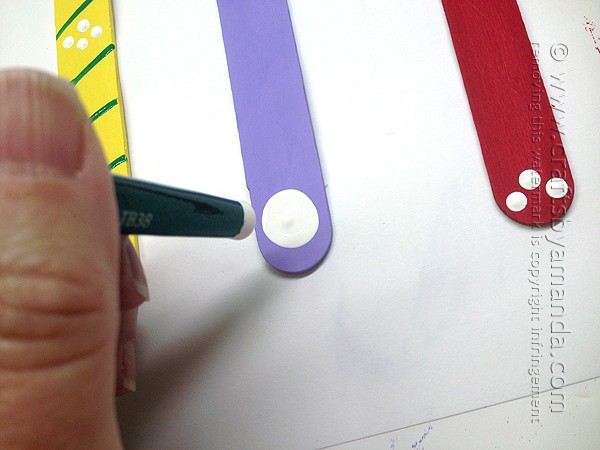
Use circular motion (as if you were drawing a circle with a crayon) with a large paintbrush handle to add the big eye to the purple stick. Depending on the size of the eyes that you want, use different sized paintbrushes.
For the large eye on the purple stick, add a dot of green over the dry white paint and allow the green to dry. When dry, add a smaller dot of black.
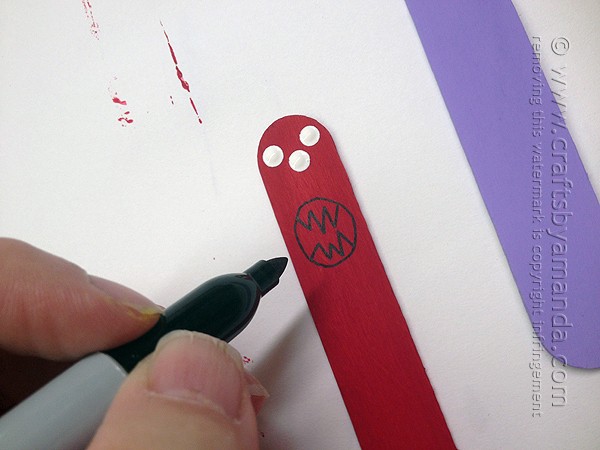
You can draw the mouths with a black marker and use a white paint pen, if you have one, to color in the teeth. I used a toothpick dipped in white paint.
NOTE: If using a paint pen for the teeth, it may be easier to draw them first, then when the white paint has dried, outline them with the black marker.
To add other details such as eyebrows use a fine point black marker. Hint: after making the teeth white, go over the outlines again with a black marker.
Use a toothpick dipped in black paint to add the black pupils of the eyes. For larger pupils, use the handle of a paintbrush.
I hope you enjoyed making these monster craft sticks with me. They also make great bookmarks for back to school. Have fun!
More craft stick crafts
If you have a big box of jumbo craft sticks like I do, you’ll probably need a few more ideas. Here are some of my favorite craft stick crafts!
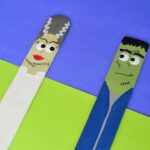 |
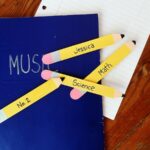 |
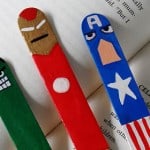 |
Craft Stick Monsters
Supplies
- 4 jumbo craft sticks
- Toothpick
- Black fine tip marker
- Paintbrushes
Craft Paint:
- Red
- Orange
- Purple
- Yellow
- Light green
- Green
- Black
- White
Instructions
- Paint the craft sticks, one each in red, orange, purple and yellow.
- Use the handle end of a large paintbrush dipped in light green paint to add large spots to the orange stick. Use a medium paintbrush to add smaller dots.
- Use a liner brush to add green stripes to the yellow stick.
- Use circular motion (as if you were drawing a circle with a crayon) with a large paintbrush handle to add the big eye to the purple stick. Depending on the size of the eyes that you want, use different sized paintbrushes.
- For the large eye on the purple stick, add a dot of green over the dry white paint and allow the green to dry. When dry, add a smaller dot of black.
- You can draw the mouths with a black marker and use a white paint pen, if you have one, to color in the teeth. I used a toothpick dipped in white paint.
- To add other details such as eyebrows use a fine point black marker. Hint: after making the teeth white, go over the outlines again with a black marker.
- Use a toothpick dipped in black paint to add the black pupils of the eyes. For larger pupils, use the handle of a paintbrush.
- Watercolor Luminaries - February 11, 2025
- Free Valentine Printables: Cards, toppers, and tags - February 4, 2025
- Valentine Hugs - January 31, 2025



Tanay says
Good
Donna says
Fun crafting with my granddaughter.
Alana - eSpectacularKids says
love these stick monsters! i have to think of a range of Halloween activities for primary school kids and I’m looking forward to doing this one…
Amanda Formaro says
Thanks Alana, glad you like them! :)
The Teacher Treasury says
Love this idea! These look awesome =)
Amanda Formaro says
Thank you!
Cher @ Designs by Studio C says
Completely adorable!! I love these monsters!
Amanda Formaro says
Thank you Cher!