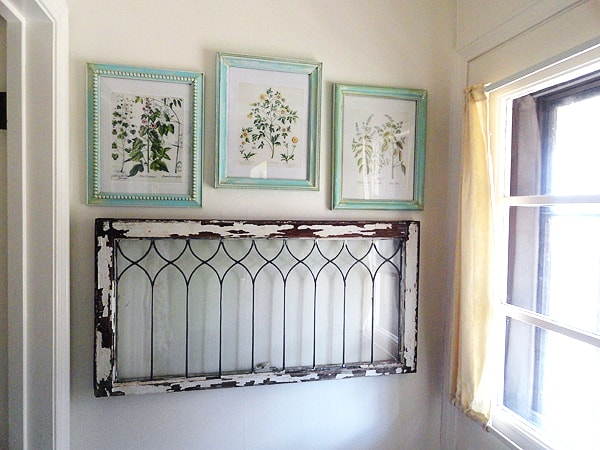
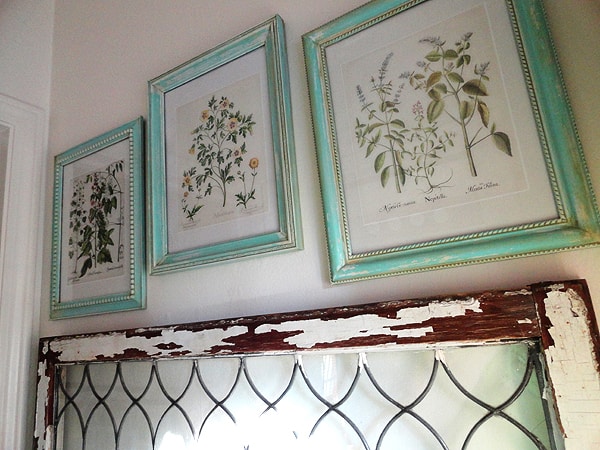
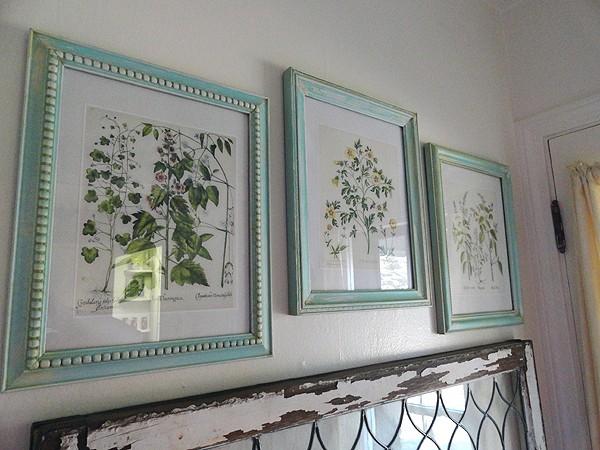
Last fall I visited a local flea market and found a truly amazing vintage farmhouse window. It was grubby and grimy and needed a lot of elbow grease to get it clean, but I knew exactly where I was going to hang it. At first I thought of painting a plank of wood to make a vintage looking sign, but I just kept putting it off. Then I found these pretty botanical book pages and knew just what I wanted to do.
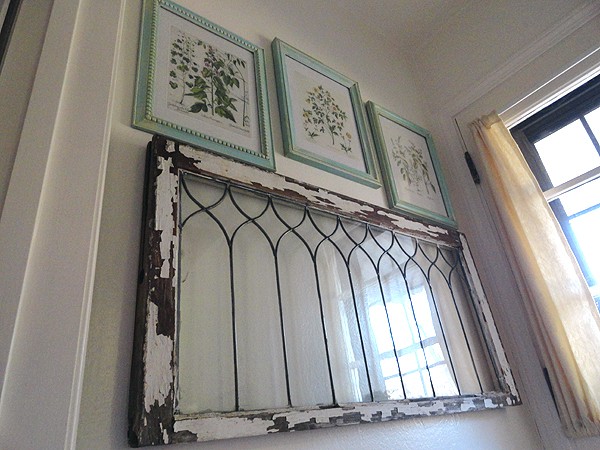
The look I was going for was – country. The book pages reminded me of pretty wild flowers that grow in the summer. The old farmhouse window was discovered in a barn covered in grime and straw. I live in a small town surrounded on all sides by lakes and farms. I buy my beef from the farmer and am not bothered by the hustle and bustle of bumper to bumper traffic like my Illinois neighbors. I enjoy the beauty of sprawling country roads every day.
I had a blank wall in a small area where the door to my backyard meets my kitchen and the basement stairs. You come inside and turn to go into the kitchen, or just head straight down the stairs. It’s not a pretty area, really plain and houses my garbage can and recycling can. Not glamourous at all. The wall was empty. I’ve had several ideas of what to put there, but as soon as I came across this window I knew that was where it was going.
I love the new look of this formerly empty, boring area. It’s bright and cheery and has a charming country feel. I can look at it anytime I want from the kitchen. That makes me smile. :) On another wall in that same area I was thinking of picking up some old milk bottles from the flea market and using these printable vintage labels on them. I think that would look great!

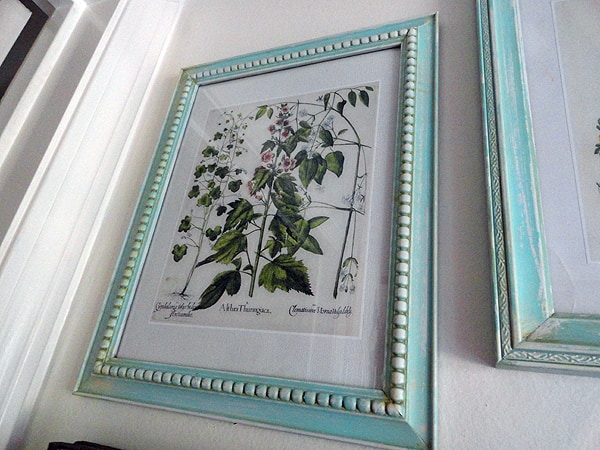
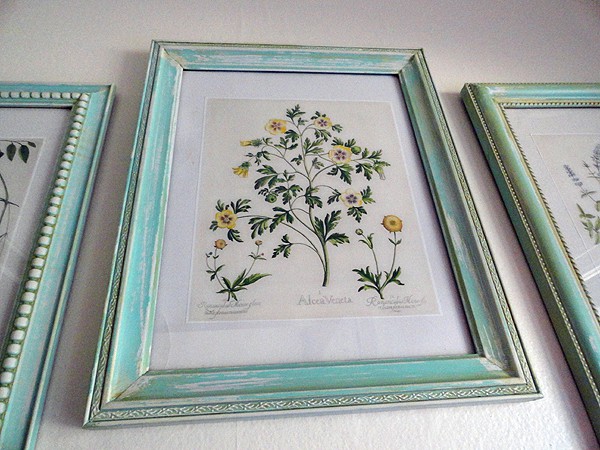
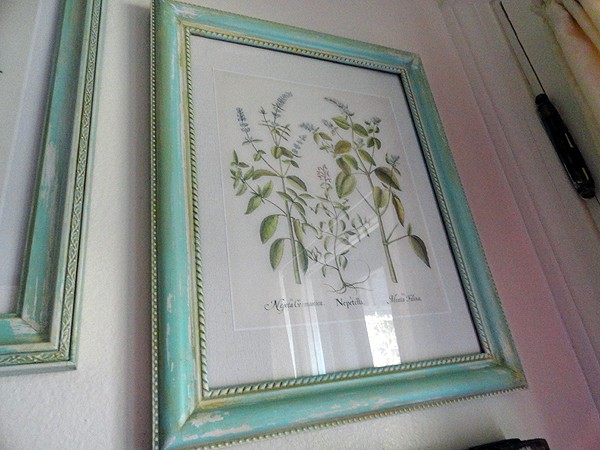
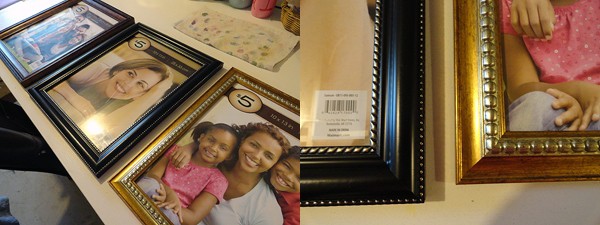
When I sit down at my craft table, I don’t always know exactly what I’m going to do until I’m sitting there. I knew I wanted the frames to be blue, but hadn’t decided on the finish just yet. So I went ahead and removed the glass and inserts from the frames. I chose some $5 Walmart frames that were a litte ornate. I knew I’d be painting them anyway, so the color didn’t matter.

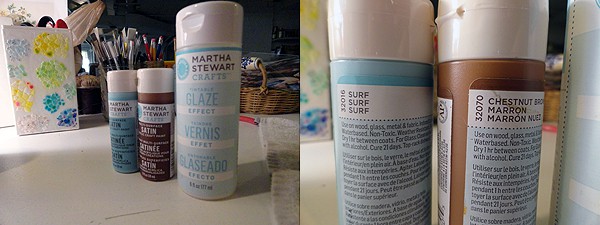
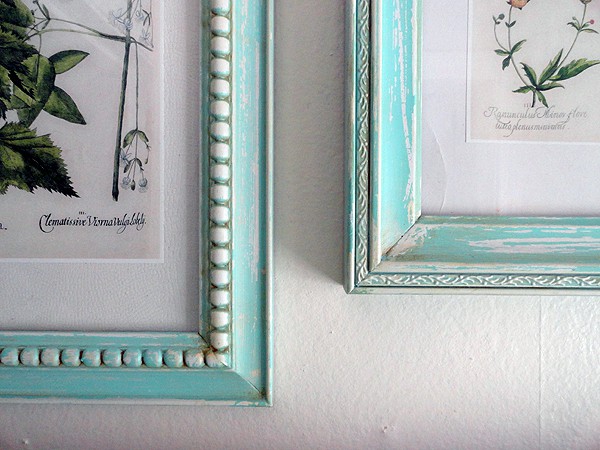
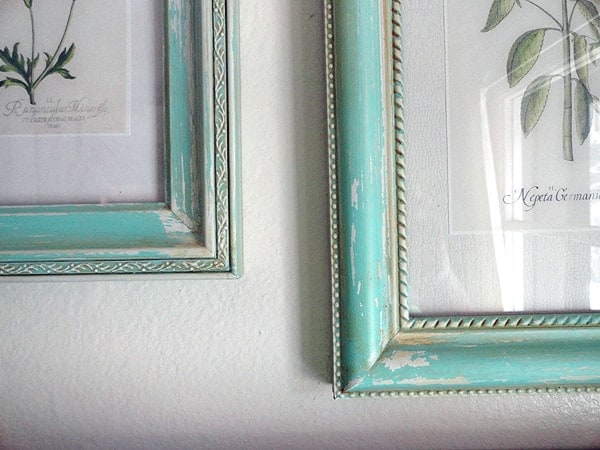
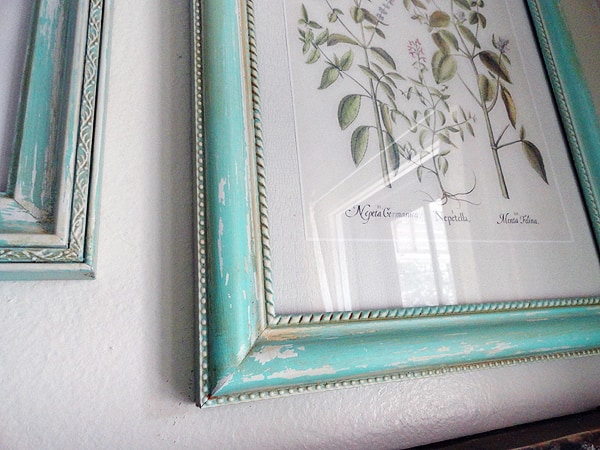
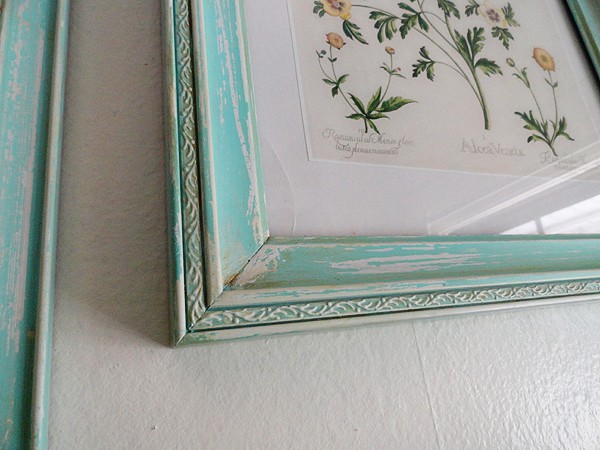
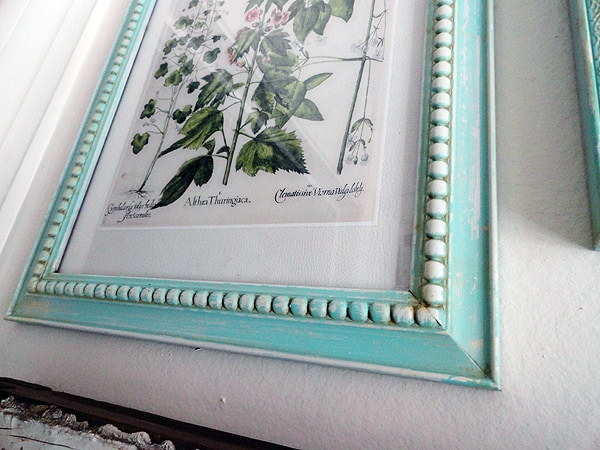
What happened was I needed to decide which paint color to use, so I grabbed a plain wood plank and sprayed it with primer. When it was dry I painted two sections with the different colors. Apparently I was a bit impatient when I put the glaze over the top, because when I wiped it off, some of the blue paint came off too. That’s when I realized how cool this mistake really was!

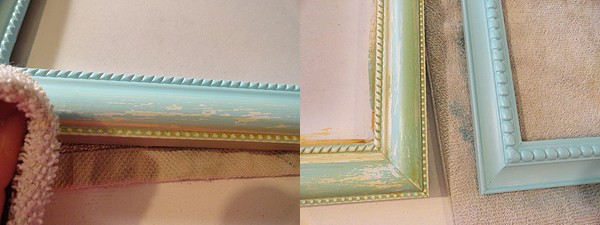


Let me know if you try the method I described here to create a faux paint peel. I know I’ll be trying it again!
- Watercolor Luminaries - February 11, 2025
- Free Valentine Printables: Cards, toppers, and tags - February 4, 2025
- Valentine Hugs - January 31, 2025


mollie says
are the frames wood or plastic? does it matter?
Amanda Formaro says
I don’t think they are real wood, but maybe that pressboard material. As long as you sand them and prime them they should be fine :)
carole roseman says
What did you use to prime them with exactly?
They look wonderful…..
Amanda Formaro says
Hi Carole! I used a white primer from Krylon – http://amzn.to/2FazGg4
Cindi Witker says
Love your picture frames and the old window!
I recently refinished a big chest – like a hope/cedar type chest, about 4 feet long.
I had painted it several times over the years, it is made from a cheap wood that I had to assemble and bought from a discount store. So you get the picture, it is not a valuable piece.
However there is something I love about it. So I did a chalk paint finish with chalk paint that I made myself from a recipe I found on line. Then I distressed it with sand paper.
Now it has another life – again!
Just wanted to share, thank you! Cindi
Amanda Formaro says
Your hope chest sounds wonderful Cindi! I love projects like that :) thanks for sharing!
Dee says
I’m sorry, I’ve got to say something. Pet peeve, I guess. it’s “accidentally” not “on accident”.
Amanda Formaro says
;)
Jennifer @ Town and Country Living says
These are so pretty! Love the color.
Amanda Formaro says
Thanks Jennifer!
Kristen says
I have some plain wood craft frames purchased from Michaels. Do you think the tinting is a good idea for something like that? Just use the same method, right?
Amanda Formaro says
I don’t see why not kristen :)
Roxanne says
I really love everything you have done. And sharing!!! Thanks so much!
Elizabeth@ Blue Clear Sky says
Lovely old window and the prints are pretty in the robin’s egg blue frames too. They look lovely grouped like that. I am currently using robin’s egg blue on a thrifted pine bread box and I love the colour.
Camille says
Love it! I need to try it now.
Michelle says
Found you on pinterest………love this project. Beautiful color! Woo Hoo a new blog to follow:)
Amanda says
Thanks Michelle, glad you found me! :)
gail says
Amanda–your frames turned out great. The color is perfect with the botanical prints.
great tips!
gail
admin says
Thank you so much Gail!
Patty says
I just finished these and they came out great. love love them. thanks so much Amanda, you’re the best!!
admin says
That’s awesome patty!
Rachel says
Did you use acrylic paint? I live in the country and don’t have access to the Martha Stewart paints. Also, what type of glaze should I be looking for?
admin says
Yes the Martha Stewart paint is acrylic, so you can use your favorite brand. I did use the Martha Stewart tintable glaze pictured in the post, but there are plenty out there. Another good one is glazing medium by Americana :)
Jill says
Love this look! And I’m totally jealous about the beautiful window. Can’t believe you paid $10 for it!! Great site – bookmarked it for later. Thanks!
admin says
I know! $10 was a steal!
Kathy says
OMG, I am so impressed with your creativity!! The frame paint/glaze is so pretty! If you don’t mind me asking, what kind of glaze do you use (I’ll go back to look again since I may have missed it!)? ALSO, love the use of gift boxes for matting! I have a ton of those & I’m all about re-using, re-purposing!! :)
Blessings—Kathy
PS—-I’m your newest follower & so glad to have found you via Pinterest!!!
admin says
Hi Kathy, and thanks! :) The glaze I used on this project was martha stewart tintable glaze tined with the brown paint pictured in the post :) So glad you found me too :)
LynB says
This is a fabulous technique and I must give it a try! I’m all about getting the vintage/shabby look in as little time as possible!
Noahla says
very creative!!!!! I love the colors!! It’s amazing how different those frames looked!! Beautiful!!!
admin says
Thanks so much Noahla!
Maria says
So beautiful! I love that color, and those botanical prints are lovely too!
Gayle Shepherd says
The frames look amazing. I never would have guessed $5 walmart frames!
brandi says
I love the look of your frames! Your farmhouse window is gorgeous as well! Visiting from Skip to my Lou! Congrats on your feature!!
admin says
Thanks so much Brandi!
troika says
the original ideas and techniques you used are inspiring and wonderful and you made beautiful execution. however, as a composition-minded artist (arrangements), i would have enjoyed the wallscape so much more had you hung all three frames even with each other. the higher one in the middle makes the arrangement look odd and keeps my eye jumping.
congrats on your eye when searching vintage items–inspired choices. too bad you have to shop at the evil empire for your new supplies.
thanks for the post and exquisitely manifested instructions.
Troika
admin says
Thanks for your feedback Troika! I like the frames the way they are, I think it’s more visually interesting. :) The frames are not all of equal size, so it worked better this way.
Wanda Dickey says
I like your arrangement better than straight across. More pleasing, less structured. Beautiful ideas!
Amanda Formaro says
Thank you Wanda, I appreciate that! :) :)
Kelsea Keith says
I think these are so cool I can’t wait to try!
Erika says
Stunning! I’m impressed with the gift box mattes.
JILL S. says
I love the way your frames turned out. The old window looks beautiful and the entire arrangement is so lovely. You really have “the” touch to decorate. Thanks for showing us!
admin says
Thanks so much Jill!
admin says
Thanks os much jill!
Angie @ Bigbearswife says
I love that look!! OO and that barn window! ooo I’m so in love with that whole set up! I never thought of using recycled gift boxes, you’re so creative! Love the color too!
Sandi says
Great job. Love the look. Don’t you just love when things just come together.
Kathy says
I have wanted to ‘antique’ a bedroom dresser, in white. I think this would work? My concern is getting a consistent finish on a large piece, any suggestions?
admin says
The only thing I can suggest would be to work in sections. Don’t try to apply the glaze to too large of an area or it will be too dry by the time that you get back to wipe it off. :)
Nancy says
Love everything about this. Thanks for sharing ALL the ideas. I have a very hard time thinking up creative ideas, but I am pretty darned good at copying!
Maria says
You are too crafty for words! Love it!
admin says
Thank you maria! :)
Renee @ Rustic Crafts & Chic Decor says
Hi Amanda,
I really love this display!! Your prints look fabulous and that old window was such a great find.
I just started a brand new themed link party just for rustic or shabby chic projects. I would love to have you share this project by linking up – http://rustic-crafts.com/?p=5388
admin says
Thanks so much for the compliments Renee!