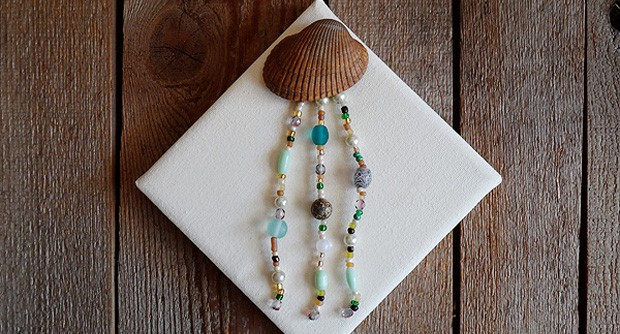
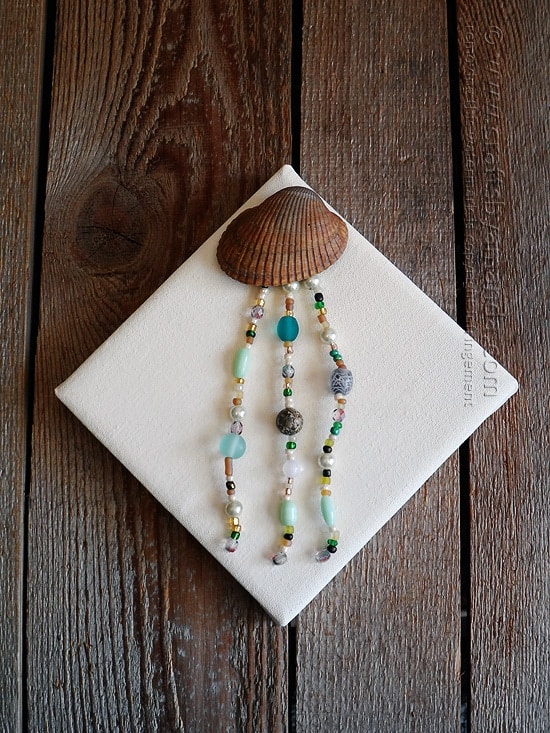
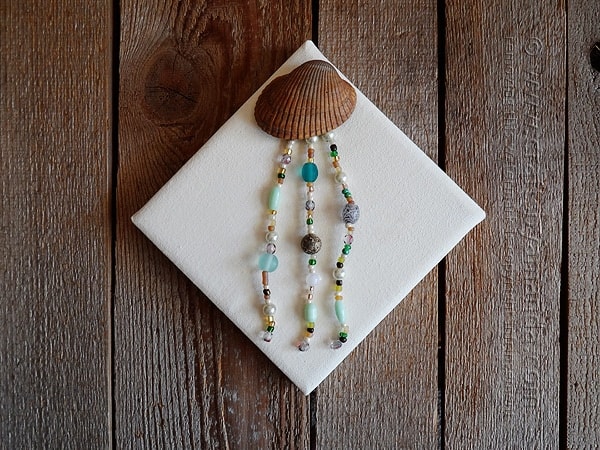
I have a coastal theme happening in my house these days. I’m slowly moving away from rustic country decor to full on rustic coastal. I’ve painted most of the house in cool coastal colors, and am slowly but surely switching out everything I’ve made over the past 6 or 7 years. I have a boatload of seashells to use up, but I didn’t want to do the basket of seashells that just about every beach themed bathroom has. Instead, I’d like to use them in more interesting ways. That’s when this jellyfish idea popped into my head.
I don’t make jewelry (yet) but I do have a lot of beads. When I’m browsing in a thrift store or perusing a garage sale, I always look at the jewelry. Most of it I would never wear, but I always check out the beads because I’m totally fine with dismantling a piece of costume jewelry to give it a different life form.
I’m also lucky enough to have a crafty friend, Deana, (that I don’t see near enough!) who primarily makes jewelry. On occasion she will bring over a supply of beads and let me pick out a bunch to keep. Several of the beads on this jellyfish were courtesy of her generosity.
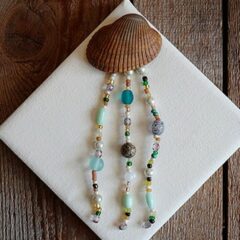
This is a really easy project, no jewelry making experience required. All you need are some beads, a seashell and some elastic cord. Oh, and of course a piece of canvas to mount it on, or you could use a wood plaque if you prefer.
As always, full printable supply list and instructions are at the end of this post. For this project, you will need:
Beads in various sizes, natural and coastal colors (these are pretty)
Stretchy elastic jewelry cord
1 seashell
5-inch square canvas
Cream colored paint
Scissors
Hot glue gun
First, you’ll want to paint your canvas or wood plaque and set that aside to dry while you are assembling the jellyfish.
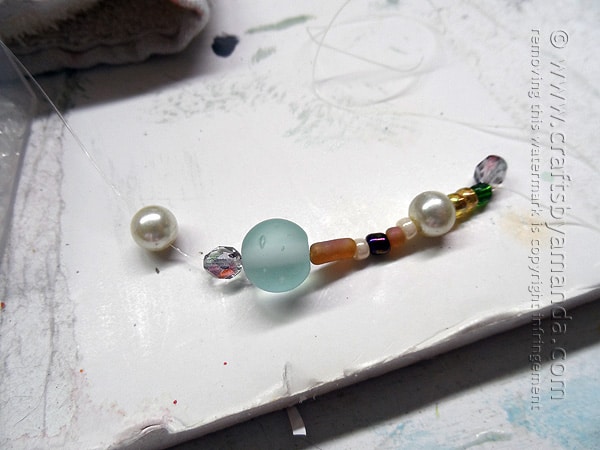
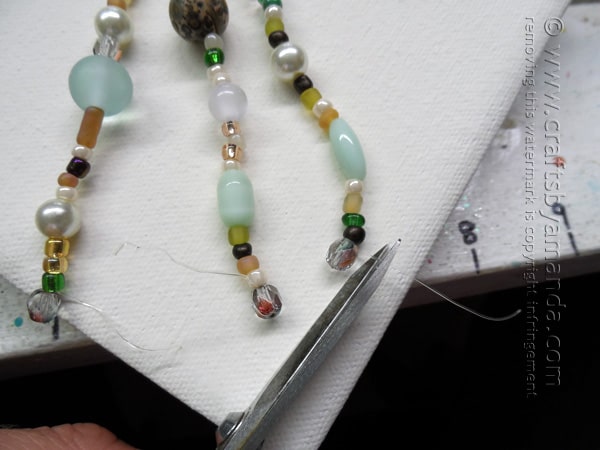
Cut 3 pieces of elastic cord, about 9-inches each. Take one of those cords and thread a medium sized bead onto the end. Run the cord back through the bead and second time and tie a knot. Turn the cording so that the knot lines up with the hole in the bead. This will allow the end bead to hang correctly with the rest of the beads.
Thread beads onto the cord however it pleases you. I varied sizes, putting 4-5 seed beads in between the larger beads to give it variation. You want to have about 4-5 inches of beads on the cord. Tie off the final bead by running the cord through the bead twice and tying. Repeat with the other two cords.
Position the beaded cords on the canvas. I found it easiest to tie all three together at the top. Once you know where you want them, trim any extra cording from the bottom and top and tack down with hot glue. Hot glue the shell over the top of the bead cords. Hang!
More coastal & beach crafts
If you like coastal decor and beach crafts, check out all of my beach craft ideas here. Otherwise, I’ve picked out a few of my favorites below for you to peruse :)
Beaded Seashell Jellyfish on Canvas
Supplies
- Beads in various sizes natural and coastal colors
- Stretchy elastic jewelry cord
- 1 seashell
- 5- inch square canvas
- Cream colored paint
- Scissors
- Hot glue gun
Instructions
- Paint the canvas with one coat of a cream colored paint of your choice. Set it aside to dry.
- Cut 3 pieces of elastic cord, about 9-inches each. Take one of those cords and thread a medium sized bead onto the end. Run the cord back through the bead and second time and tie a knot. Turn the cording so that the knot lines up with the hole in the bead. This will allow the end bead to hang correctly with the rest of the beads.
- Thread beads onto the cord however it pleases you. I varied sizes, putting 4-5 seed beads in between the larger beads to give it variation. You want to have about 4-5 inches of beads on the cord. Tie off the final bead by running the cord through the bead twice and tying. Repeat with the other two cords.
- Position the beaded cords on the canvas. I found it easiest to tie all three together at the top. Once you know where you want them, trim any extra cording from the bottom and top and tack down with hot glue. Hot glue the shell over the top of the bead cords. Hang!
This post contains affiliate links, which means if you click through and happen to purchase anything, I will earn a small commission which goes toward keeping these tutorials free for you. :)
- 30+ Organization Ideas and Tips - January 14, 2025
- Makeover: Plastic Storage Drawers - January 3, 2025
- Paint Stick Snowmen - December 31, 2024


Jane says
This is a cute home decor idea & I love it. The first look I didn’t see the canvas. I saw a pendant on a leather cord. Can I borrow your idea for this?
Amanda Formaro says
Hi Jane! I’m glad you like it :) By borrow, do you mean can you make it for personal use? If so, then yes :)