

Yesterday I stopped by my friend Butch’s farm and said hi to some of his many dairy cows. So today I thought it was fitting to share my cardboard tube cow with you, the 3rd in the Farm Series of cardboard tube crafts. You’ve already met the pig, the chicken, her chicks, and the sheep. So today I’ll show you how to make this cute little Holstein.
First, say hi to some of Butch’s cows. These lovely ladies live a couple miles down the road from me.
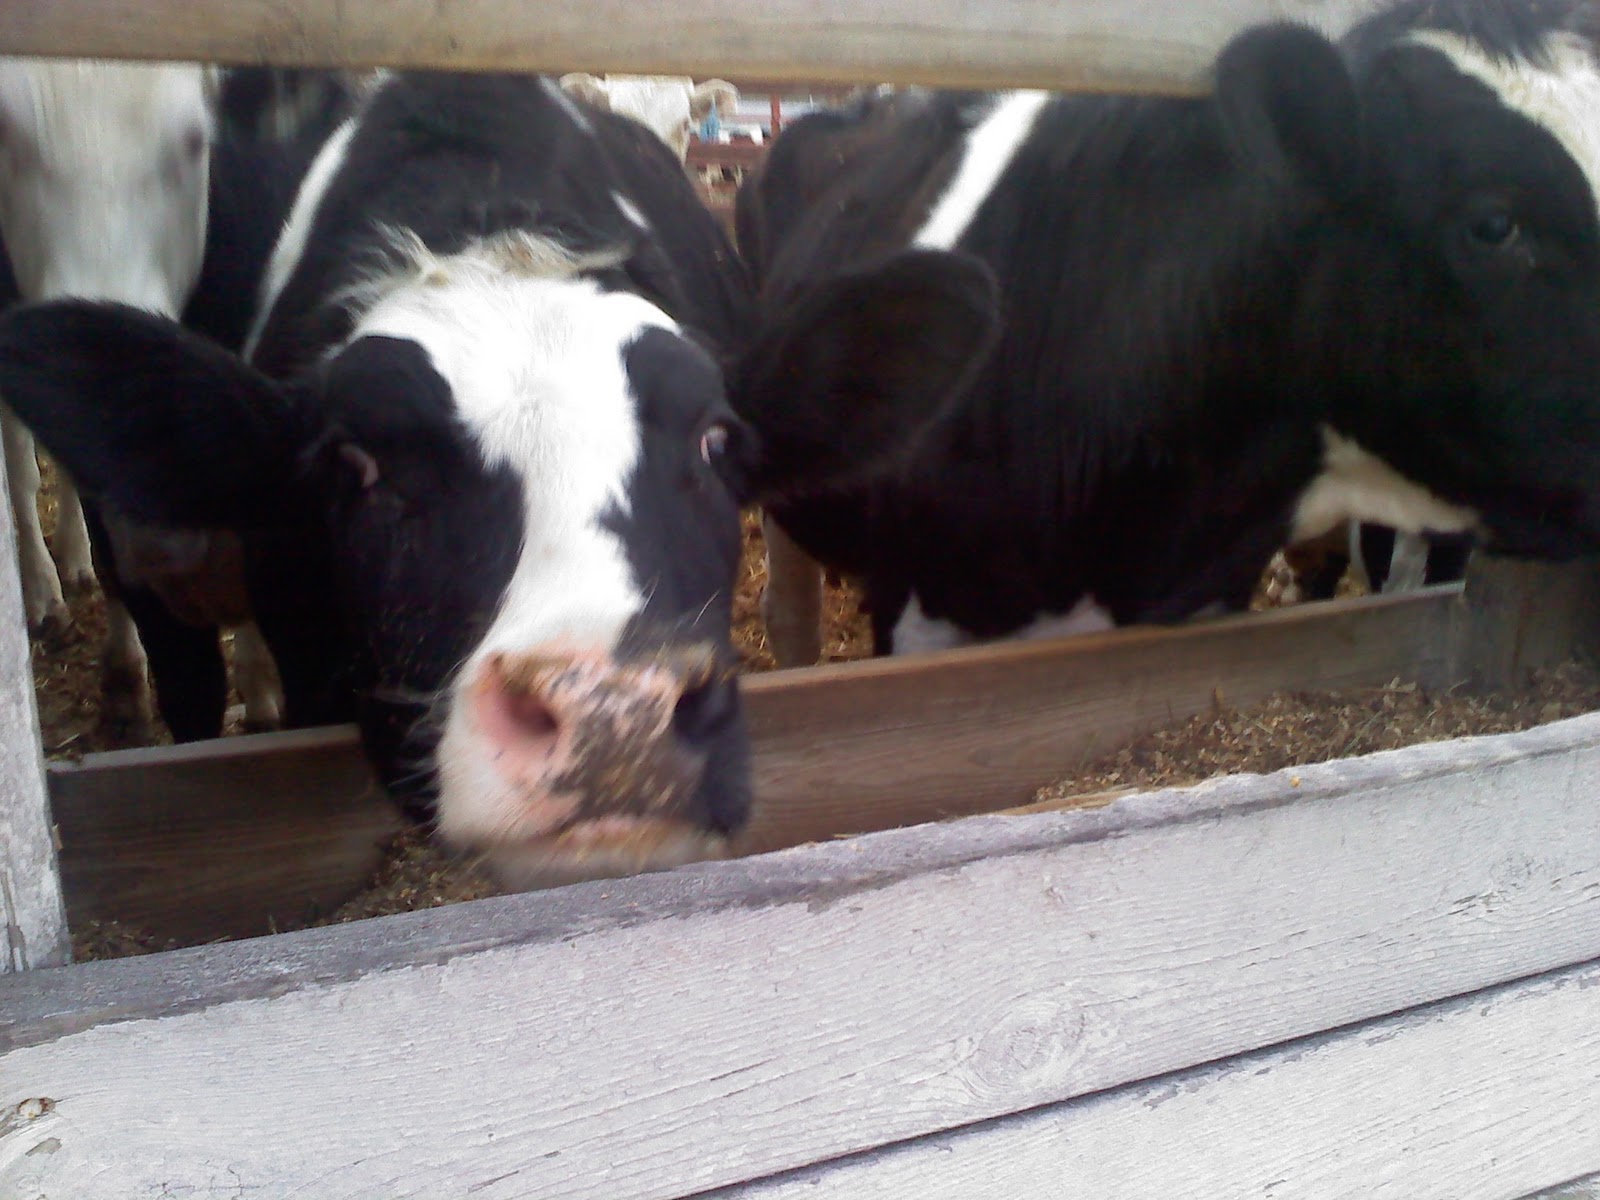
Here’s Butch’s farm. His family has been farming in this area since the 1800’s.

So now you know why I was inspired to create a series of farm animals, I’m surrounded by them! Now let’s get on with the tutorial. :)
Cardboard Tube Cow
Cardboard tube, cut to about 3″
Acrylic paint: pink, white, and black
2 white chenille stems
Spouncer (round sponge applicator)
Scissors
White craft glue or glue gun
Black Sharpie marker
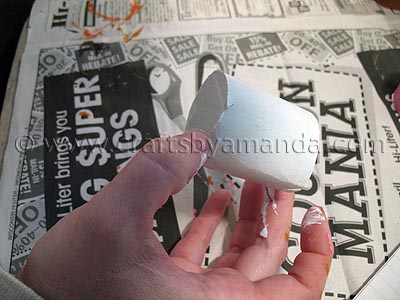
Paint the tube inside and out with white paint and let it dry.
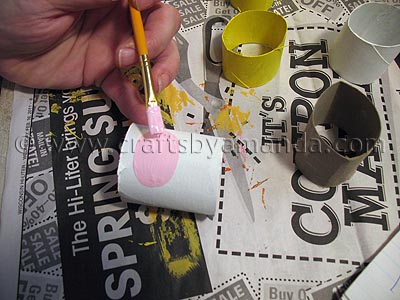
Paint a pink oval on the front for the nose.
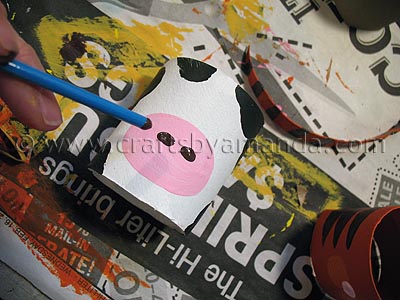
Use a small round sponge applicator![]() to add black splotches. Just dip it in black paint then press, twirl, spread, whatever you want, to get the effect of splotches. Dip the handle end of a paintbrush into black paint and add the nostrils. You can also use a Sharpie for this step.
to add black splotches. Just dip it in black paint then press, twirl, spread, whatever you want, to get the effect of splotches. Dip the handle end of a paintbrush into black paint and add the nostrils. You can also use a Sharpie for this step.
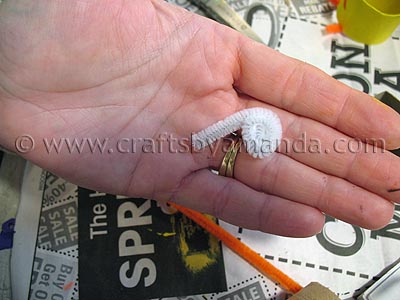
Cut 2 1/2″ off of each white chenille stem. Set the long pieces aside and make the ears from the two shorter pieces. See the picture above. Just coil one end and leave a little bit of it straight.

Glue the ears in the top of the tube, the straight piece goes on the inside of the tube.
Cut the two longer pieces in half so that you have 4 pieces. Coil those around the handle of a small paintbrush and glue them inside the bottom of the tube for the legs.
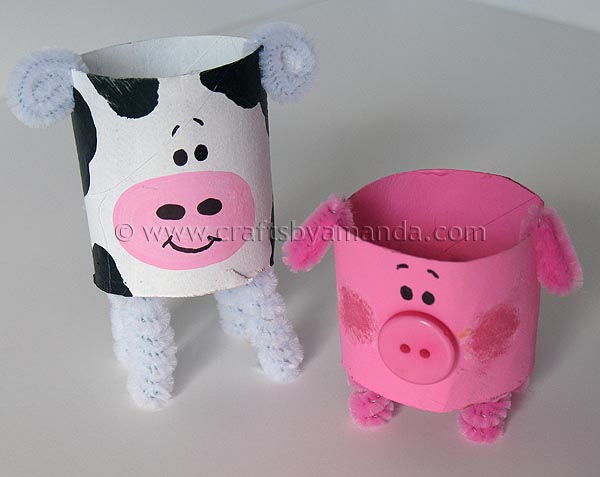
Use a Sharpie to add eyes, eyebrows and a smile. Shown here with his piggy friend. Get the tutorial for the cardboard tube pig here.

Cardboard Tube Cow: The Farm Series
Supplies
- Cardboard tube cut to about 3"
- Acrylic paint: pink white, and black
- 2 white chenille stems
- Spouncer round sponge applicator
- Scissors
- White craft glue or glue gun
- Black Sharpie marker
Instructions
- Paint the tube inside and out with white paint and let it dry.
- Paint a pink oval on the front for the nose.
- Use a small round sponge applicator to add black splotches. Just dip it in black paint then press, twirl, spread, whatever you want, to get the effect of splotches. Dip the handle end of a paintbrush into black paint and add the nostrils. You can also use a Sharpie for this step.
- Cut 2 1/2" off of each white chenille stem. Set the long pieces aside and make the ears from the two shorter pieces. Just coil one end and leave a little bit of it straight.
- Glue the ears in the top of the tube, the straight piece goes on the inside of the tube.
- Cut the two longer pieces in half so that you have 4 pieces. Coil those around the handle of a small paintbrush and glue them inside the bottom of the tube for the legs.
- Use a Sharpie to add eyes, eyebrows and a smile.

Did you enjoy this post? Why not subscribe to my feed, or better yet, to my free newsletter – Foodie in the Craftroom, which provides not only crafts but recipes from my other blog, Amanda’s Cookin’ as well!
- Mini Coastal Clay Houses - July 14, 2026
- DIY Mosquito Repellent Candles - July 10, 2026
- Mason Jar Solar Lights - July 3, 2026


Laura Ingalls Gunn says
I absolutely adore this project! I am hosting a Springtime Craft and Project linky party today and I would love it if you would particpate.
There is a giveaway involved. :)
creativejewishmom/sara says
adorable Amanda, you've definately cornered the market on tp tube crafts! thanks so much for sharing on Craft Schooling Sunday!
RedTedArt says
You think you have seen them all and then you come up with another idea!! ;-)
Maggy
Robin@DecoratingTennisGirl says
Cute as can be! I am next to you at Met Monday.
[email protected] says
Gah- so cute! I love those little ears! Thanks so much for another adorable how-to, I'll be linking.
Tami says
So sweet! You're lucky to have farms so close by!