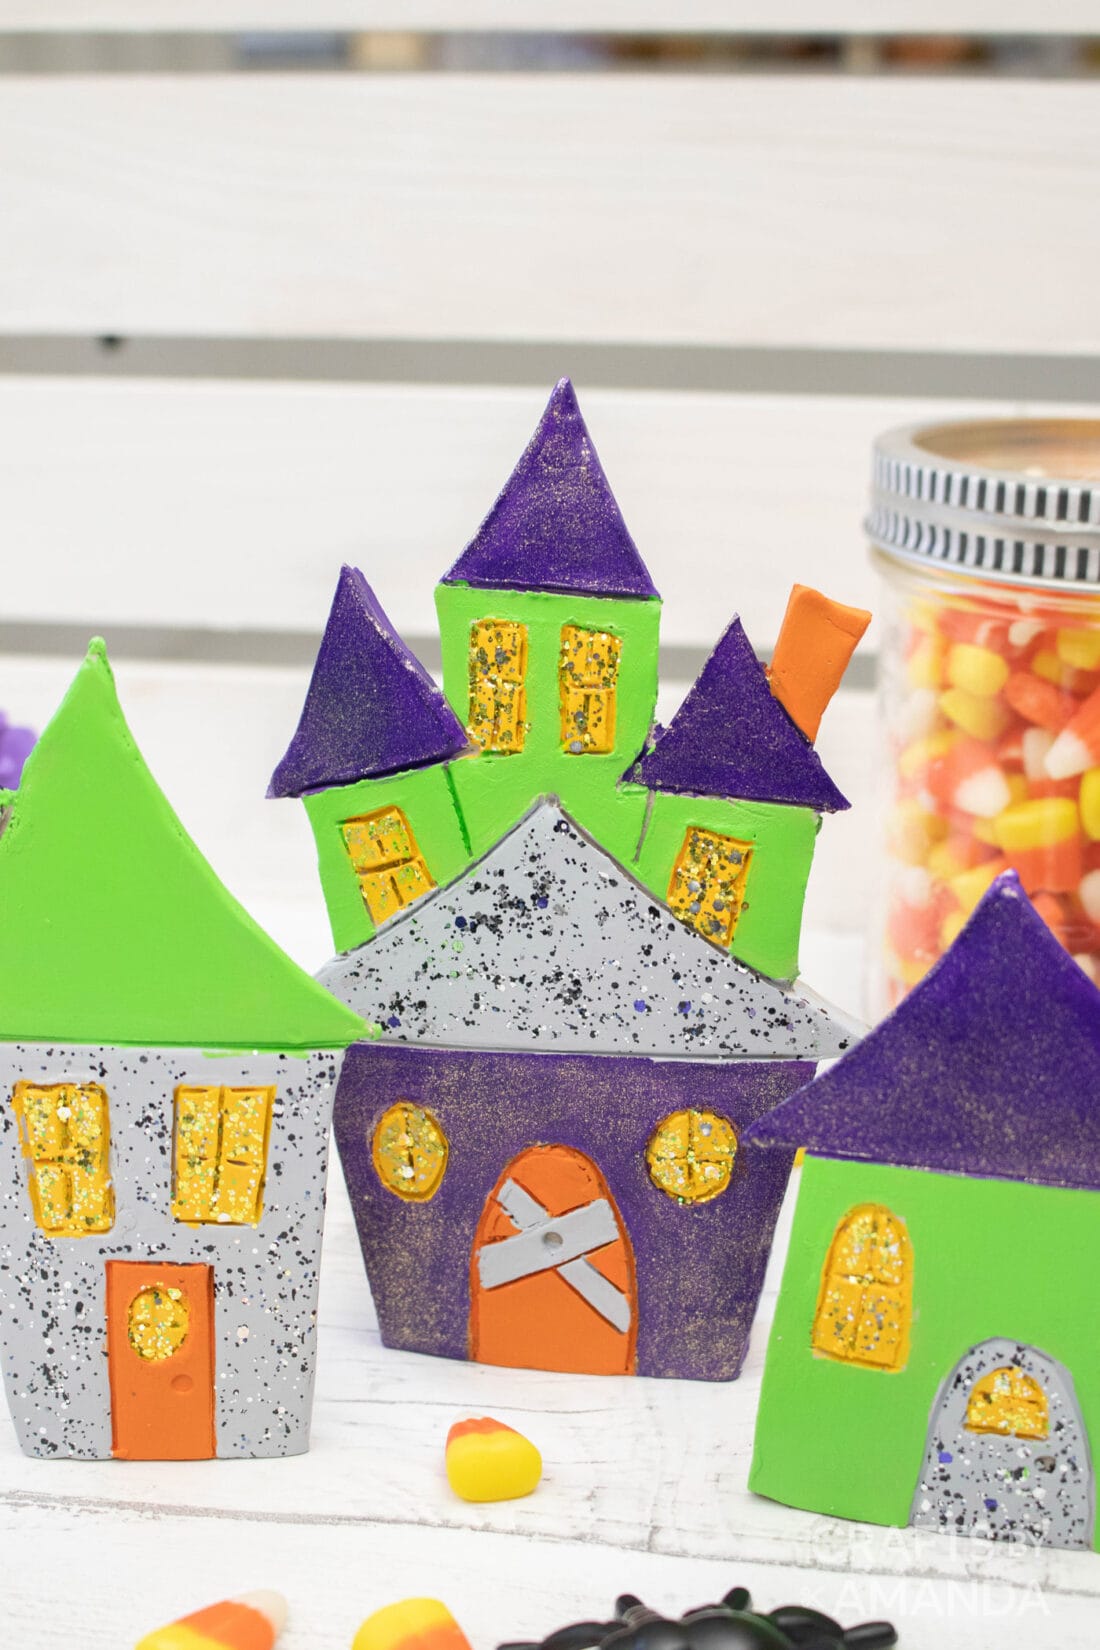
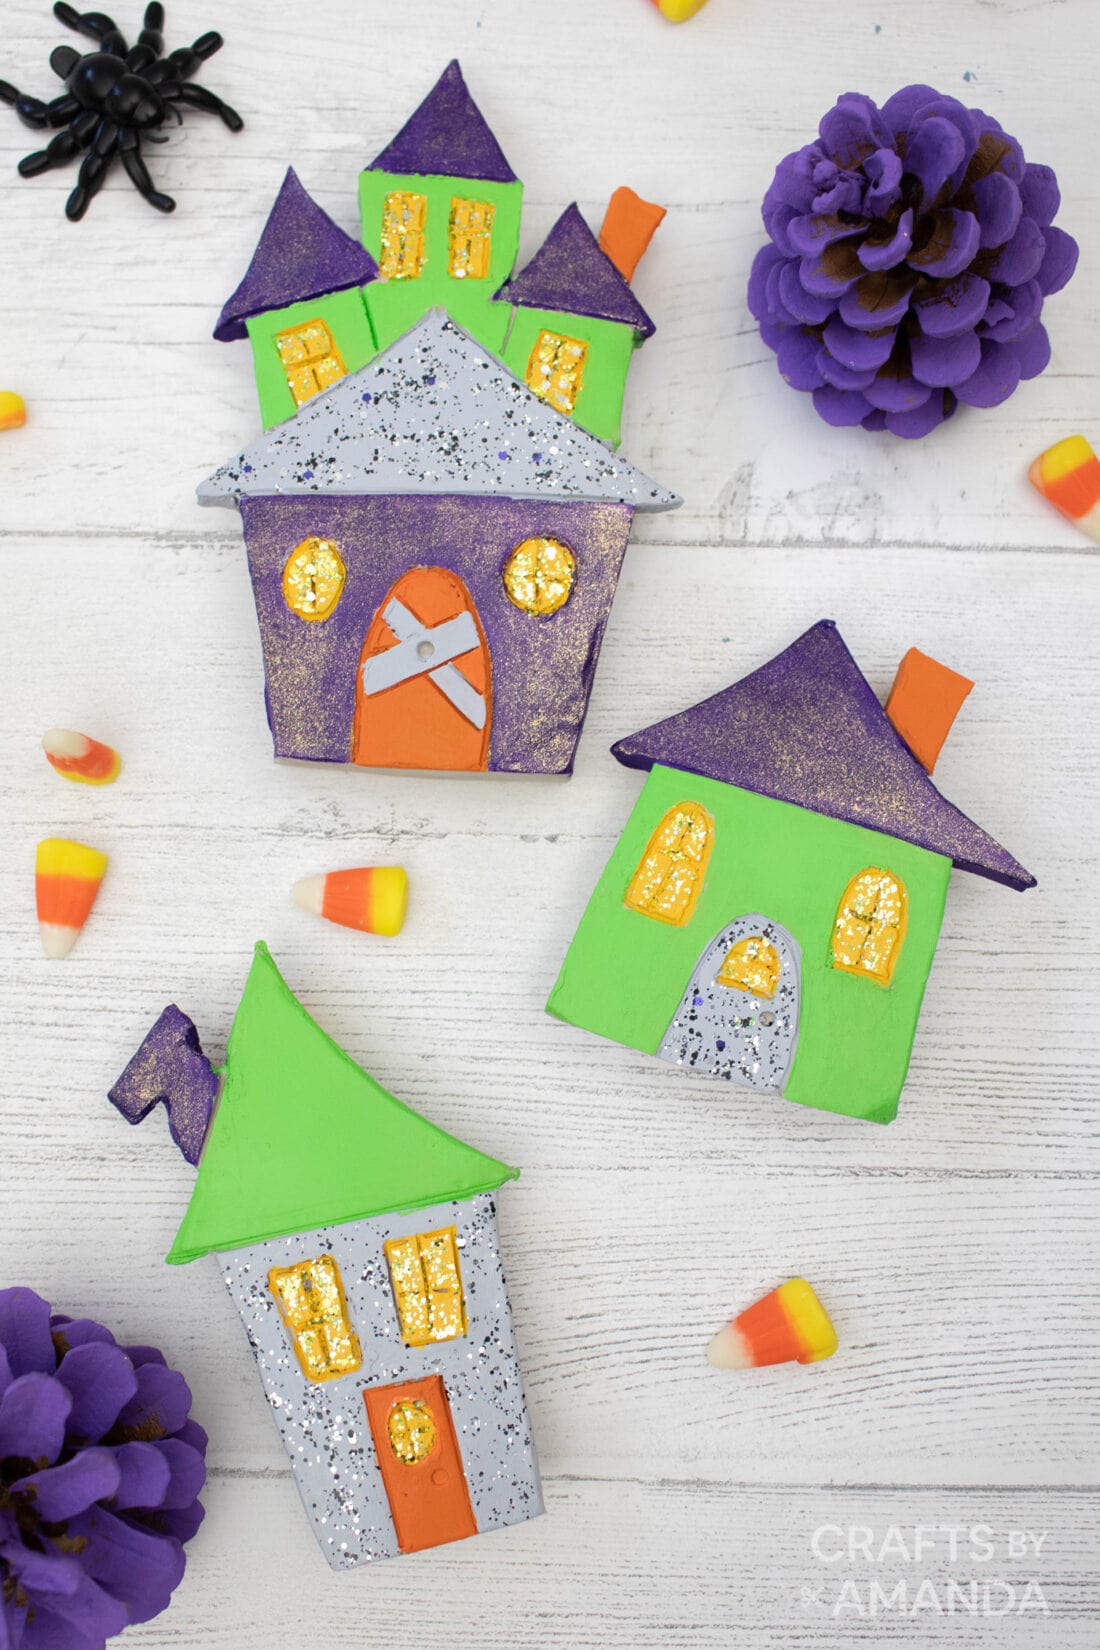
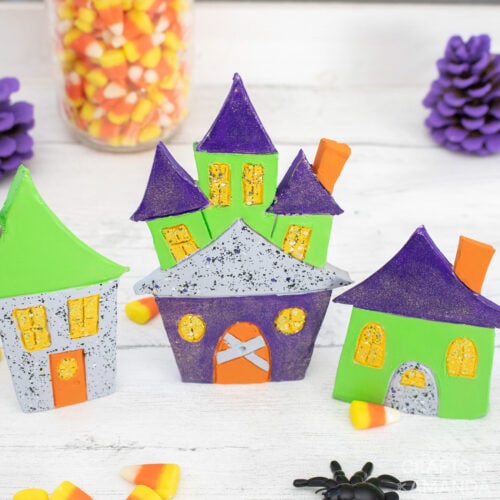
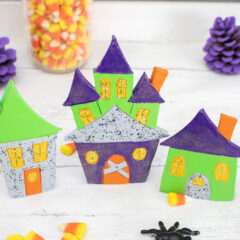
Using air-dry clay, paint, and a template you can create your own clay Halloween village to display throughout the house!
Why we love this project
This clay Halloween village is far from frightening, in fact, painting them in the holiday’s iconic colors like orange, green, and purple makes them that more fun. You can of course paint the houses black or whichever color you’d like and even add in some stripes or painted bats for a more eerie and mysterious approach.
How cute would one of these houses be placed inside a Halloween terrarium like the one we made last year? Kids can easily join in on the fun with this project, it would make a great craft day activity for all ages.
Helpful Project Information:
- Age Level: 10 and up (supervised with use of a utility knife)
- Mess Factor: Medium (paint)
- Level of Difficulty: Easy
- Time to Complete: Less than 1 hour, plus 24 hour dry time for clay
- Cost Estimate: Less than $10.00 depending on the supplies you have on hand
Craft supplies you will need
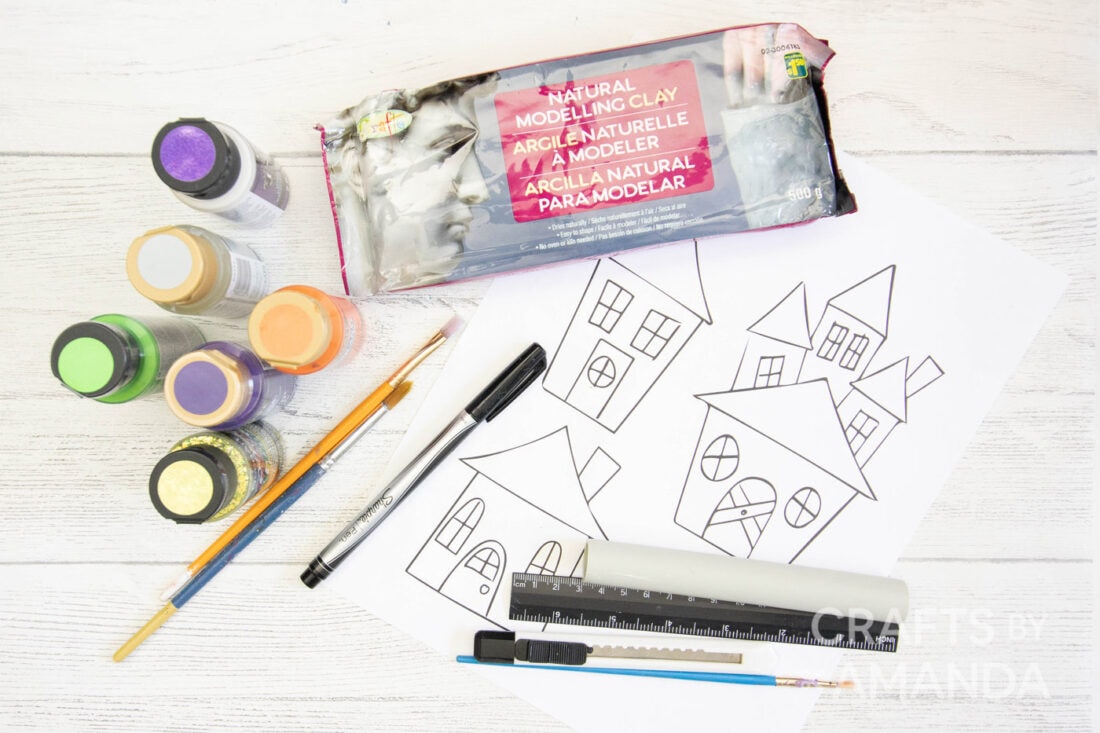
Get full list of supplies and directions in the printable version at the end of this post.
How to Make a Clay Halloween Village
These step by step photos and instructions are here to help you visualize how to make this project. Please scroll down to simply print out the instructions!
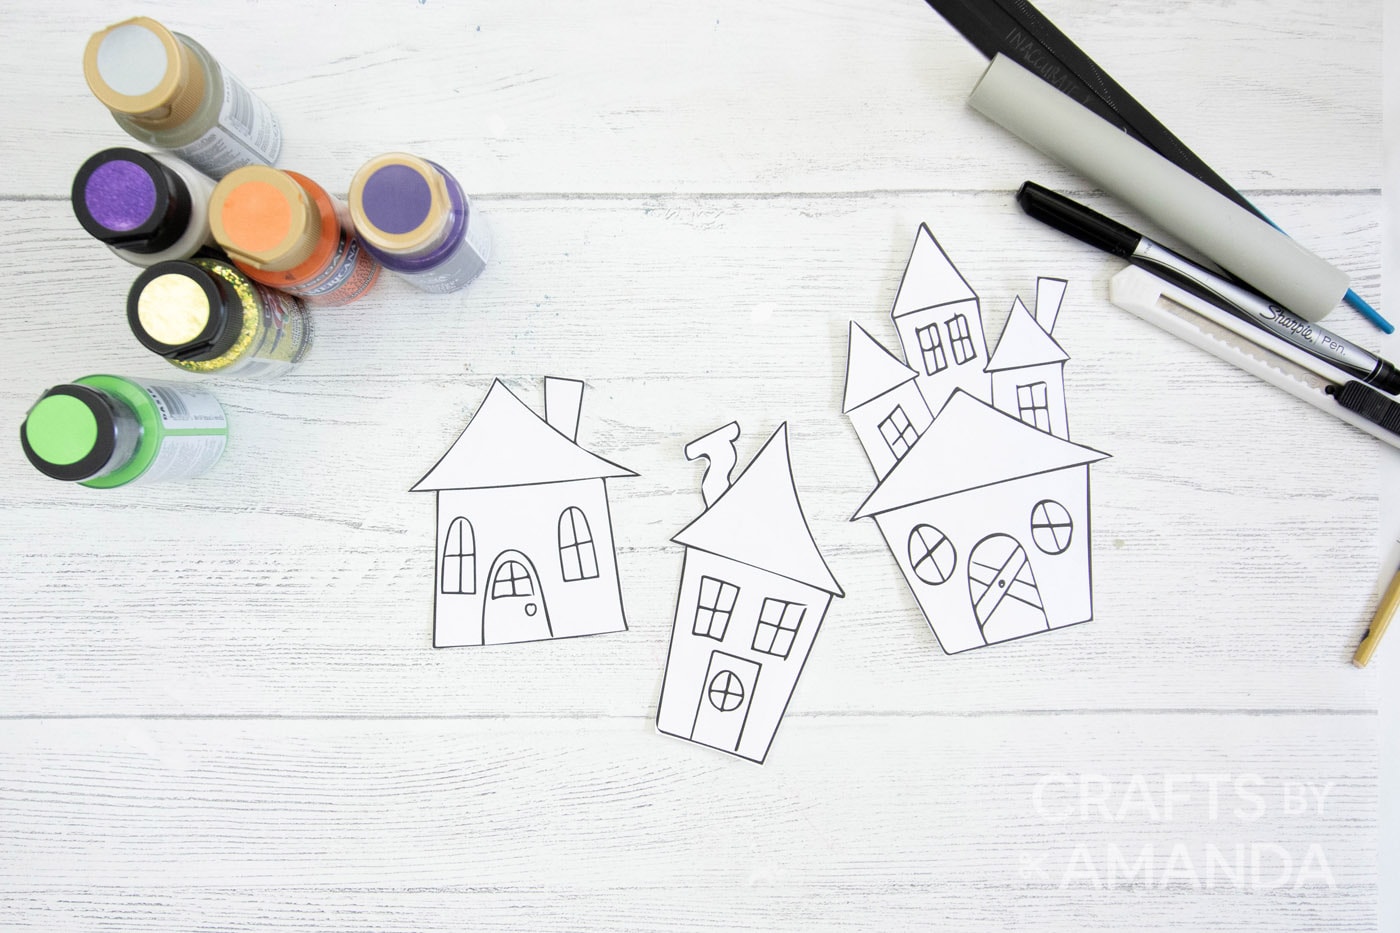
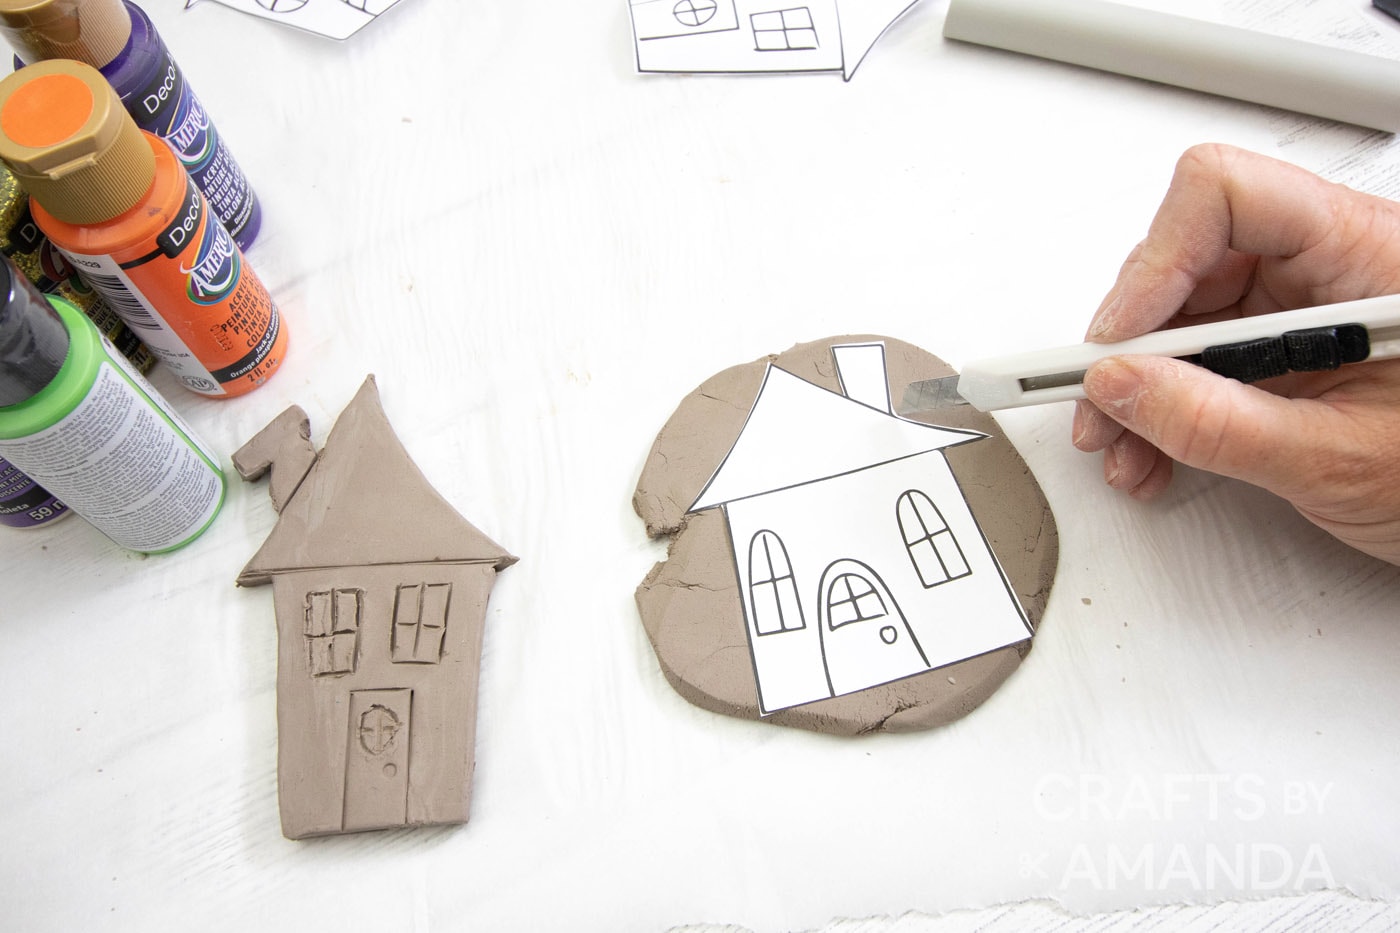
- If using, download and print out the house templates. Cut them out with scissors to use as a guide when making the air-dry clay houses.
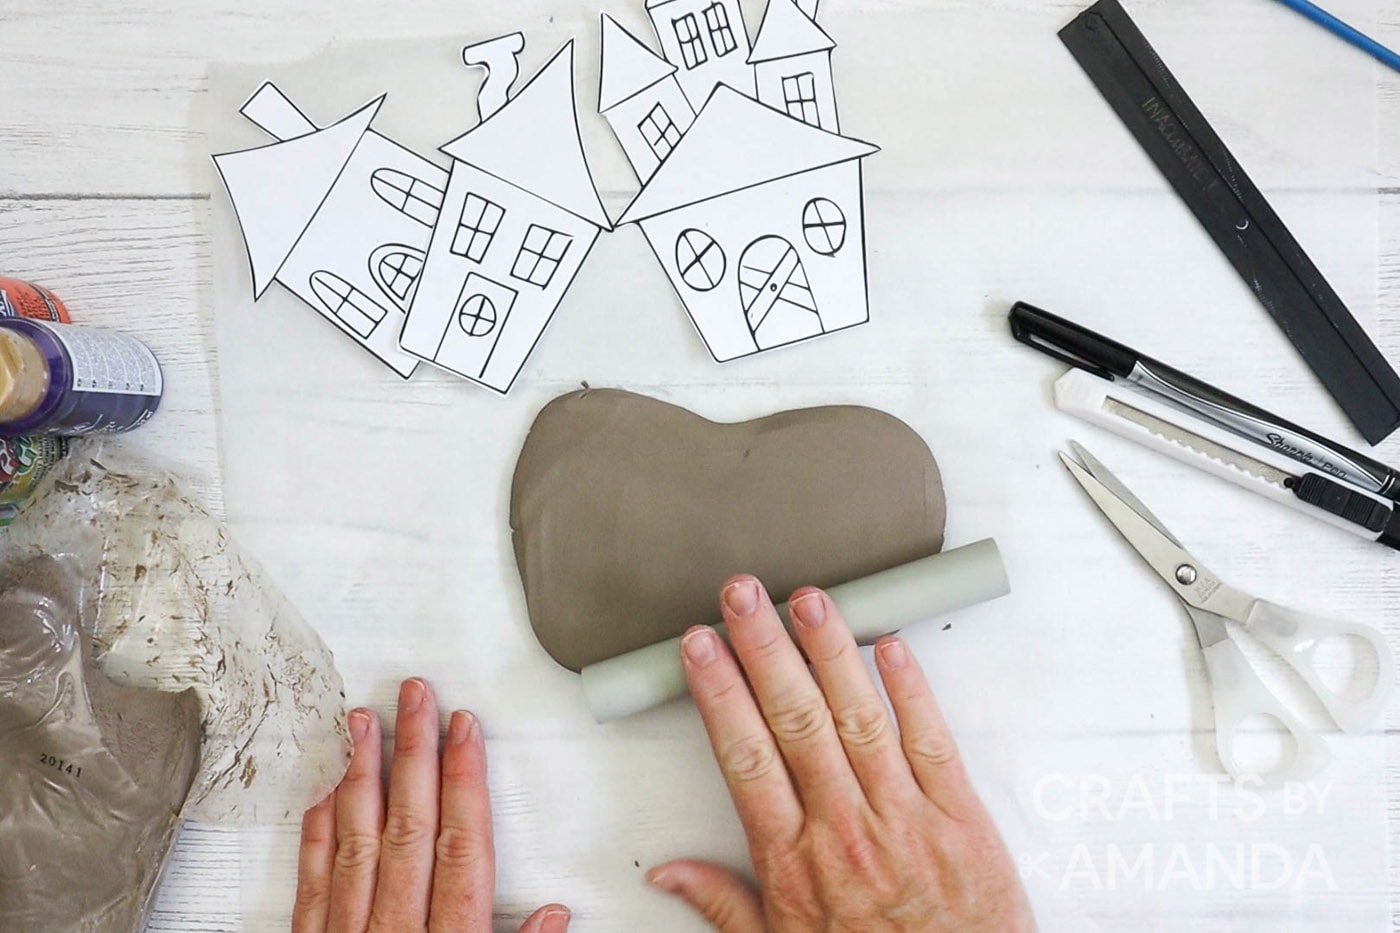
- Remove enough air-dry clay to make one house (about 1⁄3 of the package). After kneading to soften, use a rolling tool and roll out a disc about 1⁄4” thick.
- Place one of the house templates on the disc and cut out the shape using a sharp utility knife.
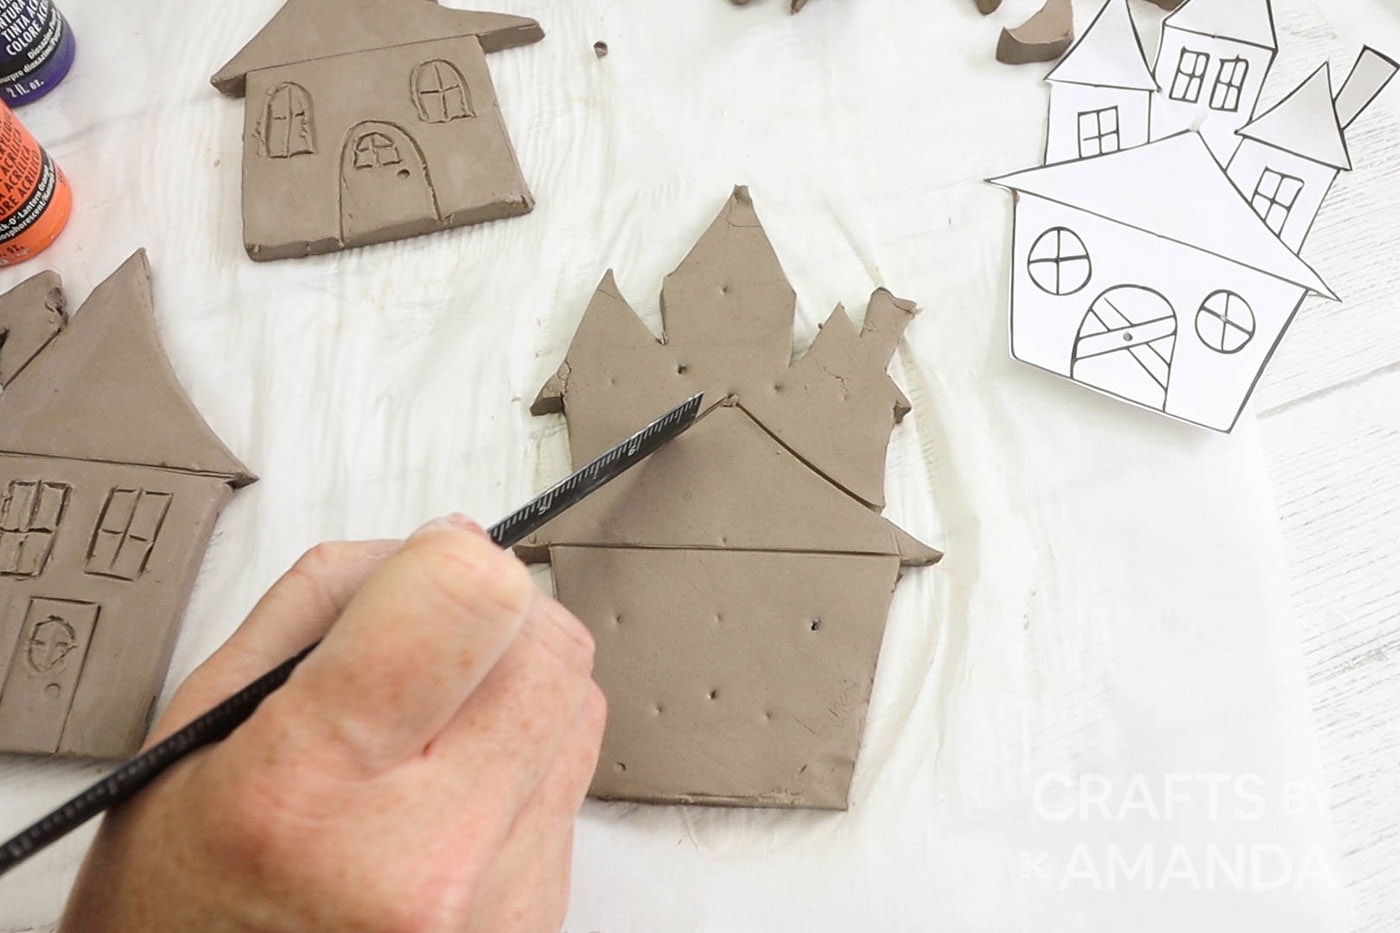
- Using your forming tools, add the details to the houses referring to the templates as guides. If needed, use water and your hands to smooth out any rough edges or wrinkles in the clay.
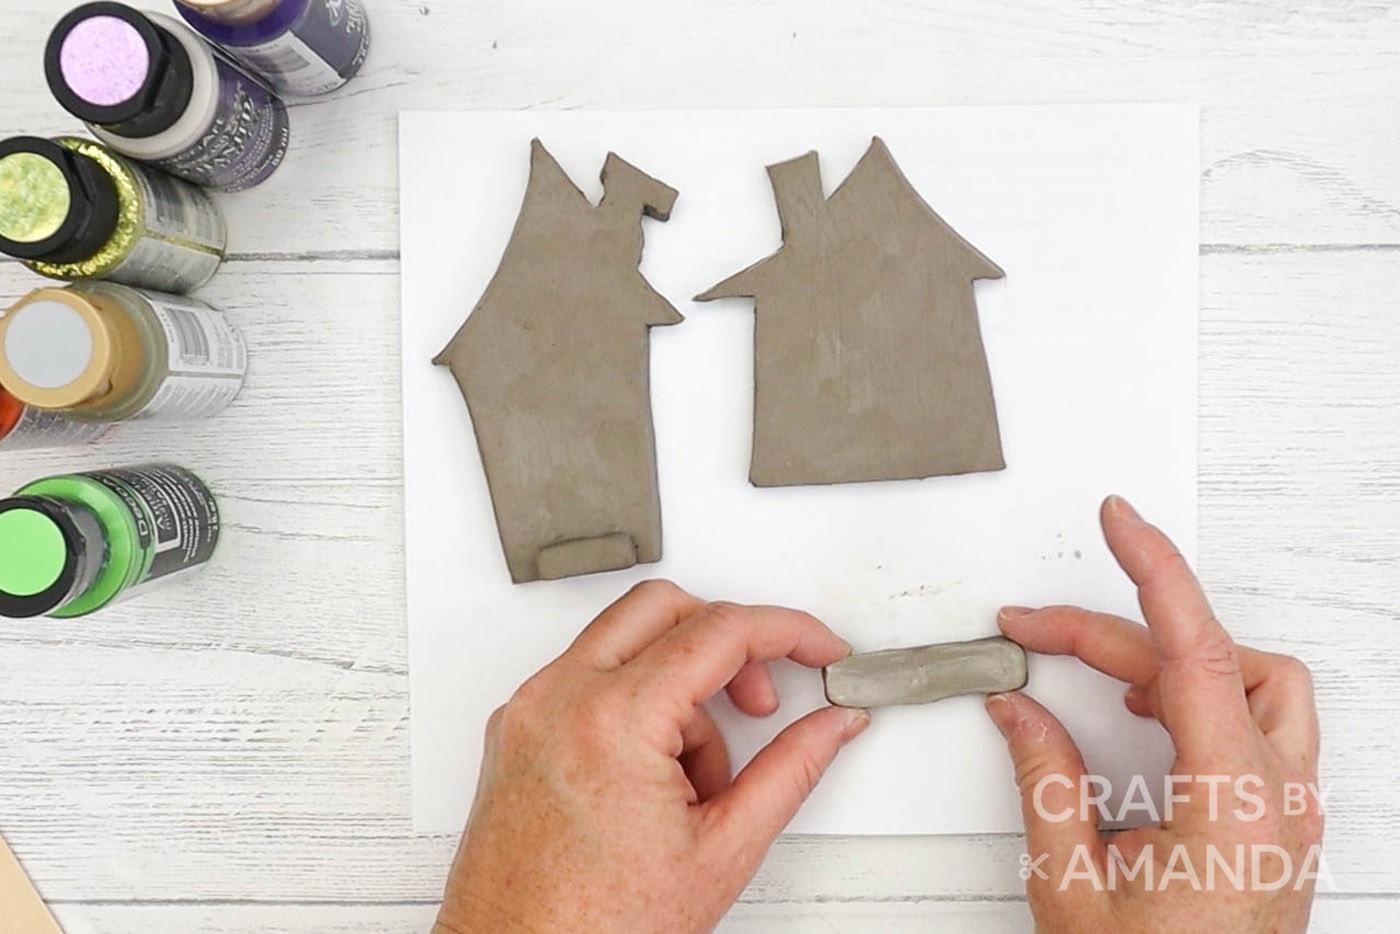
- Add a small rectangular base to the back of each house so that they’ll be able to stand on their own once dried.
- Set the houses aside to dry (24-48 hours), turning them on occasion to minimize curling.
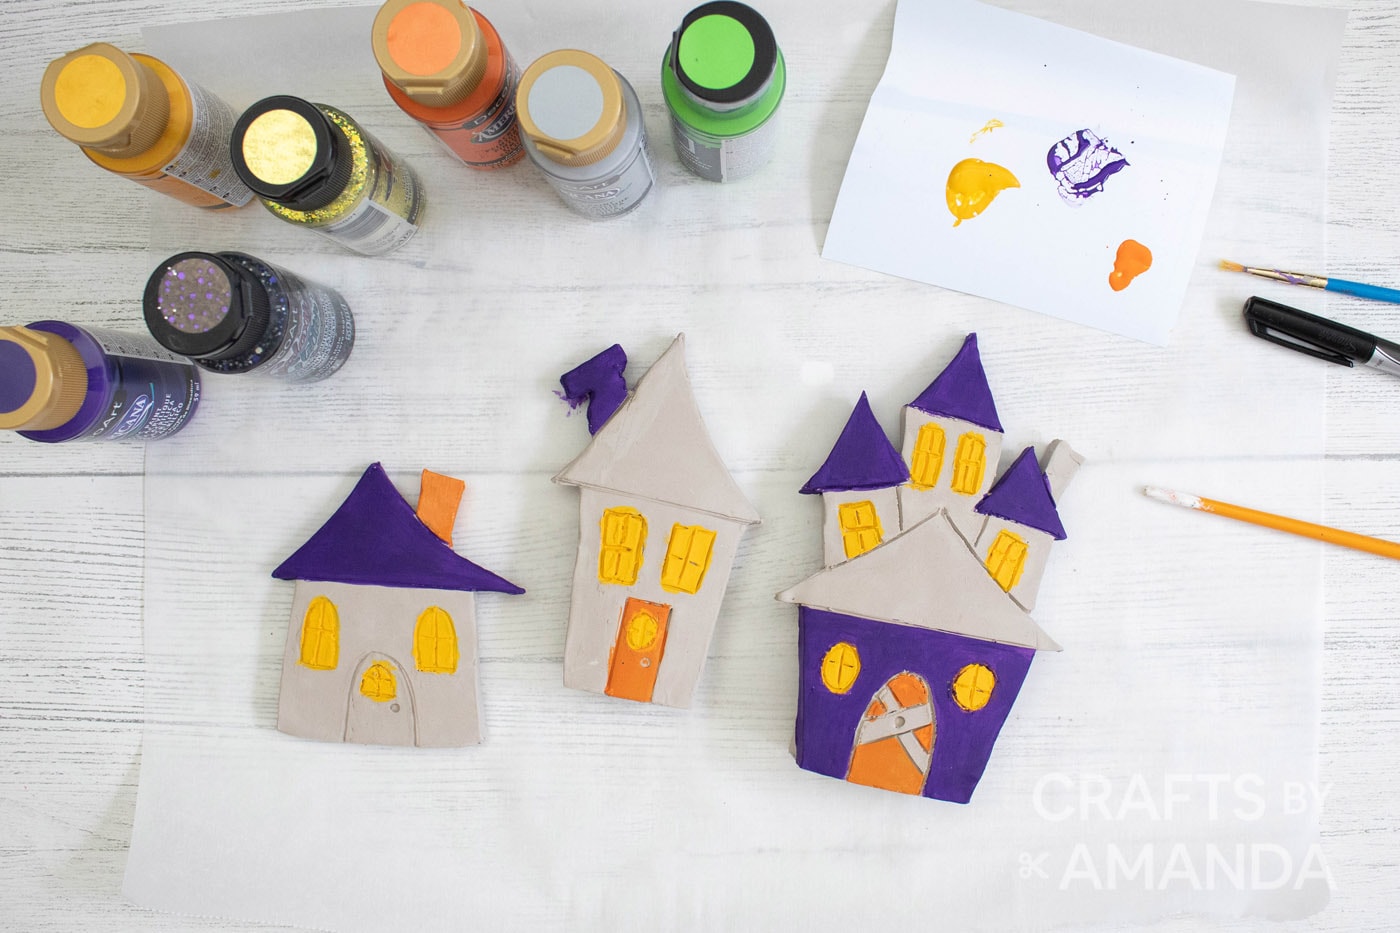
- Paint inside the windows with yellow.
EXPERT TIP: Let the paint completely dry between coats and changes in colors. - Paint parts of the houses purple (as shown). Paint two of the doors and chimneys orange.
- Next, paint some of the accents grey.
- Use green for the remaining parts of the houses.
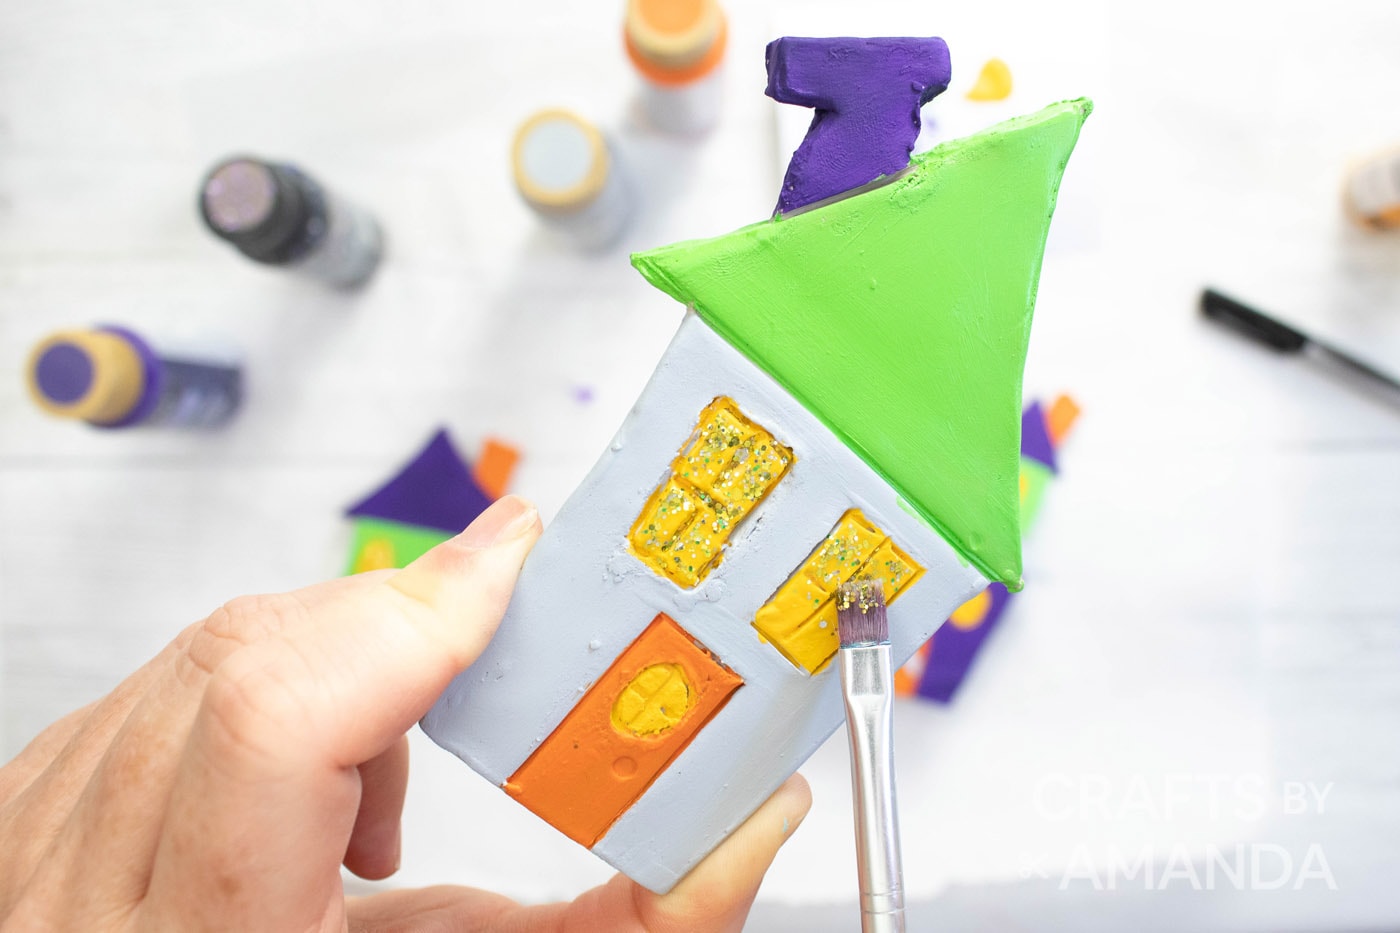
- Add gold Galaxy Glitter to the windows.
- Paint gold Enchanted Shimmer over the purple areas.
- Finally, paint black Galaxy Glitter over the grey areas.
Expert Crafting Tips
- Let the paint completely dry between coats and changes in colors.
- If you’re going for a spookier look to your clay Halloween village, paint the houses black or dark grey with yellow windows. You can try a silver metallic or glitter roof against a black house as well.
- Paint some pumpkins, skeletons, and bats or try adding festive stickers throughout. You could also place black or white faux spiderwebs around the houses when you display them.
- Alternatively, when using your forming tools to add details to the houses, trace on a design (bat, skeleton, pumpkin) so you can easily paint it.
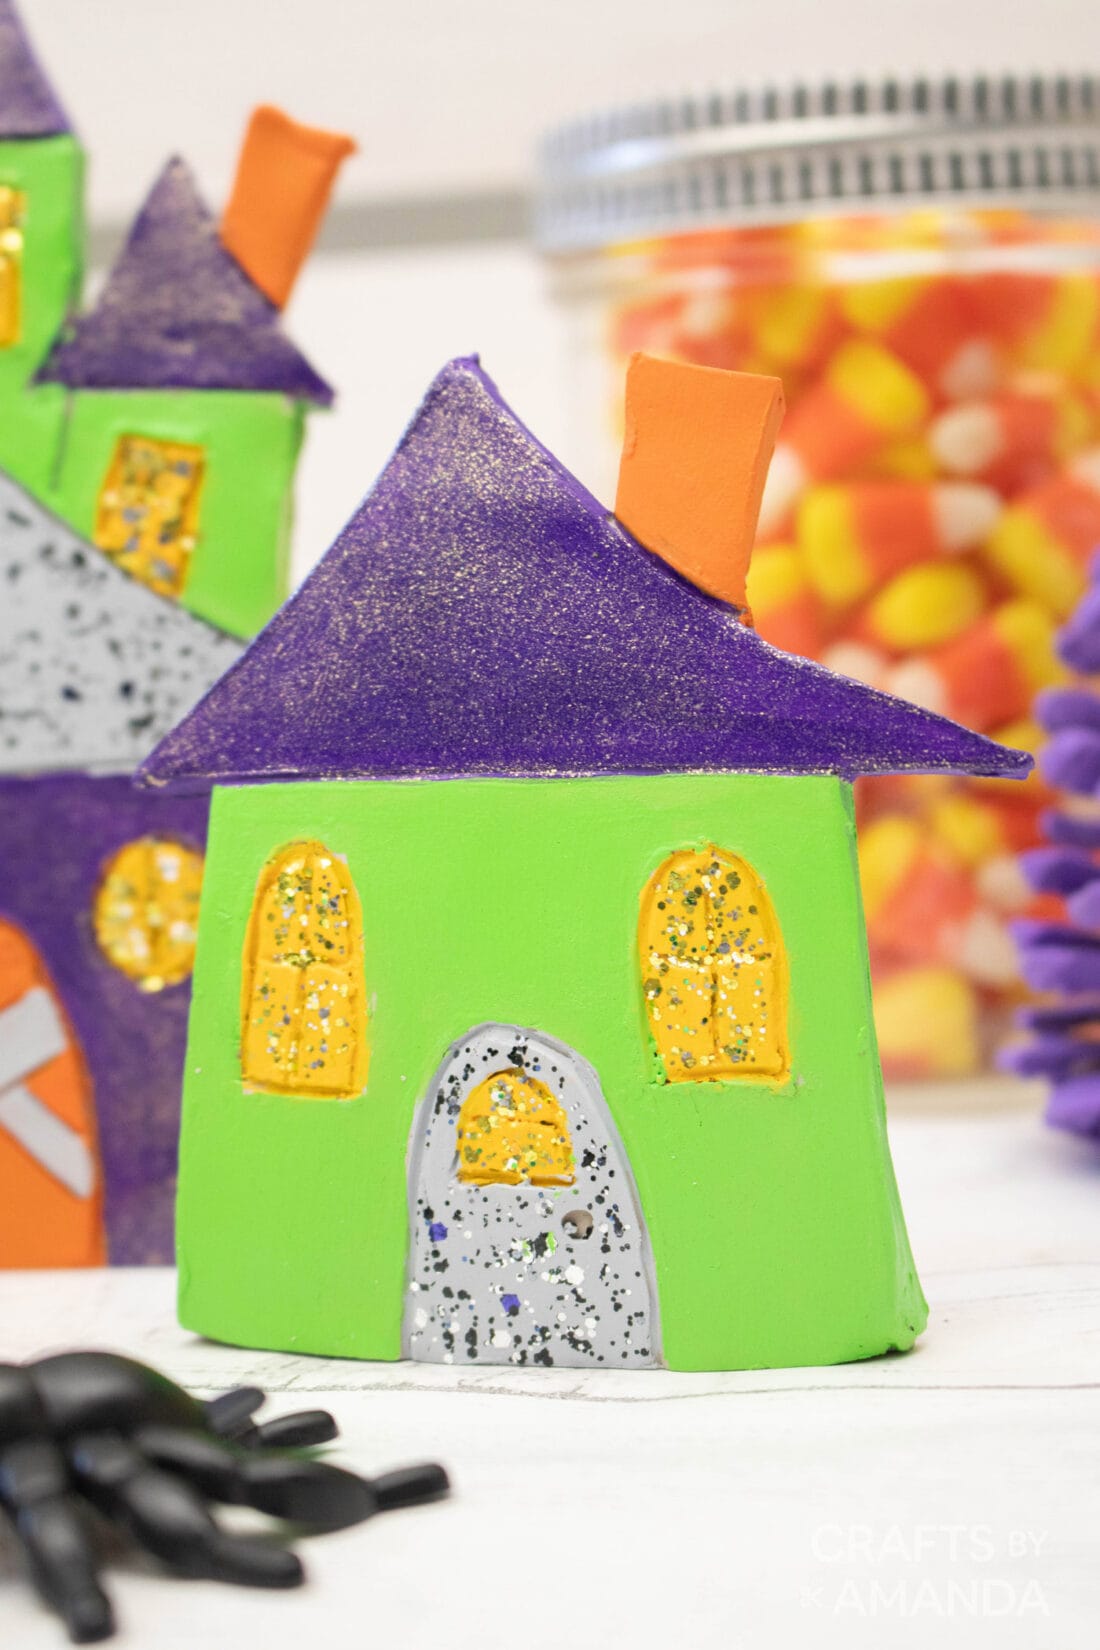
Prop your clay Halloween village on a mantel, bookshelf, or in the window. For a nice added touch, place twinkle lights around the base or behind the village to help illuminate them. Happy Halloween!
More Halloween Projects
- Halloween Door
- Halloween Terrarium
- Halloween Luminaries
- Halloween Ribbon Wreath
- Halloween Wine Glass Candle Holders
I love to create and share my projects with you! I know it’s hard to remember to come back and search, so I’ve made it easy for you with my weekly newsletter! You can subscribe for free and I’ll send you fun crafts and delicious recipes every week right to your email.
Clay Halloween Village
Supplies
- printable Halloween house template
- air-dry modelling clay
Decoart Americana Acrylics
- Safron Yellow
- Dioxazine Purple
- Jack-O’-Lantern Orange
- Yellow Green
- Decoart Galaxy Glitter in Gold Shooting Star
- Decoart Galaxy Glitter in Black Hole
- Decoart Americana Enchanted Shimmer in Gold
Craft tools
- Forming tools for clay
- paintbrushes
- Black permanent marker
Instructions
Forming the Halloween Houses
- If using, download and print out the house templates. Cut them out with scissors to use as a guide when making the air-dry clay houses.
- Remove enough air-dry clay to make one house (about 1⁄3 of the package). After kneading to soften, use a rolling tool and roll out a disc about 1⁄4” thick.
- Place one of the house templates on the disc and cut out the shape using a sharp utility knife.
- Using your forming tools, add the details to the houses referring to the templates as guides.
- If needed, use water and your hands to smooth out any rough edges or wrinkles in the clay.
- Add a small rectangular base to the back of each house so that they’ll be able to stand on their own once dried.
- Set the houses aside to dry (24-48 hours), turning them on occasion to minimize curling.
Painting the Halloween Houses
- Note: Let the paint completely dry between coats and changes in colors.
- Paint inside the windows with yellow.
- Paint parts of the houses purple (as shown).
- Paint two of the doors and chimneys orange.
- Next, paint some of the accents grey.
- Use green for the remaining parts of the houses.
- Add gold Galaxy Glitter to the windows.
- Paint gold Enchanted Shimmer over the purple areas.
- Finally, paint black Galaxy Glitter over the grey areas.
Video
Expert Tips & FAQs
- If you’re going for a spookier look to your clay Halloween village, paint the houses black or dark grey with yellow windows. You can try a silver metallic or glitter roof against a black house as well.
- Paint some pumpkins, skeletons, and bats or try adding festive stickers throughout. You could also place black or white faux spiderwebs around the houses when you display them.
- Alternatively, when using your forming tools to add details to the houses, trace on a design (bat, skeleton, pumpkin) so you can easily paint it.
- Watercolor Luminaries - February 11, 2025
- Free Valentine Printables: Cards, toppers, and tags - February 4, 2025
- Valentine Hugs - January 31, 2025


Leave a Reply