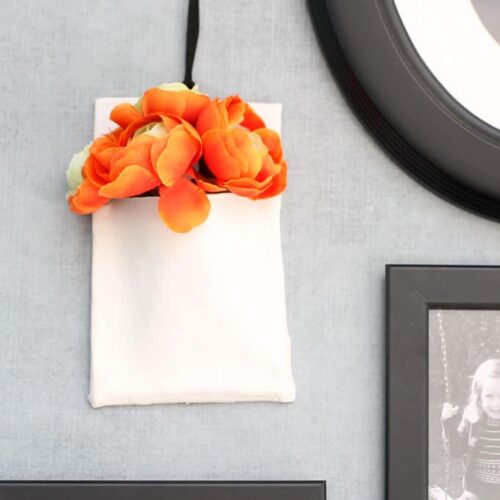
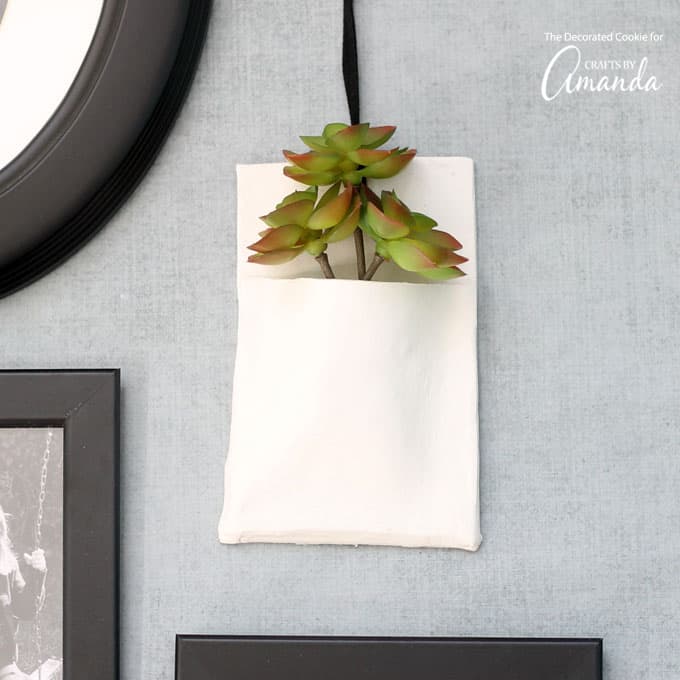
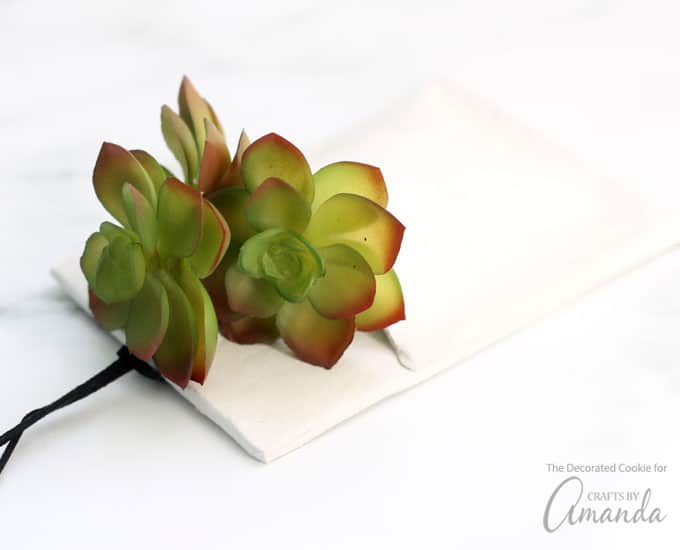
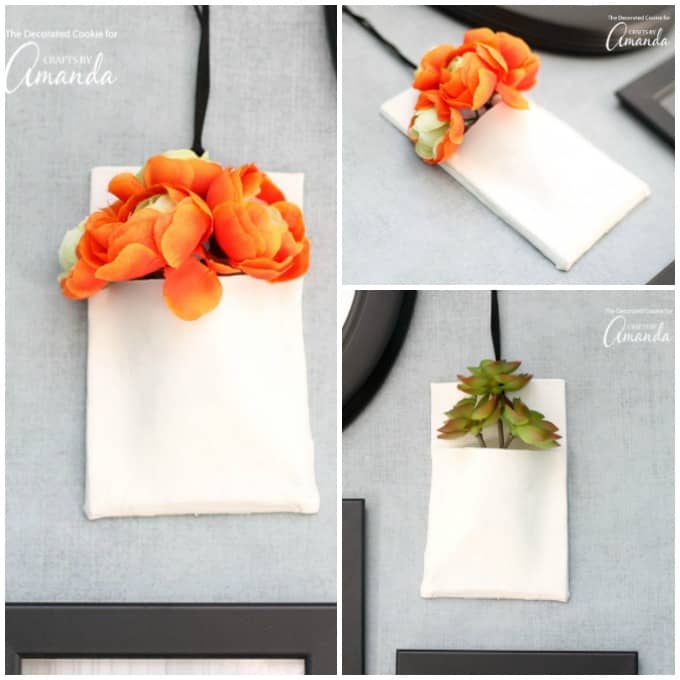
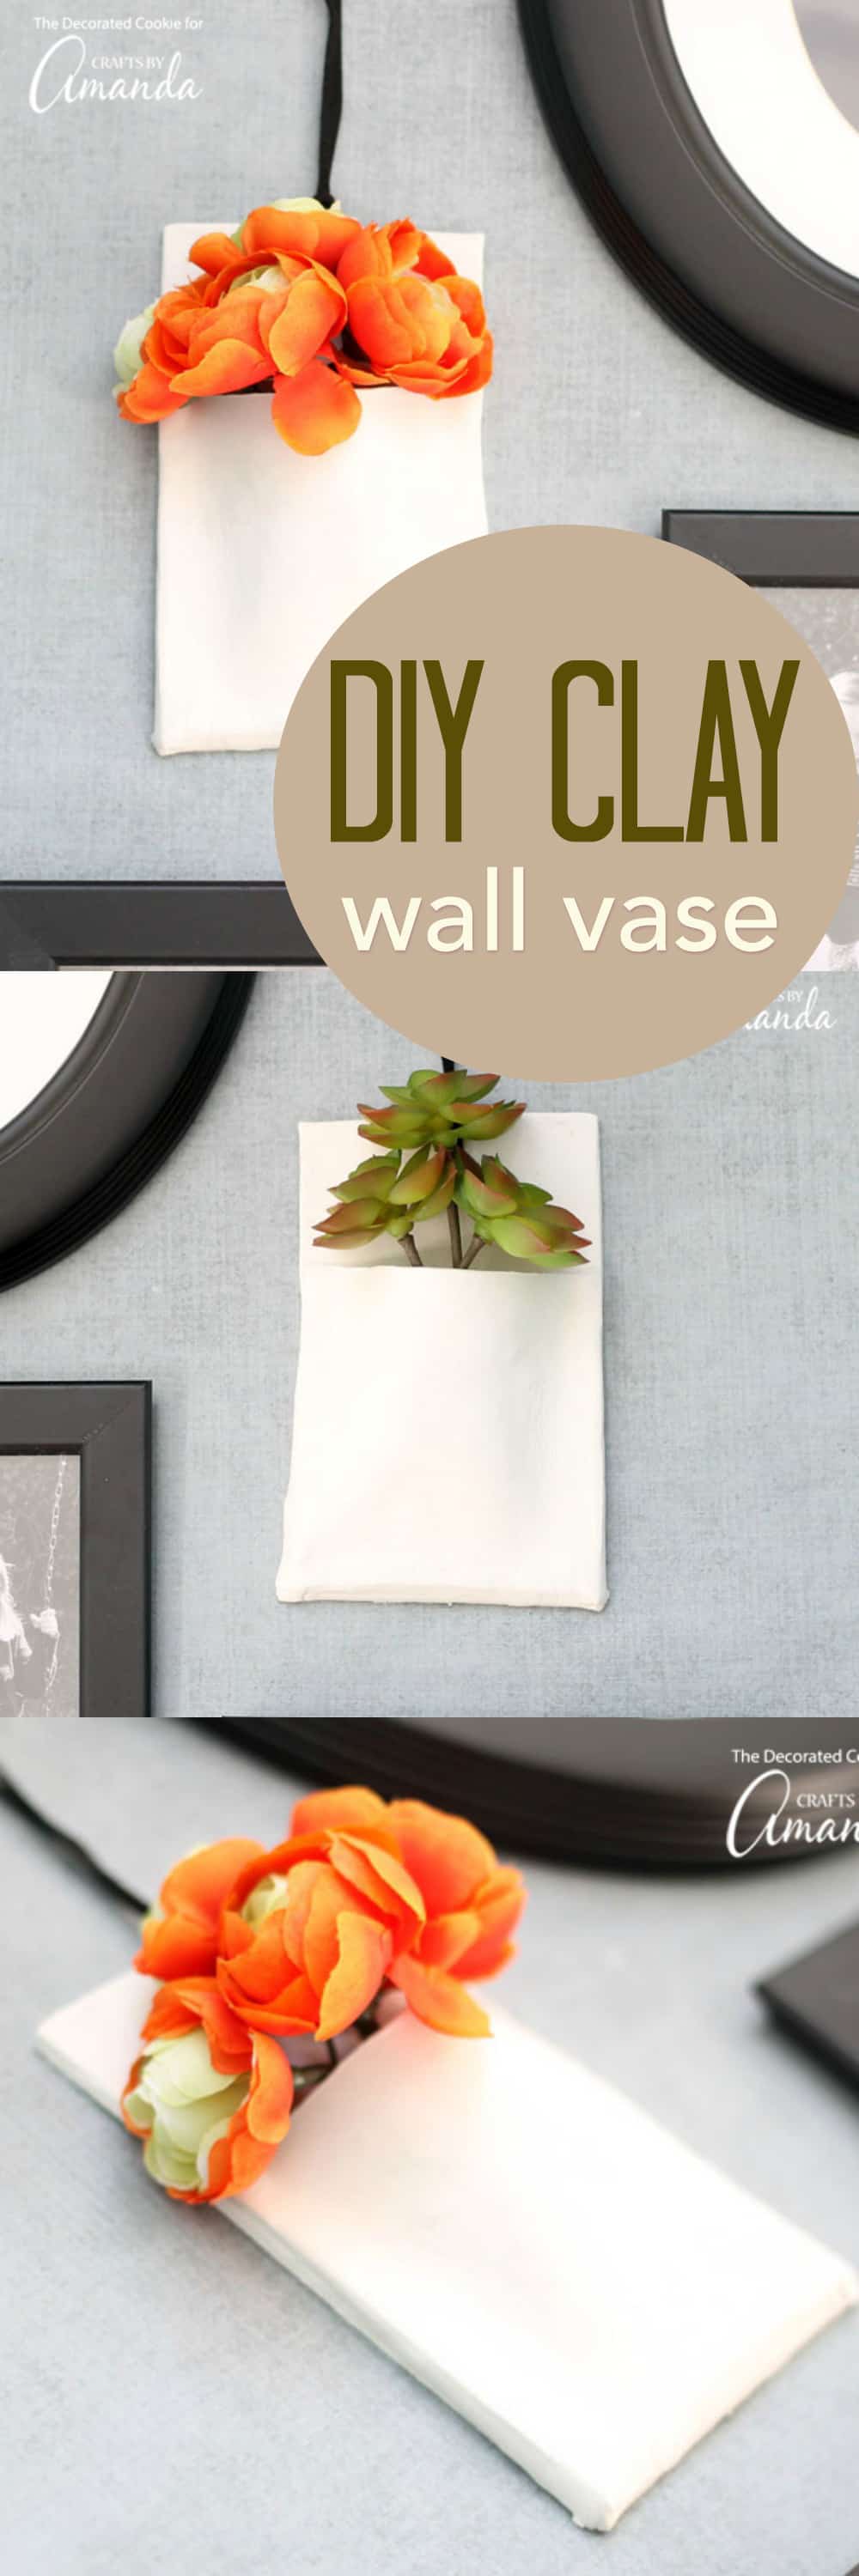
This DIY clay wall vase is simple to make and adds interest and beauty to your wall decor. Pop in some succulents, faux flowers, or even use it to store your spare set of glasses or keys.
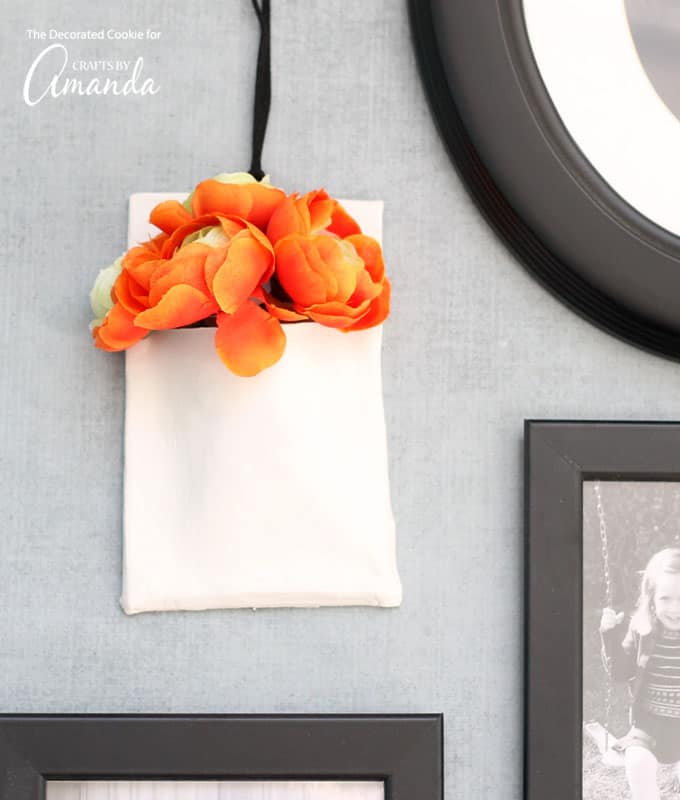
DIY Clay Wall Vase
I love this homemade clay wall vase. It’s so easy to make using air-dry clay, and it adds unique character to your wall display. Paint it your favorite color, or leave it bare as is. Because all of my walls are colorful, I opted to leave it as is.
Supplies you’ll need to make a clay wall vase
- about 1 pound white, air-dry clay
- rolling pin
- wax paper
- ruler and cutting mat
- pizza cutter
- toothpick
- straw
- cord or ribbon for hanging
- sandpaper (optional)
- acrylic paint (optional)
- spray sealant (optional)
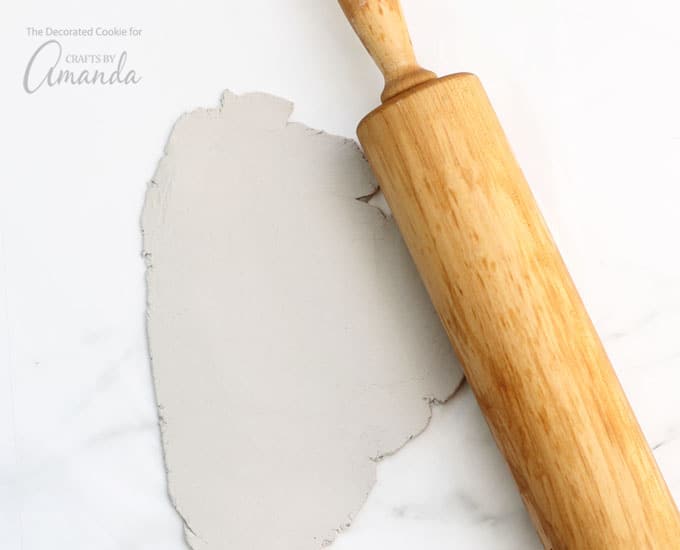
Briefly knead a handful of your air-dry clay. Roll the clay about 1/4-inch thick on a piece of wax paper, moving the clay as you roll it out to be sure it doesn’t stick to the wax paper.
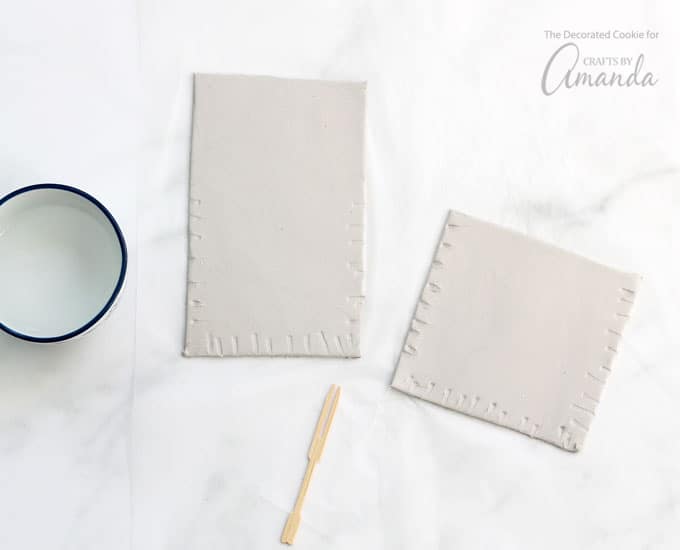
On a cutting mat to protect the surface beneath, measure and cut out two rectangles using the ruler and pizza cutter. The larger rectangle for the back here is 3 1/2-inches wide and 6 inches long. The smaller rectangle to form the pocket is 4 inches wide and 4 inches long.
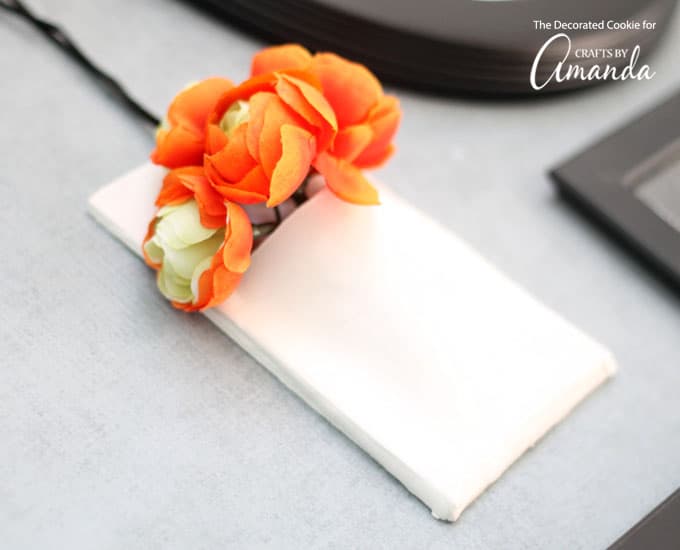
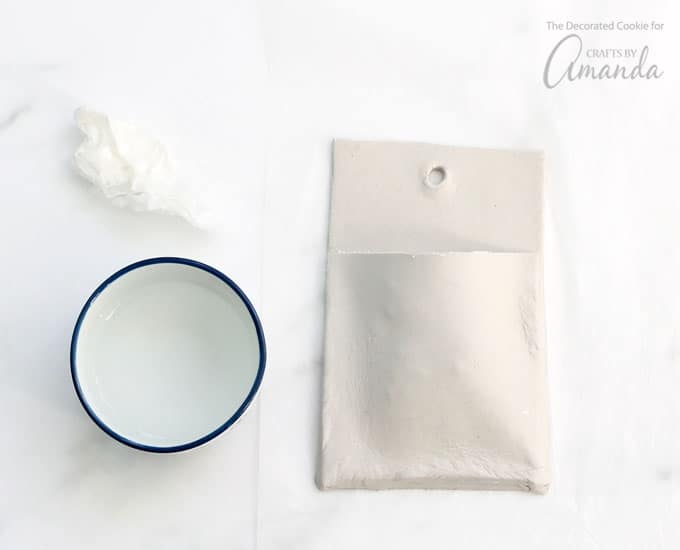
Score the edges of both rectangles where they will be attached. Dab water along the scored edges. Gently press the edges of the rectangles together, tucking a small wad of wax paper in between to form the pocket.
With the straw, make a hole at the top of the back rectangle of clay. Let the wall vase dry very well, one to two days.
When dry, lightly sand the vase if there are any bumps (optional). Wipe the vase and paint, if using. If you will be using the vase to hold water, you must also use a spray sealant.
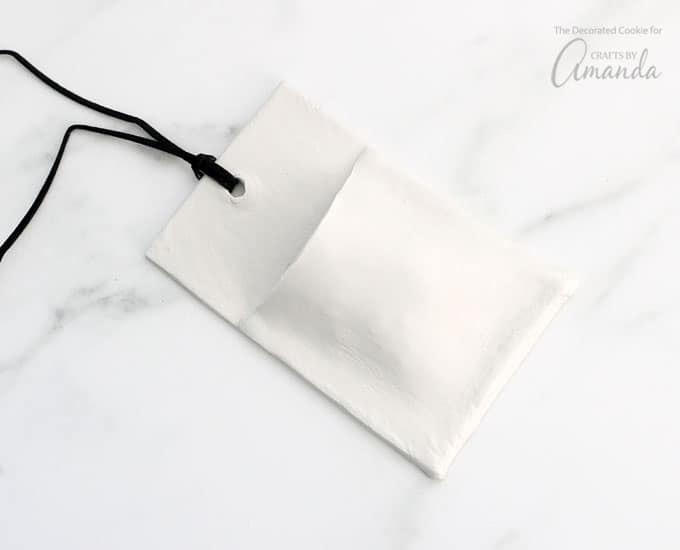
Thread cord through the hole to hang.
Need another idea for your walls? Try this easy flower vase wall art. Or if you have any leftover clay, try this cute Mason Jar Fairy House!
This clay wall vase is so fun and easy to make, I might have to make a few for every room!
There are tons of easy DIY wall art ideas out there to spruce up your home decor. Like this easy Wood Shim Sunburst Mirror, made with just a handful of supplies you’ll have a beautiful statement piece for your wall.
Or maybe you’re going for a more coastal look- perhaps in your bathroom or in a cottage- these Weathered Beach Signs add a touch of color and happiness to the room!
DIY clay wall vase
Supplies
- about 1 pound white air-dry clay
- rolling pin
- wax paper
- ruler and cutting mat
- pizza cutter
- toothpick
- straw
- cord for hanging
- sandpaper optional
- acrylic paint optional
- spray sealant optional
Instructions
- Briefly knead a handful of your air-dry clay. Roll the clay about 1/4-inch thick on a piece of wax paper, moving the clay as you roll it out to be sure it doesn't stick to the wax paper. On a cutting mat to protect the surface beneath, measure and cut out two rectangles using the ruler and pizza cutter. The larger rectangle for the back here is 3 1/2-inches wide and 6 inches long. The smaller rectangle to form the pocket is 4 inches wine and 4 inches long.
- Score the edges of both rectangles where they will be attached. Dab water along the scored edges. Gently press the edges of the rectangles together, tucking a small wad of wax paper in between to form the pocket.
- With the straw, make a hole at the top of the back rectangle of clay. Let the wall vase dry very well, one to two days.
- When dry, lightly sand the vase if there are any bumps (optional). Wipe the vase and paint, if using. If you will be using the vase to hold water, you must also use a spray sealant.
- Thread cord through the hole to hang.
- How to Paint Wine Glasses - January 17, 2025
- Mason Jar Lid Snowman - December 27, 2024
- Macrame Sea Glass Necklace - August 20, 2024


Leave a Reply