If you follow along here, you know I love to recycle and repurpose as much as possible with my projects. I love map crafts and hitting the flea market, so this project was a match made in recycler heaven. My friend Beckie from Infarrantly Creative is hosting a State Pride Tour with 30 bloggers, me included :)
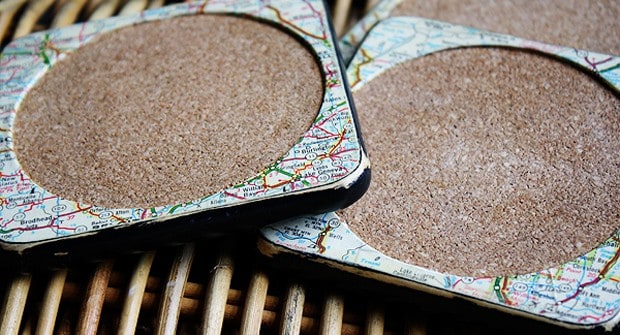
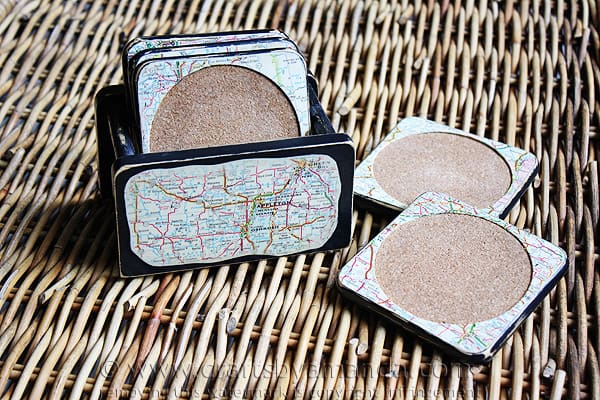
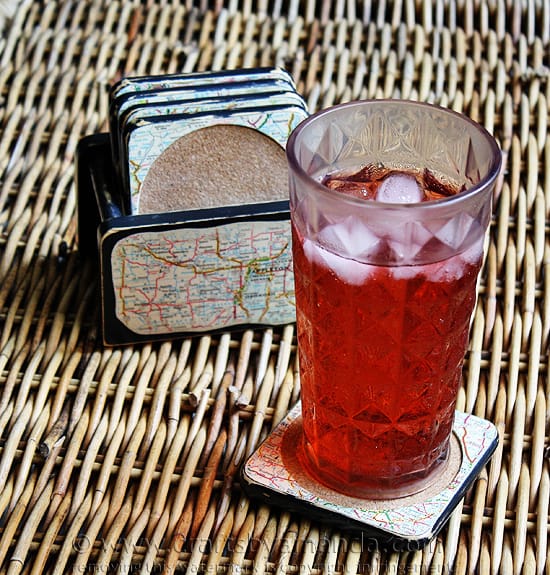
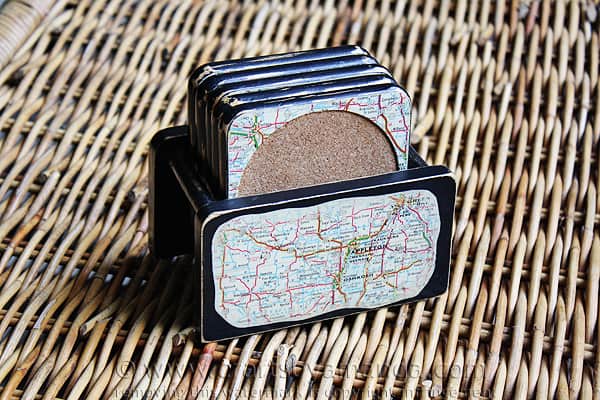
I proudly represent the state of Wisconsin with these fun map coasters I made from a road atlas.
I’m the last state in the tour, Jennifer from JenniferRizzo.com is right before me representing my neighboring state, Illinois, with her tutorial on how to paint a deer silhouette!

Hint: To see the entire tour you can find a link at the end of this post that will take you back to the beginning!

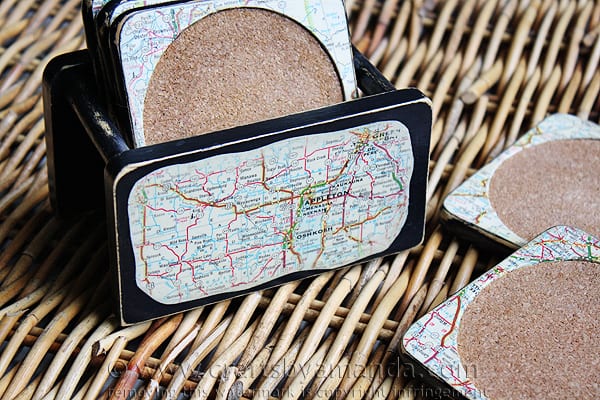
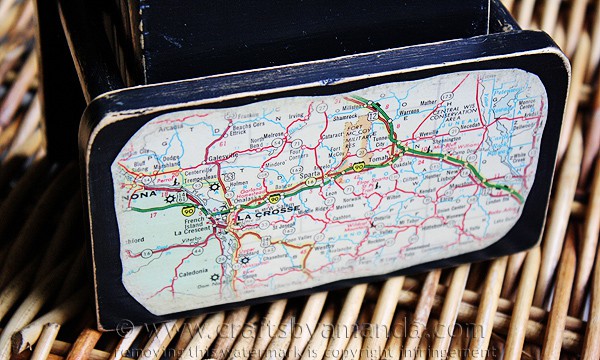
This is actually my favorite coaster in the bunch because it represents the area of the state that I live in.
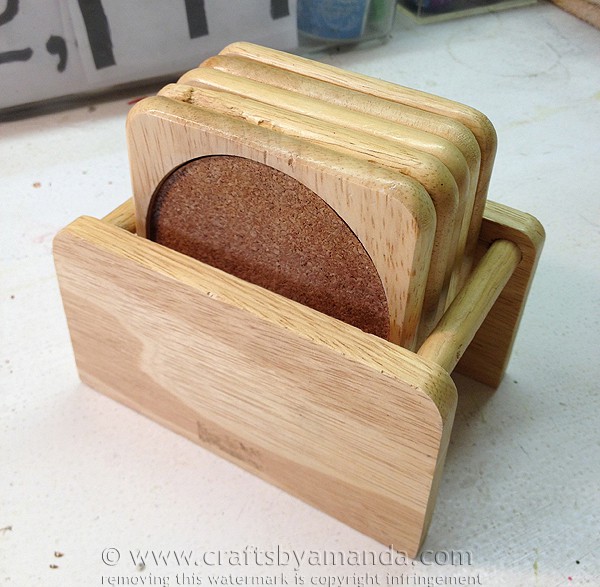
Have you passed by these outdated wooden coasters before at a garage sale or thrift store?
I found my set at a flea market last year for really cheap. As you can see, I’m pretty sure the previous owner’s dog used them as a chew toy.
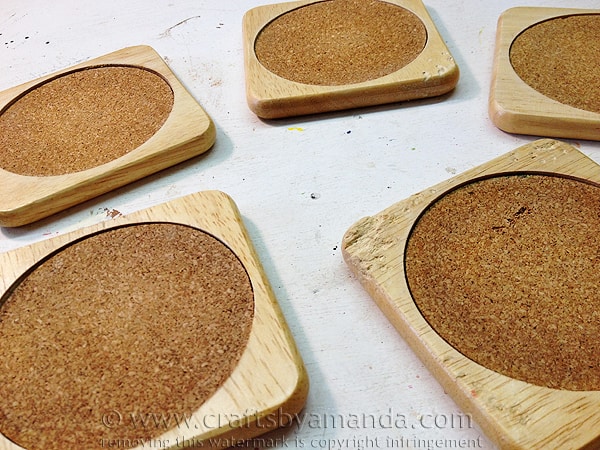
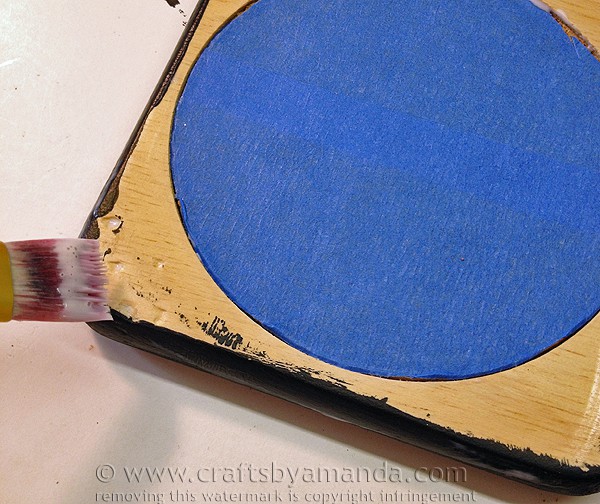
After sanding all the wood, just enough to knock off any shiny finish they had, I used painter’s tape to cover the cork circles.
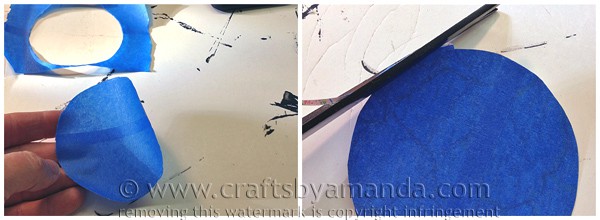
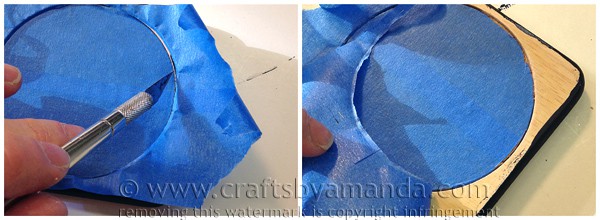
I needed a circle template the same size as the cork on the coasters. You could use a compass to make a template on a piece of paper. I just used a second set of painter’s tape over the top of one of the already taped cork circles. Then I carefully peeled off the top tape circle and stuck it to a piece of paper. Then I cut the circle out and trimmed about 1/8-inch off all the way around. Set the circle aside for now.
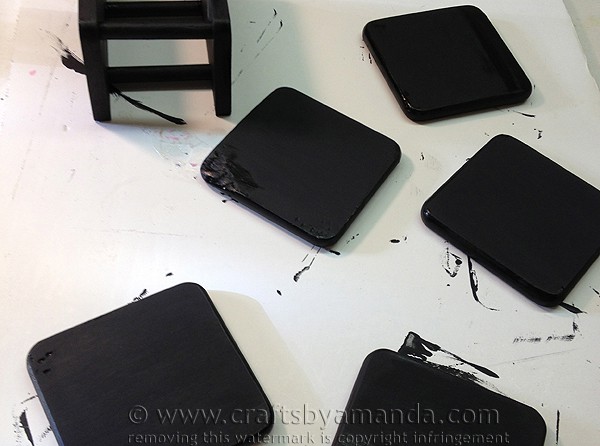
Next I painted all the wood surfaces black.
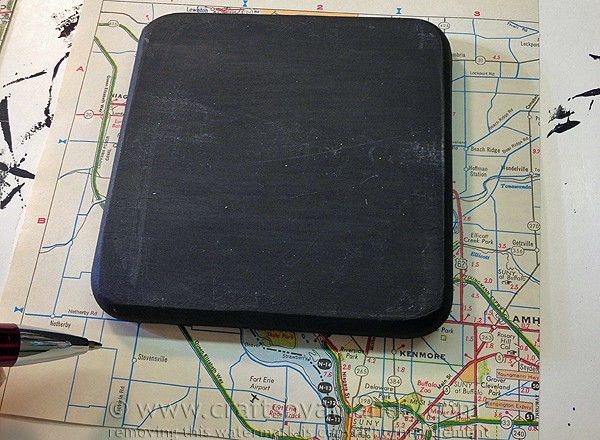
For the maps that went on the coasters, I placed it where I wanted it on the map and traced around it with a pen. I left some extra room around the edges.
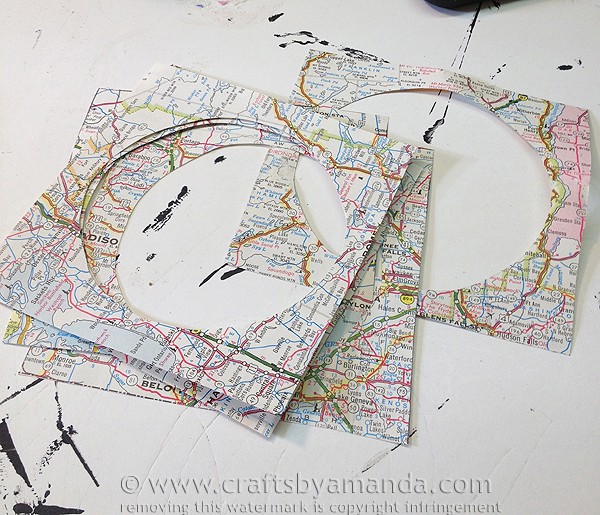
Place the circle template that you created into the center of the square you just drew on your map. Use a pen to trace the circle. Cut out the center circles.
Apply Mod Podge onto the wood face of the coaster. Apply Mod Podge to the back of the map.

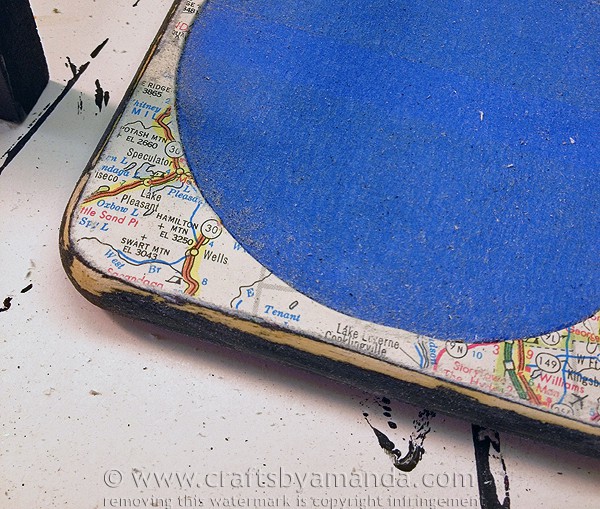
Carefully place the map onto the coasters, lining up the circle over the taped cork center. Press map down with your fingers and smooth out only across the top, don’t press the paper to the edges, you will be removing that in a later step.
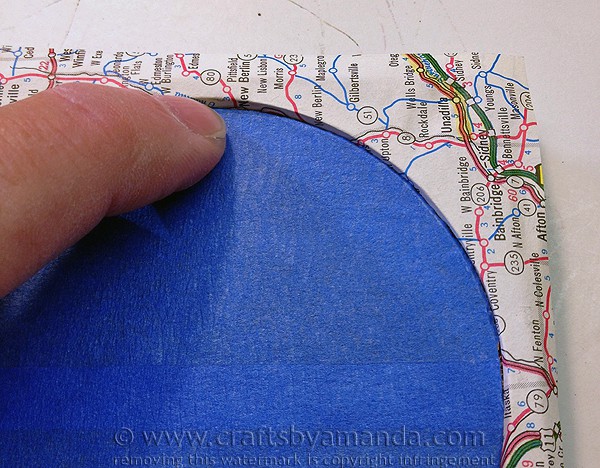
Use your fingernail to tuck in any excess map that is hanging over the circle’s edge. Repeat decoupage steps for all the coasters.
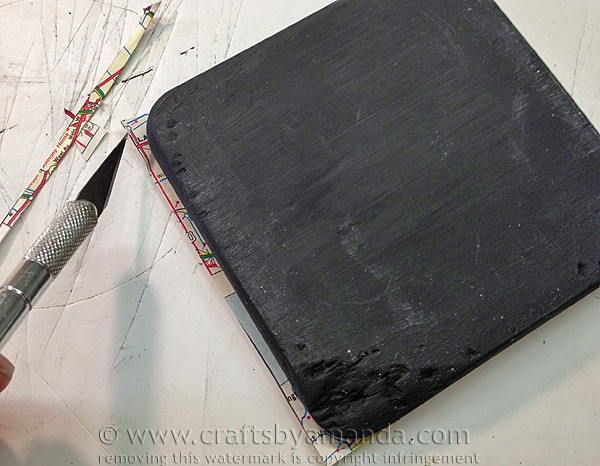
Turn coaster face down and use a craft knife to trim off excess map edges.
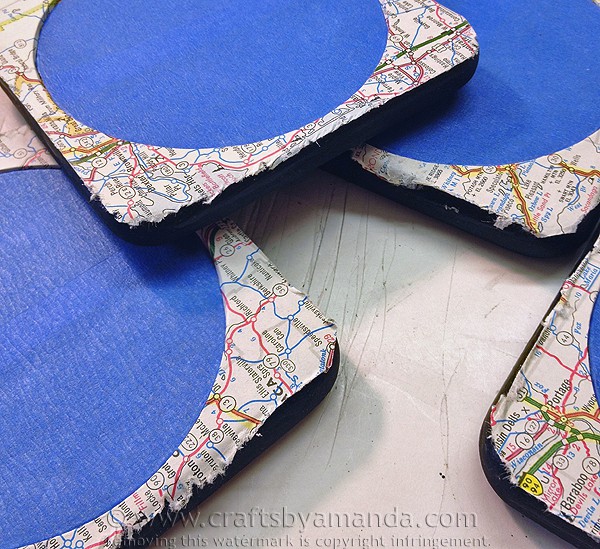
Do not be concerned if they are rough.
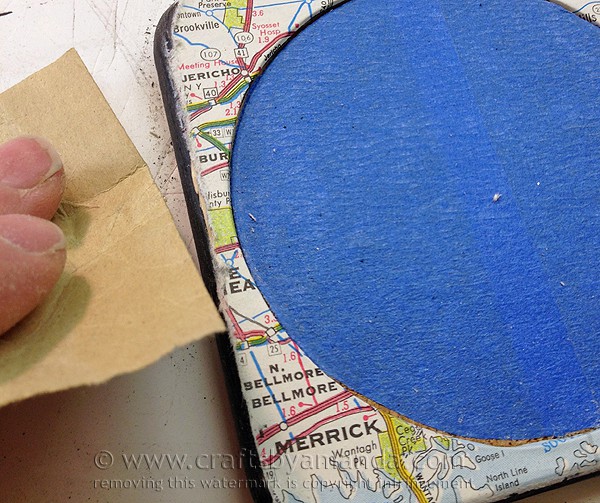
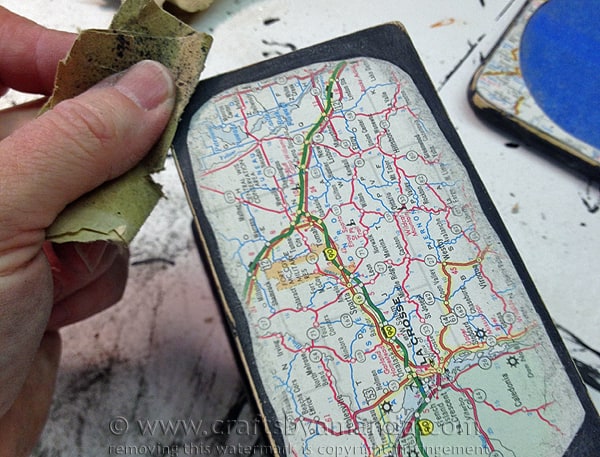
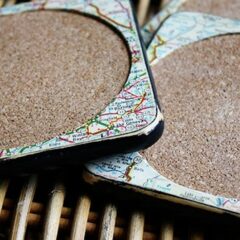
Gently run sandpaper along the edges of the coasters where the map edges are. This will remove the excess paper that is not attached to the coaster.
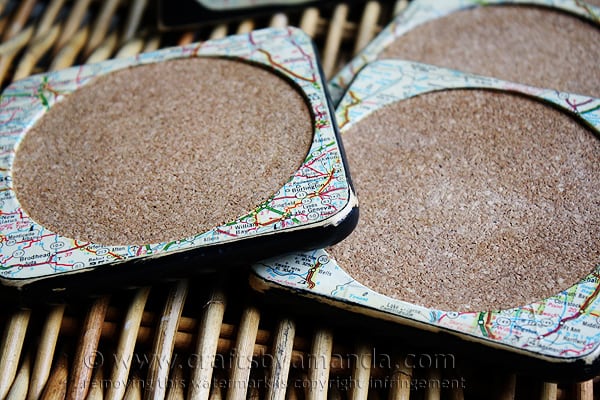
Sand all the way around the edges to smooth the paper edges and distress the painted wood by exposing some of the wood beneath.
Cut sections of map to fit on the sides of the coasters’ holder. Apply Mod Podge and attach. Allow to dry then sand all the edges and the edges of the map as well. You will remove some of the print from the edges of the map which will give it an aged look.
Apply Mod Podge over the top of all the map and wood surfaces. Repeat for a second coat after the first has dried.
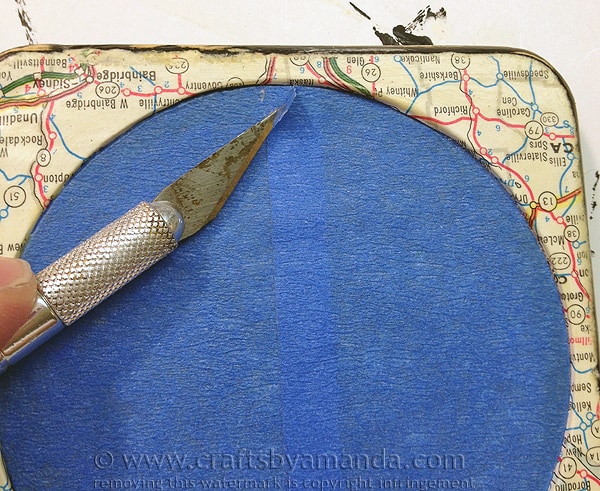
Use a craft knife to gently lift the edge of the painter’s tape and remove.
Hope you like the coasters and that they inspire you to do something similar.
If you’re like me and you love map projects, you might like my Road Map Birdhouses or my Distressed Crackled Vintage Map. Looking for more coaster ideas? You might like these Stenciled CD Coasters, made from recycled CD’s that would be perfect for Thanksgiving! Here’s another type of Recycled CD Coasters, I used fabric to make these and they’re quite colorful! Like the idea of the state inspired craft? We love vacationing in California when we can, so this Newport Beach Sign is a constant reminder of how far away it really is!

Now head over to Beckie’s post to see the beautiful pillows and canvas she made for the state of Indiana and continue the tour from there! She will also be hosting a Show Your State Pride link party on Monday the 23rd, so don’t miss it, or enter you own state pride projects!
Distressed Map Coasters
Supplies
- Wood coasters and holder
- Sand paper
- Black acrylic paint
- Road atlas pages
- Antique Mod Podge - matte
- Craft knife
- Painter's tape
- Pen
- Scissors
Instructions
- Sand all surfaces of the wood coasters, enough to knock off any shiny finish they may have.
- Use painter's tape to cover the cork circles.
- You will need to create a circle template the same size as the cork on the coasters. If you have a compass you can make a circle on a piece of paper. To create mine I used a second set of painter's tape over the top of one of the already taped cork circles. Then I carefully peeled off the top tape circle and stuck it to a piece of paper. Then I cut the circle out and trimmed about 1/8-inch off all the way around. Set the circle aside for now.
- Paint all wood surfaces with black paint and allow to dry.
- Place a coaster onto your atlas page and trace around it with a pen, leaving some extra room around the edges. Remove the coaster.
- Place the circle template that you created into the center of the square you just drew on your map. Use a pen to trace the circle. Cut out the center circles.
- Apply Mod Podge onto the wood face of the coaster. Apply Mod Podge to the back of the map.
- Carefully place the map onto the coasters, lining up the circle over the taped cork center. Press map down with your fingers and smooth out only across the top, don't press the paper to the edges, you will be removing that in a later step.
- Use your fingernail to tuck in any excess map that is hanging over the circle's edge. Repeat decoupage steps for all the coasters.
- Turn coaster face down and use a craft knife to trim off excess map edges. Do not be concerned if they are rough.
- Gently run sandpaper along the edges of the coasters where the map edges are. This will remove the excess paper that is not attached to the coaster.
- Sand all the way around the edges to smooth the paper edges and distress the painted wood by exposing some of the wood beneath.
- Cut sections of map to fit on the sides of the coasters' holder. Apply Mod Podge and attach. Allow to dry then sand all the edges and the edges of the map as well. You will remove some of the print from the edges of the map which will give it an aged look.
- Apply Mod Podge over the top of all the map and wood surfaces. Repeat for a second coat after the first has dried.
- Use a craft knife to gently lift the edge of the painter's tape and remove.
- Tie Dye Beach Towels - July 24, 2026
- Swirling Twirling Ladybugs - July 21, 2026
- Drip Tie Dye Backpack - July 17, 2026


Karen Watson says
These coasters are great Amanda!! I love that you can really customize them for where ever you live in the world! They would make a great gift too!
Amanda Formaro says
Thank you Karen! They would definitely make a great gift :)
Brittany aka Pretty Handy Girl says
Really cute idea Amanda! And I love that you upcycled it!!!
Amanda Formaro says
Thanks Brittany, really appreciate that!