Wooden beads are a blank canvas. A great way for kids, especially tweens through teens, to express their creativity and work a little more intently on a project. Wooden beads can be painted then decorated to make pretty bracelets, keychains, necklaces and more. Here’s a fun bracelet project to get you started, one that’s even perfect for Mother’s Day!
 DecoArt asked me to create something for JoAnn Fabrics, so I experimented with these fun beads and Americana paints. I finished them off with DecoArt’s triple thick glaze, which is what gives them their polished look. I chose flowers because anyone can make flowers from dots, which means this project is not limited by artistic ability.
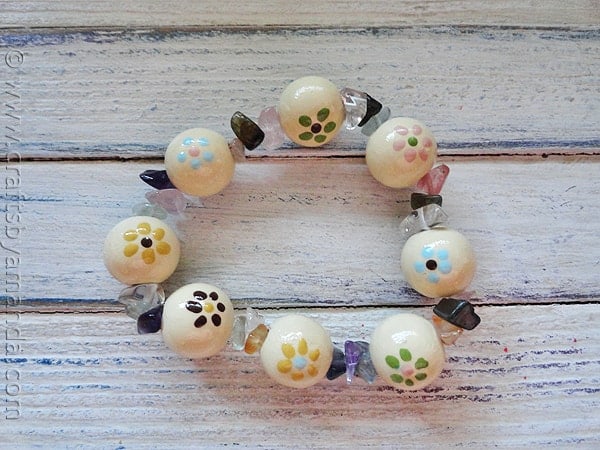
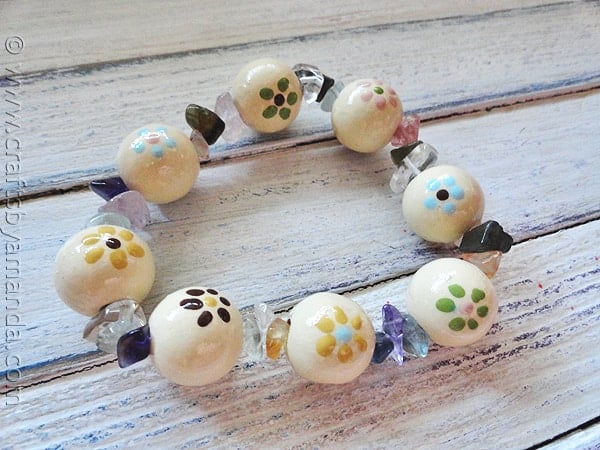
Flower Bracelet from Wooden Beads
Supplies
Supplies:
- Triple Thick Glaze
- Darice Craftwood 16mm round wood beads 6-9, depending on bracelet size, I used 8
- .5 mm Stretch Magic jewelry cord
- Small colorful complimentary beads I used a Quartz mix
- Paintbursh
- Toothpick
- 2 floral foam blocks
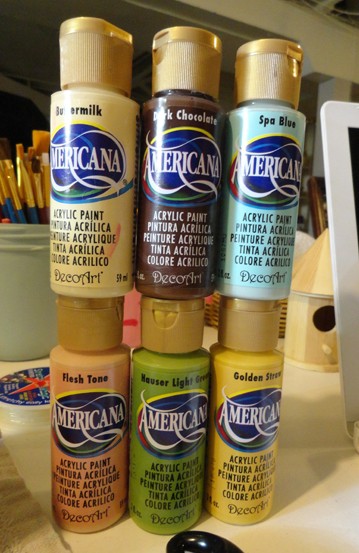
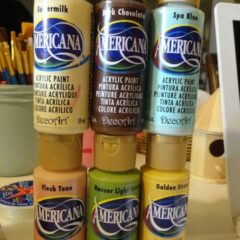
Americana paint colors:
- Buttermilk
- Dark Chocolate
- Spa Blue
- Flesh Tone
- Hauser Light Green
- Golden Straw
Instructions
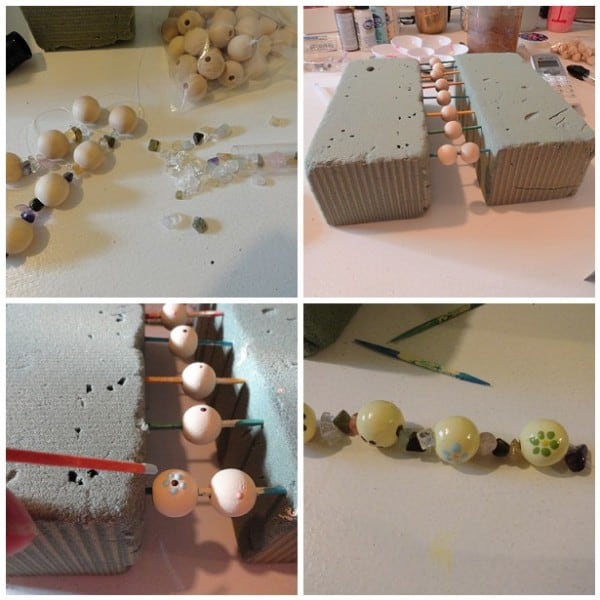
- To figure out the size of your bracelet, unroll some of the jewelry cord from the spool, but don’t cut it. Thread on a wooden bead, then 3 small beads, another wooden bead, 3 more small beads, and continue until the bracelet is the length that you want it to be. Remove the beads and set the cord aside.
- Place two floral foam blocks on the work surface. Insert toothpicks into one of the foam blocks, about 1 ½” apart. Place one wood bead onto each toothpick. Now line up the open ends of the toothpicks with the second foam block and connect them. This will give your beads a place to sit independently while you paint them. Paint each one with Buttermilk.
- Use a toothpick to dot on flower centers, two on each bead (one on each side). Next, use the toothpick to add flower petals. Vary the colors of the centers and the petals to give you several different flower options.
- When all paint has dried, give each bead a coat of Triple Thick.
- Thread completed beads and smaller beads onto the jewelry cord in the same fashion as you did in step one.
- Pull the cord snug and tie into a knot, reknot 2 or 3 times. Add a dab of glue to the knot.
- Watercolor Luminaries - February 11, 2025
- Free Valentine Printables: Cards, toppers, and tags - February 4, 2025
- Valentine Hugs - January 31, 2025


Leave a Reply