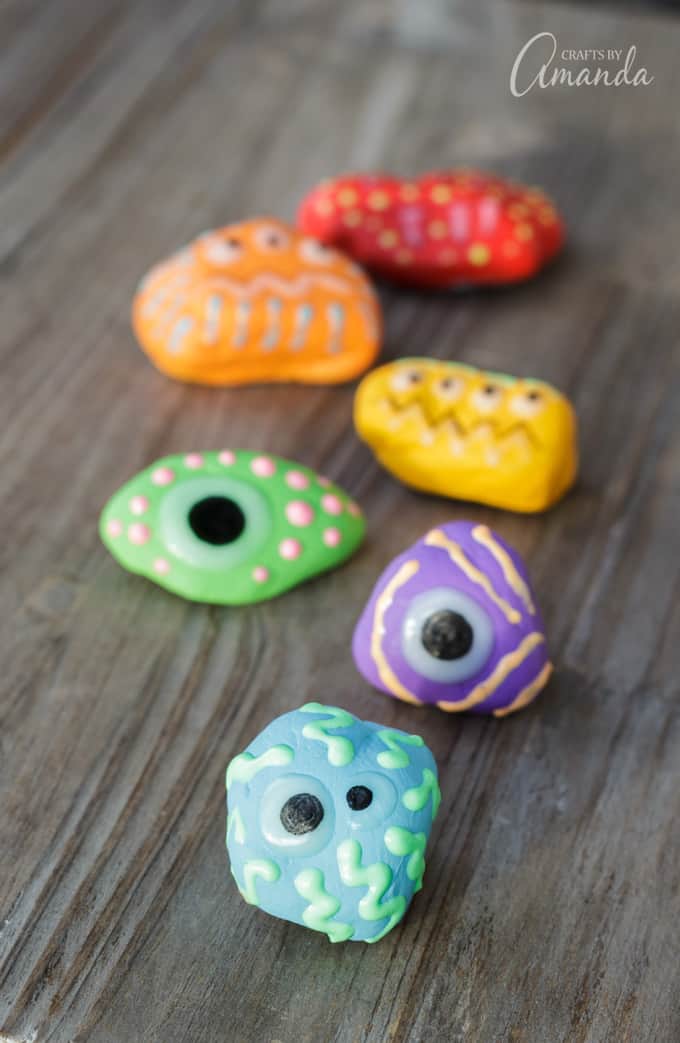
Glow in the dark monster rocks are a fun Halloween craft for kids and adults alike. Simply paint, allow them to soak up some rays, and display them in the dark!
Glow In The Dark Monster Rocks
These glowing monster rocks are super cute and they are really fun to make. This is more of a weekend project due to drying time, so be sure to plan accordingly.
I’ve always loved things that glow in the dark, and I’ve made tons of monster crafts, so combining those two things seemed like a fun thing to do! Halloween is coming quickly and it’s always been my favorite holiday. So making some glow in the dark monster rocks ended up being a really fun way to celebrate, just like making these Skull rocks, too! However, they can easily be made and displayed year-round, not just for the holiday.
Related – check out a ton more ideas for painted rocks!
Making Glow in the Dark Monster Rocks
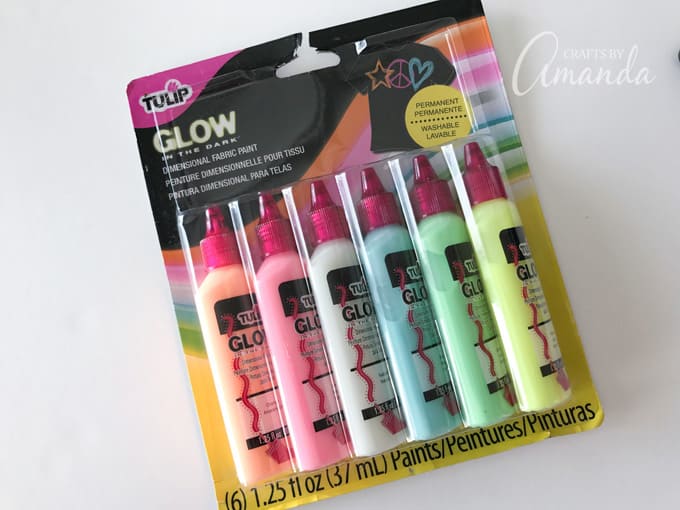
- I used Tulip Glow in the Dark dimensional fabric paint over the top of acrylic paint on my monster rocks. You can use any acrylic craft paint that you want, but I have included the colors I chose below if you want to match them.
- UV lights and black lights are the best way to charge your glow in the dark paint. Otherwise, sunlight is the best since there are plenty of UV rays there!
Supplies you will need
- Rocks – you can get these at craft supply stores or here on Amazon
- Tulip Glow in the Dark dimensional fabric paint
- Paintbrush
- Black marker
- Black fine point pen or marker
Acrylic paint in colors of your choice. I used Americana acrylics in the following colors:
- Saffron Yellow
- Salem Blue
- Lavender
- Sour Apple
- Red Alert
- Bright Orange
Using colorful acrylic paint means that your glow in the dark monster rocks will look fun even in the daytime! So let’s get started, shall we?

How to make your monster rocks
First off, if you are using rocks you found outside, be sure they have been washed and dried and are completely free of dirt.
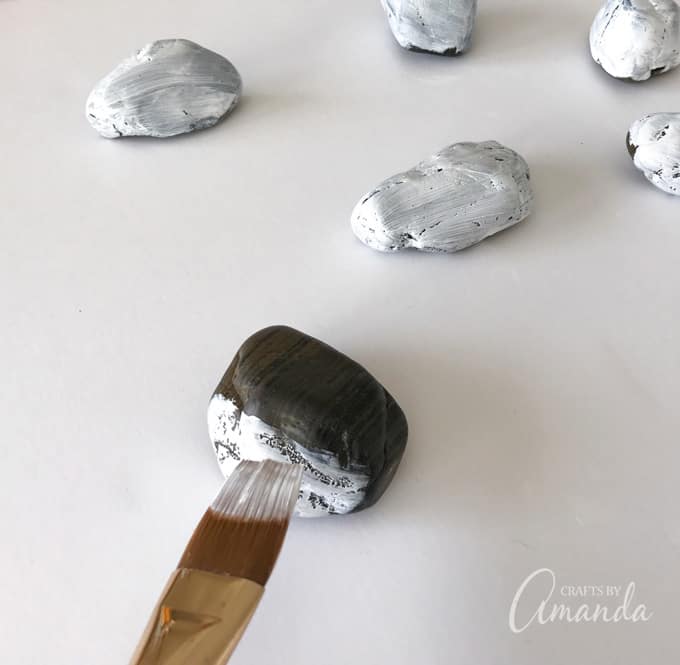
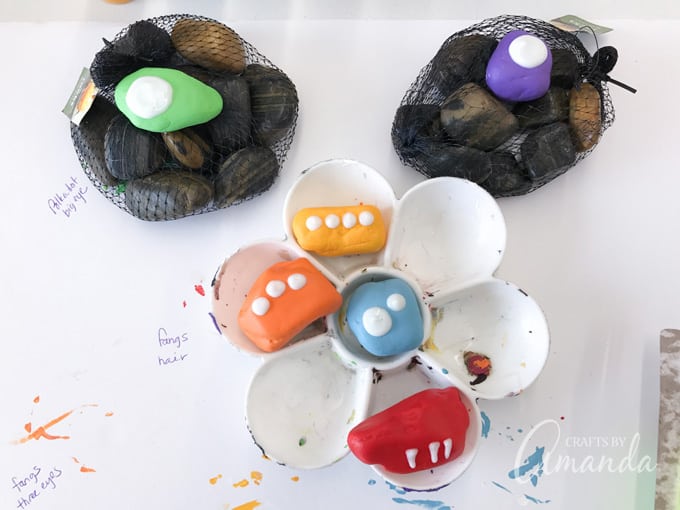
This first step is actually optional. My rocks were very dark, almost black. So I chose to give them a couple of coats of white paint first. You don’t have to do this, but if you don’t you may end up adding more color coats to cover the dark rocks.
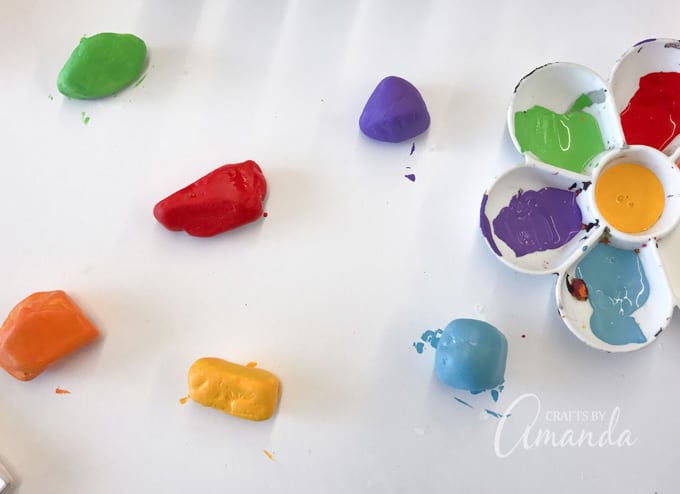
Paint each rock in desired color. Let them dry then add a second coat. Let them dry completely.
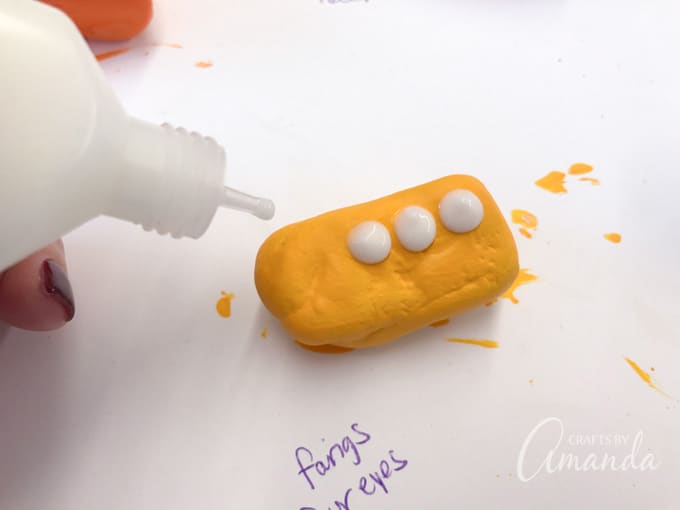
Use the “natural” (this is the color name on the bottle) glow in the dark paint to add eyes and teeth.
You will need to prop up your rocks on something that will keep the glow in the dark paint from dripping before it dries. Just make sure the surface is level with the horizon.
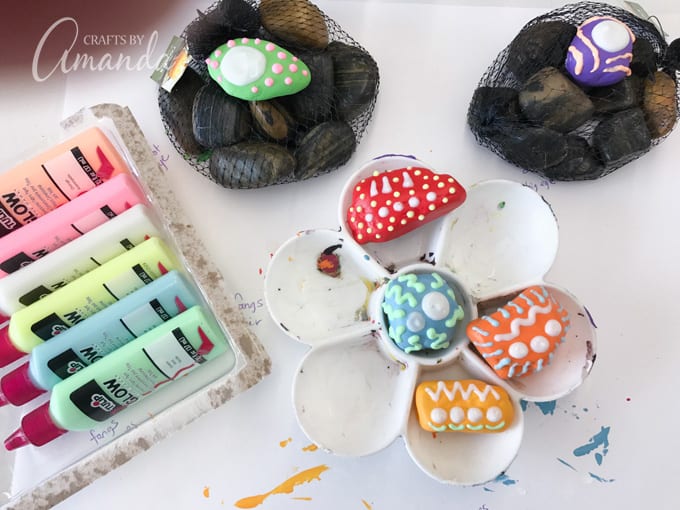
At this point, you can begin adding designs with the different colors of glow in the dark paint. Try polka dots, stripes and squiggly lines. Be careful not to bump the wet paint with your hand as you design.
PRO TIP: If you make a mistake you can carefully wipe it off with a Q-tip and start again.
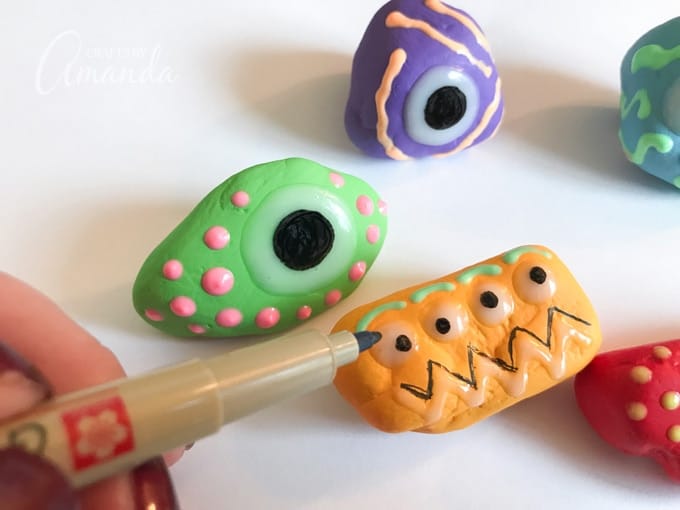
Here’s the hard part, you will need to let these dry overnight. It may even take longer depending on the thickness of your application. Once the glow in the dark paint is dry enough that it has a solid surface, use a black marker to add the eyeballs. You can also use a fine point marker (I use these micron pens for my craft projects) to draw carefully along the edges of the glow paint mouths so that the rocks look good in the daytime as well.
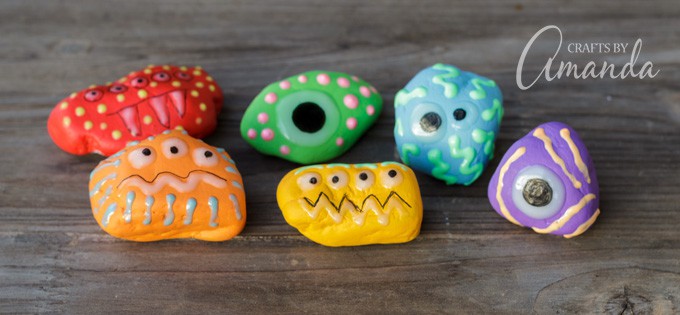
Finally, charge your glow in the dark paint using a UV light or black light. Then turn out the lights to see your cool glow in the dark monster rocks!
If you enjoyed this project, you’ll love these glowing jack o lantern jars made with glow sticks! We also have this glow in the dark Frankenstein jug that’s lots of fun for Halloween. if you’re having a Halloween party or a monster-themed birthday party, you’ll definitely want to make these twirling paper monsters. Check out all the Halloween crafts here!
Glow in the Dark Monster Rocks
Supplies
- Rocks
- Tulip Glow in the Dark dimensional fabric paint
- Acrylic craft paint in your choice of colors
- Paint brush
- Black marker
- Black fine point pen or marker
Instructions
- First off, if you are using rocks you found outside, be sure they have been washed and dried and are completely free of dirt.
- This first step is actually optional. My rocks were very dark, almost black. So I chose to give them a couple coats of white paint first. You don’t have to do this, but if you don’t you may end up adding more color coats to cover the dark rocks.
- Paint each rock in desired color. Let them dry then add a second coat. Let them dry completely.
- Use the “natural” glow in the dark paint to add eyes and teeth.
- You will need to prop up your rocks on something that will keep the glow in the dark paint from dripping before it dries. Just make sure the surface is level with the horizon.
- At this point you can begin adding designs with the different colors of glow in the dark paint. Try polka dots, stripes and squiggly lines. If you make a mistake you can carefully wipe it off with a Q-tip and start again.
- Here’s the hard part, you will need to let these dry overnight. It may even take longer depending on the thickness of your application. Once the glow in the dark paint is dry enough that it has a solid surface, use a black marker to add the eyeballs. You can also use a fine point marker (I use these micron pens for my craft projects) to draw carefully along the edges of the glow paint mouths so that the rocks look good in the daytime as well.
- Finally, charge your glow in the dark paint using a UV light or black light. Then turn out the lights to see your cool glow in the dark monster rocks!
- Swirling Twirling Ladybugs - July 21, 2026
- Drip Tie Dye Backpack - July 17, 2026
- Mini Coastal Clay Houses - July 14, 2026


Judy Kritikos says
I LOVE the glow in the dark rocks. I’m wondering what I could do with this for stars/moon, or flowers that glow in the dark? I’m not super creative…. but I copy well! lol I moved to NV and we get plenty of sunshine, so they’d glow in the dark pretty well. Not looking for halloween type stuff – more for Spring/Summer – so flowers maybe? Larger rocks, I’m thinking… any ideas, or have you posted these types of glow in the dark ideas???
Amanda Formaro says
That would be fun :) I would use the same method as described in this tutorial, except instead of the monster polka dots and stripes, make flower petals and a flower center!
Brian Pittman says
These little monsters are looking very cute. Amazing idea. Thanks for sharing.
Lara Smith says
Fantastic idea Amanda! These little glowing monster are looking really cute.
Amanda Formaro says
Thank you, Lara! :)
Nicole Maurice says
Amazing! I love them
How can I email your site to a friend?
Amanda Formaro says
Hi, Nicole. Thank you! Under the title of the post, you should see a bunch of share options. You can use the share button for Facebook and share it to your friends timeline OR there is an email option (envelope icon) there as well! Hope this helps!
Beth @ Hungry Happenings says
These are so simple and SO incredibly fun!!!
Amanda Formaro says
Thanks Beth! They were fun to make!