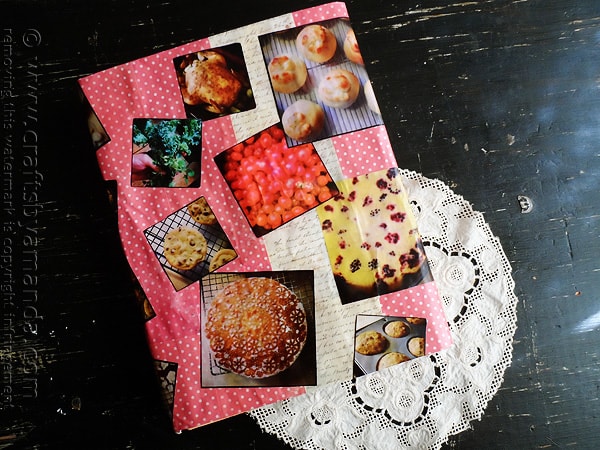
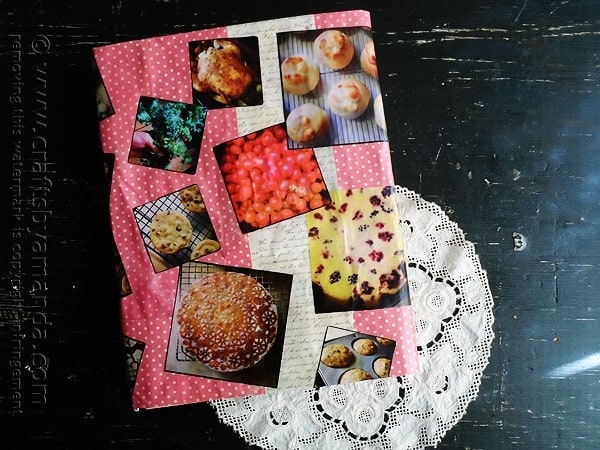
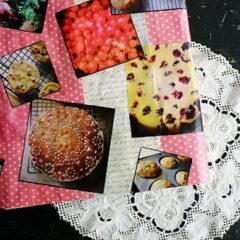
If you have ever A) made a book cover for your kids from a paper bag and B) decoupaged anything, then you are well on your way to making an Instagram book cover. I covered a cookbook, but imagine how fun it would be to decoupage crazy Instagram kid pictures all over a school book cover!
Do you love Instagram? I know I do! You can find me on Instagram as amandaformaro. When I first came up with this idea, I was originally going to make a back to school book cover with Instagram photos from one of my teenagers’ accounts.
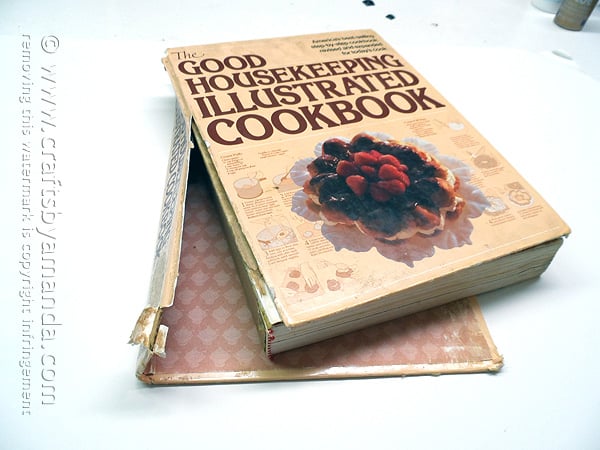
Then I was thumbing through my poor, dilapidated Good Housekeeping Illustrated Cookbook.
This is my favorite cookbook of all time. The first time I made something from the pages of this book, I was 17 years old. It was my dad’s book at the time and when I moved out on my own a couple of years later, he bought me my own copy.
I made quite a few recipes from that book! There was even an inscription from my dad inside the cover. Then, when I was 25, I accidentally left the book sitting on the electric stovetop. I had turned off the burners, but they hadn’t cooled yet and it ruined the front and some of the pages of my book.
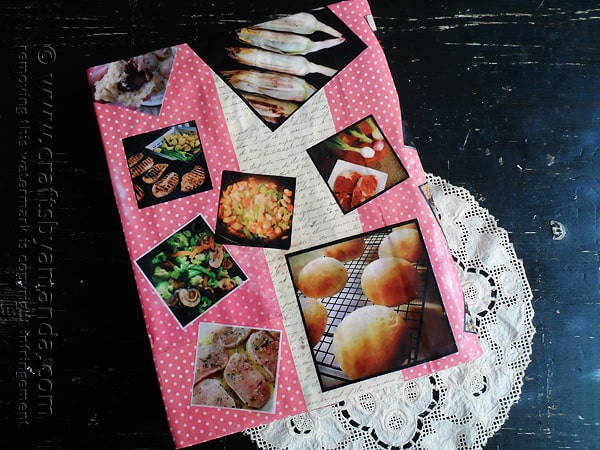
The back
I bought myself another copy, but had to make sure I had the right version. One of the later editions didn’t have all the photos, a big mistake on the publisher’s part in my opinion. That was the main reason I used the book so much!
Since I’ve had this particular copy for 21 years, it’s a bit worn, to say the least. The binding had come loose and the pages are tattered. But, I still love this book, so it was a perfect candidate for a book cover!
Have you ever made a paper bag book cover for yourself in school or for your kids? If not, I give the instructions on this book cover post here.
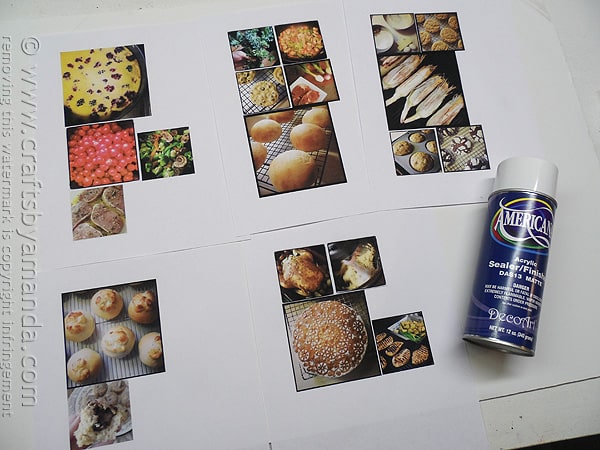
First, I browsed through my Instagram photos and dropped the ones I wanted into a Word document and resized them.
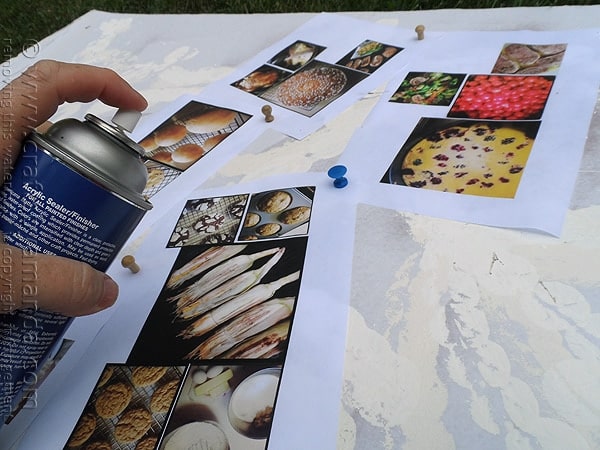
After printing them off you’ll want to spray the print outs with a clear sealer. I use Americana acrylic sealer in matte finish. This will help keep the ink from bleeding when you apply the decoupage medium.
I attached the print outs to a board with thumbtacks. This keeps the paper from blowing away when you spray them.
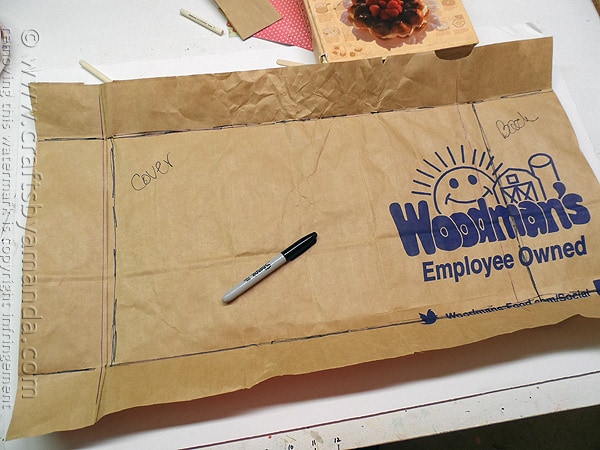
While the spray is drying, cut the bottom of your bag off and create your book cover, creasing and marking it with a Sharpie.
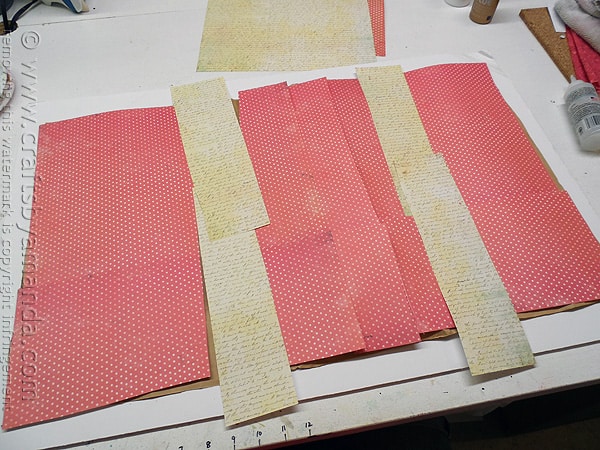
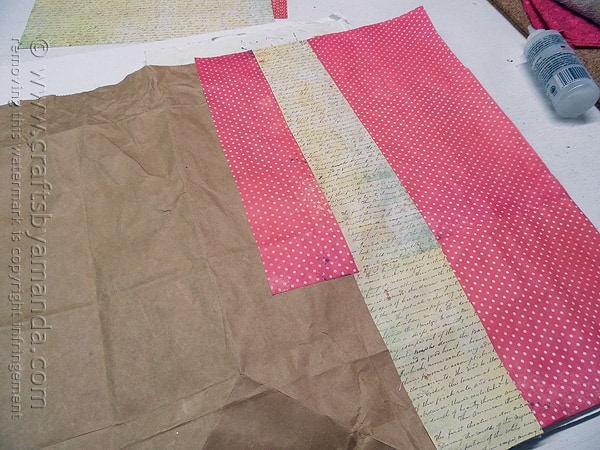
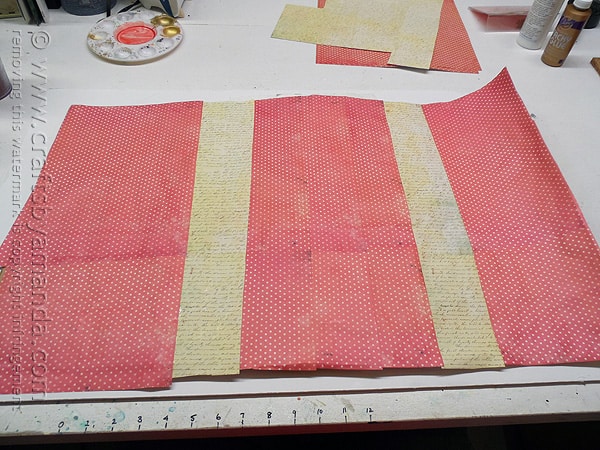
Before decoupaging, make sure you have enough paper to cover the entire bag. Lay out your scrapbook paper that will serve as your cover’s background.
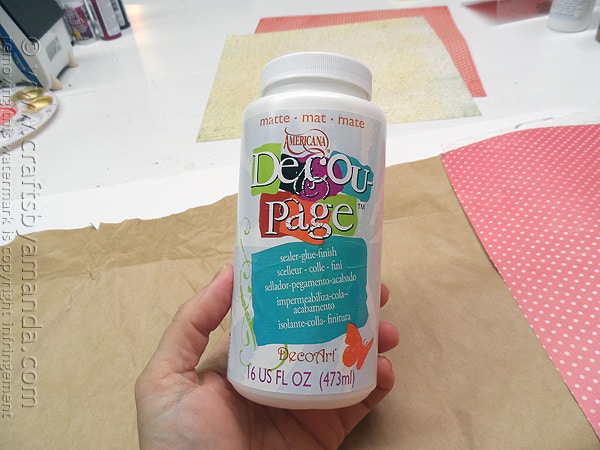
I used Americana Decoupage.
Start at one end and work your way to the other end. I apply decoupage medium to the back of the scrapbook paper and then press it in place. Some people like to wet their paper first. Either method works and helps eliminate the possibility of getting bubbles in your work. The trick is getting the paper moistened and allowing it to grab and adhere before adding the top coat.
By the time you get to the other side it will have had enough time to adhere.
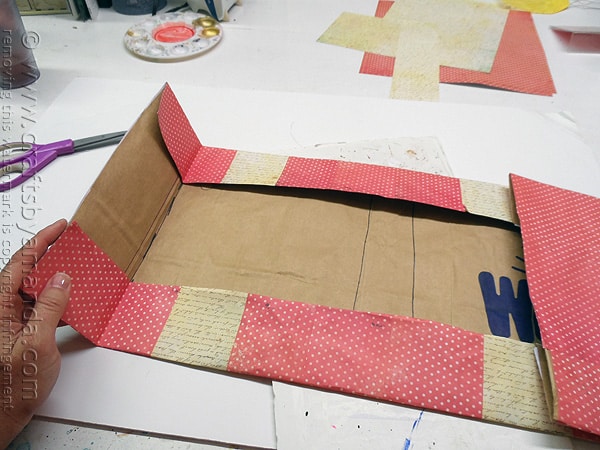
The next step is to follow your crease lines and refold your book cover. (No, we have not added the top coat yet!) :)
Crease it at the binding.
The reason for this is you will be adding your Instagram photos next, so you want to make sure that you know exactly where the front cover is, the binding, etc.
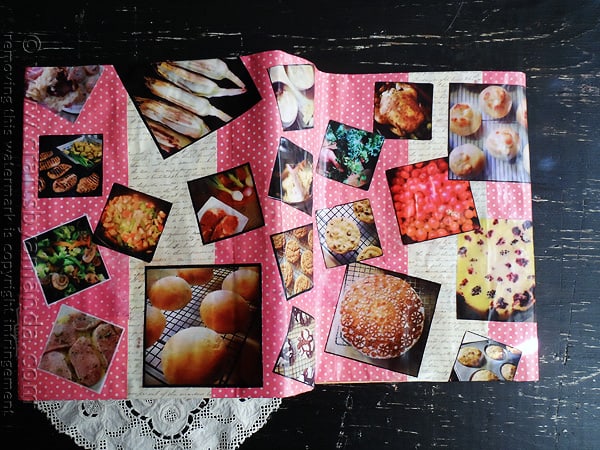
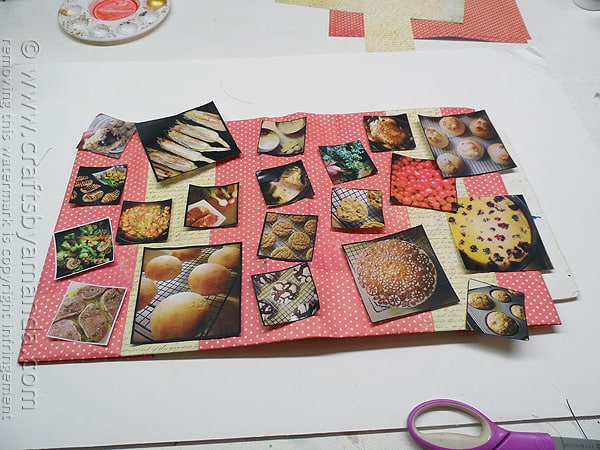
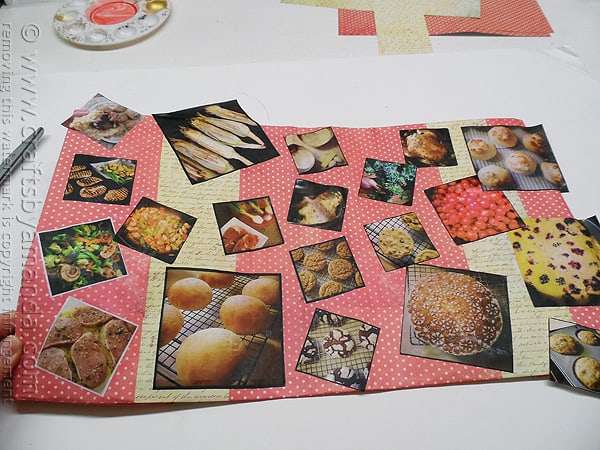
Now you can cut out and trim all of your photos. Lay them out onto your book cover.
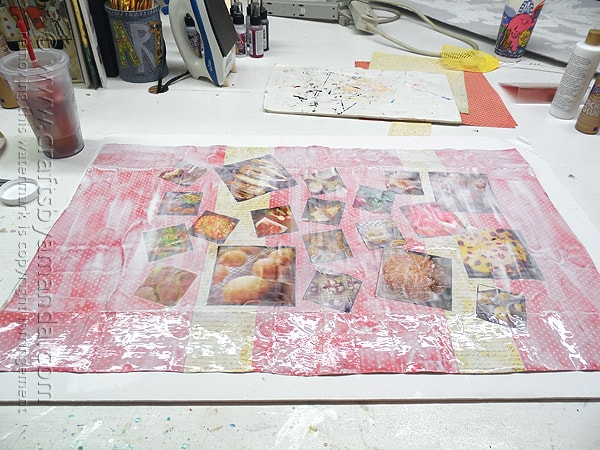
When you are happy with the placement, attach each one by applying decoupage to the back of the picture and pressing it in place, pushing out any air, using your finger as a squeegee. Go ahead and overlap some over the edge if you like.
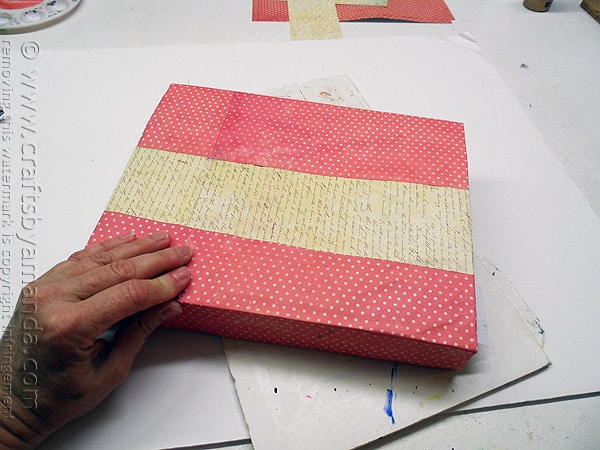
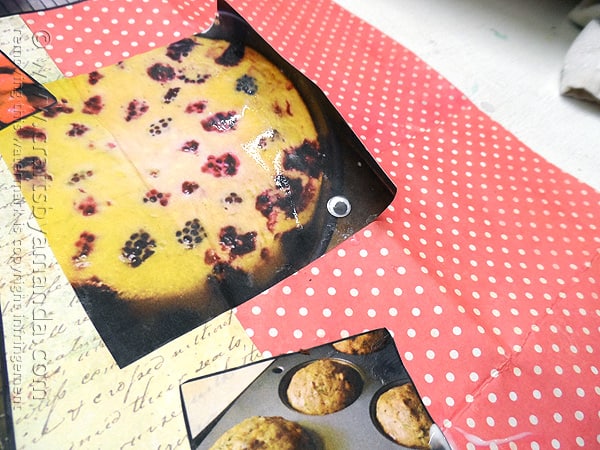
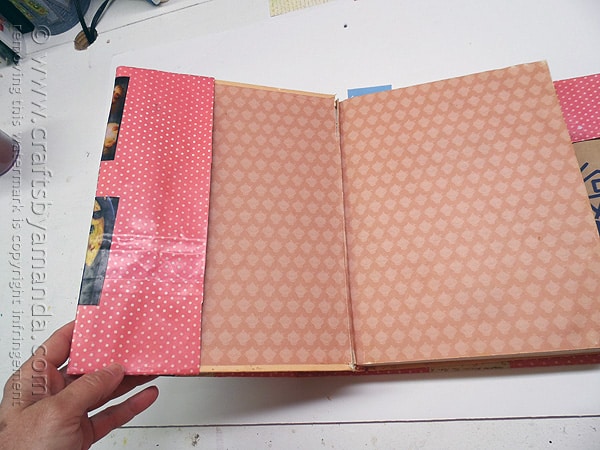
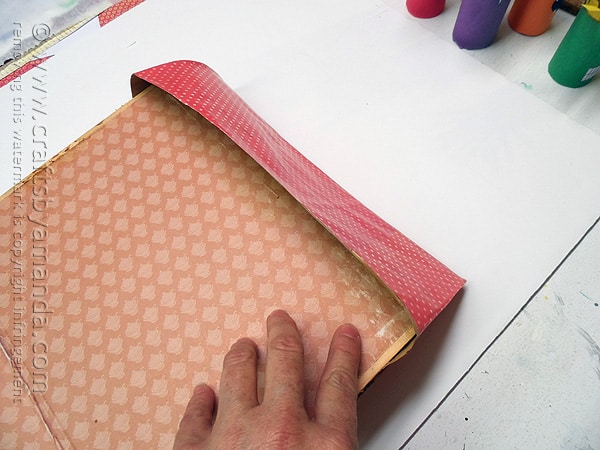
Now that all of your photos are in place, you can open up the folds and attach the overlapping excess.
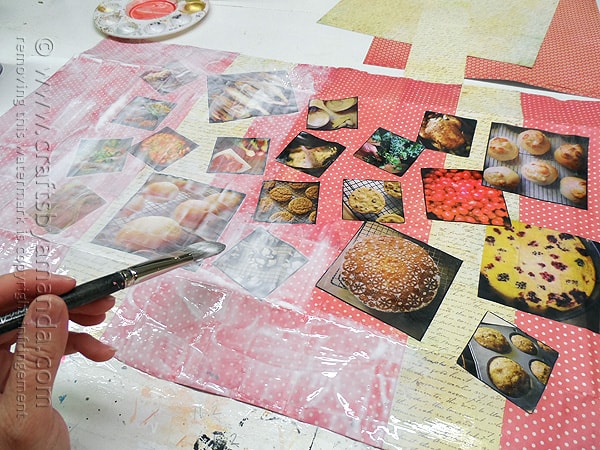
Now it’s time for the top coat. Apply a generous amount of decoupage. I like to use a mop type brush, it doesn’t leave any streaky lines.
Be sure that you cover the entire surface. Your cover should be completely unfolded at this time. You’ll need to let it dry for a few hours.
When it’s dry enough to run your hand across it without feeling any wet areas, go ahead and put the cover on your book.
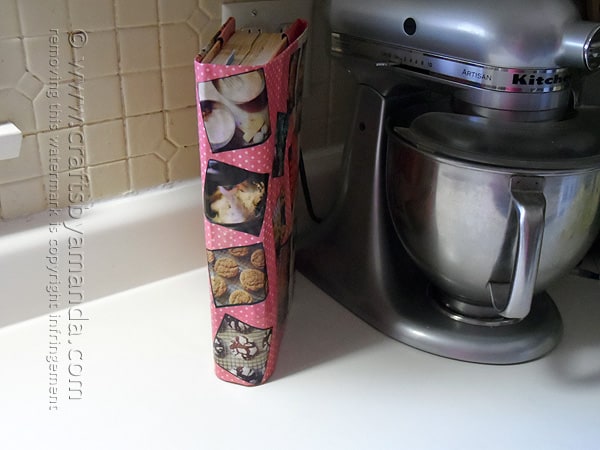
insert your front and back covers into the appropriate flaps. And bam! You have a book cover.
Make an Instagram Cookbook Cover
Supplies
- Instagram photo print-outs
- brown paper grocery bag
- Scrapbook paper
- Americana acrylic sealer spray
- Americana Decoupage
Instructions
- Choose your Instagram photos and insert them into a Word document. Resize according to your preference.
- print them off and spray the print outs with a clear sealer. This will help keep the ink from bleeding when you apply the decoupage medium.
- While the spray is drying, cut the bottom of your bag off and create your book cover, creasing and marking it with a Sharpie. (For help making a brown bag book cover go to this post for the instructions.
- Lay out your scrapbook paper that will serve as your cover's background. Start at one end and work your way to the other end. Apply decoupage medium to the back of the scrapbook paper and then press it in place.
- The next step is to follow your crease lines and refold your book cover. (No, we have not added the top coat yet!) Crease it at the binding.
- The reason for this is you will be adding your Instagram photos next, so you want to make sure that you know exactly where the front cover is, the binding, etc.
- Cut out and trim all of your photos and lay them out onto your book cover.
- When you are happy with the placement, attach each one by applying decoupage to the back of the picture and pressing it in place, pushing out any air, using your finger as a squeegee. Go ahead and overlap some over the edge if you like.
- Now that all of your photos are in place, you can open up the folds and attach the overlapping excess.
- Now it's time for the top coat. Apply a generous amount of decoupage, be sure that you cover the entire surface. You cover should be completely unfolded at this time. You'll need to let it dry for a few hours.
- When it's dry enough to run your hand across it without feeling any wet areas, go ahead and put the cover on your book.
I am a DecoArt Core Blogger. I was compensated for this post, but have always loved DecoArt products! Therefore, all opinions expressed here are 100% my own.
- Watercolor Luminaries - February 11, 2025
- Free Valentine Printables: Cards, toppers, and tags - February 4, 2025
- Valentine Hugs - January 31, 2025


Maria G. says
People, are you all crazy about instagram. Can anyone explain me what’s in there? I just don’t use it, maybe I’m from ancient times :) But I can say that your cookbook is really awesome anyway. My applauses for the author)))
Amanda Formaro says
instagram is a fun way to add day-to-day photos to a stream that you and all your friends can look through. It’s fun to see what other people are up to during the day!
Angie | Big Bear's Wife says
I am so making some of these! What a great idea to use the instagram photos!
Amanda Formaro says
Thanks Angie :) I have a different design in mind too, so I’ll probably do another one.
TidyMom says
fun idea Amanda – would be a great gift idea too!
Amanda Formaro says
Thank you Cheryl!
Mique says
I love this Amanda! What a fun idea. Adorable.
Amanda Formaro says
Thank you Mique! I’ll be making another one with a little less of a country flair :)
capturing joy with kristen duke says
I love seeing the pictures on the outside to remind you of your favorites! I love anything with pictures;)
Amanda Formaro says
Thanks Kristen! ;-)