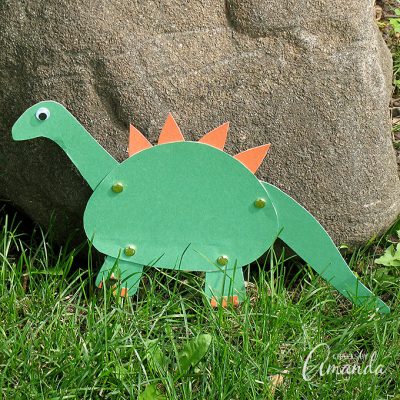
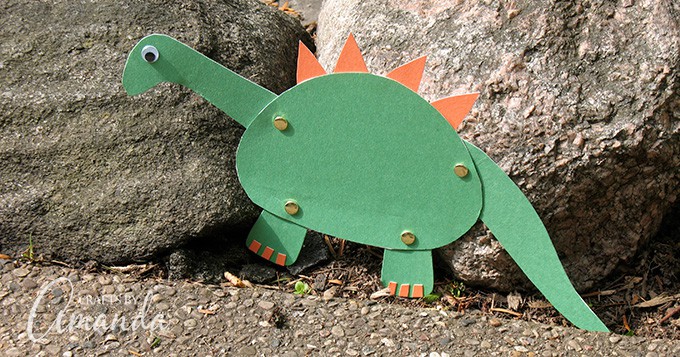
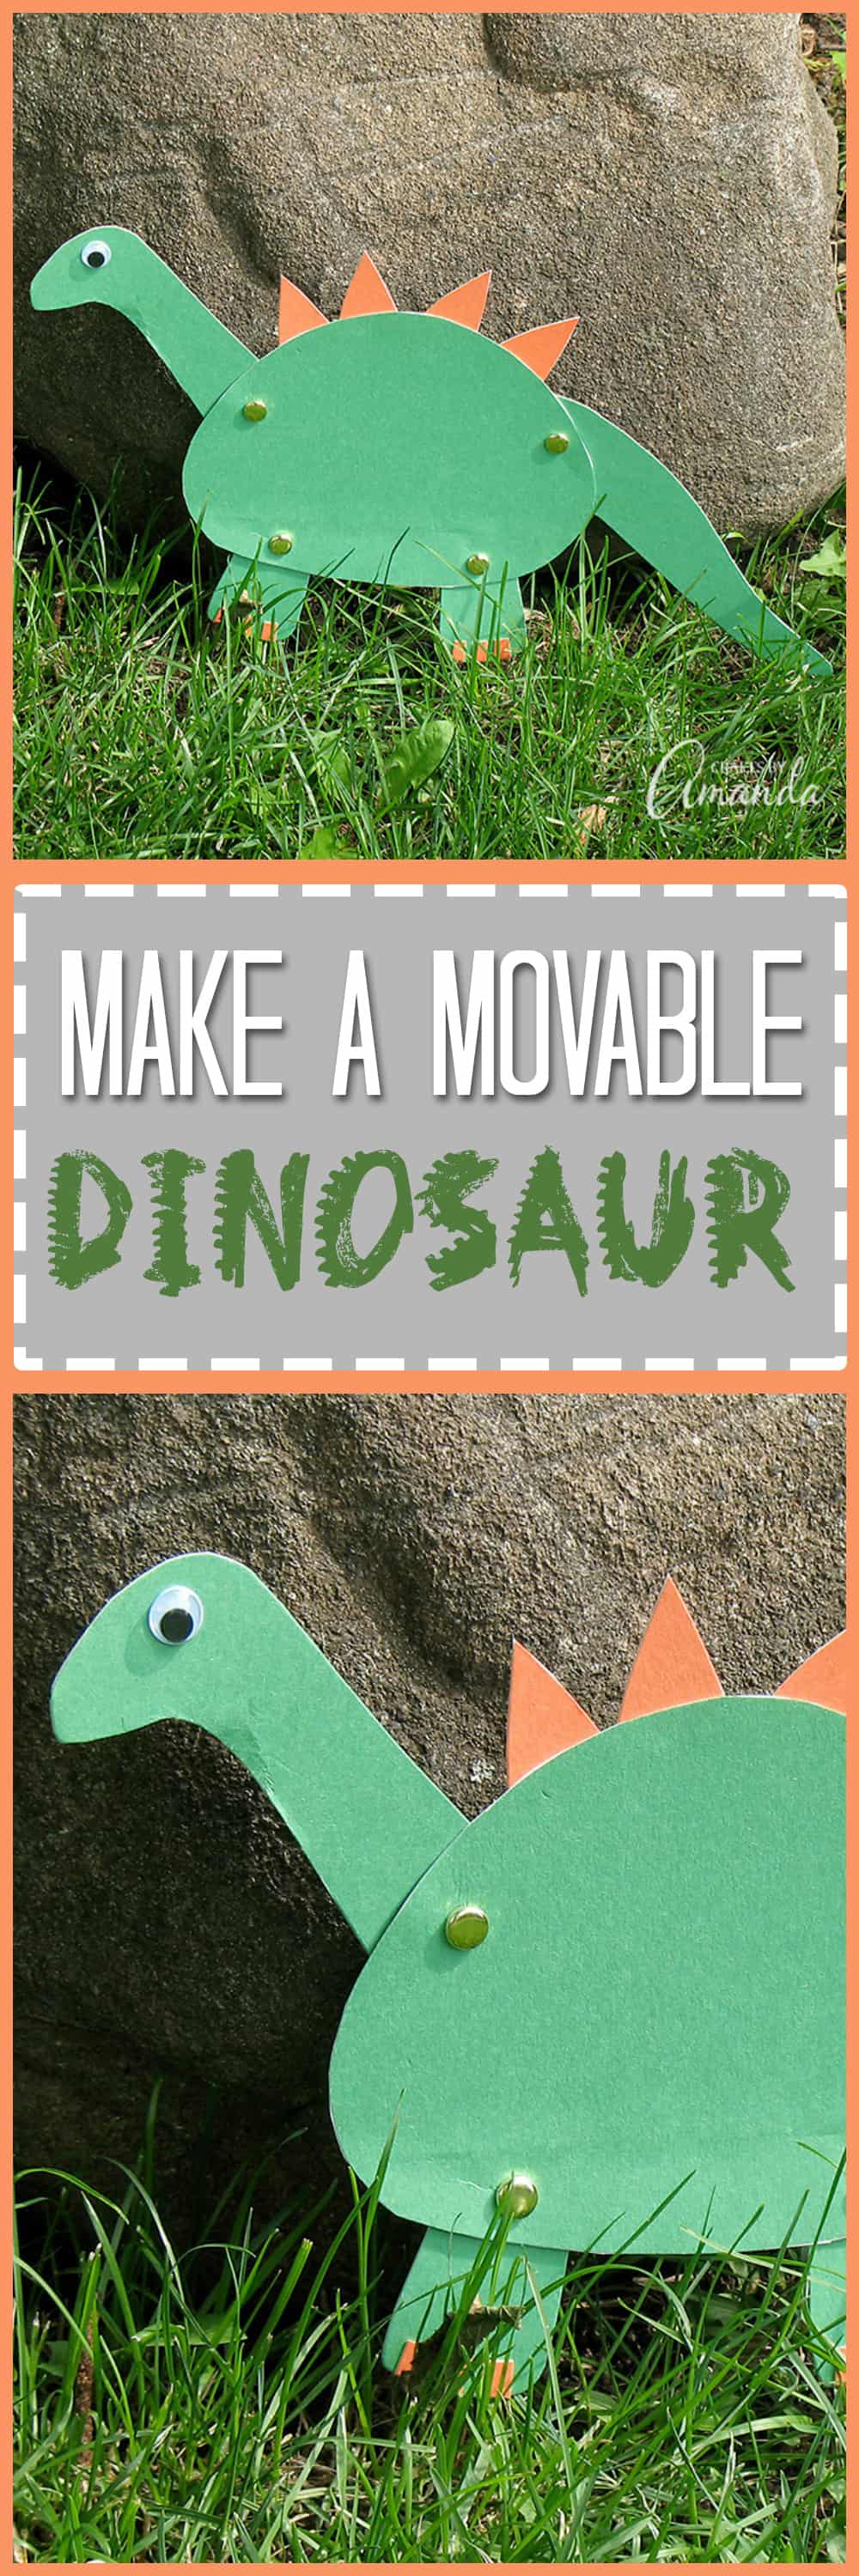
This movable dinosaur craft is a fun project for boys and girls alike. Engage your child in the prehistoric world with this easy paper dinosaur that comes to life! Use this kid’s craft as an opportunity to enlighten your little ones of the world that once was- long, long ago.
Movable Dinosaur Craft
There is something about dinosaurs that little ones go crazy over, it seems that every kiddo goes through their dinosaur-everything phase at one point or another. When my daughter was young her absolute favorite dinosaur was the Brachiosaurus, she could never pronounce them so instead she called them the “dinosaurs with long necks”. Dinosaurs are a timeless fascination, and although they’re extinct they will live on in children’s imaginations forever.
Take this movable dinosaur project and run with it! If you want to use white construction paper instead of green construction paper, have your child color in the dinosaur with whatever color they’d like to make a more interactive experience. If you do so, I’d recommend having them color the paper before fastening the legs, neck, and tail on.

Suggestion: Have the parent handle the scissors and paper fastener steps in this craft, you wouldn’t want an accidental slip up!
You can find a printable version of this tutorial at the end of the post.
A few crafting tips before you start
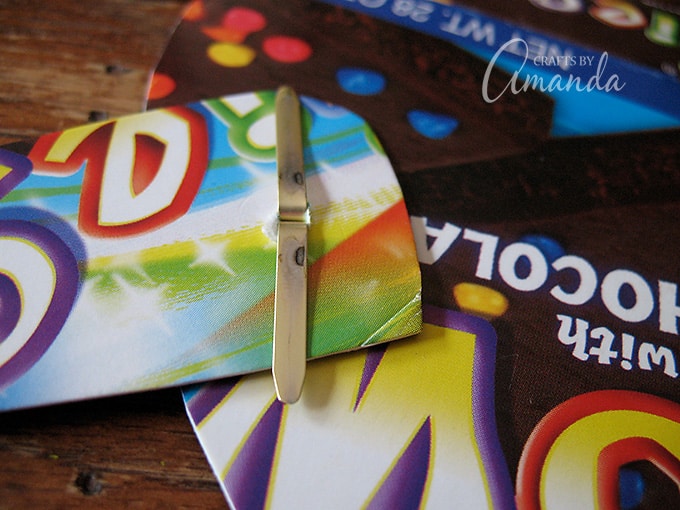
- If you like, you can glue the sheet of construction paper to the thin cardboard first, then you will only have to cut the pieces once. However, you will not be able to use the remaining construction paper as it will be attached to cardboard.
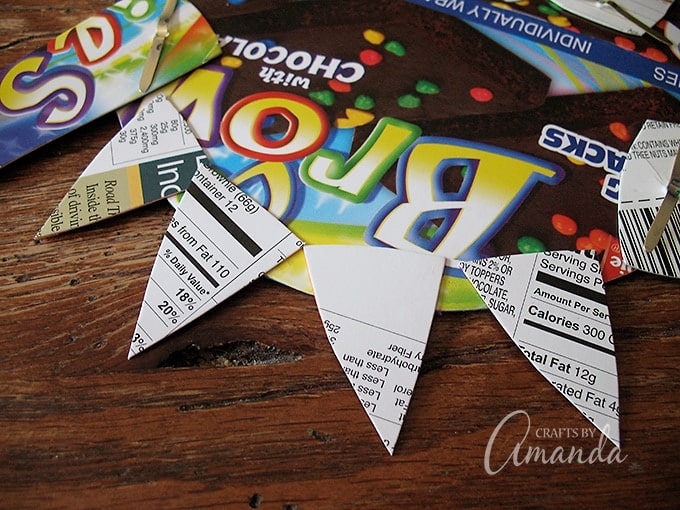
- Save boxes from cereal, snack boxes, and even from the back of writing tablets for projects such as these.
- If you like, make additional triangle plates, a little smaller than the ones for the back, and attach them to the tail.
Things you will need for this craft:
- 1 sheet of green construction paper
- 1/2 sheet orange construction paper
- Pen
- Scissors
- Thin cardboard (recycled snack box, etc)
- Glue stick
- 4 paper fasteners
- 1 medium wiggle eye
- White craft glue
- Pattern

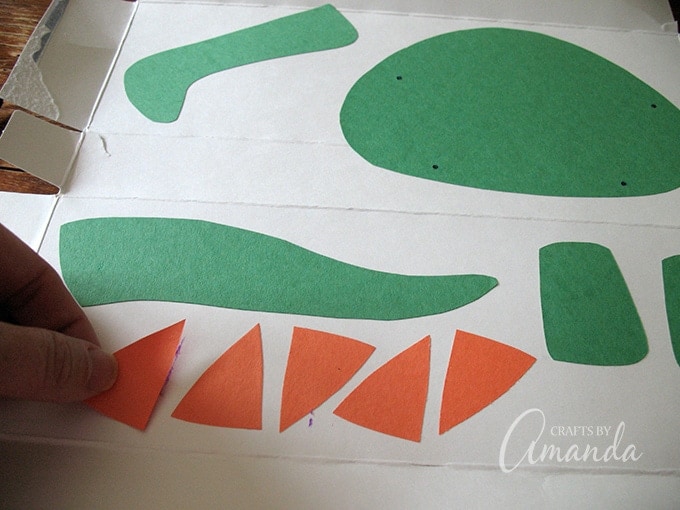
Cut out the body parts from the green construction paper and the triangle plates from the orange construction paper.
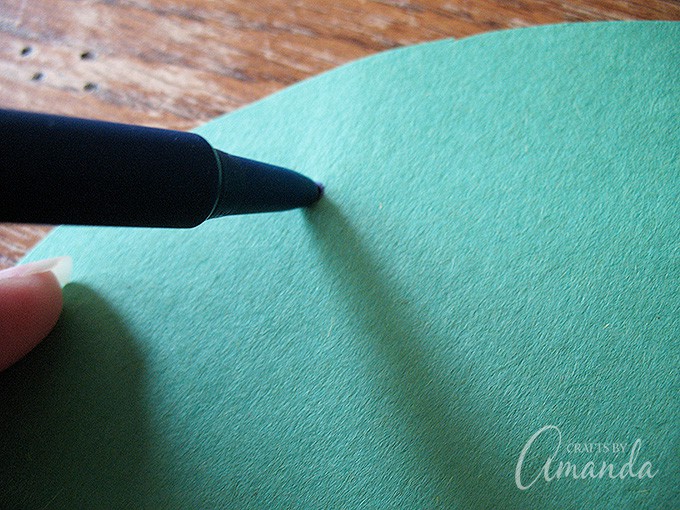
Use the pattern as a guide to mark the four holes on the dinosaur body with a pen.
Use a glue stick to attach the body pieces and the triangle plates to a piece of thin cardboard. Cut all of the pieces out.
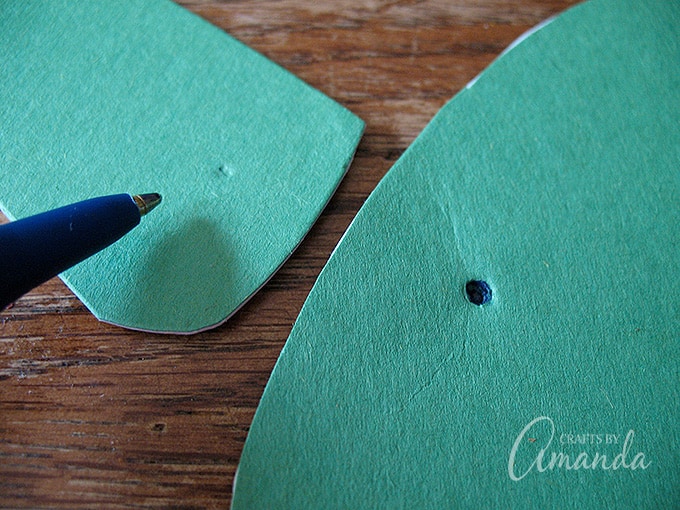
Position the dinosaur body pieces on the table (without permanently connecting them). The body section should be on the top with the legs, neck, and tail underneath the body piece. Using a pen, poke a hole through the marked areas on the dinosaur body. Then pen should go all the way through the cardboard, creating an indent on the body piece below (i.e. legs, neck, tail). Next, use the pen to poke a hole through the indented area on the tail, neck, and legs.
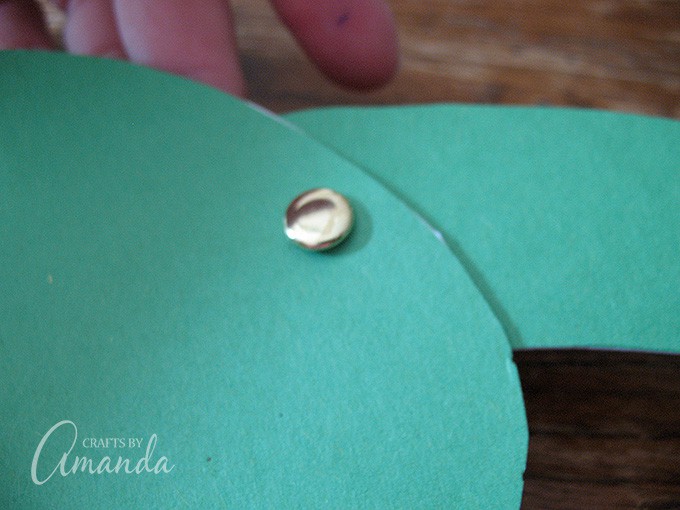
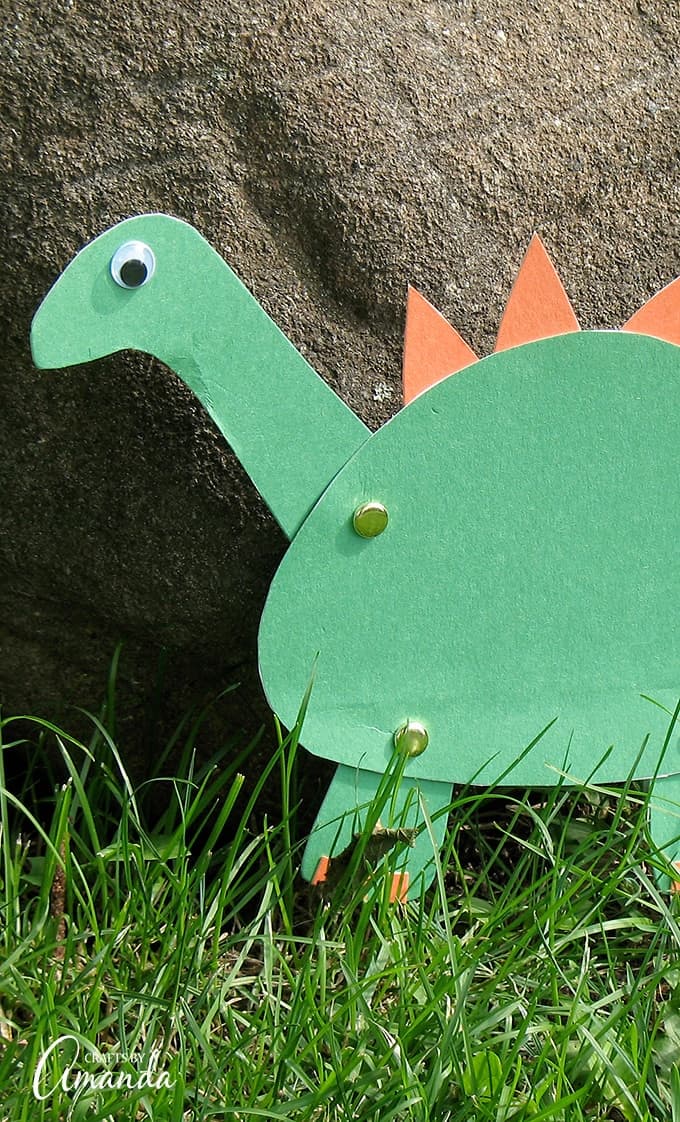
Insert a paper fastener through a hole in the dinosaur body. Position the corresponding body piece below that and insert the fastener through there as well. Repeat for all four parts.
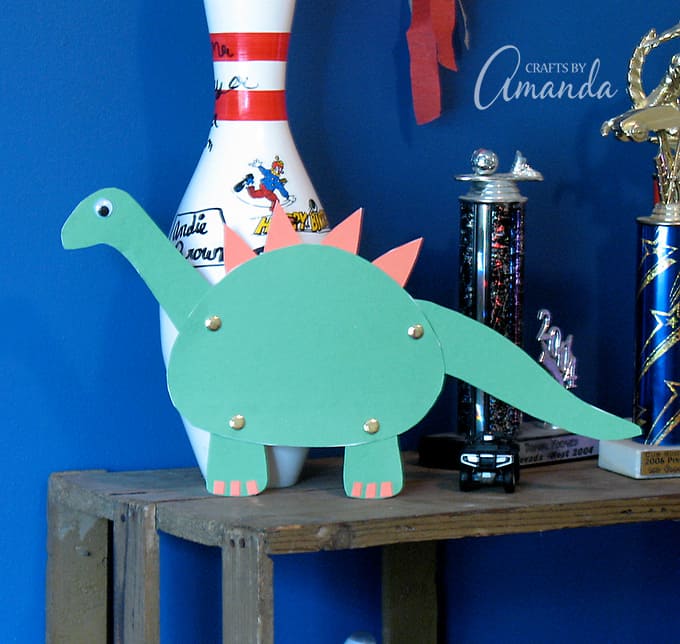
Using 4 of the 5 triangle plates, glue them to the dinosaur’s back.
Take the remaining triangle plate and cut it into six small pieces to use as toes (3 for each foot), glue in place.
Glue a wiggle eye to the dinosaur’s face and wha la!
I hope you and your little ones have fun with this dinosaur inspired craft, get creative and enjoy the time you get to spend being imaginative! Be sure to check out tons of other awesome kid crafts like this Clothespin Dinosaur project or this Styrofoam Robot!

Movable Dinosaur Craft
Supplies
- 1 sheet of green construction paper
- 1/2 sheet orange construction paper
- Pen
- Scissors
- Thin cardboard recycled snack box, etc
- Glue stick
- 4 paper fasteners
- 1 medium wiggle eye
- White craft glue
- Pattern
Instructions
- Cut out the body parts from the green construction paper and the triangle plates from the orange construction paper.
- Use the pattern as a guide to mark the four holes on the dinosaur body with a pen.
- Use a glue stick to attach the body pieces and the triangle plates to a piece of thin cardboard. Cut all of the pieces out.
- Position the dinosaur body pieces on the table (without permanently connecting them). The body section should be on the top with the legs, neck, and tail underneath the body piece. Using a pen, poke a hole through the marked areas on the dinosaur body. Then pen should go all the way through the cardboard, creating an indent on the body piece below (i.e. legs, neck, tail). Next, use the pen to poke a hole through the indented area on the tail, neck, and legs.
- Insert a paper fastener through a hole in the dinosaur body. Position the corresponding body piece below that and insert the fastener through there as well. Repeat for all four parts.
- Using 4 of the 5 triangle plates, glue them to the dinosaur’s back.
- Take the remaining triangle plate and cut it into six small pieces to use as toes (3 for each foot), glue in place.
- Glue a wiggle eye to the dinosaur’s face.
- Tie Dye Beach Towels - July 24, 2026
- Swirling Twirling Ladybugs - July 21, 2026
- Drip Tie Dye Backpack - July 17, 2026


Lee Orlian says
So cute! My daughter has just started reading a book about dinosaurs and this will definitely get her attention. This is a fun craft and a smart way to play with the creatures of the prehistoric world. Thank you for sharing!
Amanda Formaro says
And you can make it her favorite color instead of green if you want! Fun! :)