I actually made this paper plate rabbit several years ago and am just finally getting it posted. I’ve made numerous paper plate crafts or kids over the years. Paper plates are easy for kids to work with and they are a super cheap craft supply. Paper plates and cardboard tubes are probably my favorites. I actually made this cardboard tube bunny rabbit family right around the same time as the paper plate rabbit.
Paper Plate Rabbit Craft
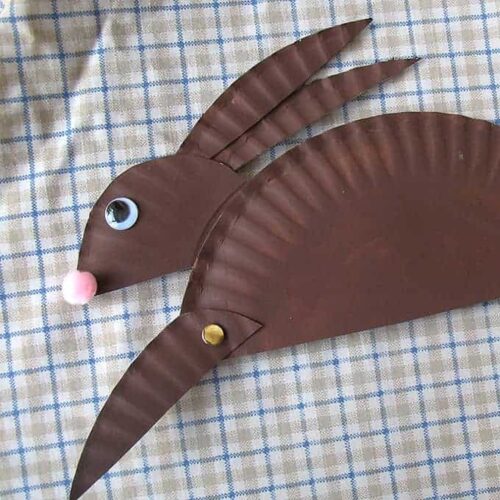
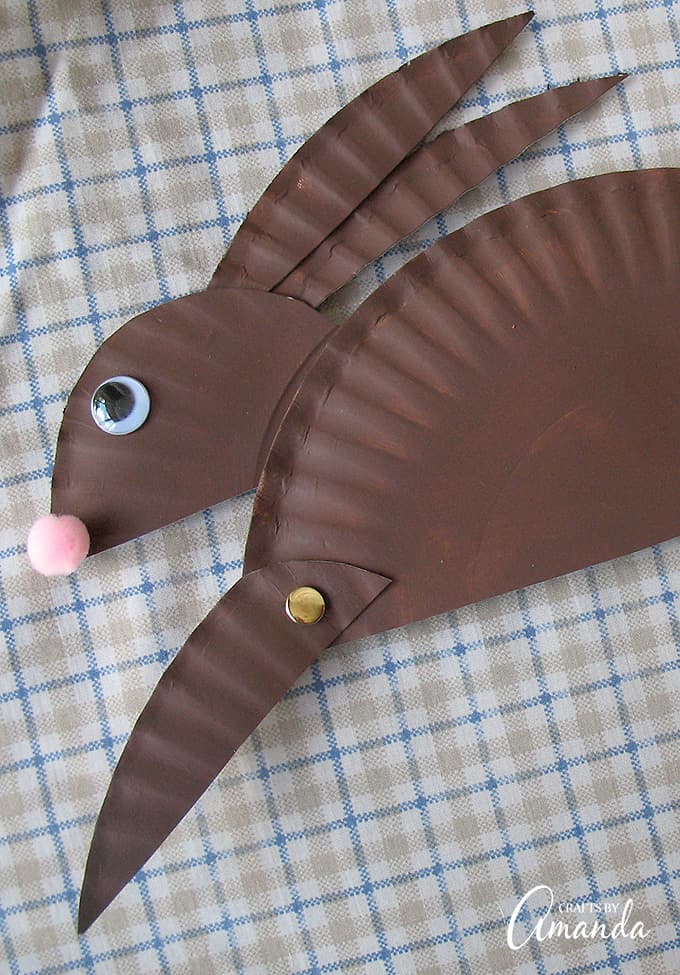
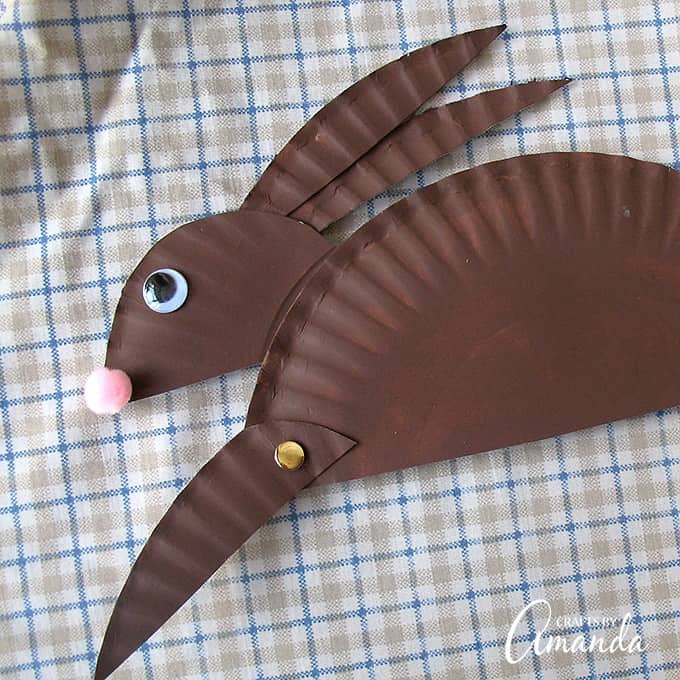
There are a lot of rabbit crafts out there that kids can make. These adorable felt bunny softies are among my favorites, and from the same site these rocking bunnies, which are also made from paper plates. Since I love rabbit crafts so much, I knew that this paper plate rabbit would be popular with the kids. Most of the supplies needed for this project are probably already in your supply stash. If you don’t have paper fasteners and don’t feel like running to the store, skip the movable legs and just attach them with glue. The bunny will still be just as cute!
There are affiliate links in this post. That means if you buy something from that link, I will earn a small commission, but it won’t cost you anything additional.
Craft supplies you will need:
- 2 9-inch paper plates
- brown acrylic craft paint
- cotton ball or large white pom pom
- medium pink pom pom
- medium googly eye
- 2 paper fasteners
- Scissors
- white craft or school glue
- craft knife (or can use pointy end of scissors, grown ups should help)
- pattern
Crafting Tips for this project:
- You can save the excess bits of paper plate to use in a future project, perfect for mosaics!
- A white pom-pom or a white construction paper circle can be used in place of the cotton ball.
- Craft foam can also be used to substitute for nose and tail supplies.
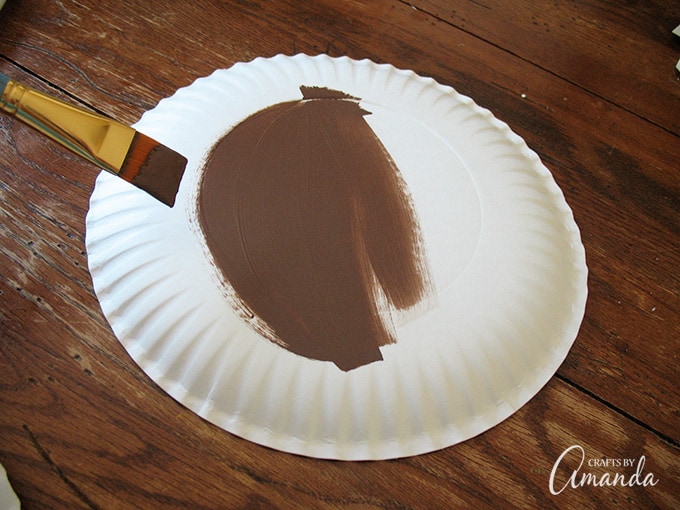
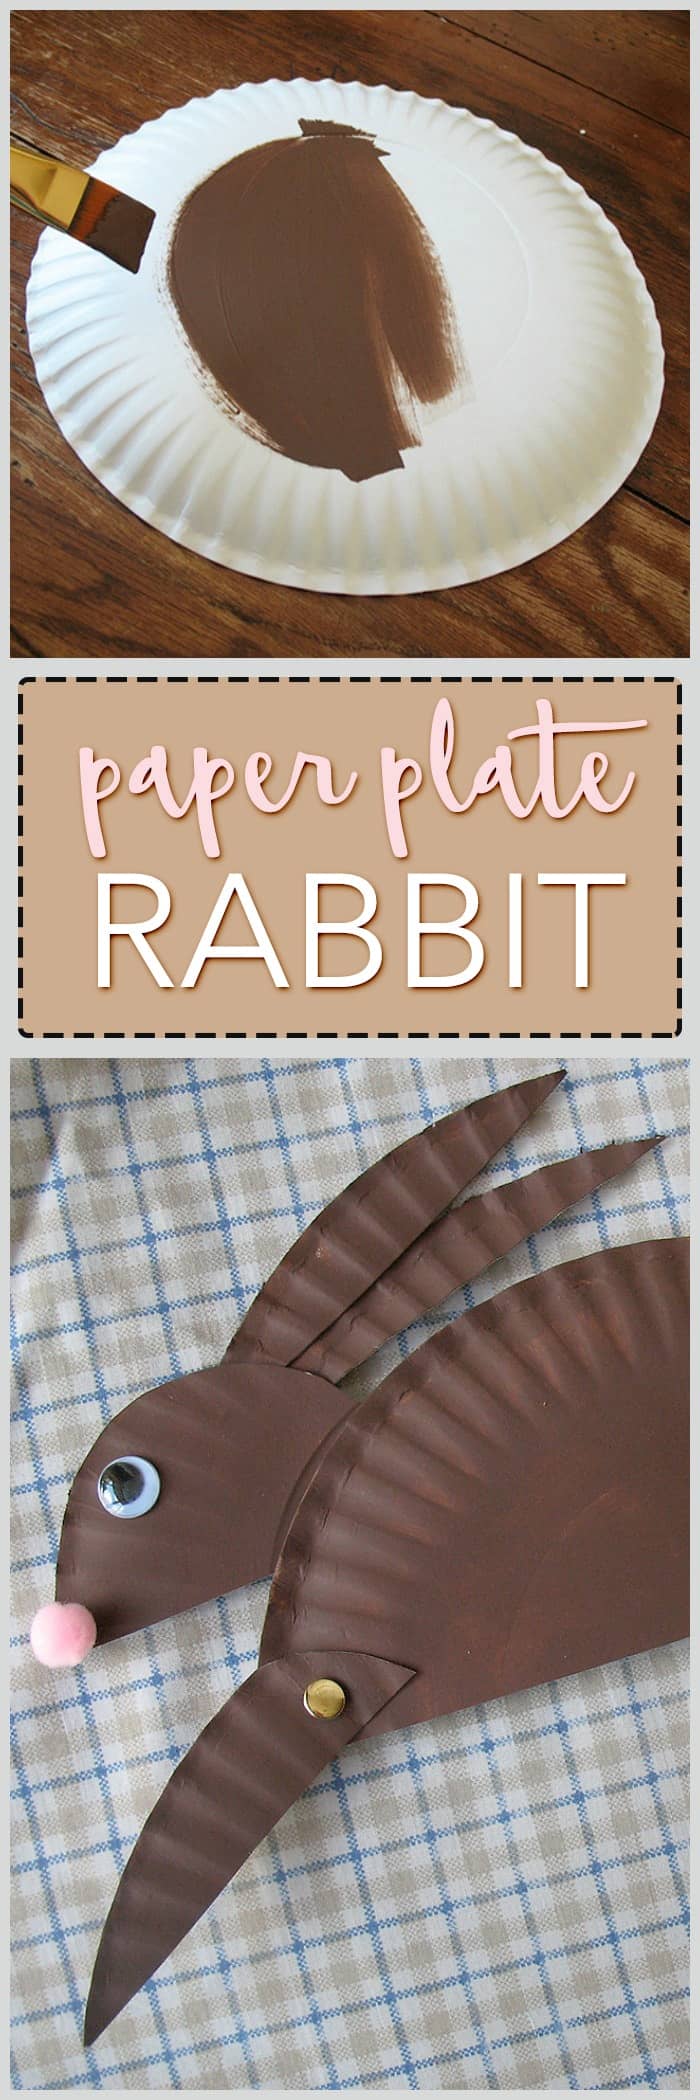
- Paint the back of the paper plate with brown acrylic craft paint.
- Cut one paper plate in half, then trim off an additional inch from the straight cut edge.
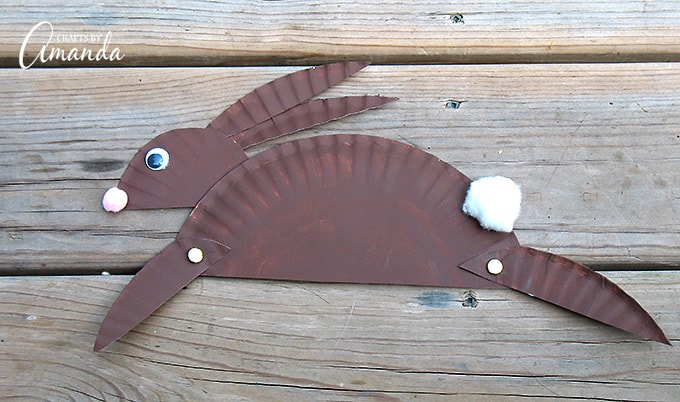
- Using the pattern as a guide, cut out 2 ears and 1 of all the other pattern pieces. Use the natural curve of the paper plates when cutting out each piece. Save the scrap pieces for another project or discard.
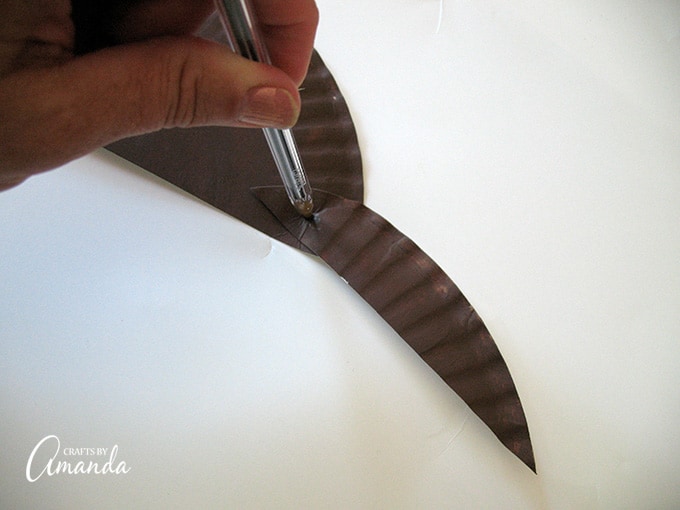
- Position the back leg over the bottom right side of the body. Holding the two pieces together, poke the tip of a pen through the plates then insert a paper fastener. Repeat this step with the front leg as well.
- Attach the head to the back of the body using tape. Attach the ears to the back of the head using tape.
- Glue cotton ball on as tail and the pink pom-pom on as the nose. Attach the wiggle eye using white glue as well.
If you like paper plate crafts, this colorful tropical fish craft is another easy project for kids. And if it’s rabbit crafts you are after, these craft stick bunnies are the cutest!
Paper Plate Rabbit
Supplies
- 2 9- inch paper plates
- brown acrylic craft paint
- cotton ball or large white pom pom
- medium pink pom pom
- medium googly eye
- 2 paper fasteners
- Scissors
- white craft or school glue
- craft knife or can use pointy end of scissors, grown ups should help
- pattern
Instructions
- Turn the paper plates upside down and paint brown or color with brown marker. Let dry.
- Cut one paper plate in half, then trim off an additional inch from the straight cut edge.
- Using the pattern as a guide, cut out 2 ears and 1 of all the other pattern pieces. Use the natural curve of the paper plates when cutting out each piece. Save the scrap pieces for another project or discard.
- Position the back leg over the bottom right side of the body. Holding the two pieces together, poke the tip of a pen through the plates then insert a paper fastener. Repeat this step with the front leg as well.
- Attach the head to the back of the body using tape. Attach the ears to the back of the head using tape.
- Glue cotton ball on as tail and the pink pom-pom on as the nose. Attach the wiggle eye using white glue as well.
- Watercolor Luminaries - February 11, 2025
- Free Valentine Printables: Cards, toppers, and tags - February 4, 2025
- Valentine Hugs - January 31, 2025


Leave a Reply