If you love wine as much as I do, spare the judgment from the recycling truck and use those empty bottles to make these beautiful, polka dot wine bottle vases! Pair with brightly-colored flowers to add a bit of cheer to any room in your house. Or use them as centerpieces or decorations for your parties this summer like we did with these painted wine bottles.
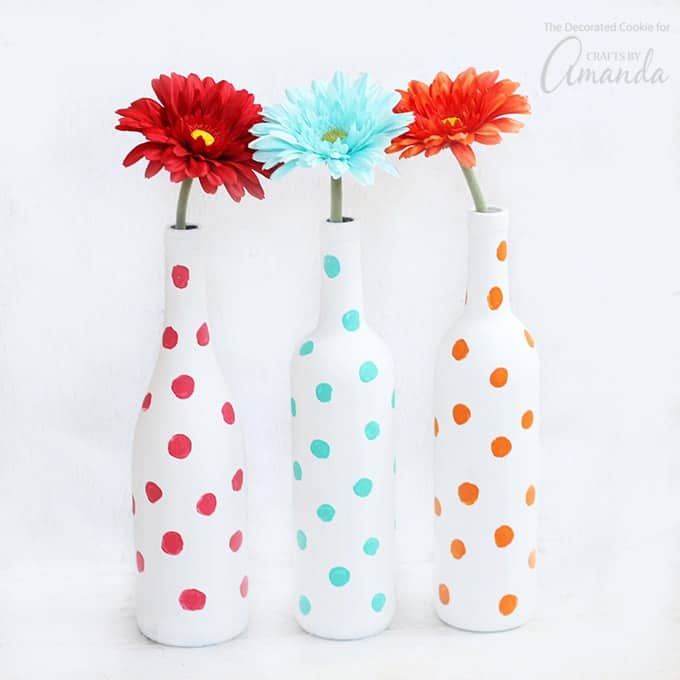
Polka Dot Wine Bottle Vases
Before you head to the craft store, a few notes on the paint I used for these polka dot wine bottle vases… Often, to paint on glass, I use Acrylic Enamel paints, which are cured either in the oven or over several weeks. Such paints work well on glass. (Check out these wine glasses as an example.) However, to cover larger glass areas with paint, such as these wine bottles, I much prefer to use chalk paint. It covers surfaces quickly, it doesn’t need to be cured, and it dries with a matte finish, so adding the polka dots is easy.
Don’t forget to save your wine corks to make these adorable Wine Cork Succulent Magnets!
You will need to do two to three coats of the chalk paint for opaque coverage, but the Acrylic Enamels would take even more coats. For the polka dots, however, since they are not painted on the glass but on the chalk paint, I simply use regular acrylic craft paint.
To make polka dot wine bottle vases you’ll need:
- Empty wine bottles
- Rubbing alcohol
- White chalk paint
- Large, flat paintbrush
- Mini-marshmallows or small, circle stamp
- Acrylic craft paint in assorted colors
Making Polka Dot Wine Bottle Vases
- First, thoroughly clean the wine bottles and remove the labels. To remove the labels, fill the wine bottles with hot water and let them soak in very hot water for 30 minutes. Peel off the labels, using a straight razor or a sharp knife if necessary to encourage it along. Use a scouring pad to remove any remaining glue.
- When dry, wipe down the bottle with rubbing alcohol.
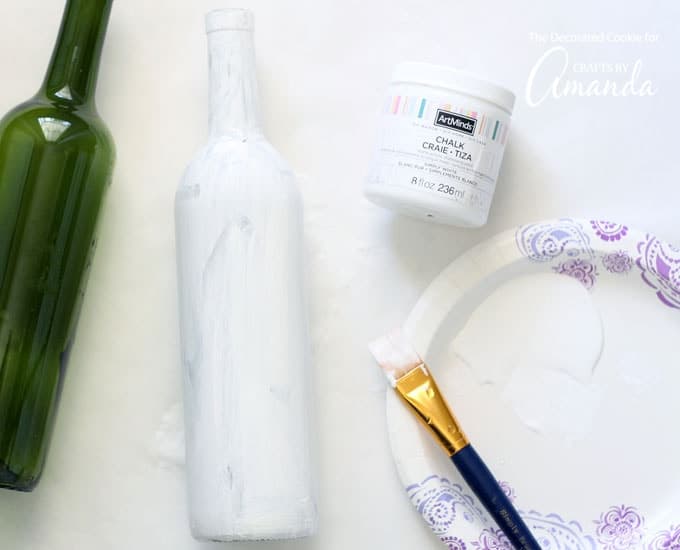
- Pour some of the chalk paint on a pallet or paper plate.
- Brush on the chalk paint to completely cover the wine bottles (I left the wine bottle bottoms un-painted).
- Let dry well and repeat. You may need up to three coats.
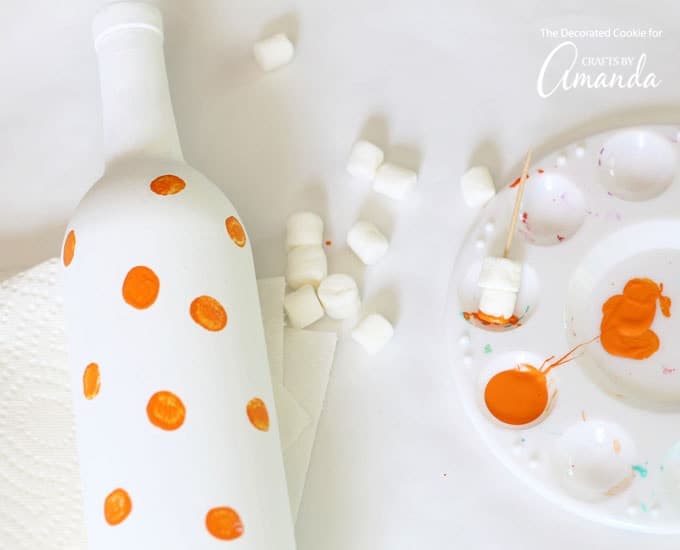
- When the white paint is fully dry, add your dots in any color. To make a “stamp,” I stacked two mini marshmallows on a toothpick.
Still feeling crafty? Check out this roundup of 40 crafts for grown-ups.
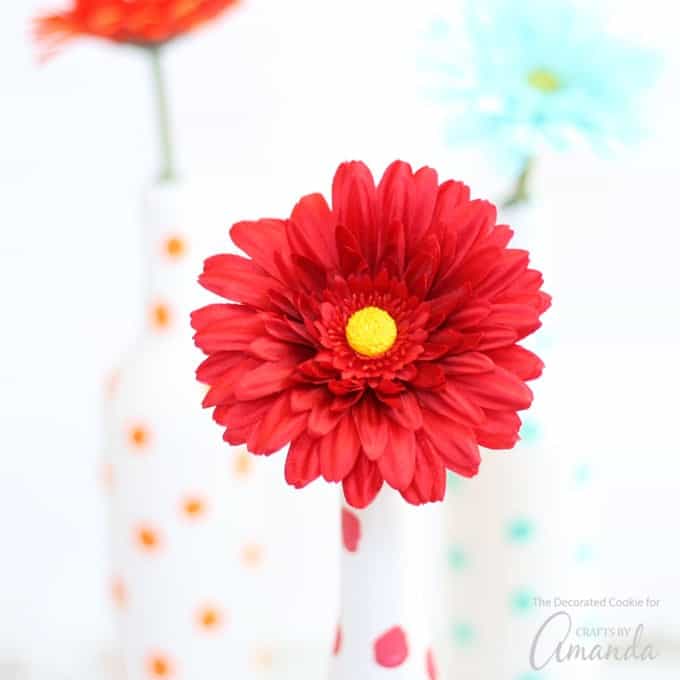
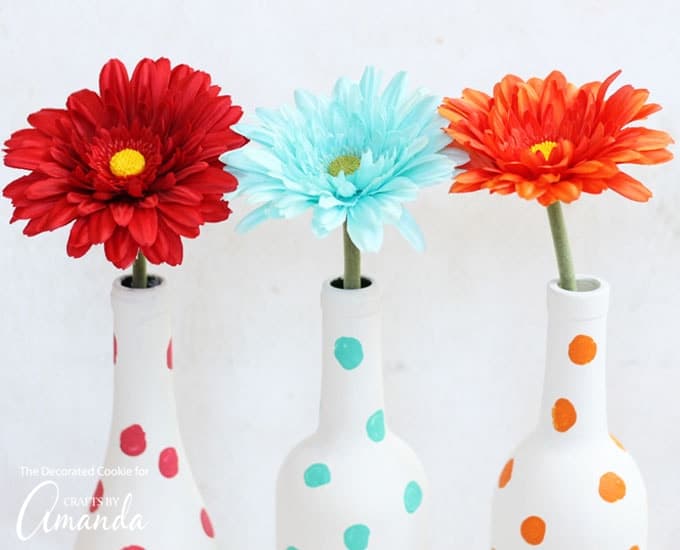
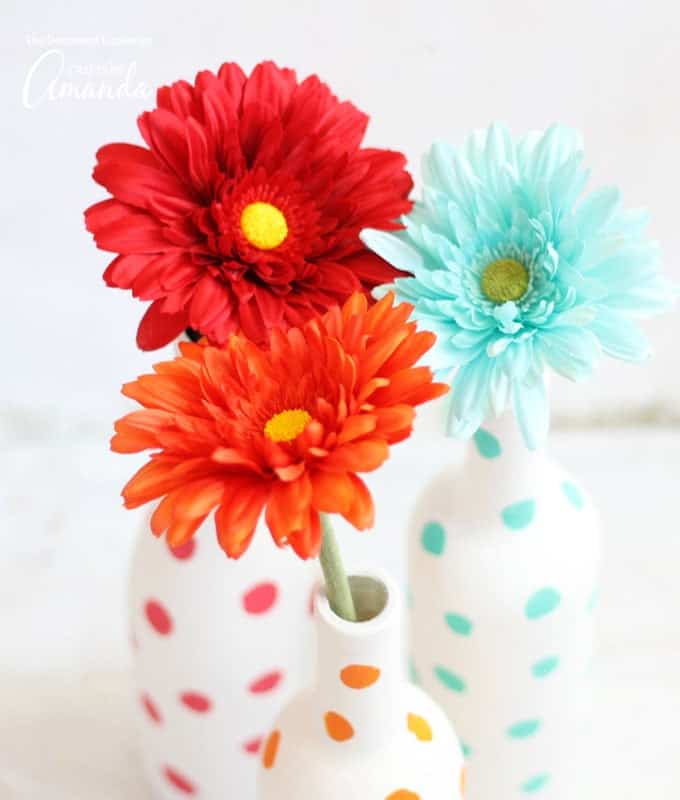
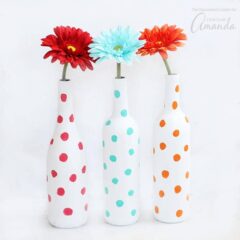
Let dry and add flowers to your pretty polka dot wine bottle vases! These vases will look adorable in a nursery, craft room, kitchen, living room, or just about anywhere. They’d also make for a fun girls craft night, paired with some wine of course!
Looking for more fun adult craft ideas? Check out…
- Terra Cotta Pot Wind Chimes
- Sea Glass Planters
- Ladybug Painted Rocks
- Crochet Pizza Coasters
- Birdseed Ornaments
Polka Dot Wine Bottle Vases
Supplies
- Empty wine bottles
- Rubbing alcohol
- White chalk paint
- Large flat paintbrush
- Mini-marshmallows or small circle stamp
- Acrylic craft paint in assorted colors
Instructions
- First, thoroughly clean the wine bottles and remove the labels. To remove the labels, fill the wine bottles with hot water and let them soak in very hot water for 30 minutes. Peel off the labels, using a straight razor or a sharp knife if necessary to encourage it along. Use a scouring pad to remove any remaining glue. When dry, wipe down the bottle with rubbing alcohol.
- Pour some of the chalk paint on a pallet or paper plate. Brush on the chalk paint to completely cover the wine bottles (I left the wine bottle bottoms un-painted). Let dry well and repeat. You may need up to three coats.
- When the white paint is fully dry, add your dots in any color. To make a "stamp," I stacked two mini marshmallows on a toothpick.
- Let dry and add flowers to your pretty polka dot wine bottle vases!
This post was originally published here on May 26, 2017
- How to Paint Wine Glasses - January 17, 2025
- Mason Jar Lid Snowman - December 27, 2024
- Macrame Sea Glass Necklace - August 20, 2024


Susan says
These are adorable. I’m inspired!
I make my own Goo Gone to remove labels. Works on glass, plastic, metal,…
Just mix baking soda and some cooking oil in a plastic food storage container. You want it to be the consistency of soft paste.
Spread a thin layer over the label and let it sit. The adhesive will scrape off cleanly. Then wash with soap and water.
So much better for the environment, and doesn’t expose you to yucky chemicals. I keep a container under my kitchen sink.
Amanda Formaro says
great idea!!
Claire | Heart Handmade UK says
You beat me to it with the wise crack about the recycling truck! These are gorgeous. I wonder if I could talk Mister Heart Handmade into drinking all the wine… Who am I kidding lol x