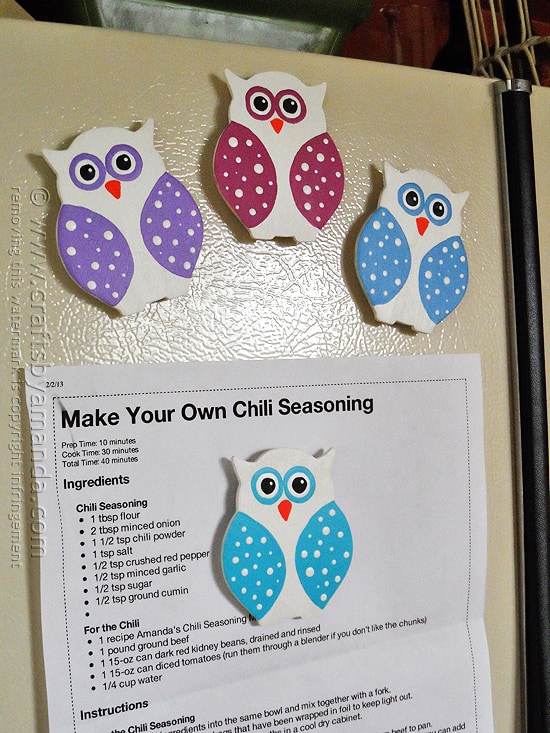
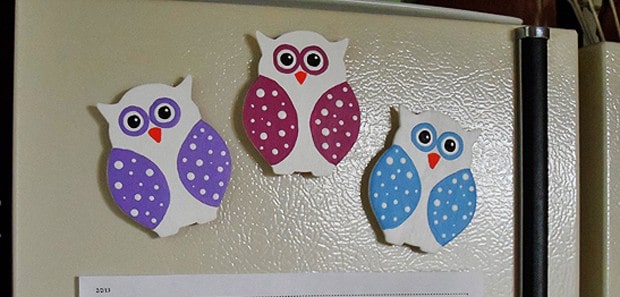
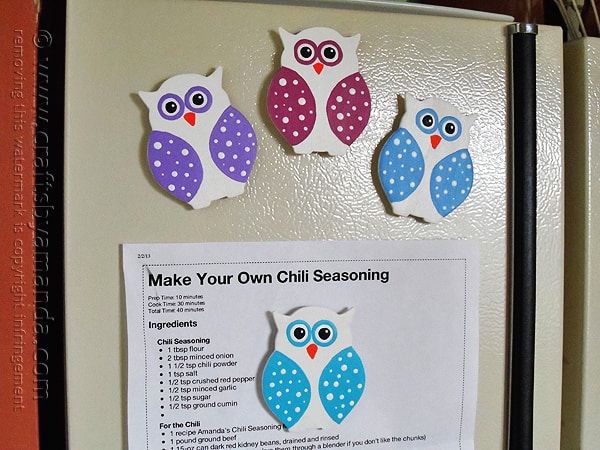
Need a sweet gift idea for that owl lover in your life? Or maybe it’s you “hoo” can’t resist those cute beaks and big eyes! I love owls too and collected them for many years when I was younger. I love how fun the polka dots look on these, and the cut-outs come this way, so all you have to do is paint them!
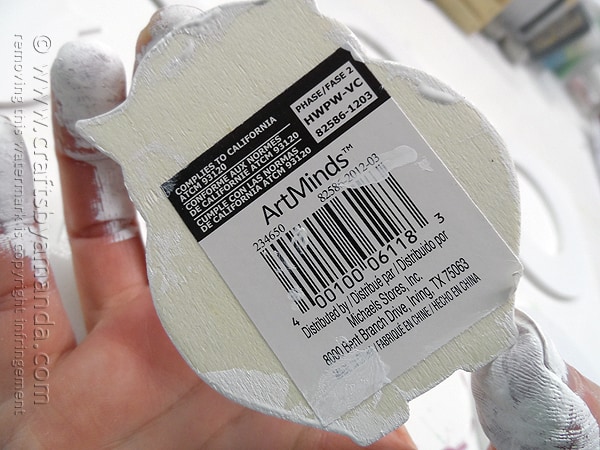
I found the little wooden owls at Michaels over by all the other wood items, an aisle or two from all the craft paint.
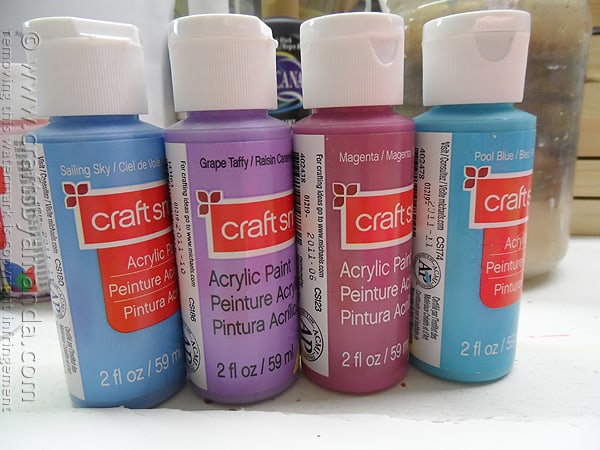
Originally I took this picture just for my own purposes so I knew what item I used for writing the tutorial. However, I figure it might be helpful to you if you are looking for these little wooden owls.
I used Craft Smart paint (Sailing Sky, Grape Taffy, Magenta, Pool Blue, and Dark Orange for the beaks, and of course White and Black), found only at Michaels. You can use whatever acrylic craft paint you like best.
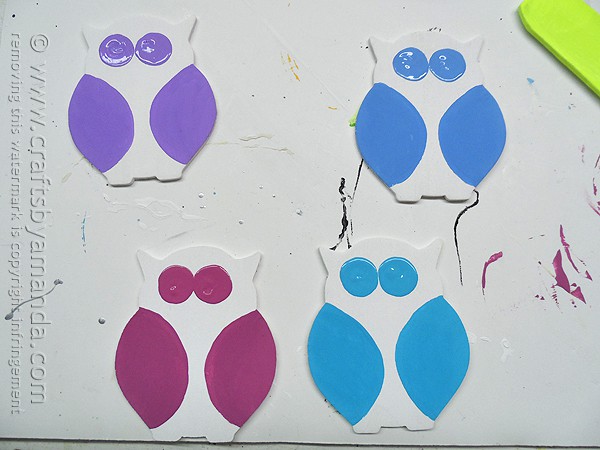
Here’s how easy this is. Follow the pictures as a guide. After you’ve painted each owl white, use a different color for each owl; paint half circles for the wings and use the handle end of a large paintbrush to add circles for the eyes.
Paint the beaks on with orange. When all colors have dried completely, use the handle end of a paintbrush to add smaller white circles to the colored eyes. When the white circles have dried completely, use the handle end of a paintbrush to add black circles to the white circles. Dip a toothpick in white and add a dot to the black of each eye. Using a toothpick for small dots and the handle end of a paintbrush for larger dots, add white polka dots to the owls’ wings. When everything is dry, add a coat of matte varnish.
Glue a magnet to the back of each owl. Don’t use hot glue, they’ll eventually fall off, especially if anyone drops them. Use white craft glue. You’ll thank me later.
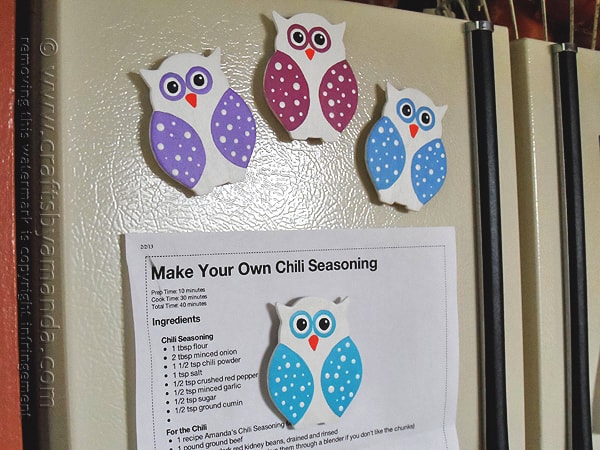
Need a craft for the kids? Here’s a cute paper plate owl they’ll love making! If it’s magnets that interest you, try these Family Photo Magnets as they will make excellent homemade gifts! Oh and just in case you want it, here’s that chili seasoning recipe hanging on the fridge. :)
Polka Dotted Owl Magnets
Supplies
- 4 ArtMinds Wooden Owls HWPW-VC 82586-1203
- 4 magnets
- White craft glue
- Toothpick
Craft Smart paint
- White
- Black
- Sailing Sky
- Grape Taffy
- Magenta
- Pool Blue
- Dark Orange
- Matte Varnish
Instructions
- Paint each owl White.
- Using a different color for each owl (Sailing Sky, Grape Taffy, Magenta, Pool Blue) paint half circles for the wings and use the handle end of a large paintbrush to add circles for the eyes.
- Paint beaks with Dark Orange.
- When all colors have dried completely, use the handle end of a paintbrush to add smaller White circles to the colored eyes.
- When the white circles have dried completely, use the handle end of a paintbrush to add black circles to the white circles.
- Dip a toothpick in White and add a dot to the black of each eye.
- Using a toothpick for small dots and the handle end of a paintbrush for larger dots, add White polka dots to the owls’ wings.
- When everything is dry, add a coat of matte varnish.
- Glue a magnet to the back of each owl.
- Watercolor Luminaries - February 11, 2025
- Free Valentine Printables: Cards, toppers, and tags - February 4, 2025
- Valentine Hugs - January 31, 2025


Jodie says
Hi Amanda. These are such fun magnets. Thanks for sharing. I’ve included your tutorial in our latest back to school crafts inspiration. https://craftylikegranny.com/back-to-school-crafts/ Cheers Jodie :)
Amanda Formaro says
Thanks for including my project! :)
Maria G. says
Owls are amazing in all their forms :-) You just proved it with your hand-made cuties. I appreciate people that are creative all the time. Thumbs up for next great works. Will you be using other acrylic paints? What are your favorite colors?
Amanda Formaro says
Thanks Maria :) I think these would be fun as winter owls as someone else noted, I would use gold and silver metallics.
Shar Zingerman says
I will definitely be making these! And I just wanted to tell you that I will also be making the chili seasoning! Thank you for putting that recipe in your pictorial!
Amanda Formaro says
Thanks Shar! Hope you like the chili seasoning, I’ve been using it for years!