
Collect and save your floral blooms to use year-round with these pretty pressed flower resin magnets!

Why we love this project
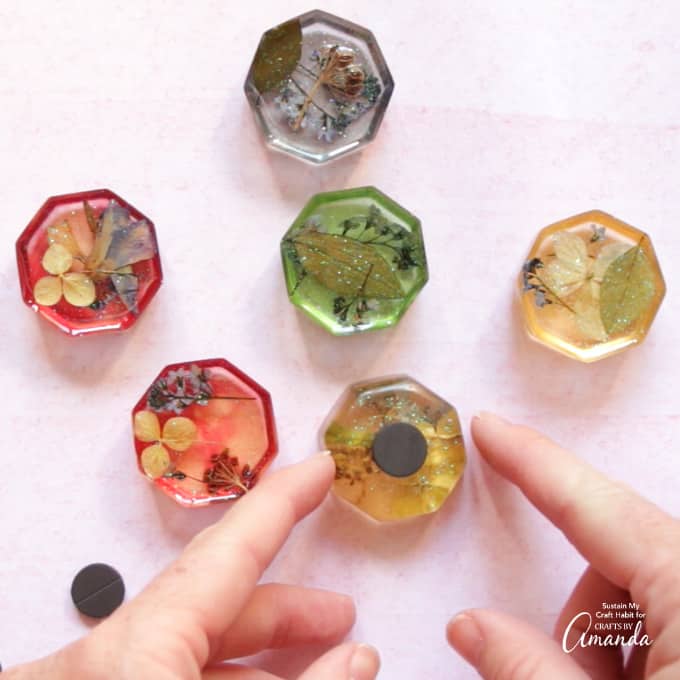
These pressed flower resin magnets will be a beautiful way to enjoy a piece of those summer strolls year-round if you happened to save some pressed in a book. These particular resin magnets were made using mostly pressed hydrangeas, some small foliage, clovers, forget-me-nots, and other blue wildflowers. But you can experiment with different types of floral as well, for example, small pansies also turn out really well when pressing.
I think these would be a lovely project for preserving a piece of your wedding bouquet or flowers from someone special. You can just as easily purchase flowers that have already been pressed online as well. We’ve done something similar with our pressed flower art, resin jewelry with flowers, and dried lavender pendants because floral crafts are so pretty!

Supplies You Will Need To Make Pressed Flower Resin Magnets
You can find the full printable instructions and materials list at the end of this post.

- EasyCast Clear Casting Epoxy
- Resin molds
- Mold Release and Conditioner
- Measuring cups, wooden craft sticks, gloves, straw, paper towels
- Castin’ Craft Translucent Pigments in Yellow, Green, Red, and Blue
- Straw or small kitchen torch
- Pressed or dried flowers
- Fine glitter in white and purple
- Small round magnet
- E600 adhesive
How to Make Pressed Flower Resin Magnets
Get the full printable instructions and supply list at the end of this post.
- To prepare for this project, first, spray Mold Release and Conditioner onto your mold. Since this mold is rigid this step is important for releasing your finished knobs once they are cured.
- Always read the instructions for your resin project. Protect your work surface and work in a well-ventilated area.
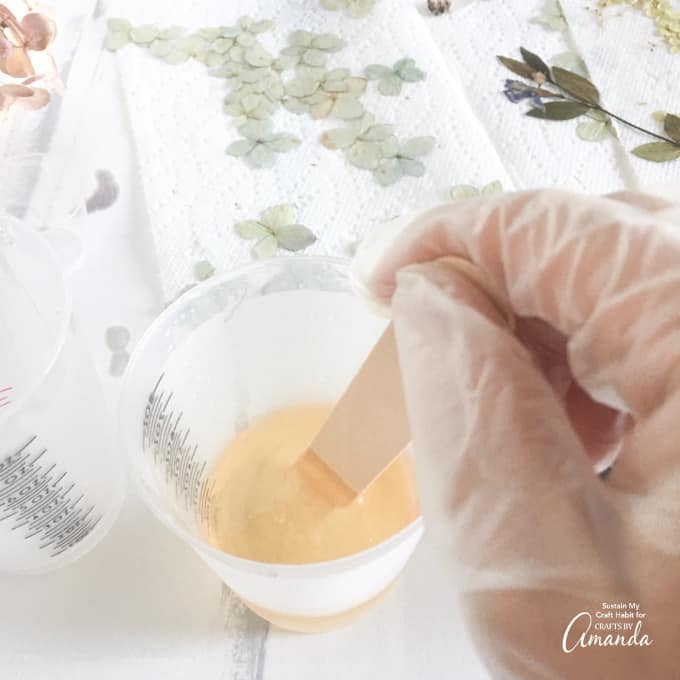
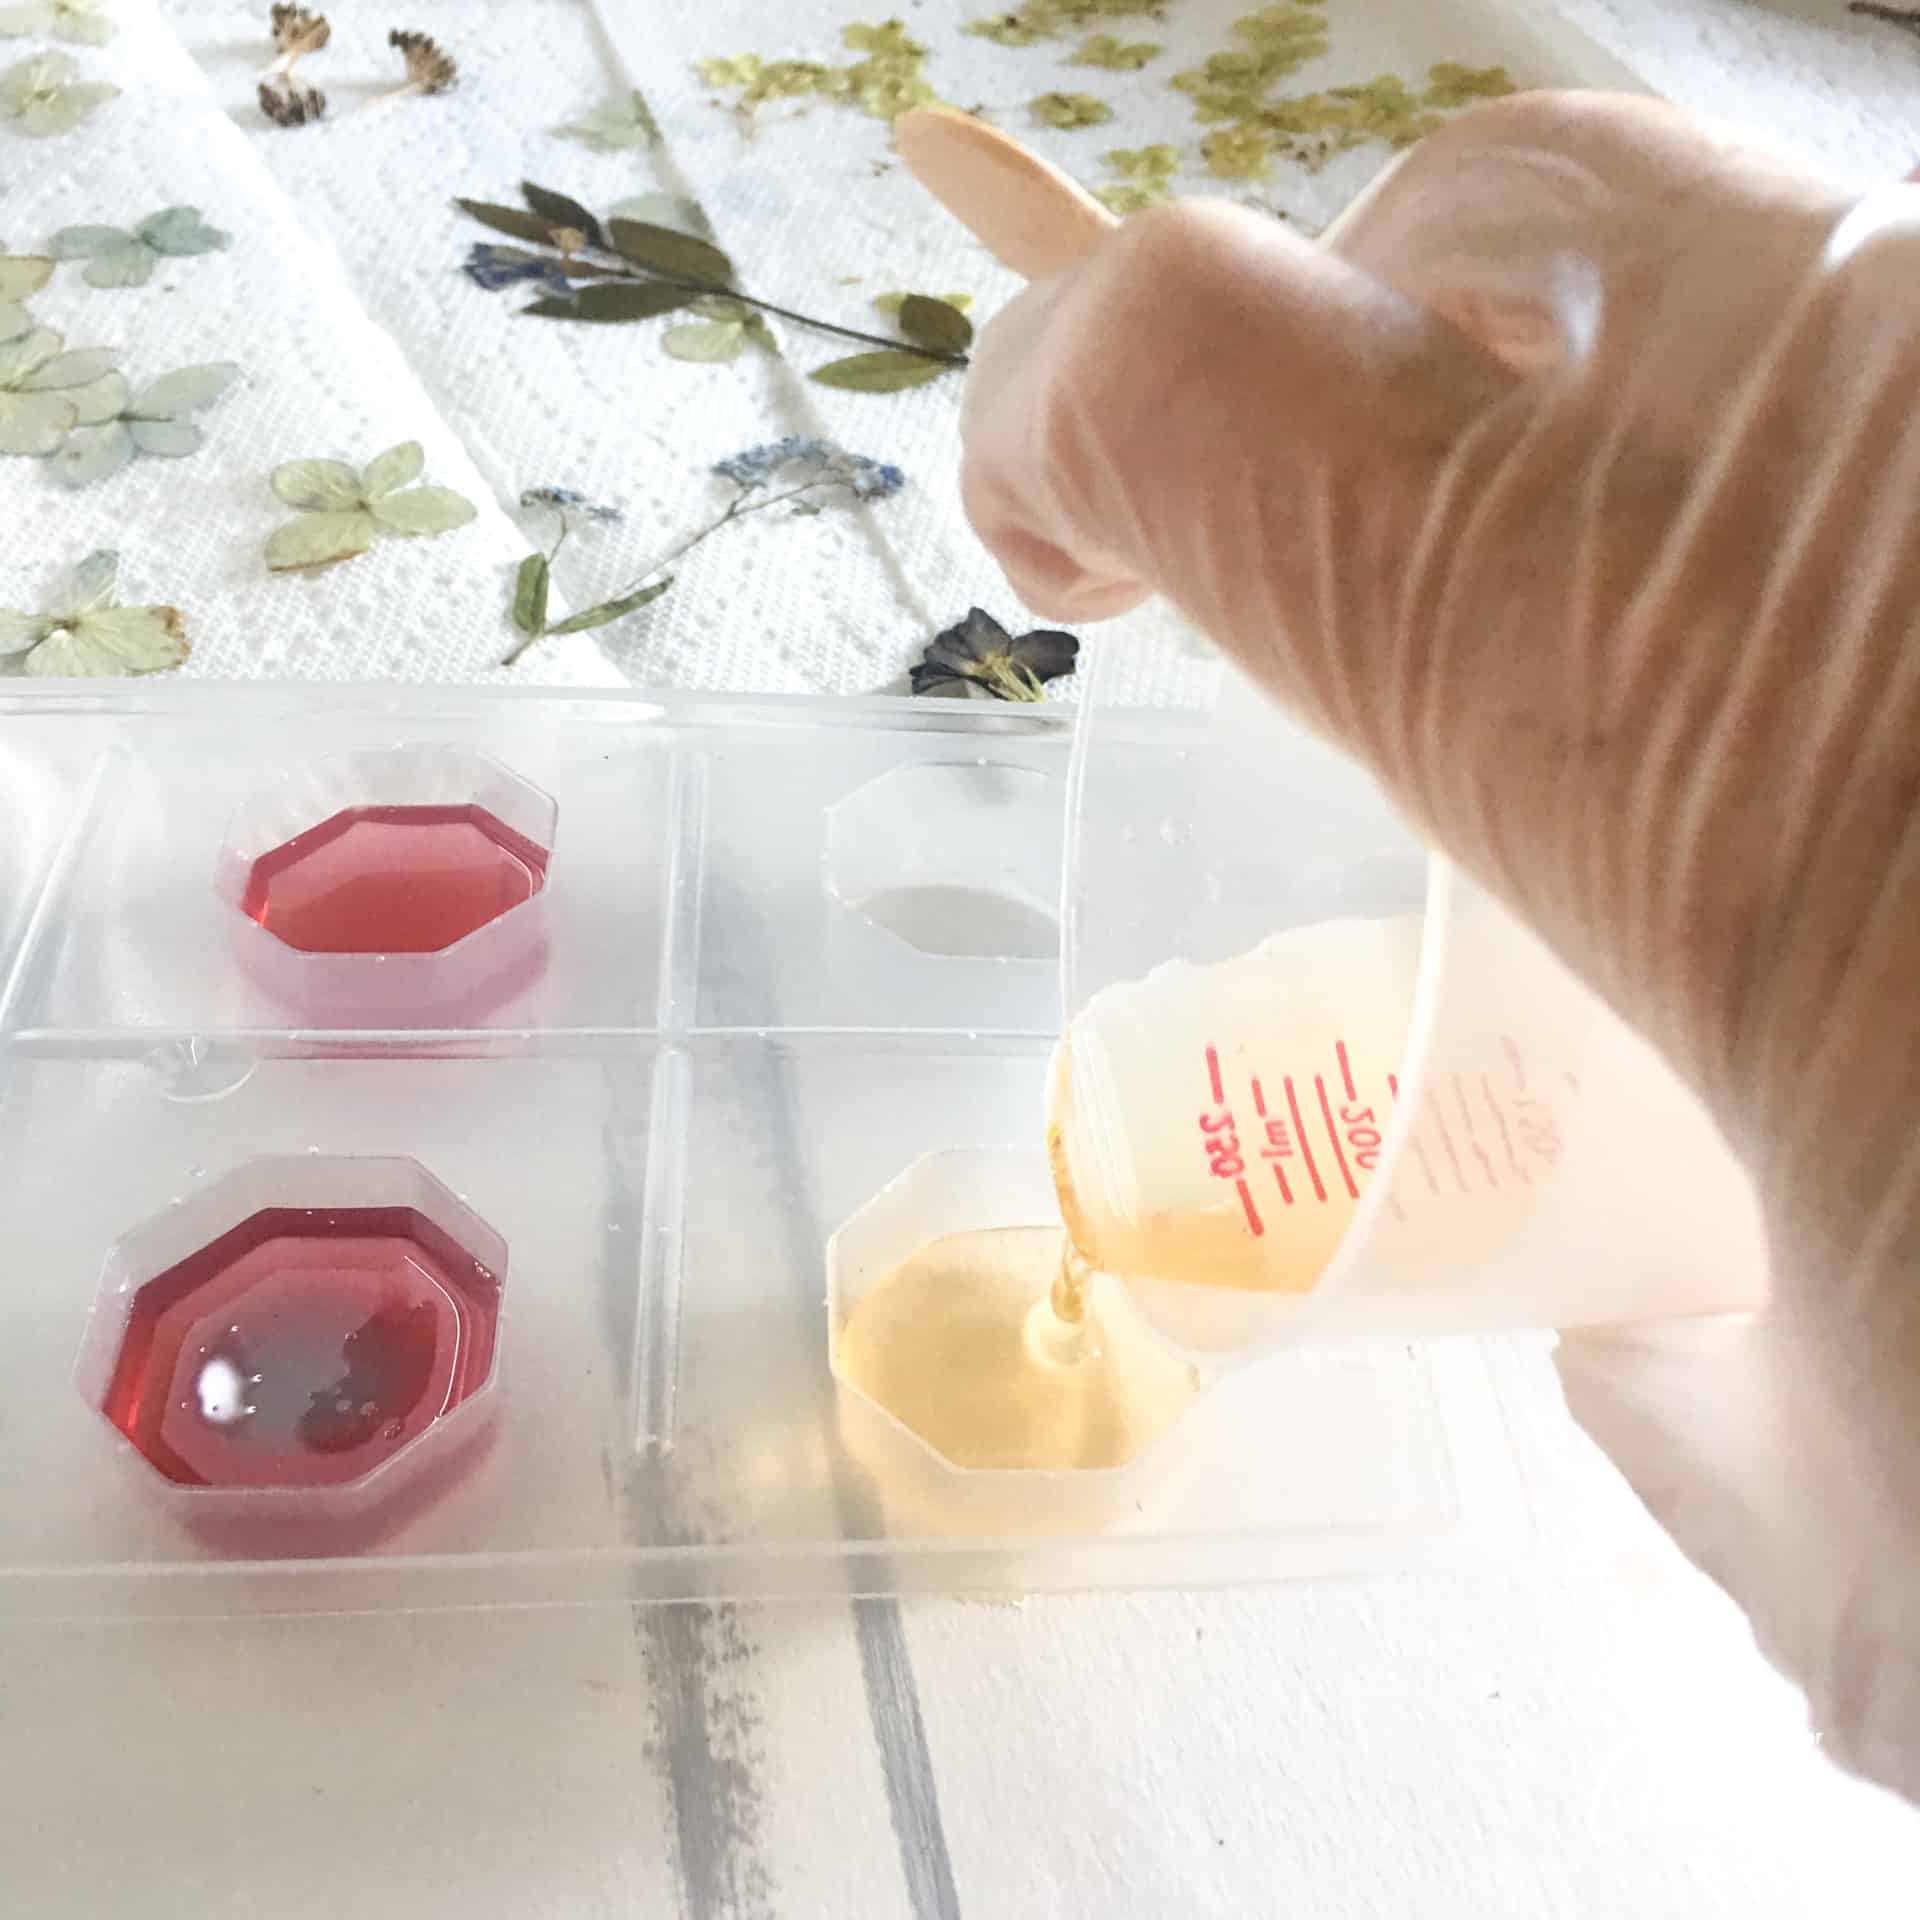
- Start by mixing equal parts of EasyCast Clear Casting Epoxy and hardener in a mixing cup. I mixed 2.5oz total volume.

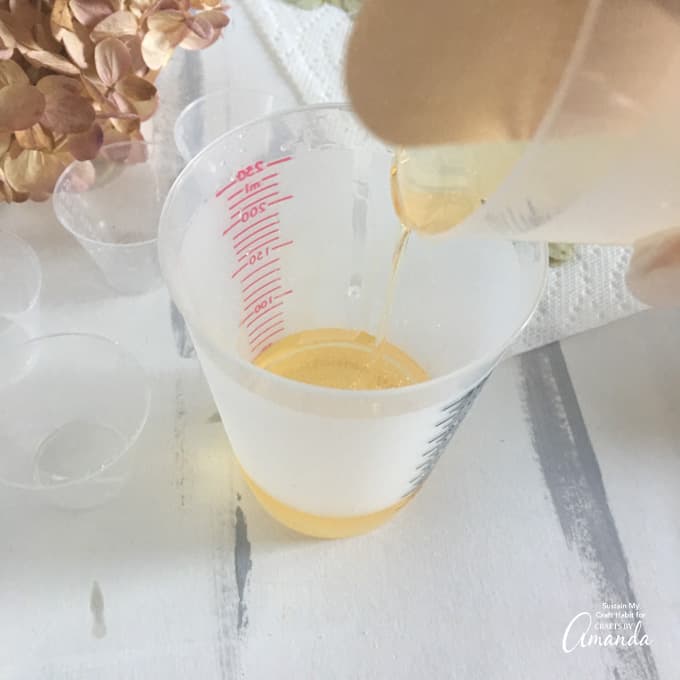
- Mix for a full two minutes with a wooden craft stick. Then pour the mixture into a 2nd cup and continue stirring for an additional minute. This is part is really important to ensure best results, so don’t skip it!
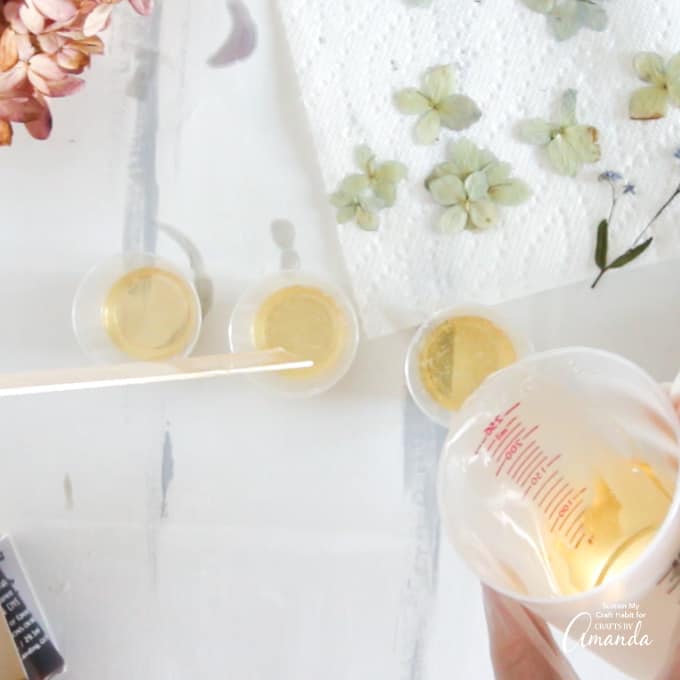
- Evenly divide the mixed resin into three additional cups (four parts in total).
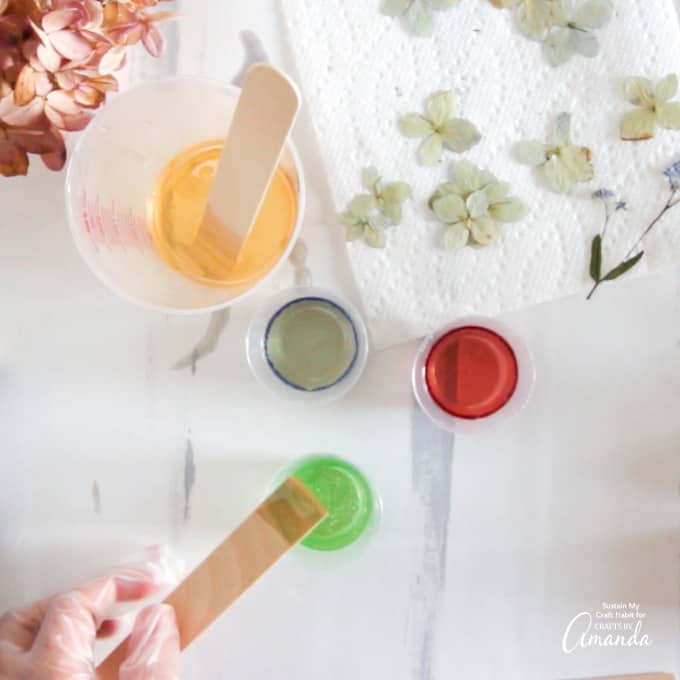
- Add a different drop of each color into each cup. Stir completely.
Assembling Your Resin Magnets
- Pour the different colors of resin into different mold compartments to about 2/3 full.
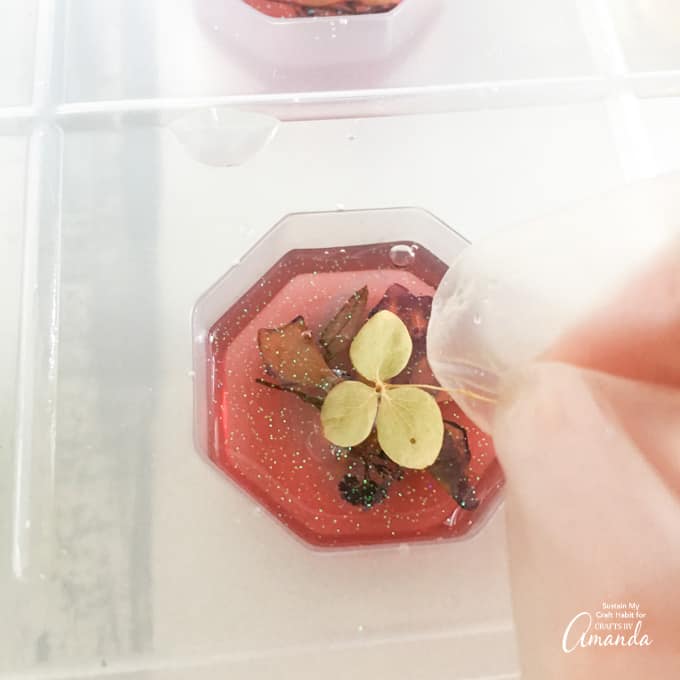
- Sprinkle a bit of fine glitter over top of each 2/3 full poured resin molds. Then place a mix of pressed floral and leaves inside each mold.
- Pour more colored resin into each of the molds to the top while at the same time covering the pressed flowers.
- After about 30 minutes, blow off any air bubbles that have risen to the top using your breath through a straw or a small kitchen torch.
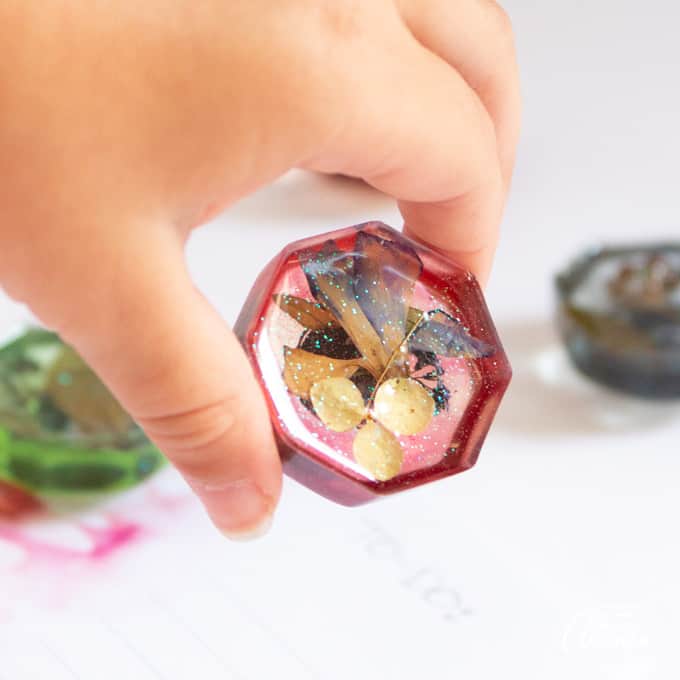
- Cover the molds to prevent dust from collecting and let the resin cure for 24 hours. After 24 hours, remove the resin from the molds.
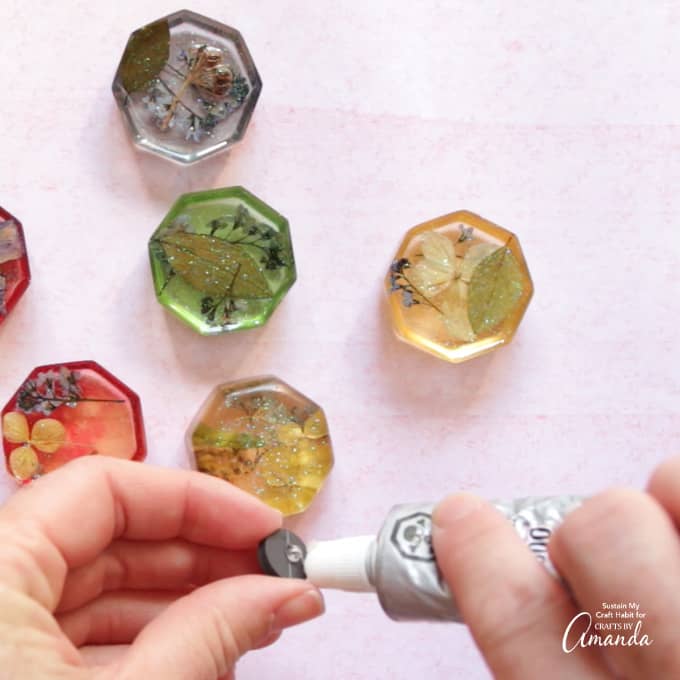
- Squeeze out a dab of E6000 adhesive on to the magnet and press the magnet on to the center of the resin (the side that was inside the mold). Repeat for all the magnets.
- Once the adhesive sets, use the magnets to hold special notes, photos and to-do lists on your magnetic board or fridge. Or alternatively, just use them on their own and enjoy their natural beauty!

We can’t say goodbye without mentioning that you can also make DIY photo coasters using resin as well. There are so many options when it comes to resin!
You’ll likely have leftover magnets if you buy them in package form, so we will include some more magnet projects below. Happy crafting!
More Magnet Crafts
- Wine Cork Succulent Magnets
- DIY Scrabble Refrigerator Game
- Heart Photo Magnets
- Super Hero Comic Book Magnets
- Family Photo Magnets
DIY Flower Resin Magnets
Supplies
- 2.5 oz EasyCast Clear Casting Epoxy
- 1 Octagon Reusable Knob Mold
- 1 Mold Release and Conditioner
- 4 Measuring cups
- 3 Wooden craft sticks
- 1 Gloves
- 1 Straw or small kitchen torch
- Pressed or dried flowers assorted small flowers and leaves
- 1/4 tsp Fine Glitter white and purple colors
- 6 Small Round Magnet 1 per resin magnet
- 1 E600 adhesive small dab per magnet
- 4 Translucent Pigment Dye yellow, green, blue, red
Instructions
- Spray Mold Release and Conditioner into cabinet knob molds.
- Mix equal parts of EasyCast Clear Casting Epoxy and hardener into one measuring cup.
- Evenly divide the resin into additional cups based on the number of different colored magnets.
- Add one drop of translucent pigment dye to each cup in color of your choice.
- Pour colored resin into mold filling 2/3 of the way.
- Sprinkle glitter over top of resin.
- Place pressed flowers and leaves into each mold.
- Pour more colored resin into each mold until filled to the top.
- Use straw or small torch to blow off any bubbles in the resin.
- Cover and let cure 24 hours.
- Remove from molds.
- Glue small magnet to back side of resin using E6000 adhesive.
This post originally appeared here on August 28, 2019.
- Pressed Flower Resin Magnets - February 21, 2025
- Fabric Scrap Heart Garland - January 24, 2025
- Heart Wreath from Scrap Fabric - January 21, 2025


Kim says
I haven’t tried this project yet. I would like to buy am having trouble finding the molds. The links no longer work. Any help would be appreciated.