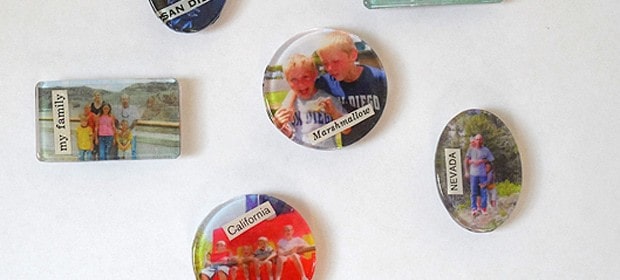
Use your favorite vacation photos to create memories you’ll be reminded of every time you go to the fridge! These family photo magnets also make a great gift idea for Mother’s Day, Father’s Day, or just because.
Aside from these fun magnets, we also made this beautiful Vacation Photo Jar!

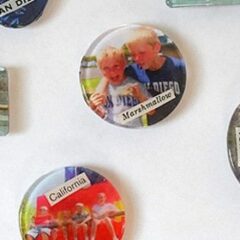
Family Photo Magnets
Have you gone through all of your photos from your summer vacation? You probably snapped a ton of them and now they are sitting in a folder on your computer’s hard drive just waiting for you to do something with them. Well here’s a great gift idea, and you don’t even have to have them printed on photo paper. Plain old copy paper will do.

These particular magnets are photos from vacations past. I selected a bunch of photos of different vacations we have taken over the years. You could make these for just this year’s summer vacation shots, or get creative and do family photos of your kids to send to grandparents as a Christmas present.

What You’ll Need
- Clear Acrylic Circles – available at craft stores
- Family vacation photos – preferably on your computer
- Copy/printer paper
- Decoupage medium
- Sponge applicator
- Scissors
- Acrylic sealer spray
- White craft glue
- Round magnets
Whatever you decide, they are fun to make and functional too. :) I used Mod Podge Acrylic Shapes![]() for this project. They are acrylic shapes made by Mod Podge. They come in a multi-pack for around $5 or $6.
for this project. They are acrylic shapes made by Mod Podge. They come in a multi-pack for around $5 or $6.
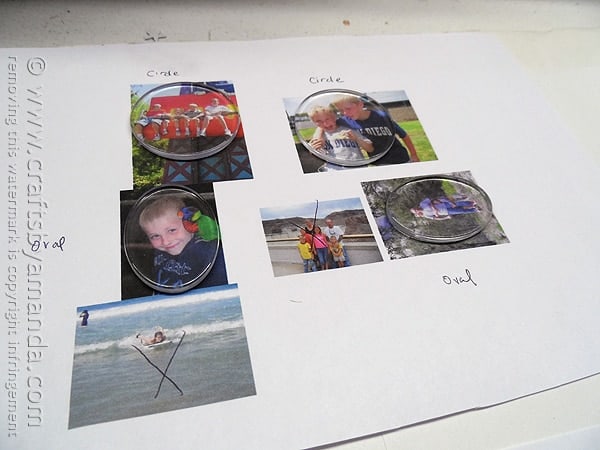
I used Microsoft Word for this project. Simply locate the photos on your computer and insert them or drag them onto a Word document. This allows you to easily resize them by clicking the photo and dragging the corner of the image to make it smaller. You may need to experiment with sizes by printing once or twice until you achieve the size that you need.
Once printed, SPRAY the print out with acrylic sealer, both front and back. This step is important, as it will seal the printer’s ink keeping it from smearing or running during the decoupage process. Allow the sealer to dry completely.
Once dry, position the acrylic shapes on top of your printouts.
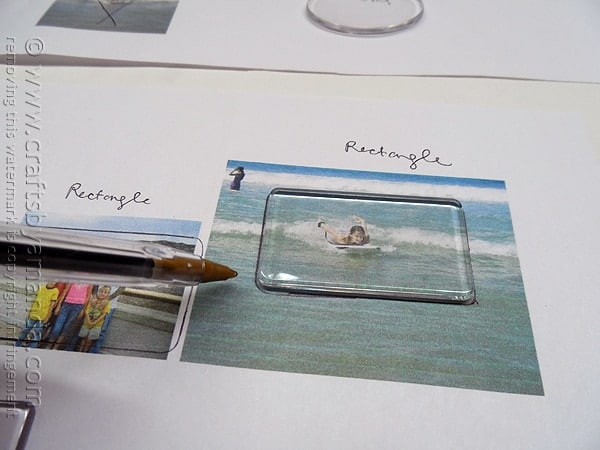
Trace the acrylic shape onto the printed photo.
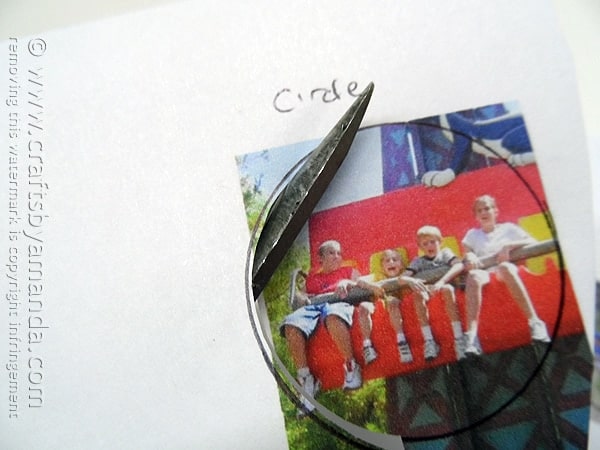
Using scissors cut out the shape around the photo, cutting just inside your tracing line.
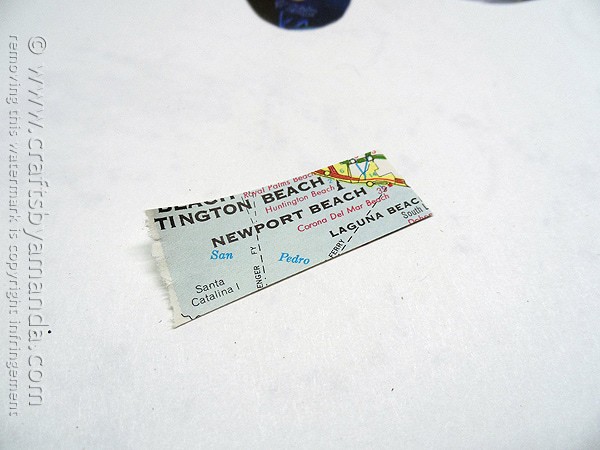
Find words or phrases that coincide with your photos and cut them out from outdated road atlases and old books or magazines.
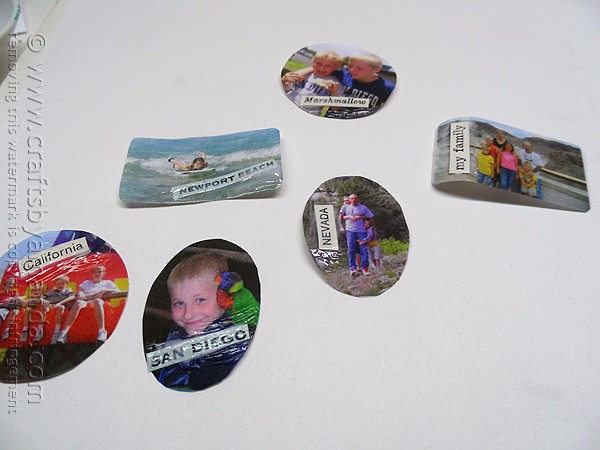
Attach the words to the photos using a small amount of decoupage medium and allow it to dry for 30 minutes.
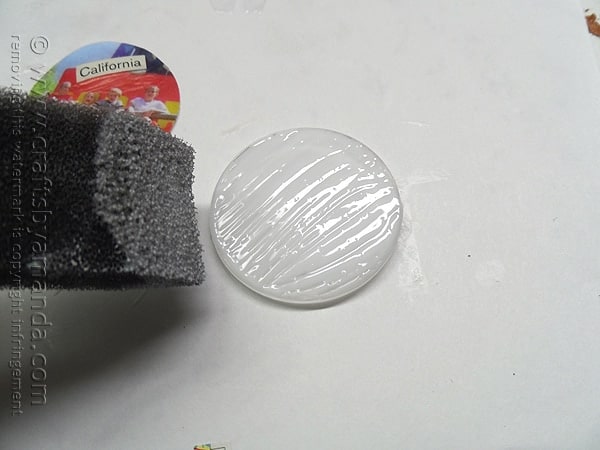
Apply decoupage medium to the acrylic shape, covering the surface completely.
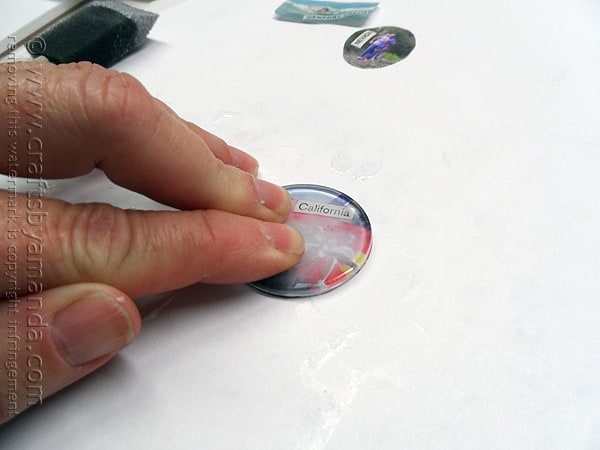
Press the acrylic shape, wet side down on top of your photo. Press firmly to push out any air. Turn the shape over and use your finger to carefully smooth it and push out any remaining air bubbles.

Apply a coat of decoupage medium over the back of the photo and allow them to dry for about an hour. Use white craft glue to attach a magnet to the back.
HINT: Don’t use hot glue to attach the magnets. While it will work for a little while, eventually the hold let’s go and your magnet will come off. Use white craft glue or something like E6000® Craft Adhesive![]() .
.

Family Photo Magnets
Supplies
- Clear Acrylic Circles available at craft stores
- Family vacation photos preferably on your computer
- Copy/printer paper
- Decoupage medium
- Sponge applicator
- Scissors
- Acrylic sealer spray
- White craft glue
- Round magnets
Instructions
- Print pictures and spray with acrylic sealer, both front and back. This step is important, as it will seal the printer’s ink keeping it from smearing or running during the decoupage process. Allow the sealer to dry completely.
- When dry, position the acrylic shapes on top of your printouts.
- Trace the acrylic shape onto the printed photo.
- Using scissors cut out the shape around the photo, cutting just inside your tracing line.
- Note: Alternatively, you could spray the paper before cutting out the shapes.
- Find words or phrases that coincide with your photos and cut them out from outdated road atlases and old books or magazines.
- Attach the words to the photos using a small amount of decoupage medium and allow it to dry for 30 minutes.
- Apply decoupage medium to the acrylic shape, covering the surface completely.
- Press the acrylic shape, wet side down on top of your photo. Press firmly to push out any air. Turn the shape over and use your finger to carefully smooth it and push out any remaining air bubbles.
- Apply a coat of decoupage medium over the back of the photo and allow them to dry for about an hour.
- Use white craft glue to attach a magnet to the back.
This post originally appeared here on Sep 15, 2013.
- Tie Dye Beach Towels - July 24, 2026
- Swirling Twirling Ladybugs - July 21, 2026
- Drip Tie Dye Backpack - July 17, 2026


Gayle says
Where can I find the larger size magnets? All I see are the 1”.
Amanda Formaro says
We get ours from Amazon but walmart may carry them as well as craft stores.
Melissa says
Hello
Thanks for the detailed tutorial! I’ve made similar ones but they’ve never turned out as well as yours, next time I think I’ll use your advice with the acrylic sealer. I linked to this post on my blog for a Father’s Day craft!
Best Wishes!
Melissa
Tess says
I know your post is years old, but I love these! I’d like to know how you removed the hole at the top of the Podgeables charms. All I can locate are charms, nothing without a hole for a pendant or keychain. Thank you so much for sharing!
Amanda Formaro says
Hi Tess! Actually I didn’t remove the holes, the package comes with both kinds. Some have the jewelry hanger holes and some dont :)
amalia says
You re great ★★♡
Ramona Ann Oertel says
This will be a great project for my religion class to do.
Amanda Formaro says
Yes, how fun!
Katie says
A couple helpful hints for these!
1.If you have your Word document at 100%, then it will be the size of your copy paper! To see how large you photos will be printed, you can hold up your acrylic shape to it before you even print! That takes out some of the guess work :)
2. I have found that Silicone adhesive works really well for attaching the magnets, and as long as there isn’t too much exposed around the edges, it won’t be pulled off by busy fingers :)
Thanks for the great tute!
Amanda Formaro says
Great tips, thank you Katie!
Melissa Briggs says
Love this! Do you have to use photos printed on regular computer paper or would regular photos work too?
Amanda Formaro says
Regular photos should work too!
Rossile Gonzales says
Great idea… I like it… I could try this one at home… :)
Amanda Formaro says
Thank you Rossile!
Ginny Tapp says
What a great project. I teach a craft class in the winter months and this will be a great project for us.
Amanda Formaro says
So glad you like it Ginny, thank you!
Lindsay says
I’ve tried these, but was never told the acrylic sealing step- now I want to try them again as a Mother’s Day project for my class in the spring! Thank you! Do you think the glass flattened marbles would work as well? I have many left over from the last attempt, and it would be cheaper to do it that way for an entire class.
Amanda Formaro says
Hi Lindsay. Yes, I’ve actually done this with photos on the glass marble magnets, so I know it will work. Have fun!
Marianne L says
What a great project. Thanks, Amanda!
Amanda Formaro says
Thank you Marianne!