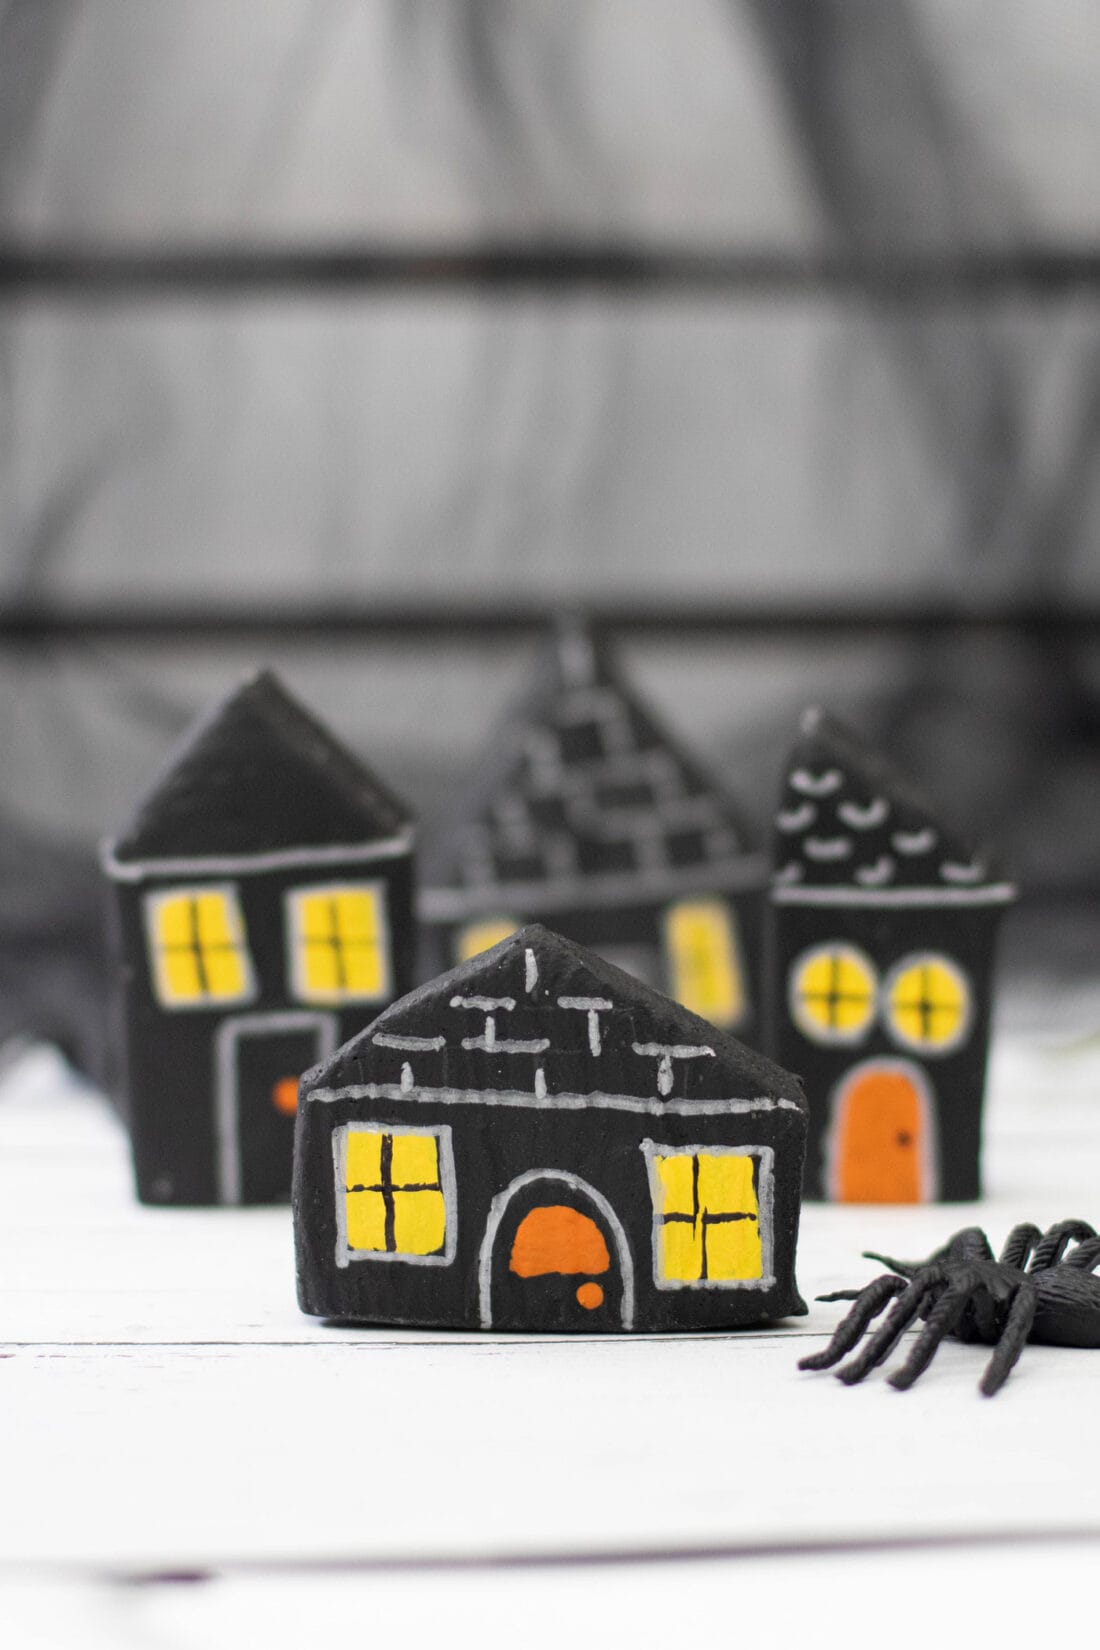
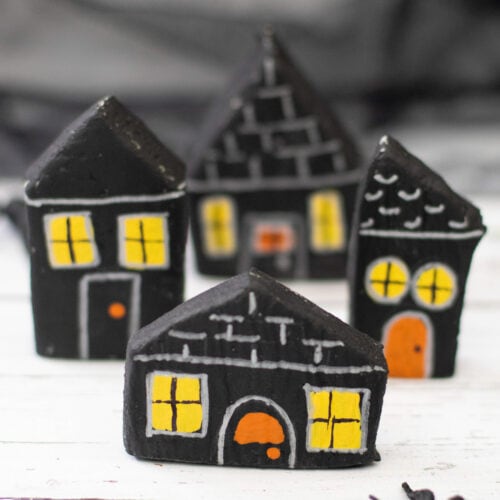
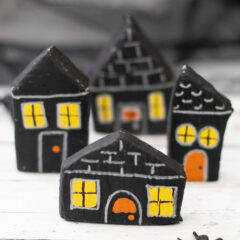
Using salt, dough, water, and a bit of paint you can make your own spooky salt dough haunted houses to display for Halloween.
Why we love this project
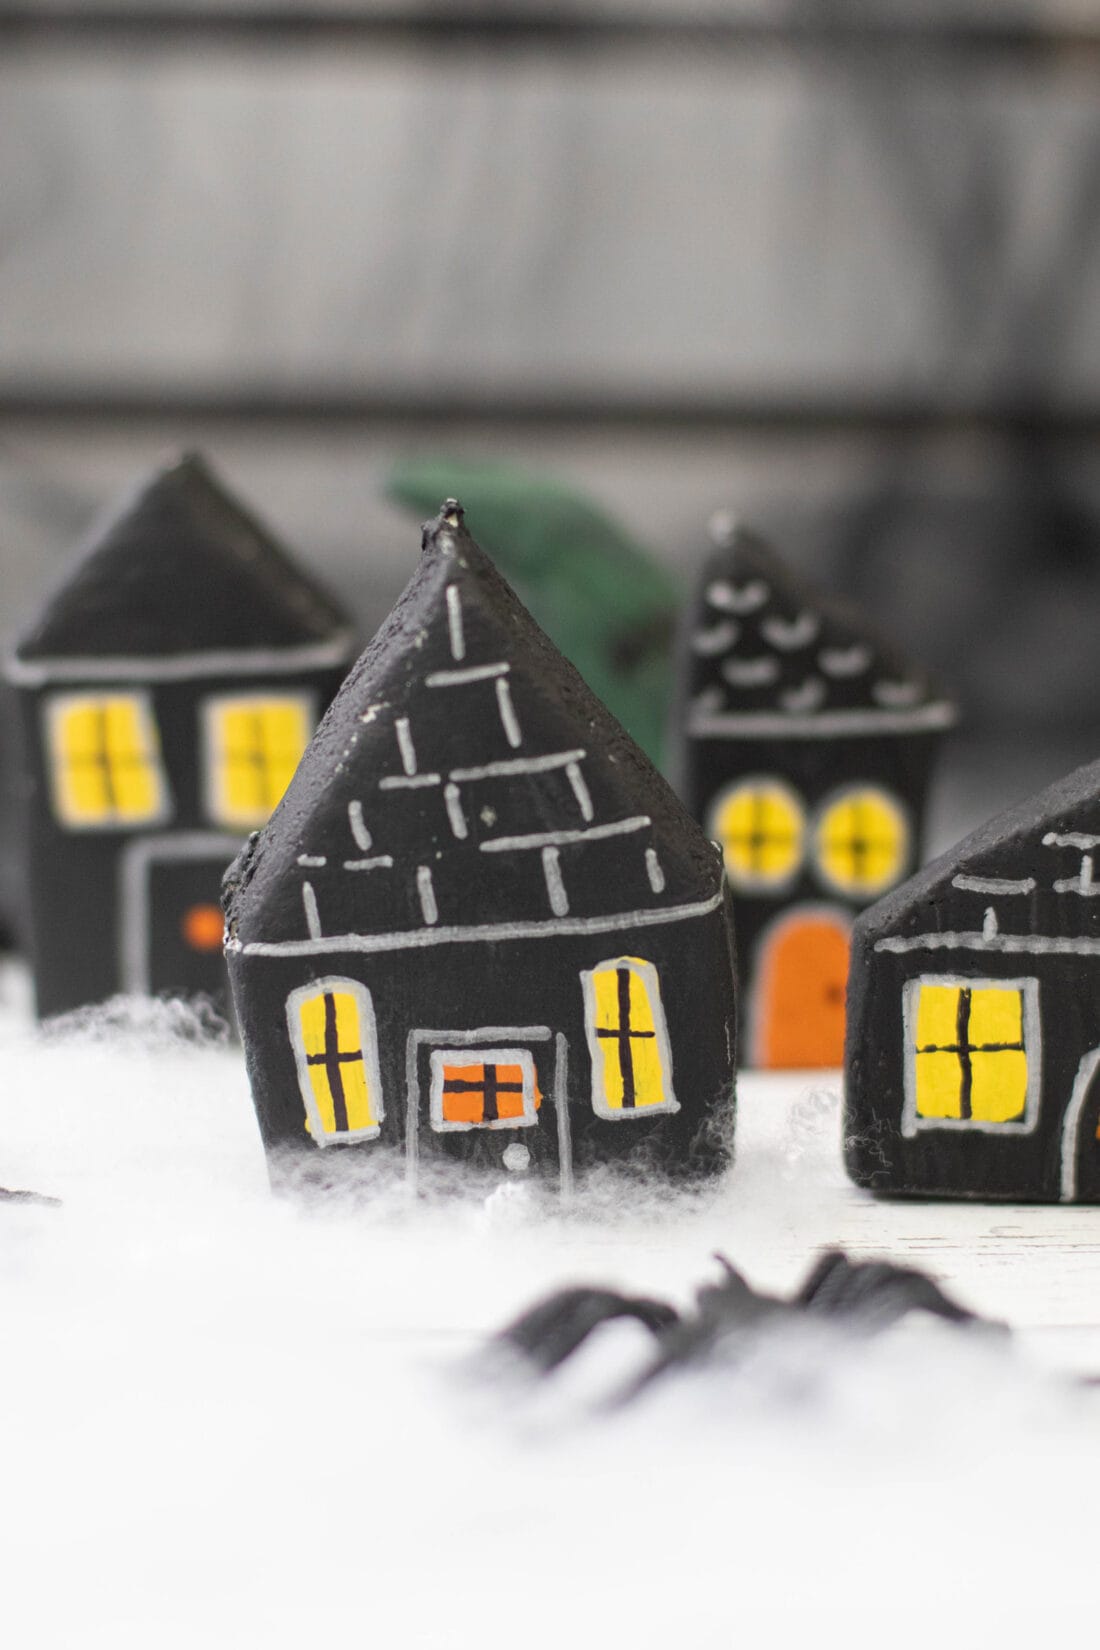
These salt dough haunted houses are similar to our clay Halloween village but in a darker palette using different modelling material. Both of which are fun ways to decorate a mantel or shelf for Halloween! Spend the afternoon having a spooky craft day with friends or family and make your own haunted houses.
Helpful Project Information:
- Age Level: 10 and up – supervision for use of cutting tools
- Mess Factor: Medium – paint
- Level of Difficulty: Easy
- Time to Complete: Less than 3 hour – dry time included
- Cost Estimate: Less than $10.00
Craft supplies you will need
Get full list of supplies and directions in the printable version at the end of this post.
How to Make Salt Dough Haunted Houses
These step by step photos and instructions are here to help you visualize how to make this project. Please scroll down to simply print out the instructions!
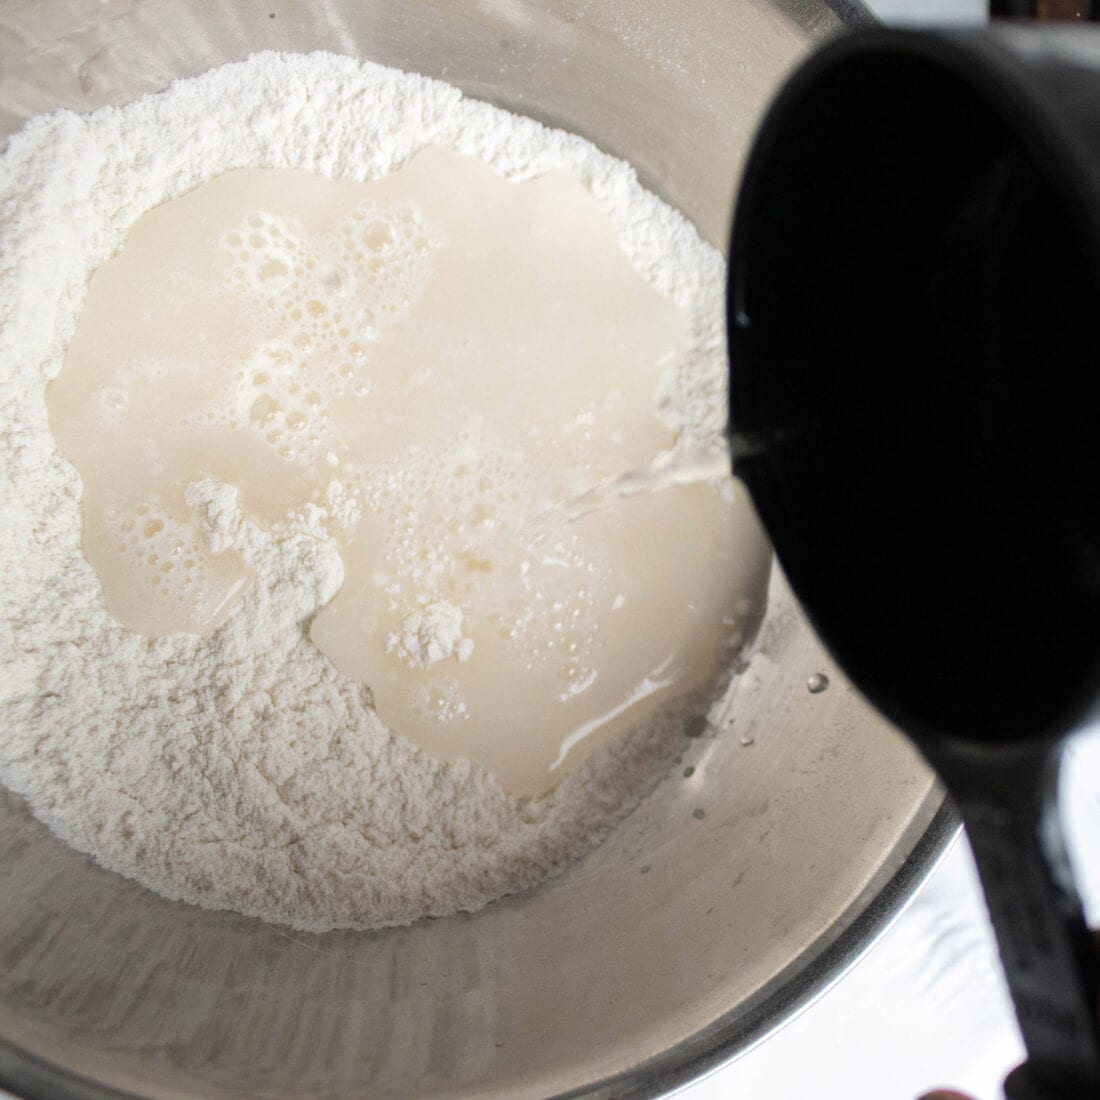
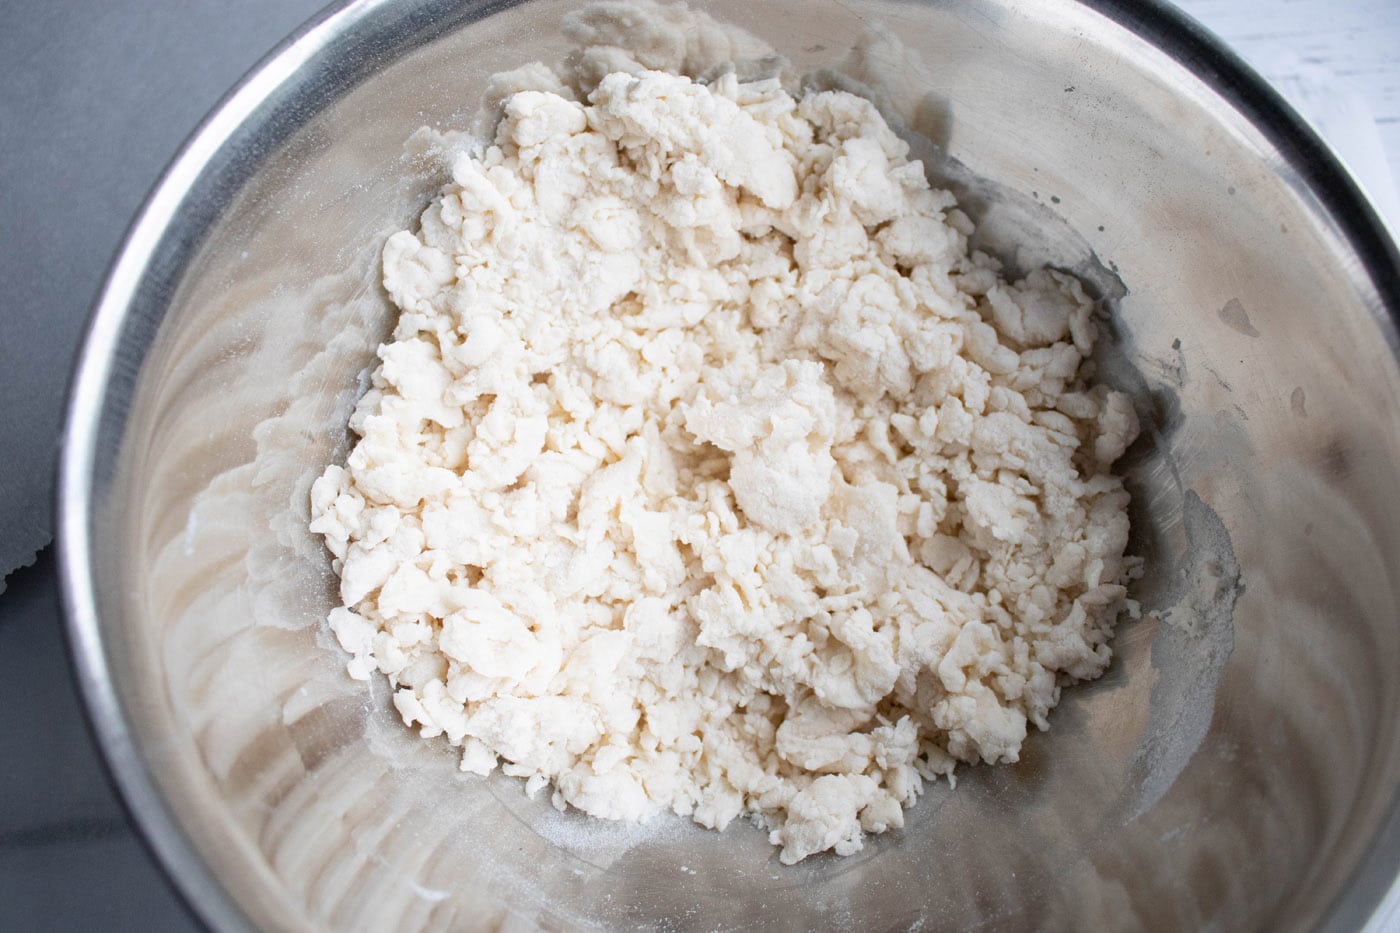
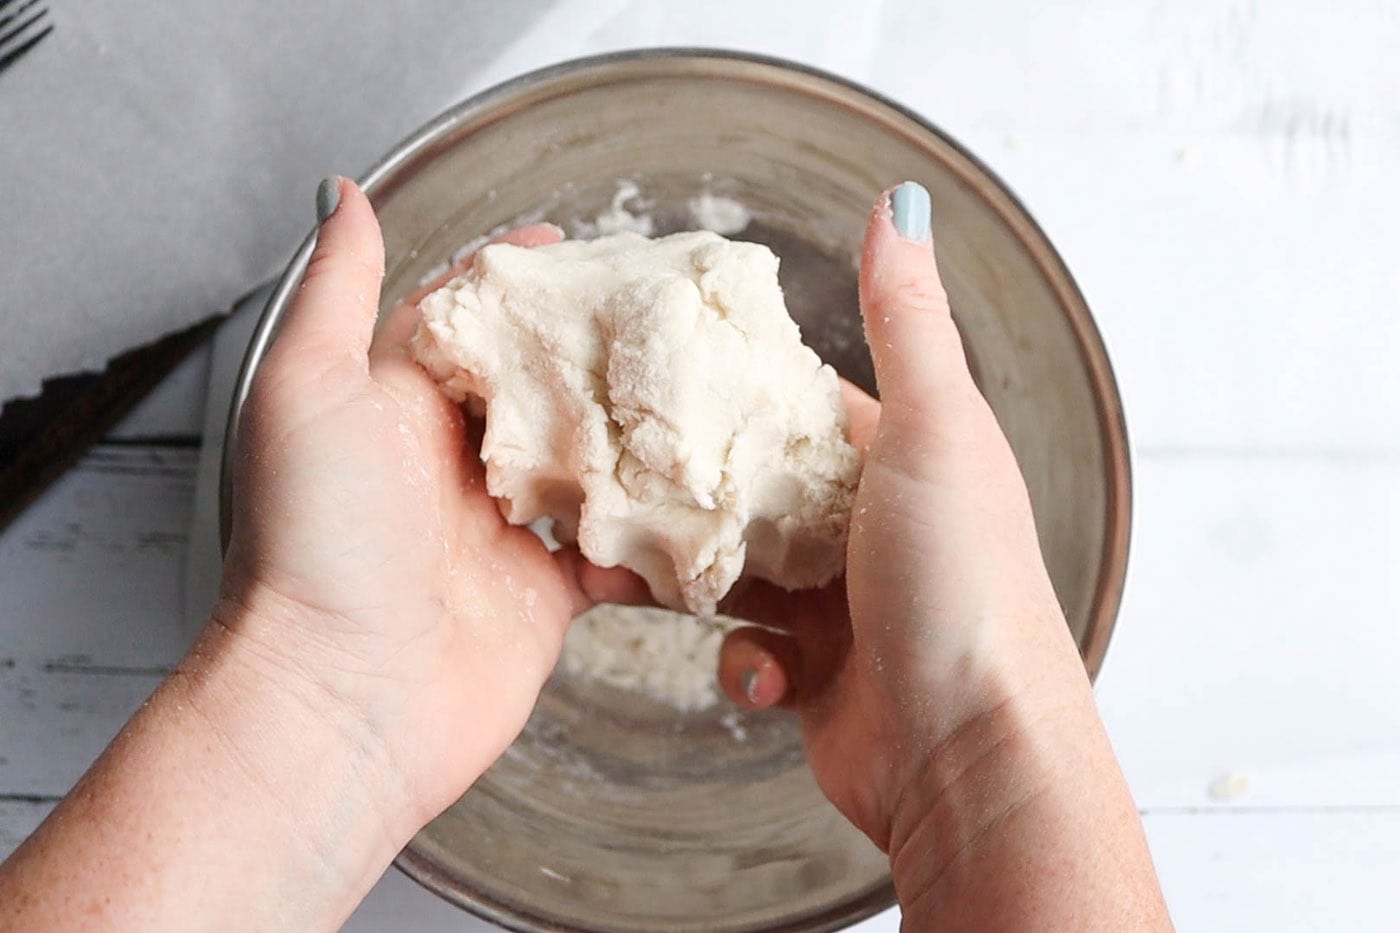
- Following the recipe instructions from this Salt Dough Jabba the Hutt craft, combine salt, flour and water. Mix ingredients by hand until well combined and a dough is formed.
- Separate the dough into smaller portion sizes (about the size of your palm).
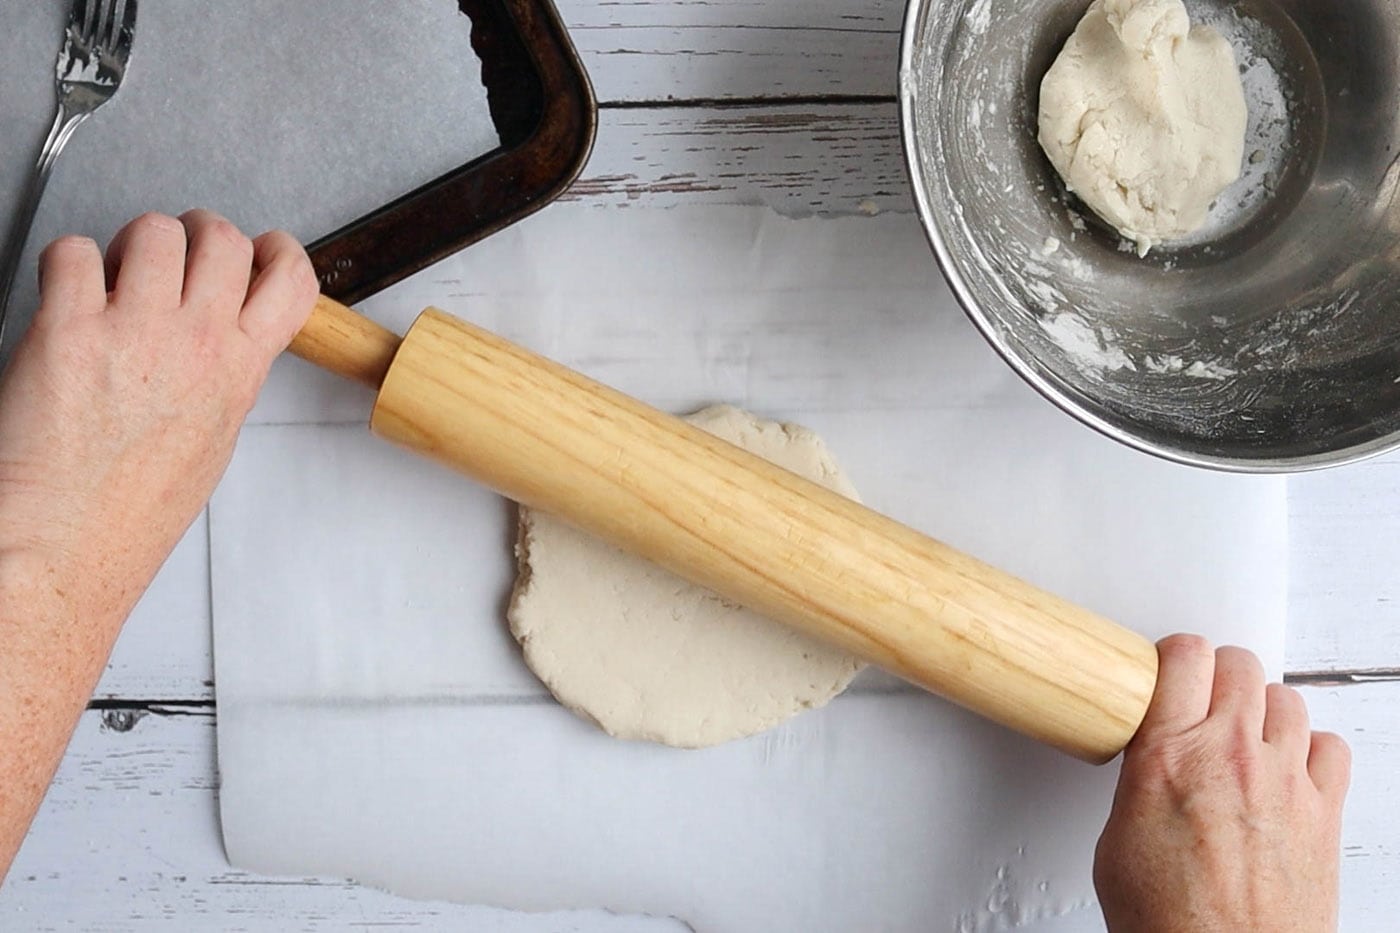
- Continue kneading to smooth dough. Roll out the dough to about 1⁄4” thickness (thick enough so that the houses will stand on their own).
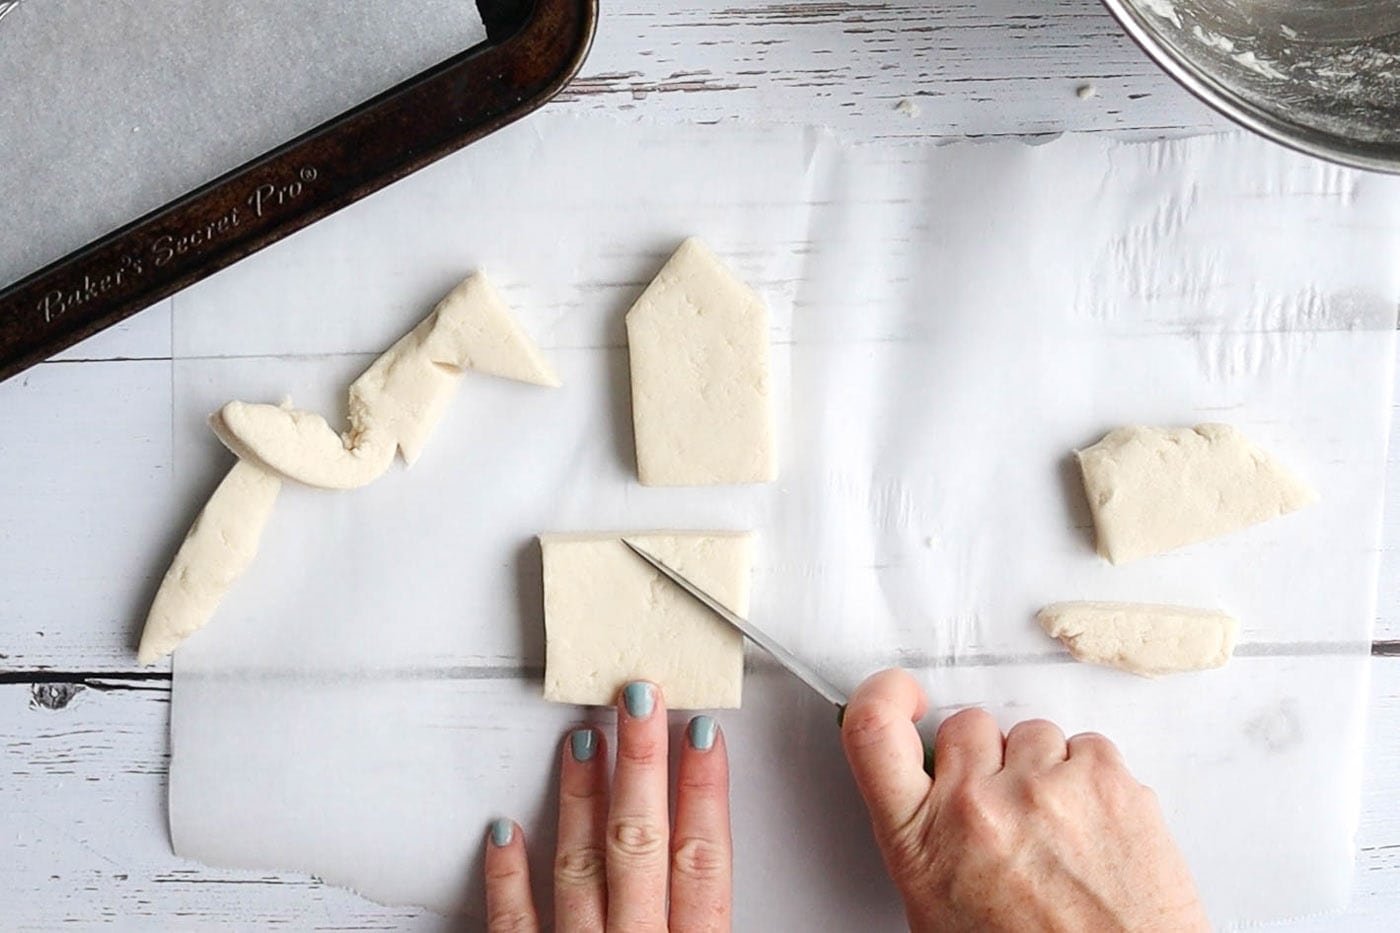
- Cut the dough into house-shapes with triangular peaks at the top. Make as many houses as you’d like in various sizes. Form remaining dough into a cone shaped tree, additional houses, or even mini salt dough pumpkins.
- Place all shapes onto a parchment lined baking sheet and bake in an oven at 220F for 2 hours. Flip the shapes over every 20 minutes.
- Remove from the oven and leave shapes to cool completely before proceeding.
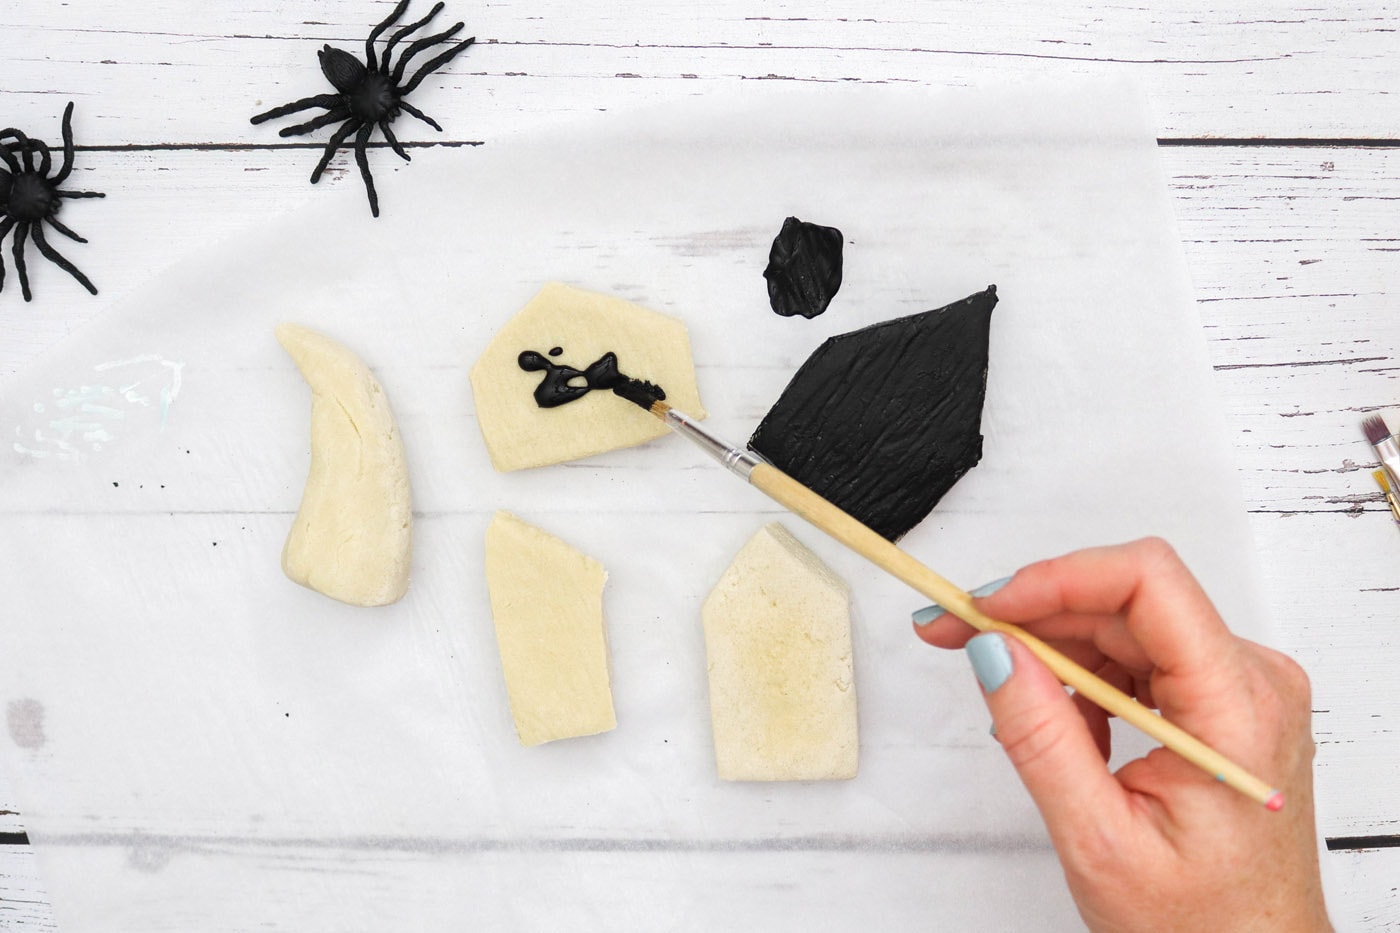
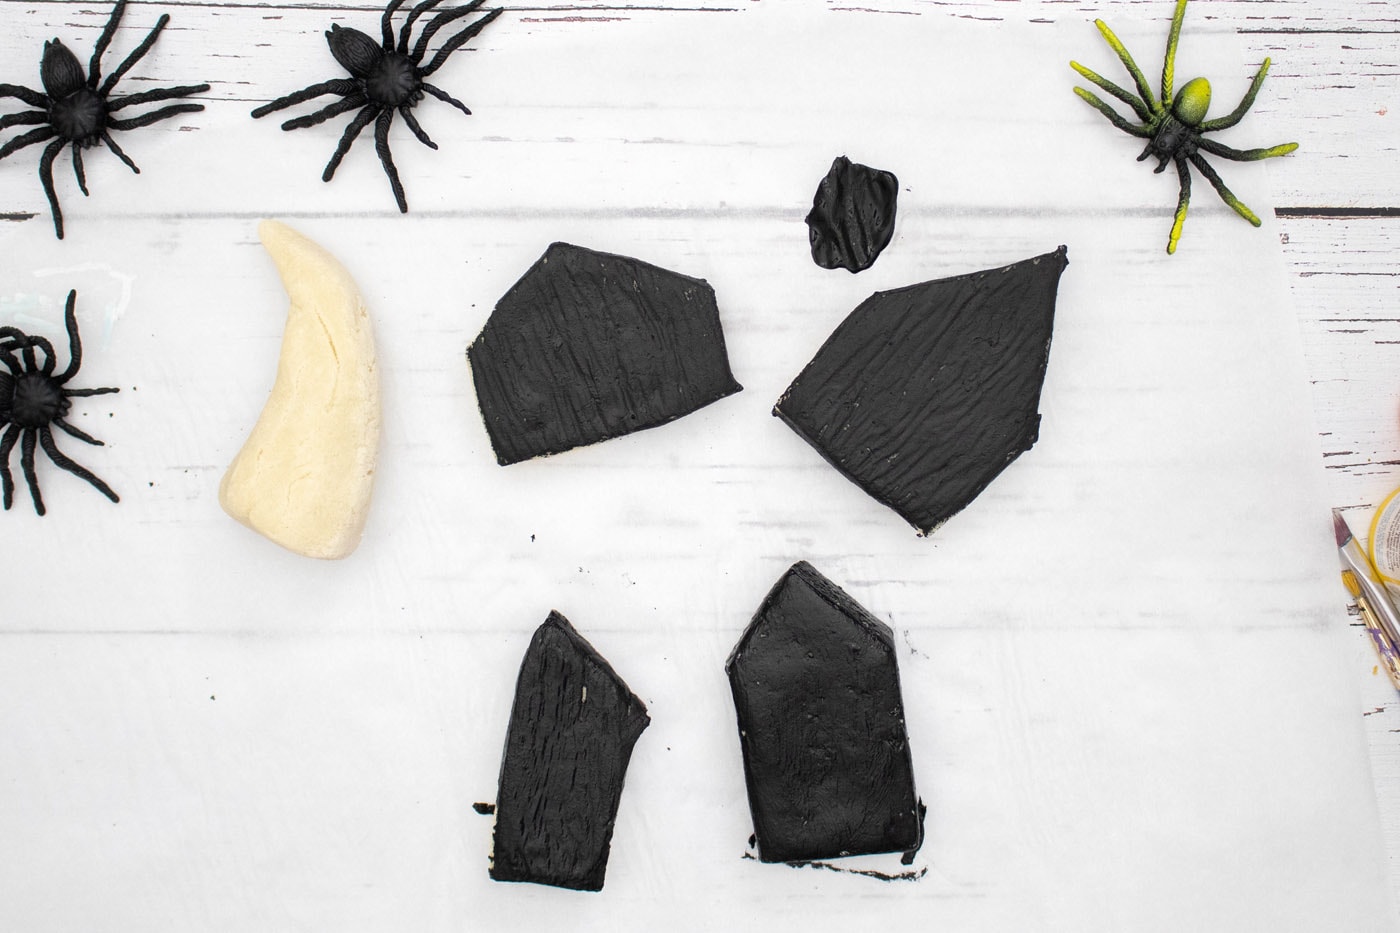
- Start by painting all of the houses black on both sides. Allow the paint to dry fully before applying additional coats of paint or before changing colors.
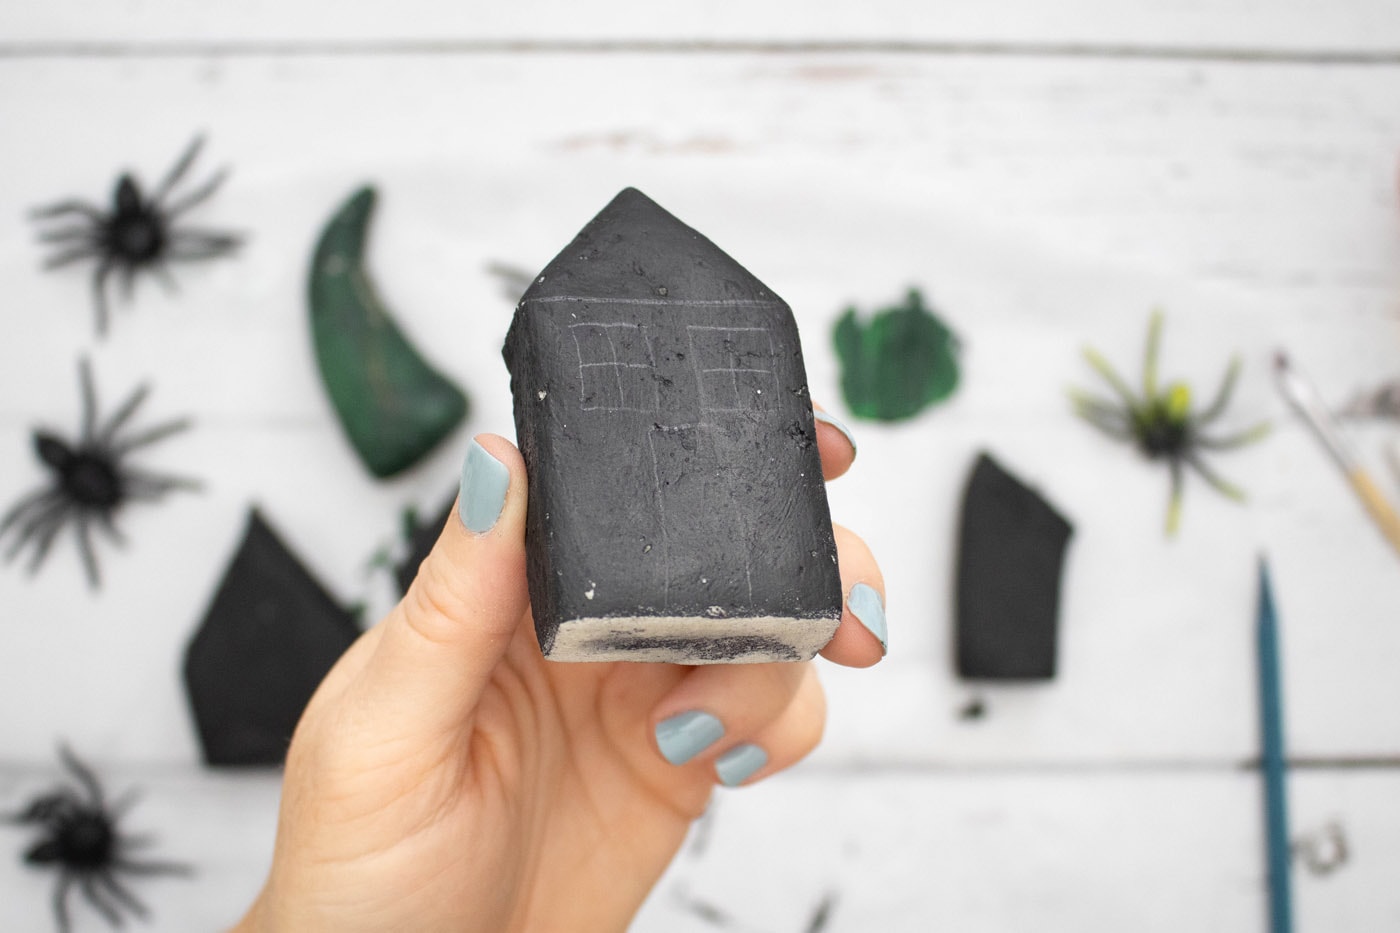
- Use a pencil to lightly draw windows and doors as a guide.
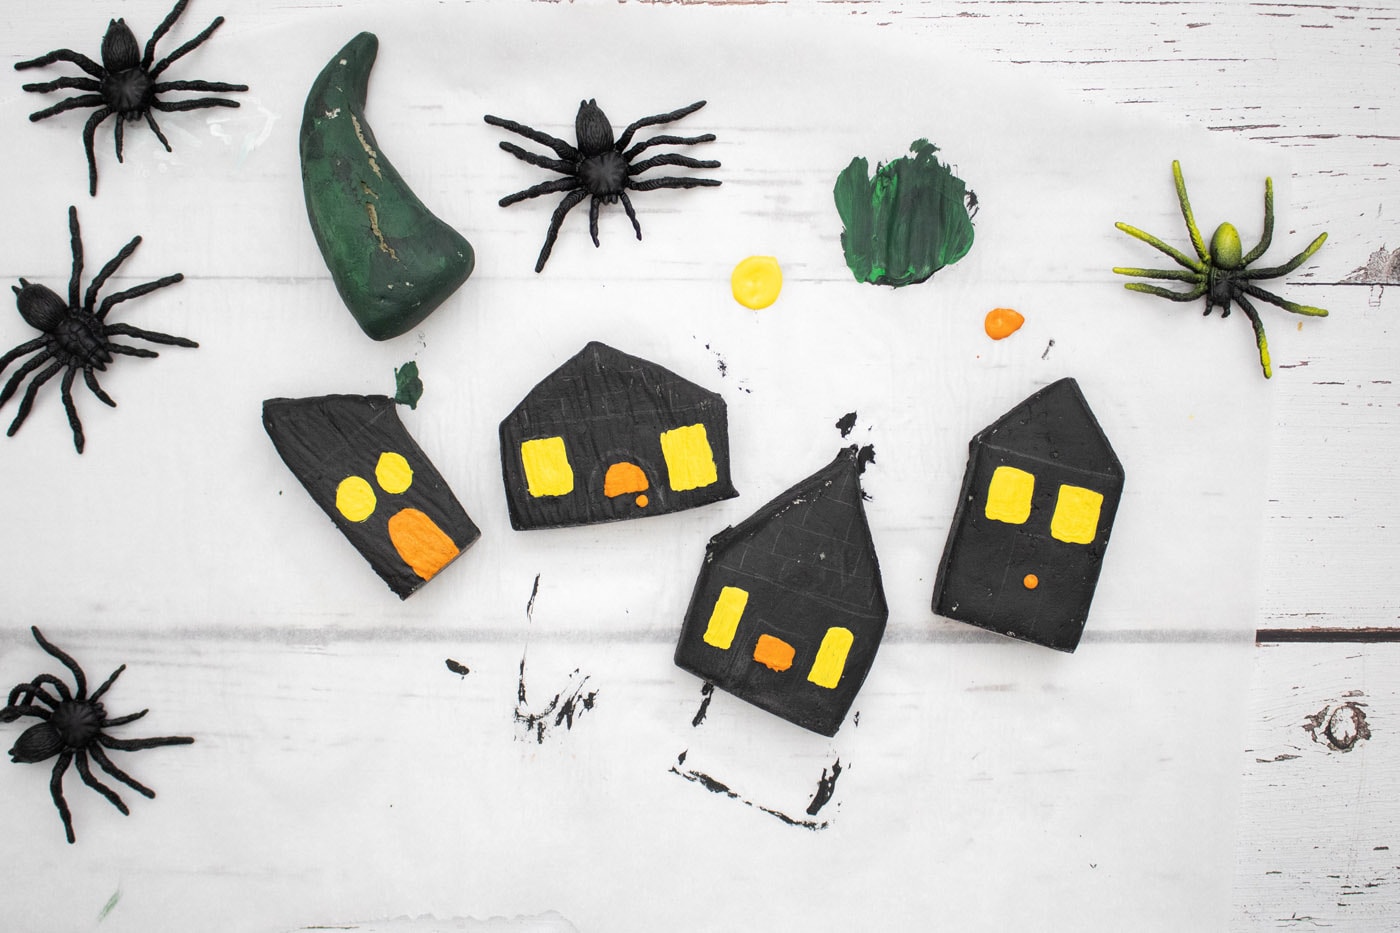
- Using a fine tip paintbrush, paint windows yellow and doors orange. Let dry.
- Use a black fine tip paint marker to create cross bars on the windows.
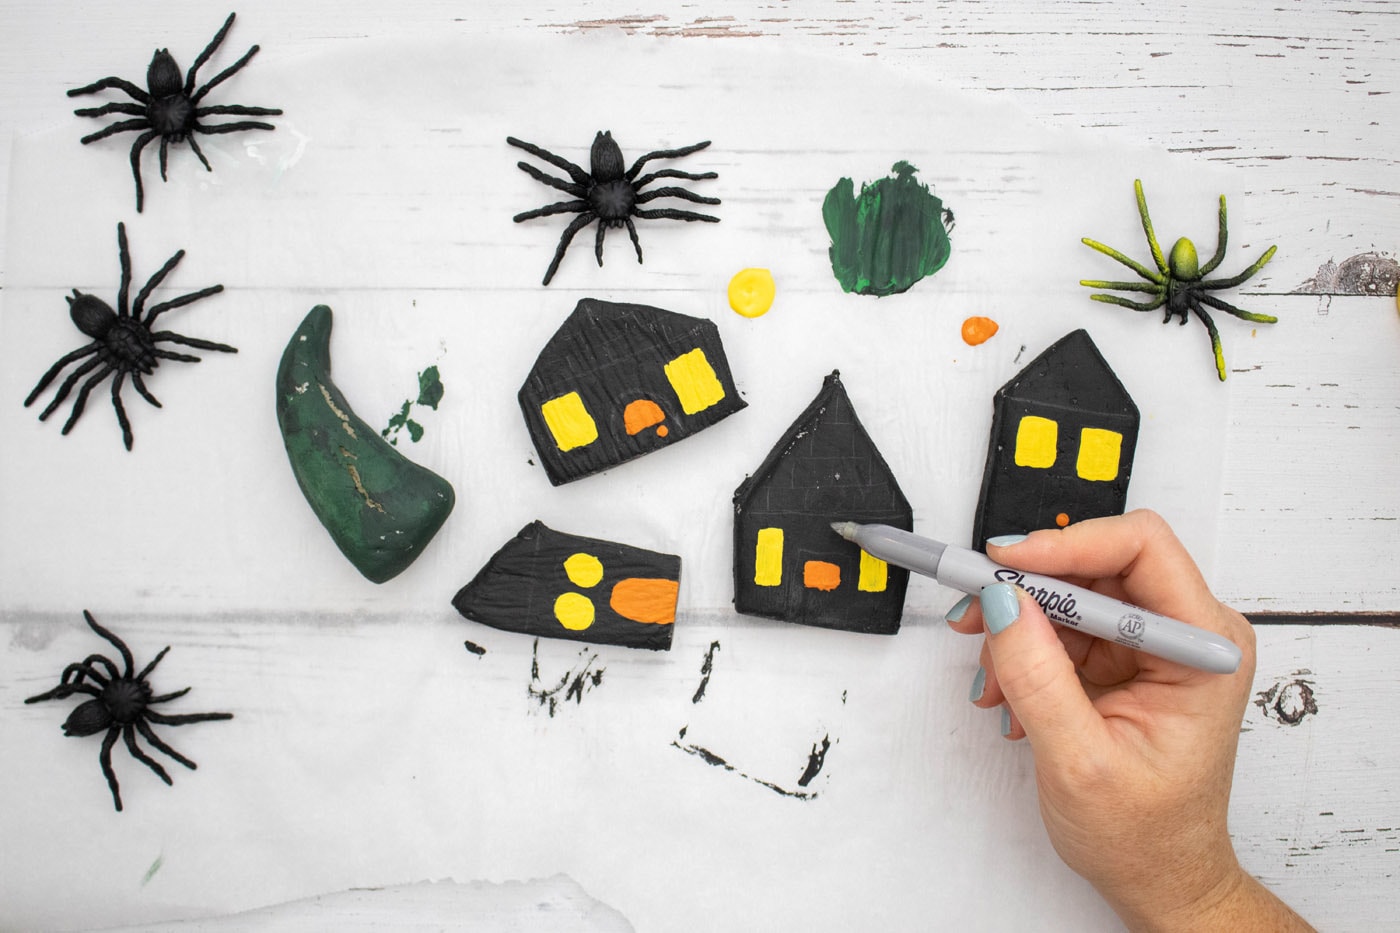
- Use a silver marker to outline the windows, doors and add other accents (ie. shingles to the roof).
Expert Crafting Tips
- Get creative and use different color combinations like purple, lime green, orange, and black on different houses. Or add a bit of glitter and a painted “keep out” sign in the window.
- Make sure you allow time for the salt dough to cool completely before you begin painting.
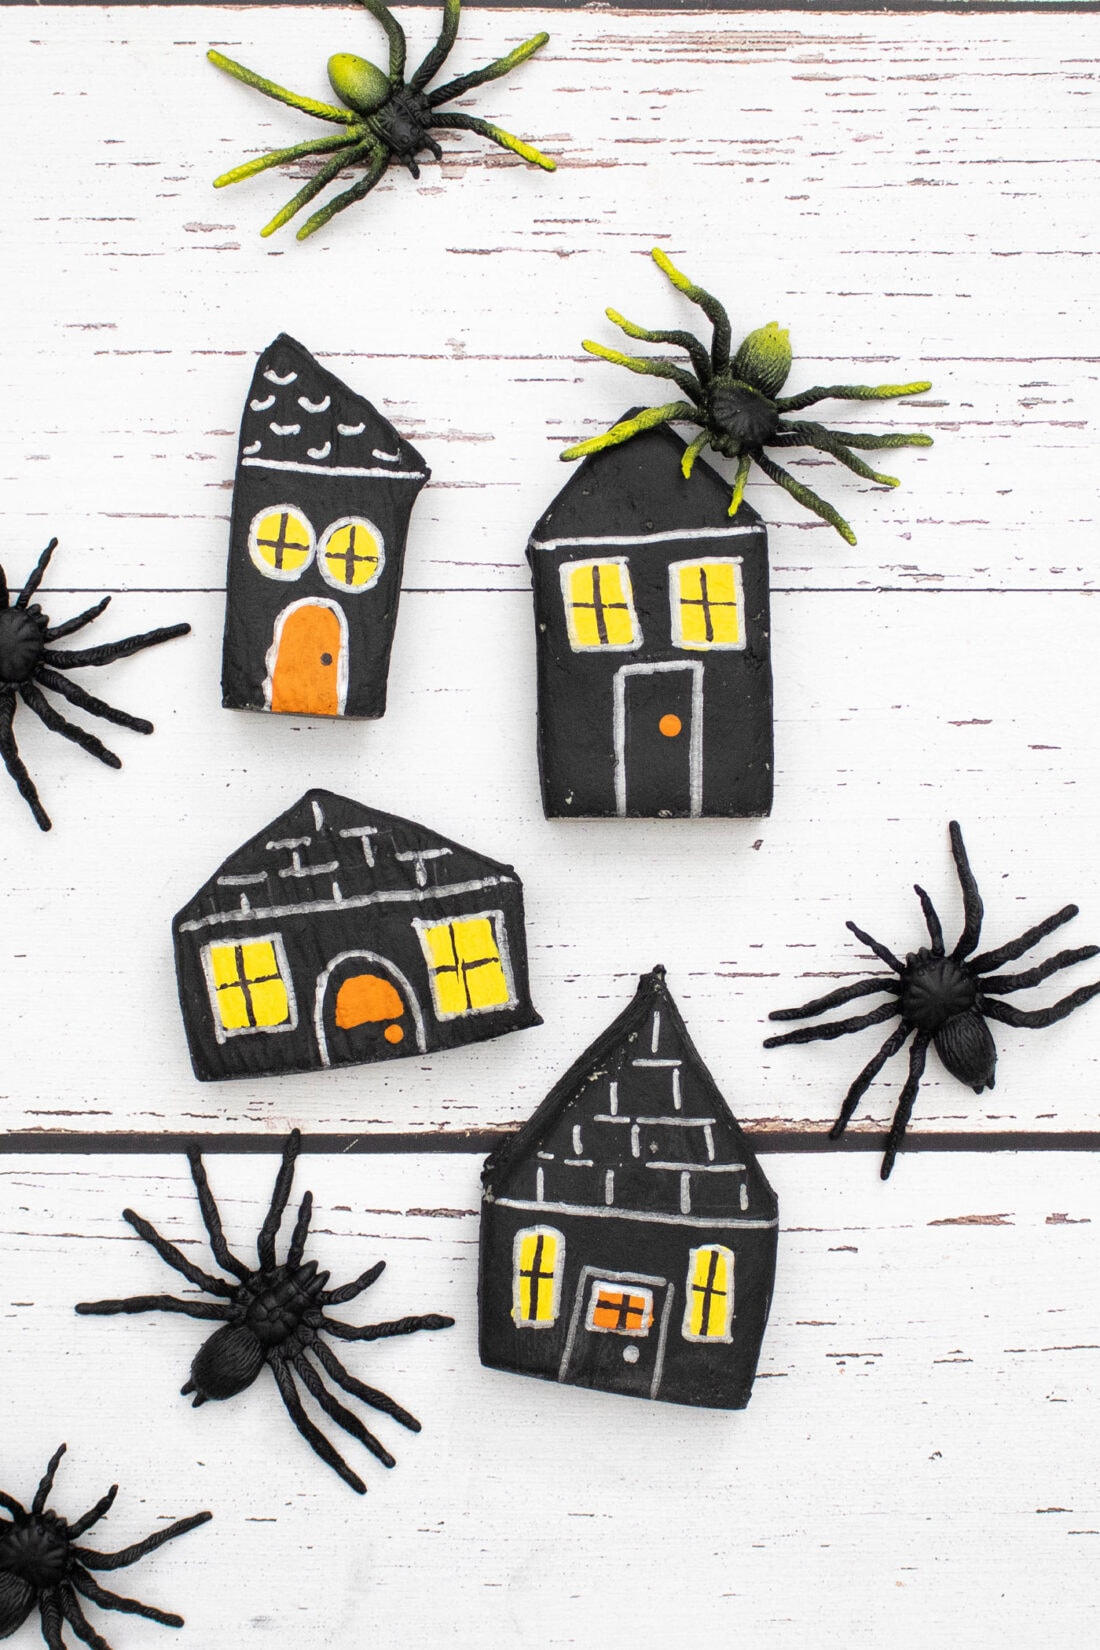
How cute, I mean creepy, are these salt dough haunted houses? Prop them on a bookshelf with some faux spiderwebs, glue them to a sturdy wreath form, or add them to a Halloween Terrarium. Happy haunting!
More Halloween Crafts
- Halloween Terrarium
- Halloween Door: Keep Out
- Halloween Ribbon Wreath
- Paper Halloween Luminaries
- Halloween Wine Glass Candle Holders
I love to create and share my projects with you! I know it’s hard to remember to come back and search, so I’ve made it easy for you with my weekly newsletter! You can subscribe for free and I’ll send you fun crafts and delicious recipes every week right to your email.
Salt Dough Haunted Houses
Supplies
- Salt Dough using the ingredients from this post (flour, salt, water)
- Silver and black paint pens or sharpies
Americana Acrylic Paints We Used
- Lamp Black
- Cadmium Yellow
- Jack-O’-Lantern Orange
- Hauser Dark Green optional, for tree
Craft tools
- Baking Sheet
- Paintbrushes with assorted tips
Instructions
- Following the recipe instructions from this Salt Dough Jabba the Hutt craft, combine salt, flour and water. Mix ingredients by hand until well combined and a dough is formed.
- Separate the dough into smaller portion sizes (about the size of your palm).
- Continue kneading to smooth dough. Roll out the dough to about 1⁄4” thickness (thick enough so that the houses will stand on their own).
- Cut the dough into house shapes with triangular peaks at the top. Make as many houses as you’d like in various sizes.
- Form remaining dough into a cone shaped tree if you’d like.
- Place all shapes onto a parchment lined baking sheet and bake in an oven at 220F for 2 hours. Flip the shapes over every 20 minutes.
- Remove from the oven and leave shapes to cool completely before proceeding.
- Start by painting all of the houses black on both sides. Allow the paint to dry fully before applying additional coats of paint or before changing colors.
- Use a pencil to lightly draw windows and doors as a guide.
- Using a fine tip paintbrush, paint windows yellow and doors orange. Let dry.
- Use a black fine tip paint marker to create cross bars on the windows.
- Use a silver marker to outline the windows, doors and add other accents (ie. shingles to the roof).
- Paint the tree a dark green (as desired).
Video
Expert Tips & FAQs
- Allow the salt dough to completely cool before painting*
- Watercolor Luminaries - February 11, 2025
- Free Valentine Printables: Cards, toppers, and tags - February 4, 2025
- Valentine Hugs - January 31, 2025


Leave a Reply