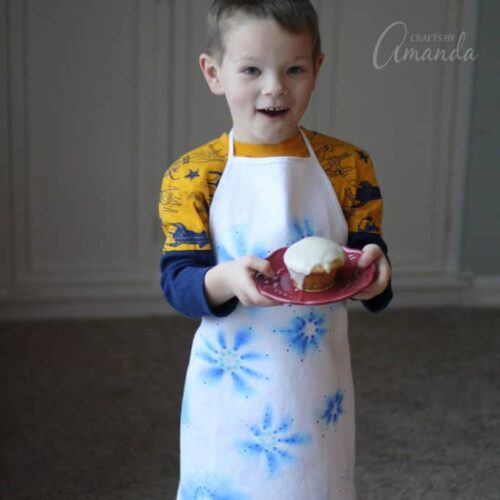
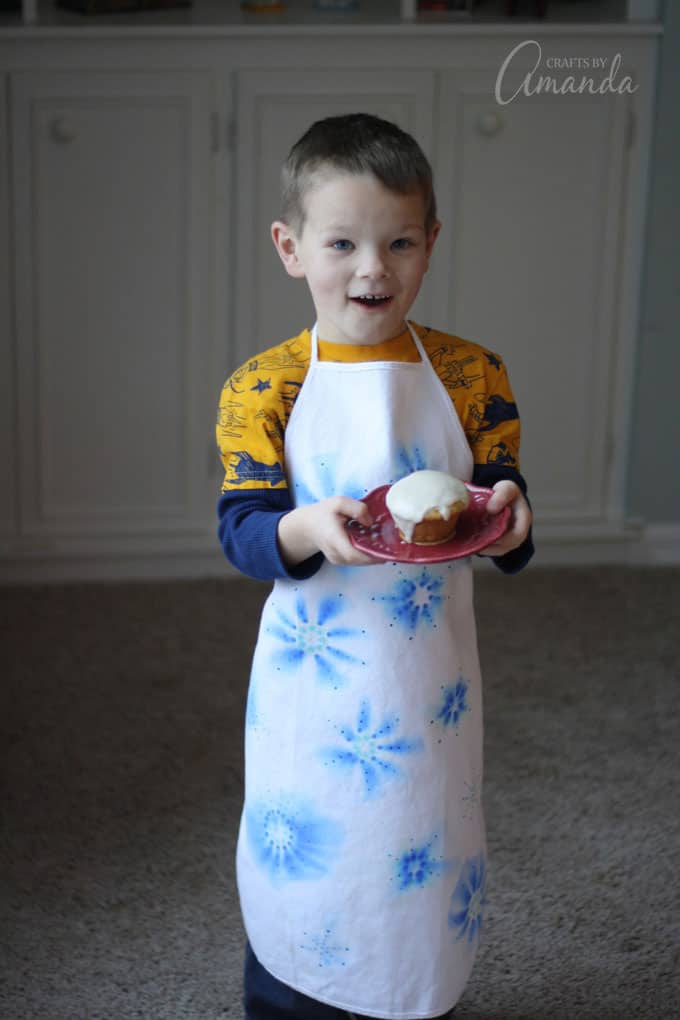
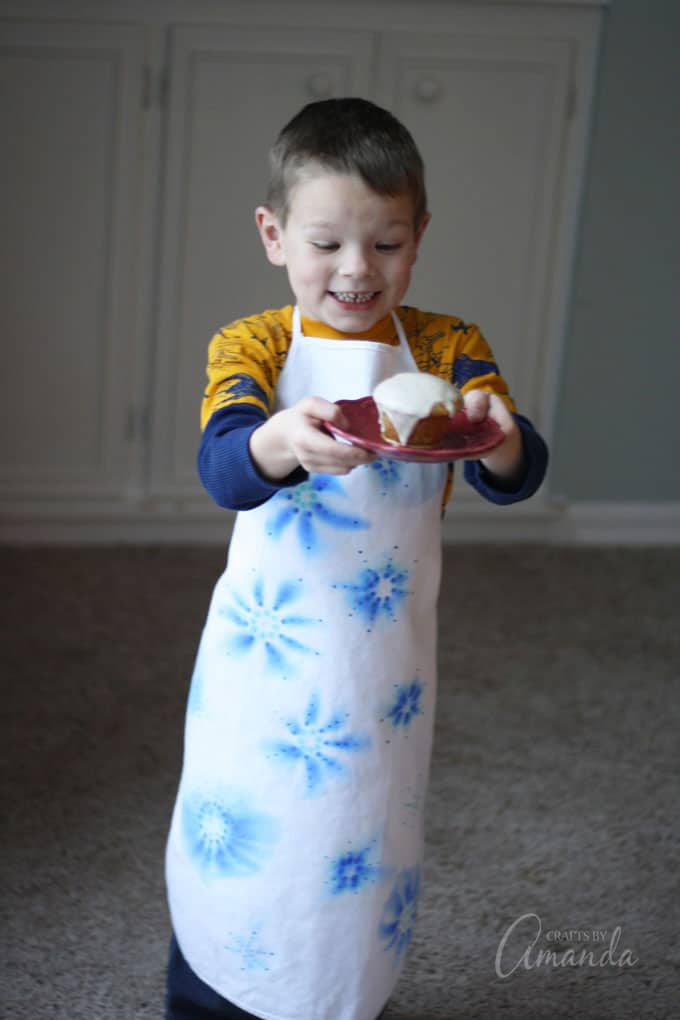
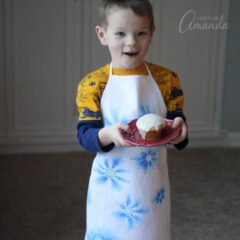
This adorable apron is made using Sharpie markers! I’ll show you this easy technique for creating beautiful snowflakes on this Sharpie Snowflake Apron.
RELATED – Have a toddler? See how to make an adorable Snowflake Banner to spark your toddler’s imagination!
Sharpie Snowflake Apron
Kids love to be in the kitchen with you, especially when it comes to making treats for Santa! Turn a boring white apron into a canvas for beautiful blue falling snowflakes.
You will need:
- White child-sized apron
- Permanent markers in blue and light blue
- Rubbing alcohol
- Eyedropper
- Glitter fabric paint (optional)
- Toothpick (optional)
How to make a Sharpie Snowflake Apron
- Line work surface with a plastic tablecloth covered with a towel or two that you aren’t worried about staining.
- Place apron on top of the towels.
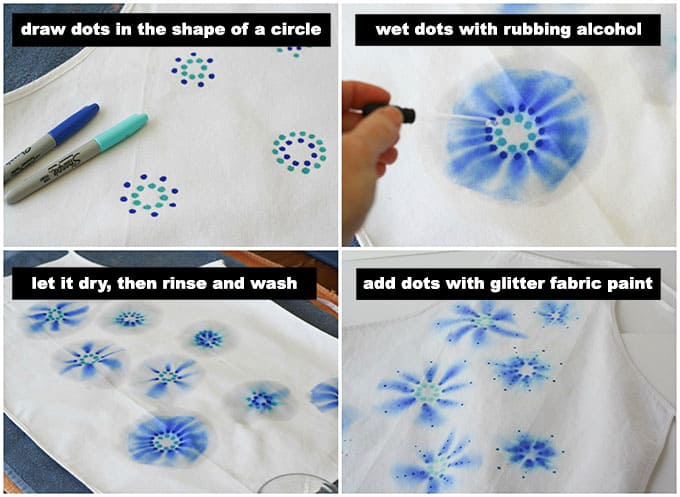
- Use permanent marker to draw dots in the shape of a circle (for example, draw one dot, then another next to it, and another, going in a circle shape).
- Use the second color to draw another circle of dots around the first circle of dots.
- Use an eyedropper to wet the marker dots with rubbing alcohol. The marker will begin to spread. Add alcohol to all of the dots then go back over them one more time. Allow the apron to dry completely.
- Run the dry apron under running water. Use a small amount of laundry or dish soap to wash the designs. Wring out the apron and dry it in the dryer without fabric softener.
- This step is optional, but if you would like to add a little more design and pizzazz to your snowflakes, snip the pointed end off of a toothpick and dip in glitter fabric paint. Add dots around the points of each snowflake design. Use different colors such as silver, blue, dark blue and white.
More fun craft ideas
- Like Sharpie crafts? Find 20 different ideas here.
- Be sure to check out my Blue & White Coffee Filter Christmas Tree
Sharpie Snowflake Apron
Supplies
- White child sized apron
- Permanent markers in blue and light blue
- Rubbing alcohol
- Eyedropper
- Glitter fabric paint optional
- Toothpick optional
Instructions
- Line work surface with a plastic tablecloth covered with a towel or two that you aren’t worried about staining.
- Place apron on top of the towels.
- Use permanent marker to draw dots in the shape of a circle (for example, draw one dot, then another next to it, and another, going in a circle shape).
- Use the second color to draw another circle of dots around the first circle of dots.
- Use an eyedropper to wet the marker dots with rubbing alcohol. The marker will begin to spread. Add alcohol to all of the dots then go back over them one more time. Allow the apron to dry completely.
- Run the dry apron under running water. Use a small amount of laundry or dish soap to wash the designs. Wring out the apron and dry it in the dryer without fabric softener.
- This step is optional, but if you would like to add a little more design and pizzazz to your snowflakes, snip the pointed end off of a toothpick and dip in glitter fabric paint. Add dots around the points of each snowflake design. Use different colors such as silver, blue, dark blue and white.
I originally made this project for ABC Family in December 2013
- Watercolor Luminaries - February 11, 2025
- Free Valentine Printables: Cards, toppers, and tags - February 4, 2025
- Valentine Hugs - January 31, 2025


burlap+blue says
LOVE this! I’m hosting a Sharpie crafts link party on my blog this week, and I’d love it if you wanted to link up! Favorites will be featured in a compilation post next week, & we’re giving away a $50 Target GC and Sharpie prize pack!
Peggy says
I have done this with Girl Scouts. We call it Sharpie Defusion Art. Great way to make troop t-shirts or sweatshirts at a low cost. We also made troop bandanas. Very nice idea to make as a child’s apron. Would also make a nice holiday gift.
Amanda Formaro says
Thanks Peggy! It’s definitely fun :)
Carolyn Hawkins says
Very nice! Grandkids would love this!
Amanda Formaro says
Thank you Carolyn!