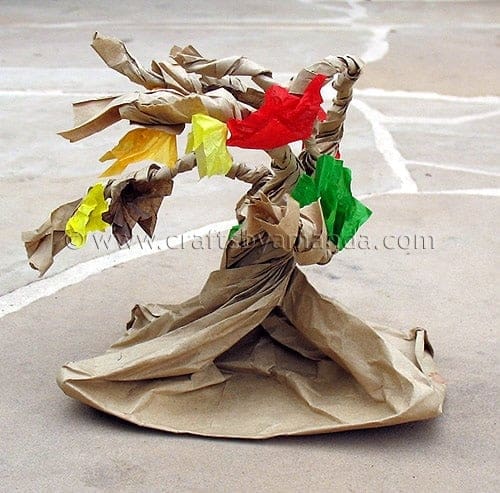

One day my son brought home a cute project from school. A brown paper lunch bag, cut and twisted to look like a tree blowing in the wind. The teacher said she originally found the idea in Family Fun Magazine. I used the project my son brought home to recreate it and show you how easy it is too. This is a great fall craft for the kids!
Try our paper bag scarecrows too!
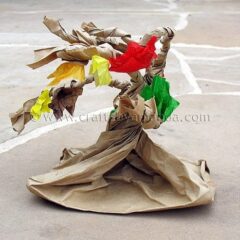
Paper Bag Tree
Supplies
- brown paper lunch bag
- tissue paper in fall colors brown, red, orange, yellow
- scissors
- glue
Instructions
- Open the paper bag so that it can stand by itself. Carefully hold the bottom of the bag and twist just above the seam/fold several times.
- Use scissors to cut strips from the top of the bag down to the twisted section.
- Gather three strips at a time and twist together to form the branches. Continue twisting three strips until you run out of strips to twist. If you end up with an uneven amount, twist four together or two together at the end.
- Tear or cut small pieces of colorful tissue paper and glue a few on here and there as leaves for the branches.

Did you enjoy this post? Why not subscribe to my feed, or better yet, to my free newsletter – Foodie in the Craftroom, which provides not only crafts but recipes from my other blog, Amanda’s Cookin’ as well!
Latest posts by Amanda Davis (see all)
- Tie Dye Beach Towels - July 24, 2026
- Swirling Twirling Ladybugs - July 21, 2026
- Drip Tie Dye Backpack - July 17, 2026


RS says
Apparently there are multiple ways to do this craft – at Hebrew school and at story time, my daughter did it in two different ways. (The Jewish holiday of Tu B’Shvat, the Birthday of the Trees, is on January 26 this year.)
Stephanie says
My kinders made this today and they turned out so adorably! Thanks so much for posting this!! :)
Amanda Formaro says
How fun!
Amanda says
how cute Melissa, the kids did a fabulous job!!
Melissa says
We made them!! My youngest really took to the technique – it was right up her alley.
http://gamestoysandotheramusements.blogspot.com/2011/09/leaves-are-changing.html
Liz says
My 2nd and 3rd graders are studying plants this fall, and this will be a great project for them. Thanks for sharing.
creativejewishmom/sara says
This is such a brilliant idea, I'm gonna make some too! Thanks so much for sharing on Craft Schooling Sunday!
June Scott says
For kids? Well, I guess I'm a kid at heart! I think this would look great tucked in amongst the pumpkins on my fall mantel! Thanks for sharing!
* The Design Confidential says
i love this! so adorable, yahoo!