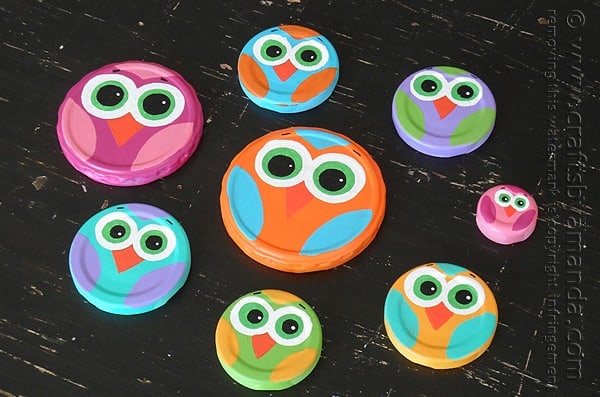
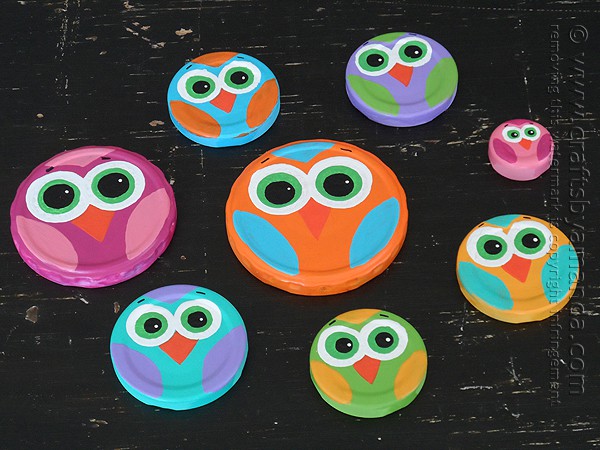
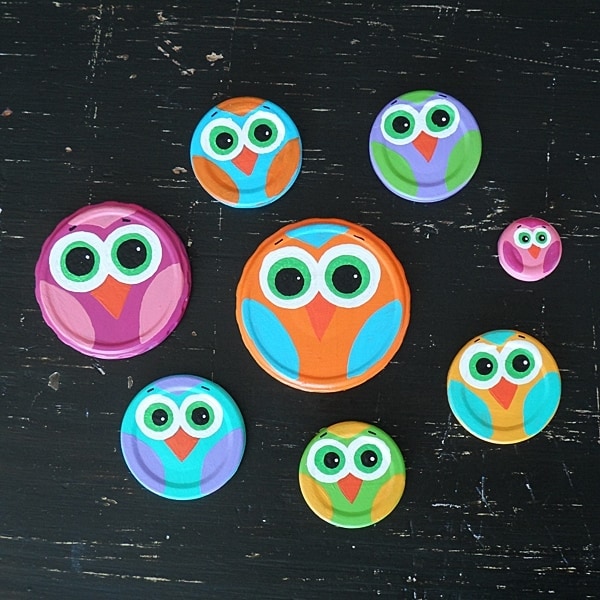
Like many trends, I figured that owl crafts would have died down a bit by now. But they haven’t, they’ve lasted and I’m so glad! I love all the cute owl crafts that are out there, that’s what inspired me to create this recycled craft using jar lids.
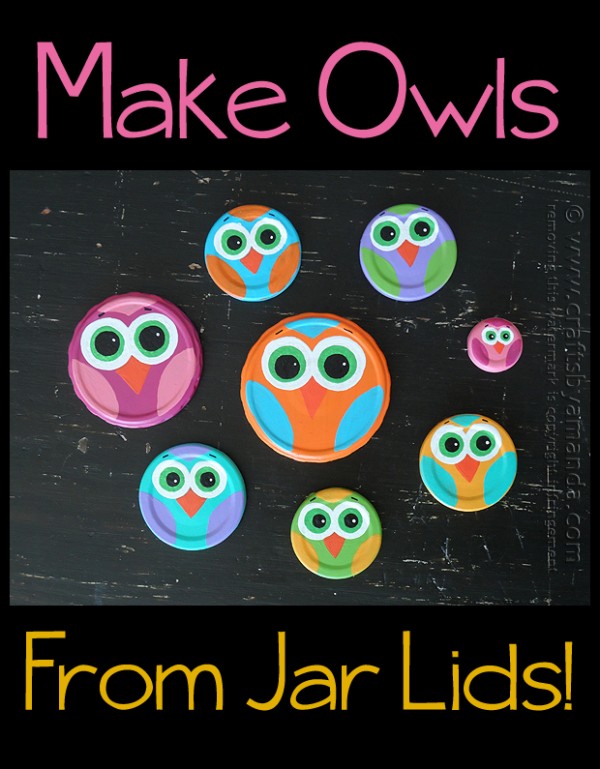
I save pretty much every jar that goes through my kitchen. Once it’s been emptied, I wash it, remove the labels and put it on a shelf in my craft room. Now, sometimes I will make luminaries and that means only using the actual jar, not the lid.
I also have a big plastic container full of lids. All sorts of them! I save them from milk jugs, juice containers, spice and herb jars, laundry detergent, etc. In fact, one of the books I just finished working on is called Button Mania: Buttons, Bottlecaps, and Beyond! in which you will find lots of ways to use all of those lids! That book releases in the spring. Meanwhile, my other books, Rubber Band Mania and Duct Tape Mania
go on sale August 26th! They are available for pre-order through the links above. ;-) Just saying’. (P.S. They’ll also be available in Target stores!)
Owl Craft from Jar Lids
Note: some links below are affiliate links. That means if you happen to buy something, a small percentage of that sale goes back into this site, which enables me to continue to bring you free tutorials such as this one. So, thanks!
As always, a full printable supply list and instructions are at the end of this post. For this project you will need the following supplies:
- Recycled jar lids
- Acrylic craft paint: orange, teal, purple, dark orange, dark yellow, light blue, pink, light green, magenta, black and white
- Acrylic matte sealer
- Tools: Round sponge applicators
(also called spouncers), paintbrush, toothpick, sandpaper
NOTE: If you want to know the exact colors, I used CraftSmart paint that is found at Michaels and the colors are:
- Light Orange
- Ocean Breeze
- Grape Taffy
- Orange
- Pool Blue
- Pink Blossom
- Apple Tart
- Pink
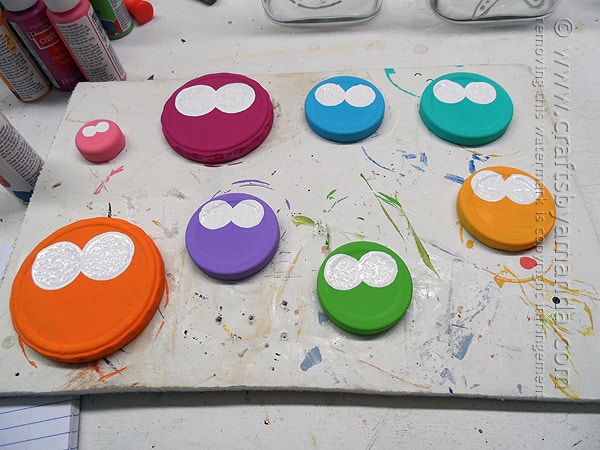
Wash and gently sand the jar lids to knock off any glossy finish. Paint the jar lids with bright colors. Paint a second coat if needed.
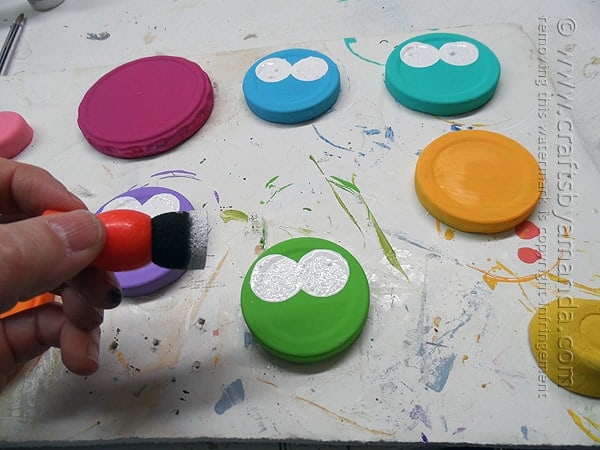
Dip a round sponge applicator into white paint and dot two eyes onto each lid.
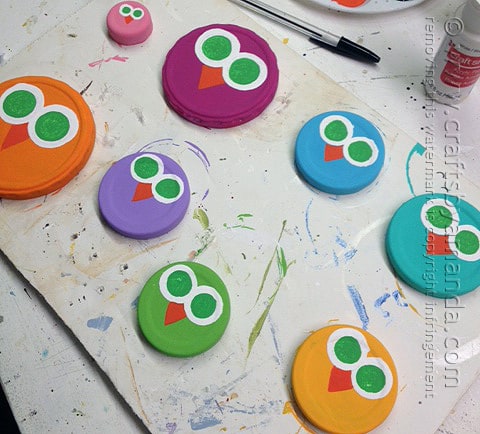
When white is dry, use a smaller round sponge applicator dipped in green paint to add the iris.
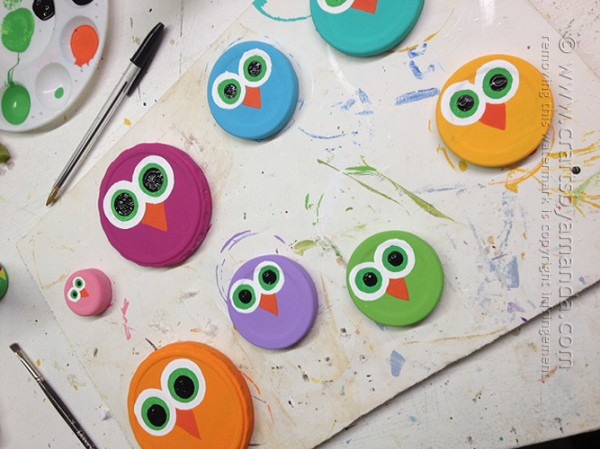
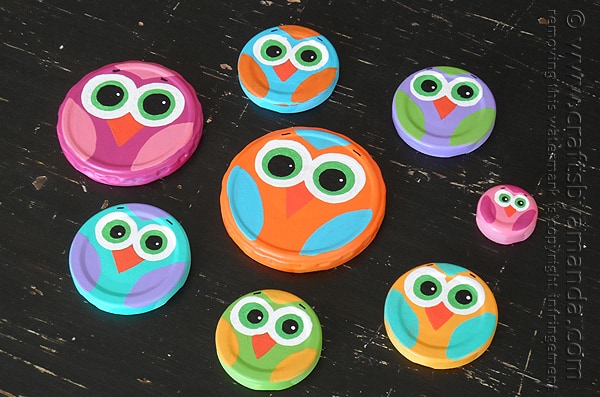
When green is dry, use a smaller round sponge applicator (or a paintbrush handle) dipped in black paint to add the pupil. Use a toothpick to dot on a small dot of white onto the black pupil. Add a beak with dark orange paint. Use contrasting colors to paint on wings and foreheads.
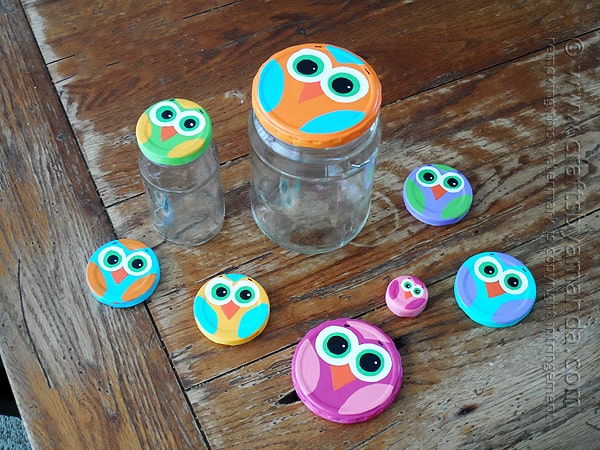
That’s it! Fun huh? These are adorable as actual lids for your jars. Maybe for holding toys or trinkets. I could see these in a child’s bathroom filled with cotton balls too! Or you might like them as refrigerator magnets or just a cute display for your child’s wall. Hope you have fun with them!
More owl crafts:
If you love owl crafts, I have a few more ideas for you. The magnets make great gifts and are easy to make. The pinecone owls and the paper plate owls are such fun for kids! So be sure to check each one out.
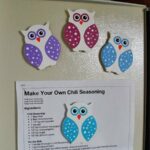 |
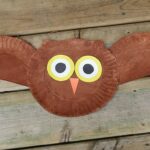 |
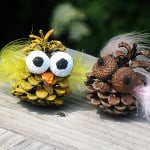 |
Owl Craft Using Recycled Jar Lids
Supplies
- Recycled jar lids
- Acrylic craft paint: orange teal, purple, dark orange, dark yellow, light blue, pink, light green, magenta, black and white
- Acrylic matte sealer
- Tools: Round sponge applicators also called spouncers, paintbrush, toothpick, sandpaper
Instructions
- Wash and gently sand the jar lids to knock off any glossy finish.
- Paint the jar lids with bright colors. Paint a second coat if needed.
- Dip a round sponge applicator into white paint and dot two eyes onto each lid.
- When white is dry, use a smaller round sponge applicator dipped in green paint to add the iris.
- When green is dry, use a smaller round sponge applicator (or a paintbrush handle) dipped in black paint to add the pupil.
- Use a toothpick to dot on a small dot of white onto the black pupil.
- Add a beak with dark orange paint.
- Use contrasting colors to paint on wings and foreheads.
- Paint Stick Snowmen - December 31, 2024
- Snowman Slime - December 20, 2024
- Paper Plate Santa, Snowman and Rudolph - December 13, 2024


Amanda says
These are too cute! I will be making these with my kids!! Thanks for sharing!
Amanda Formaro says
Thank you! Hope you have a blast with the kids!
elena says
Lovely!I made them and I liked the result very much.
Greetings from Italy!
Amanda Formaro says
That’s wonderful Elena!
Mike says
This is really very good. Colorful and easy to do. You can also make a lot of faces and not just owls.
Ordinary Blogger says
LOVE, LOVE, LOVE these. My kids are off next week and this will be just the thing. Bookmarking this to try real soon. Thanks for sharing!
Amanda Formaro says
So glad you like them! Hope you have fun!
Gail McMurray says
Thank you for showing us how to paint the owls. I love them but I’m not that great at painting. I’m so happy I found your blog, very inspiring. This is definately get pinned.
Amanda Formaro says
Thank you Gail, I really appreciate your kind comments!