Anyone who’s ever been to summer camp or in scouts remembers making a dream catcher. Making a dream catcher is fun and can be done with a variety of different supplies. Native Americans often used a hoop of willow and decorated their creations with items from everyday life, such as arrow heads, feathers and beads. Dream catchers aren’t just pretty wall hangings, they are part of Native American heritage.
The legend says that night time is full of good and bad dreams and that the dream catcher’s job is to capture the bad dreams within its web, allowing the good dreams to pass through. At morning’s first light, the bad dreams caught in the web would disappear. Dream catchers are to be hung above your bed, and some tribes believe that the good dreams are also captured and then slide down the feathers to the person sleeping below.
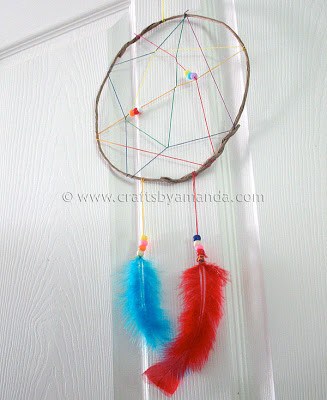
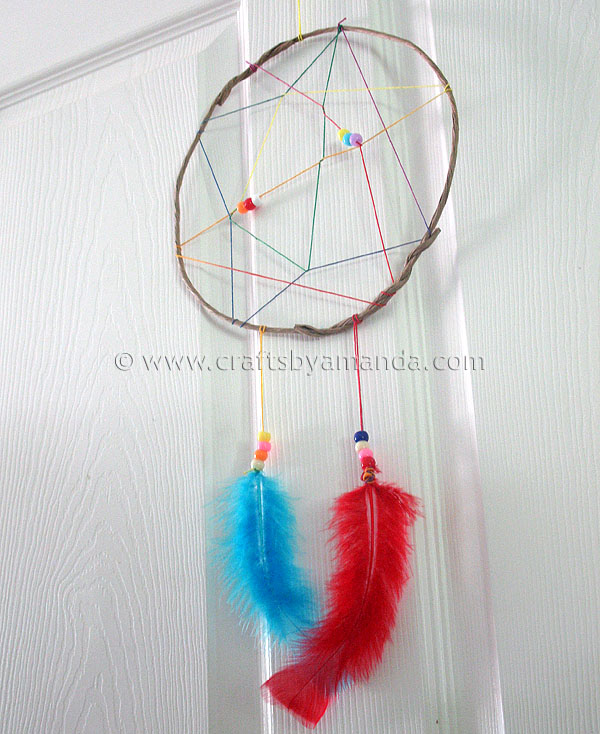
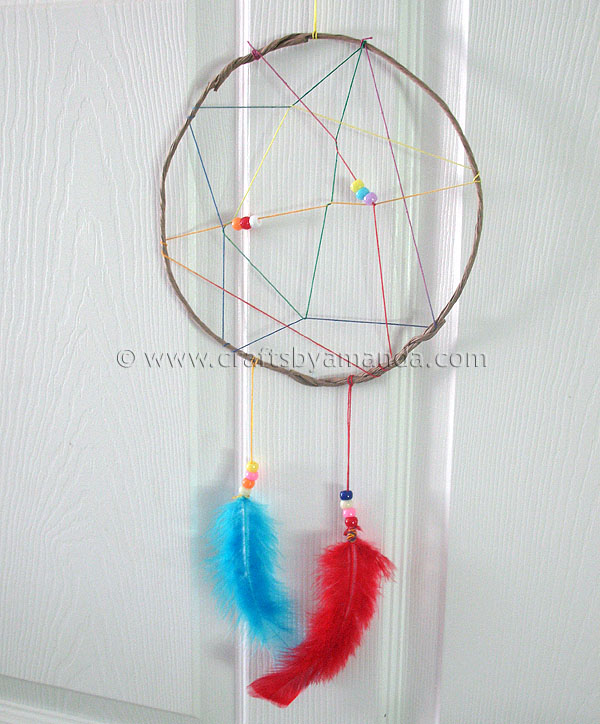
While there are many variations of the dream catcher, I’ll show you a simple design that children will be able to master. Make your dream catcher as simple or as elaborate as you like.
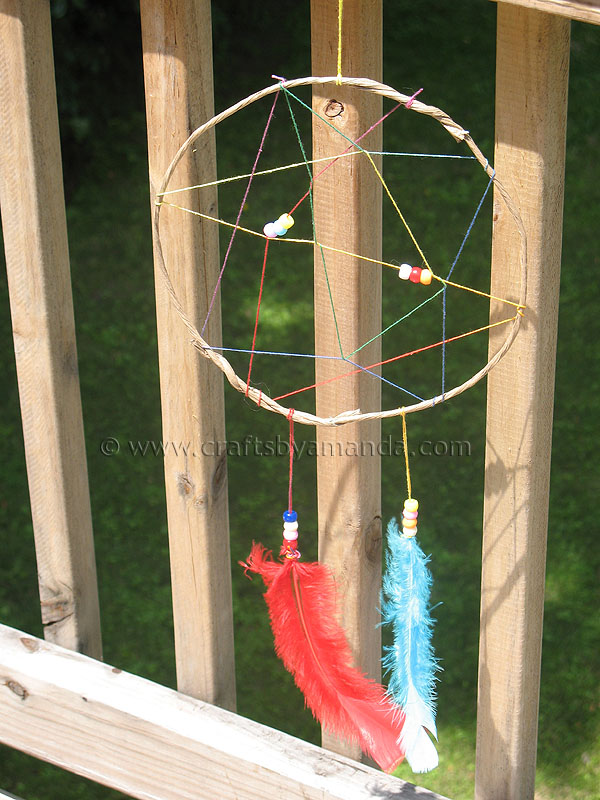
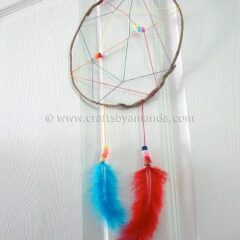
Rainbow Dream Catcher
2 pieces of 18 gauge paper stem wire OR supple twigs
Rainbow string
Pony beads in several colors
2 colorful feathers
Note: Instead of string, you can substitute yarn. Each dream catcher will be unique as there’s no particular pattern for wrapping the webs. Wrap as much or as little as you like.
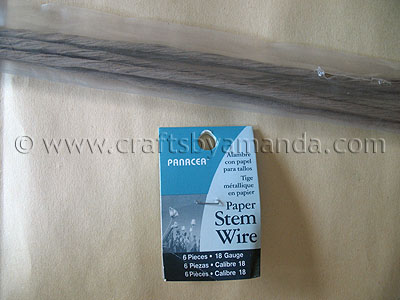
Bend the 2 paper stems into a circle, twist the ends together to combine them. If you are using twigs, look for supple twigs that are bendable. Use some string to tie the ends together.
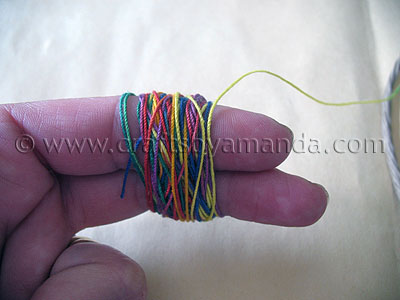
Cut off a length of string, about 2 arms lengths (both arms stretched out). Wrap the string around two fingers, this will keep it at a workable length as you wrap it around your wire/twig circle.
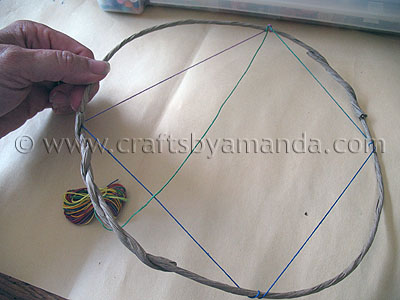
Tie the end of the string to the circle. Stretch the string ¼ of the way around the circle and wrap around twice. Stretch the string ¼ of the way around the circle again, wrap around twice. Repeat two more times, you should end up where you started.
Stretch the string across the length of the circle and tuck into the stretched string, wrapping it around once, then stretching across the circle again, repeating this process as many times as you like, criss-crossing in a pattern to your liking.
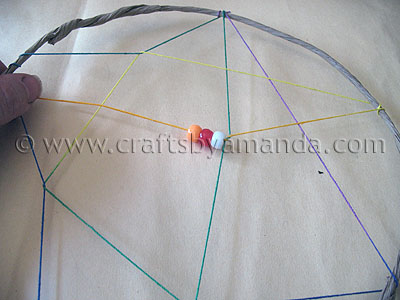
When your web is almost complete, it’s time to add some beads. Unwrap the remaining wound up string, trim, leaving about 18” of string to work with. Thread on 2-3 colorful beads, stretch and wrap the string again.
Add 2-3 more colorful beads, stretch and wrap, then tie off the string to the circle.

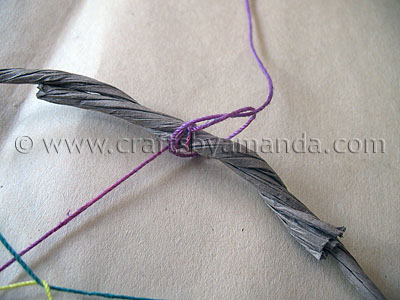
Use about 20” of string, fold it in half to create a loop. Run the loop under the circle and thread the open ends of the string through the loop, pull it tight. Tie the loose ends into a knot. This is your hanger.
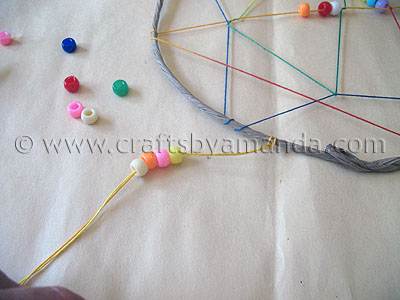
Repeat this process two more times at the bottom of the circle. Thread 4-5 colorful beads onto each length of string…
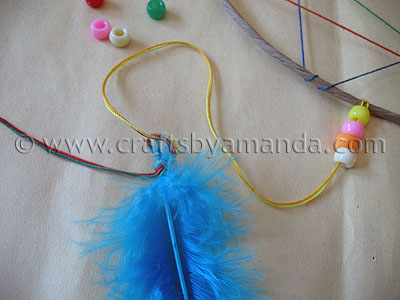
…wrap the bottom end of the string around the end of a feather.
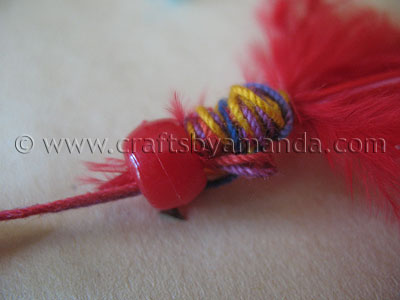
Slide a bead down onto the feather end to secure.
Summer Camp Crafts
- 30+ Summer Camp Crafts for Kids
- Acorn Mobile
- Winning Visors
- Camp Banner
- Twig Name Plate
- Name Plate Can
Camp Crafts: Rainbow Dream Catcher
Supplies
- 2 pieces of 18 gauge paper stem wire OR supple twigs
- Rainbow string
- Pony beads in several colors
- 2 colorful feathers
Instructions
- Bend the 2 paper stems into a circle, twist the ends together to combine them. If you are using twigs, look for supple twigs that are bendable. Use some string to tie the ends together.
- Cut off a length of string, about 2 arms lengths (both arms stretched out). Wrap the string around two fingers, this will keep it at a workable length as you wrap it around your wire/twig circle.
- Tie the end of the string to the circle. Stretch the string ¼ of the way around the circle and wrap around twice. Stretch the string ¼ of the way around the circle again, wrap around twice. Repeat two more times, you should end up where you started.
- Stretch the string across the length of the circle and tuck into the stretched string, wrapping it around once, then stretching across the circle again, repeating this process as many times as you like, criss-crossing in a pattern to your liking.
- When your web is almost complete, it’s time to add some beads. Unwrap the remaining wound up string, trim, leaving about 18” of string to work with. Thread on 2-3 colorful beads, stretch and wrap the string again. Add 2-3 more colorful beads, stretch and wrap, then tie off the string to the circle.
- Use about 20” of string, fold it in half to create a loop. Run the loop under the circle and thread the open ends of the string through the loop, pull it tight. Tie the loose ends into a knot. This is your hanger.
- Repeat this process two more times at the bottom of the circle. Thread 4-5 colorful beads onto each length of string, wrap the bottom end of the string around the end of a feather. Slide a bead down onto the feather end to secure.

Did you enjoy this post? Why not subscribe to my feed, or better yet, to my free newsletter – Foodie in the Craftroom, which provides not only crafts but recipes from my other blog, Amanda’s Cookin’ as well!
- Tie Dye Beach Towels - July 24, 2026
- Swirling Twirling Ladybugs - July 21, 2026
- Drip Tie Dye Backpack - July 17, 2026


Judy Shull says
I like the simplicity of this crafts. The history of Dream catchers is great for kids to know. My question is, I am wanting to use this idea while working with an after-school program at our school. I would like to be able to print the picture tutorial that you offer as well as the written instructions. So far I am only able to print the written instructions. I have an HP computer. Can you give me some ideas on printing this. Thank you, Judy
Amanda Formaro says
Here, you can print this :)
http://2.bp.blogspot.com/-0Yz5G6aqiTc/TgshquSOI7I/AAAAAAAAJnY/1mPbbnfOqDM/s400/rainbow-dreamcatcher-3.JPG
Scout Mom says
Hi! I love this dream catcher and your easy to follow tutorial. I featured it on my blog Scout Mom. Here is the link: http://fakinit.typepad.com/scout_mom/2011/07/blog-love-wednesday-5.html
Thanks
creativejewishmom/sara says
love the simplicity of your dream catcher, lovely! thanks so much for sharing on Craft Schooling Sunday!
RedTedArt says
Aaaah I love dream catchers, just the idea of them is fabulous. Thanks for the great tutorial, as ever!
Thank you for sharing on Kids Get Crafty!
Maggy
Natalie at Maple Leaf Circle says
Love the dream catcher and the walking stick – brings back camp memories!