In some states, kids are already back to school. Here in southeast Wisconsin we still have more than a week of summer left. Whether your kids have already hit the books or not, you still have time for a quick back to school project to make those boring composition notebooks a bit more fun.
I actually used some school themed scrapbook paper for this craft, but you could use any theme, or even magazine pages if you wanted to. In fact, I could see using pages from a dirt bike magazine for one of my boys and all sorts of football themed paper for my youngest.
Related – Back to School Checklist Printable
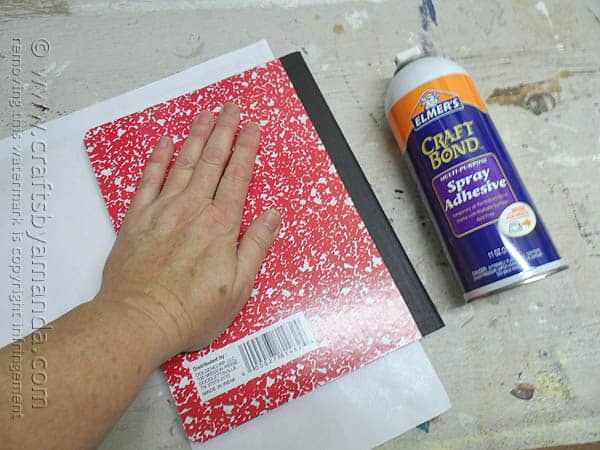
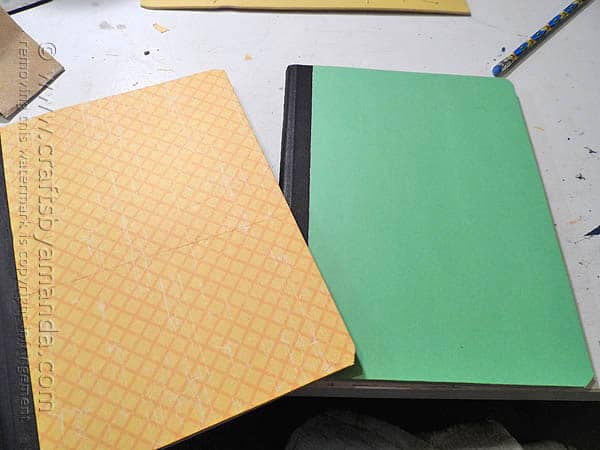
I promise these are super easy. You’ll start with a piece of scrapbook paper large enough to cover the front of the notebook completely, but be sure to leave the black binding visible. Apply adhesive spray to the back of the scrapbook paper and carefully line up the edge of the paper with the black binding. Apply pressure to attach it, then turn the notebook over and press down firmly to make sure it sticks.
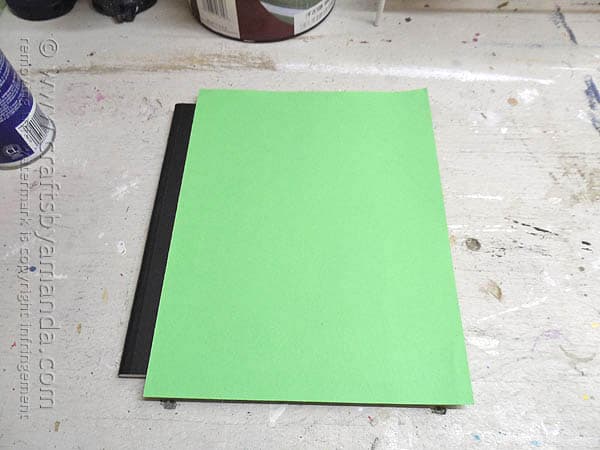
You will need to trim off the excess paper.
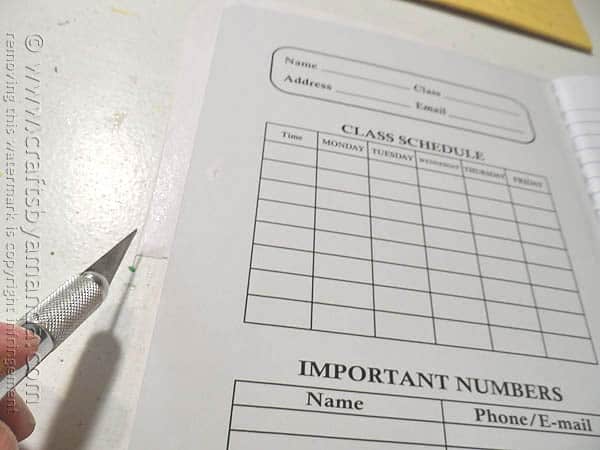
Now you’ll need to open up the notebook, the cover will be lying face up. Using a craft knife, trim off all but about half an inch. Fold the extra paper over onto the inside of the cover and press it firmly to adhere.
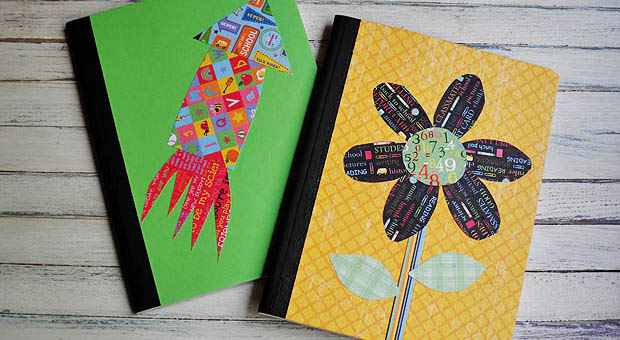
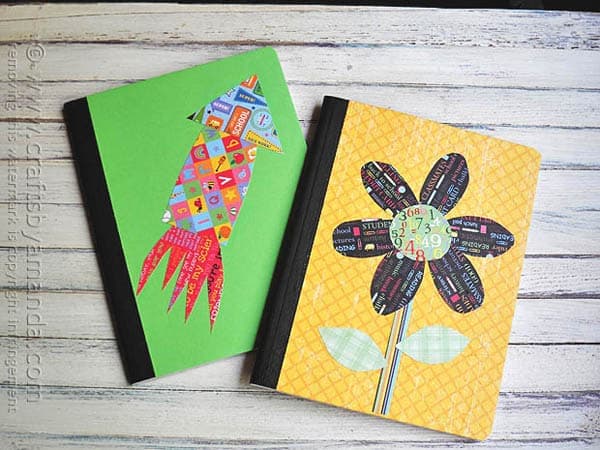
It’s time to actually decorate now that the notebooks are covered.
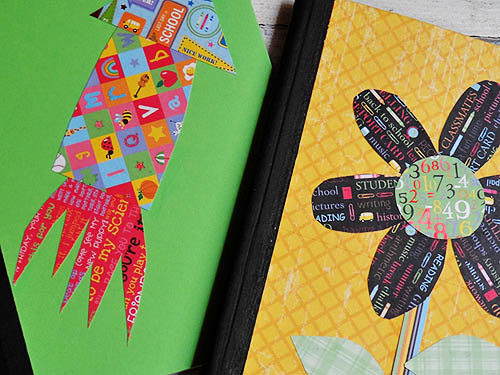
I cut out simple shapes from contrasting scrapbook papers and used a school glue stick to attach them.
More Back to School Crafts
Faux Vinyl Mod Podge Book Cover
Craft Stick Pencil Bookmarks
Magnetic Locker Pencil Holder
Make a Supply Pouch – Flamingo Toes
Make Your own Lunch Bag – Purl Bee
Cereal Snack Mix with Printable Bag Toppers – KixCereal.com
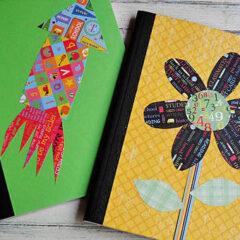
Decorating a Composition Notebook
Supplies
- Composition notebook
- Scrapbook paper we used school themed
- Adhesive spray
- Glue stick
- Craft knife or box cutter parental supervision advised
- Scissors
Instructions
- To begin, choose a piece of scrapbook paper that is large enough to completely cover the front of the notebook, leaving the black binding visible. Spray the back side of the scrapbook paper with adhesive spray. Carefully line up the edge of the paper with the black binding on the cover. Press in place and turn the notebook over and press firmly.
- As you can see there will be edges that need to be trimmed.
- Open the notebook so that the cover is lying face up. Use a craft knife to trim off all but about half an inch. Fold that extra over onto the inside of the cover. Press firmly.
- Now that the notebooks are covered, you will want to decorate them. Cut simple shapes from contrasting scrapbook papers and use a glue stick to attach them to the front. For girls, simple daisies are easy and look great! For boys, a rocket or a truck is simple using standard shapes like triangles and squares.
- Tie Dye Beach Towels - July 24, 2026
- Swirling Twirling Ladybugs - July 21, 2026
- Drip Tie Dye Backpack - July 17, 2026


yolo says
I love it
Kelly - Two Kids Cooking and More says
Love this idea and I know my 10 year old daughter will, too, when I show her.
What a great idea for adding some flair to school supplies!
Amanda Formaro says
Thanks Kelly, hope she has fun!
Alissa says
Love this project! Thanks for sharing!!
Amanda Formaro says
Thank you Alissa!
Casse-bonbec says
lovely and unique !
Amanda Formaro says
Thank you Casse!