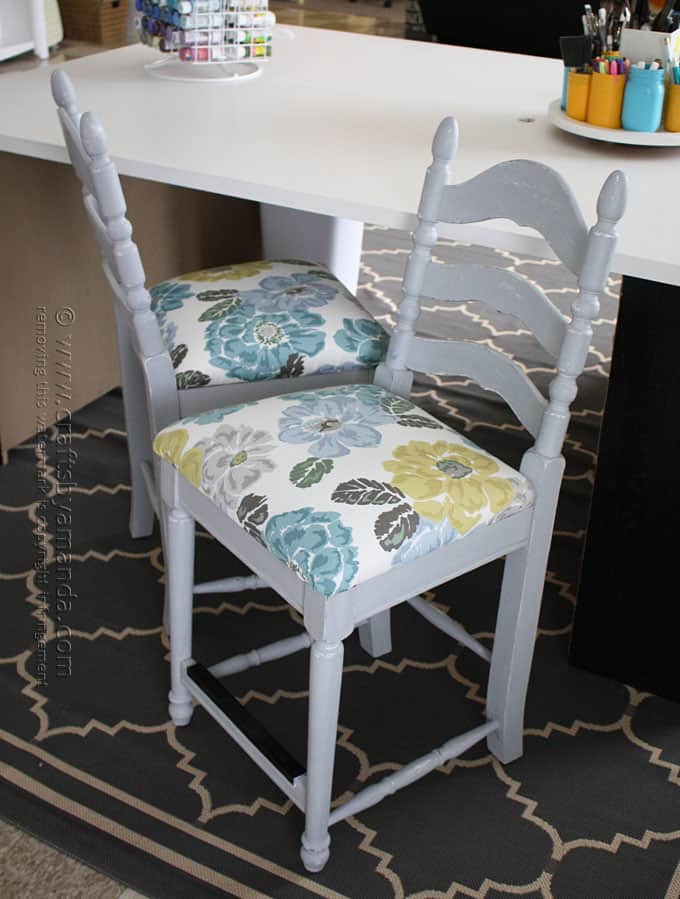
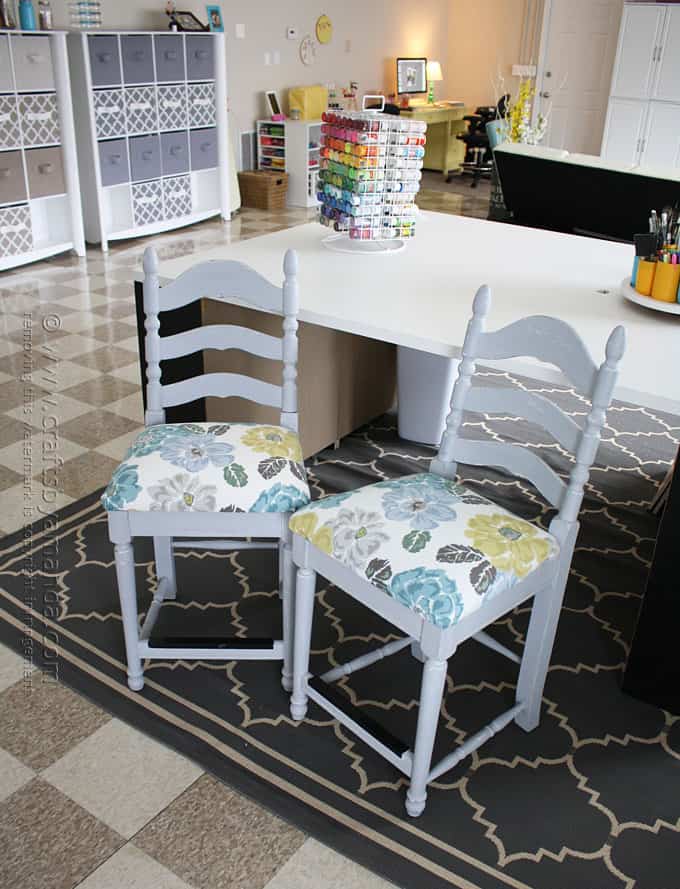
I never realized how easy reupholstering actually is. I had these stools in my basement craft room, they were the perfect height for my craft table. I had picked them up at a flea market last summer and while they’re really comfortable, they were most definitely ugly. I wanted to give them a facelift when I brought them over to my new studio!
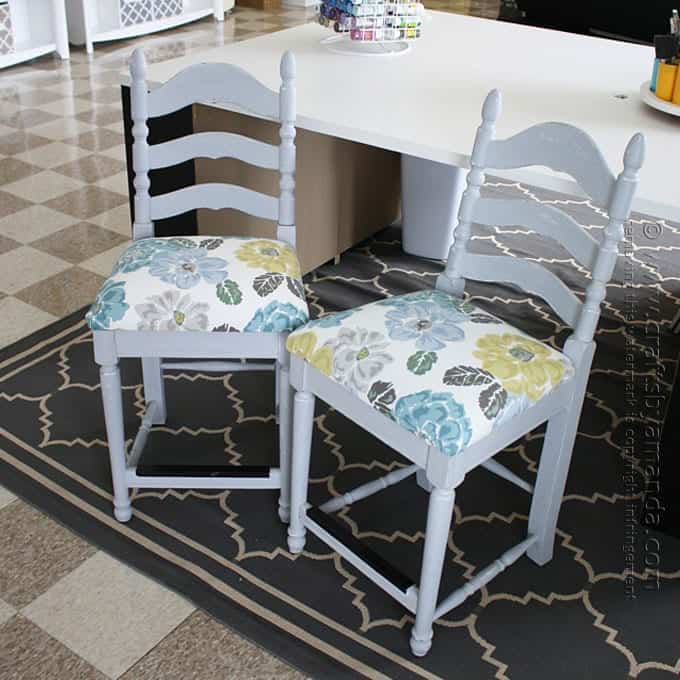
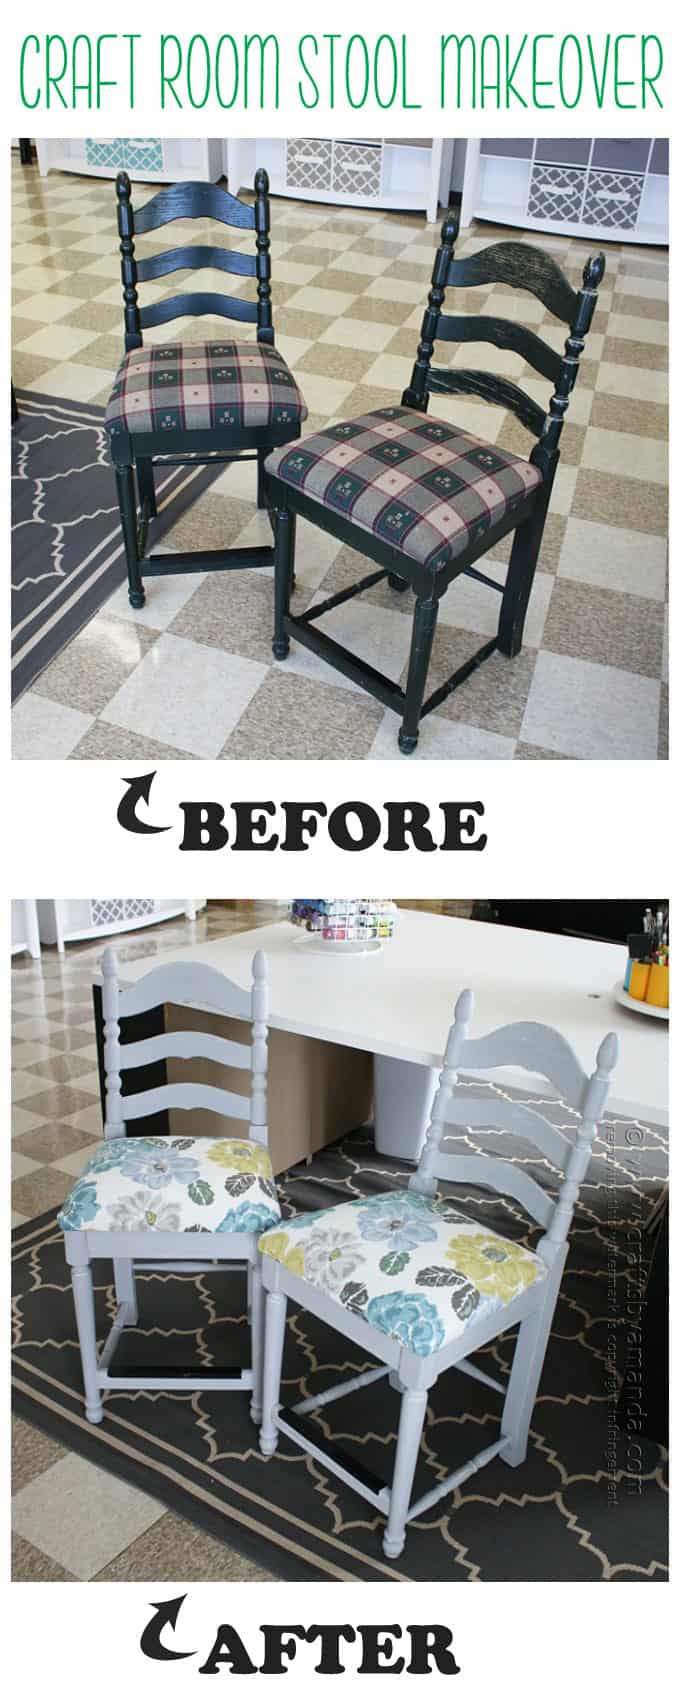
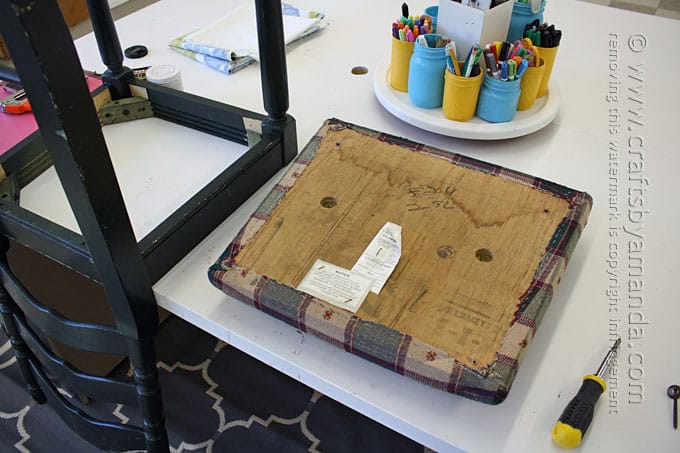
The dark green paint was in bad shape and the fabric just had to go.
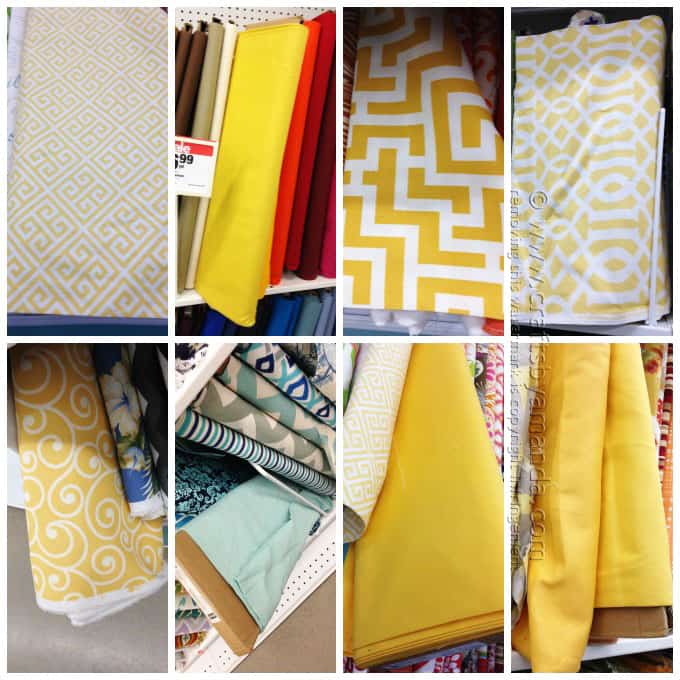
I found the fabric at JoAnn’s after going through several different colors and patterns. I originally was going to pick a yellow fabric. However, the rug I chose for under my craft table is a dark gray with a quatrefoil pattern, so I didn’t want to go with another geometric pattern for the cushions for fear it would be too busy. Solid yellow seemed too loud.
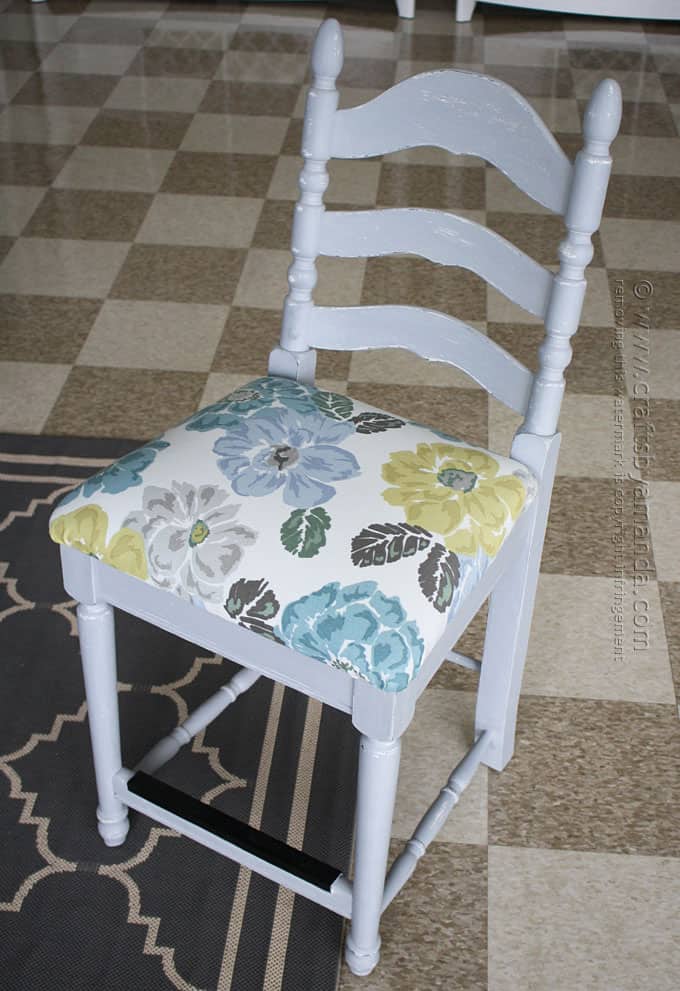
Then I realized I only had a couple floral splashes within the studio design (full reveal coming soon!) so I started looking at those. That’s when I found the large floral fabric that I ended up using. I really love it! The colors tie in so nicely and the fabric is made for upholstery so it’s a good heavy duty choice.
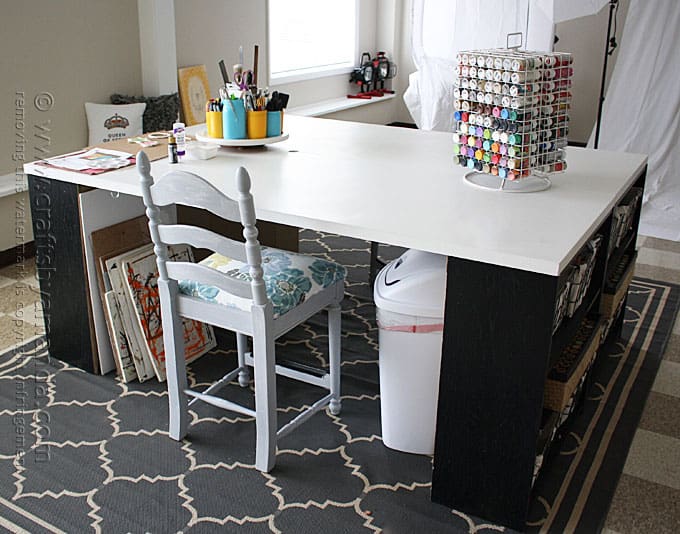
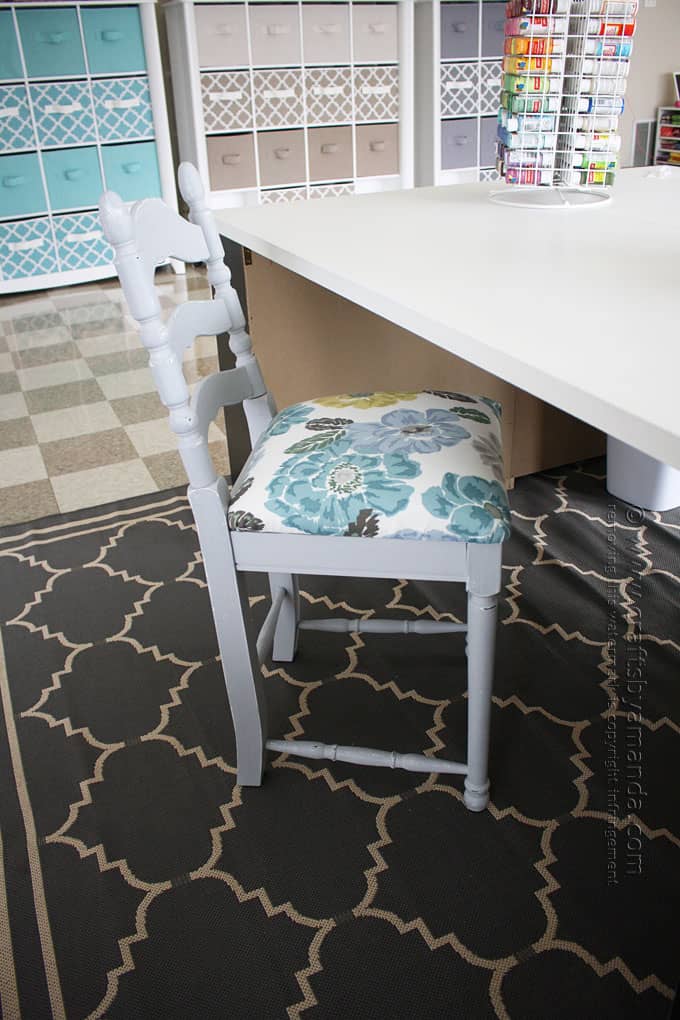
I have two stools and a really big craft table that my husband and I made a few years ago from Walmart bookshelves and 2 hollow core doors. The table is big enough for two people to comfortably work across from each other with plenty of room to spread out.
I also sprayed the cushions with Scotchgard Fabric Protector. I know how I am, I’m a messy crafter, and this is such a pretty fabric I didn’t want to take the chance of them getting ruined. Better safe than sorry.
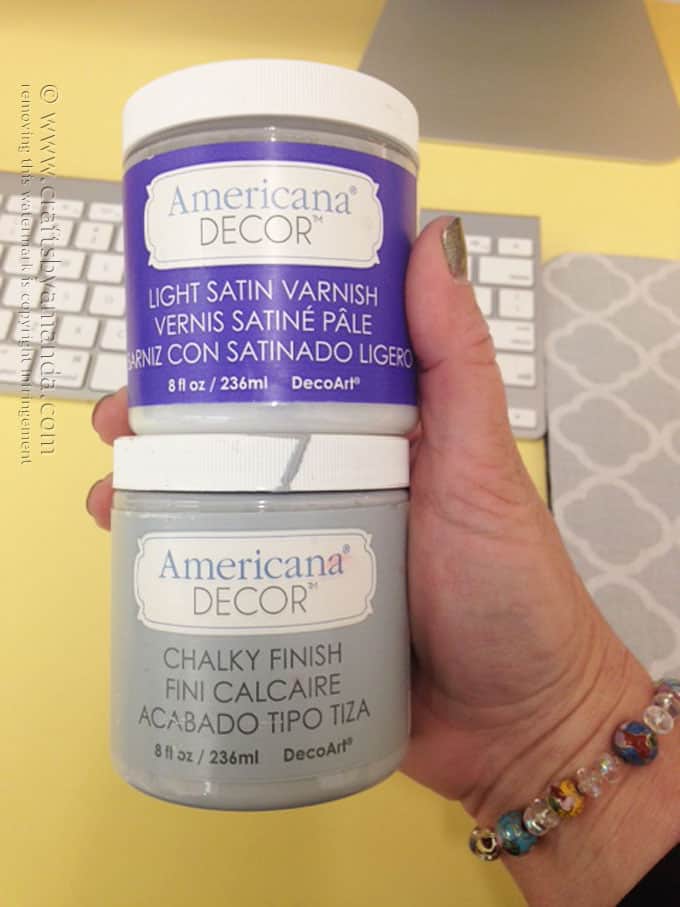
I used Americana Decor Chalky Finish paint (color – Yesteryear) and finished it with with Light Satin Varnish
.
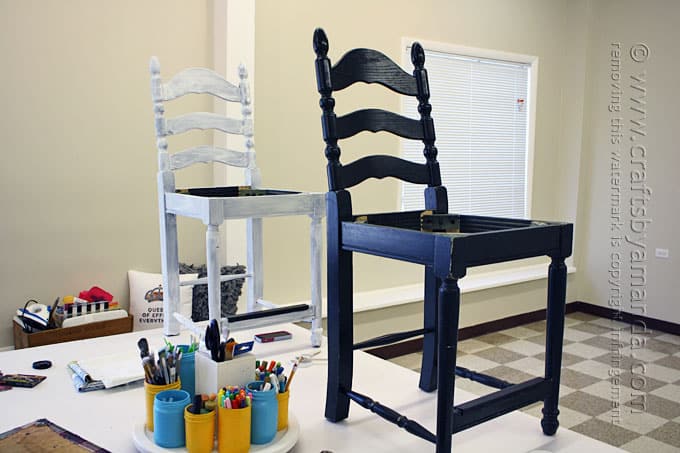
I actually wanted to use white, and that’s what I started with as you will see in the step photos below. But I ran out too soon and just didn’t want to make yet another trip to the store. I had the gray (Yesteryear) on hand and think they came out wonderful.
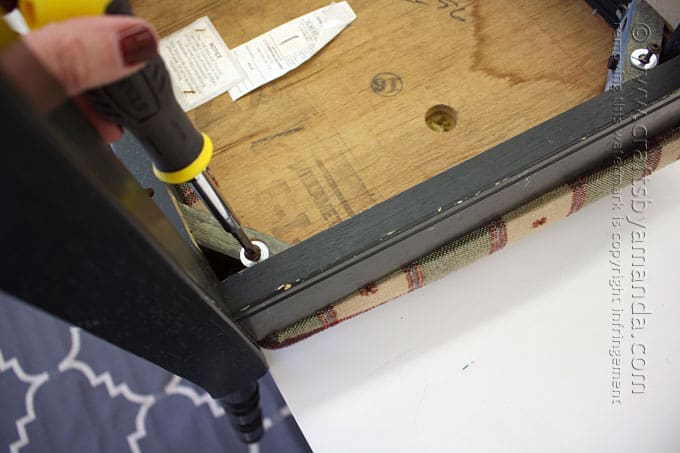
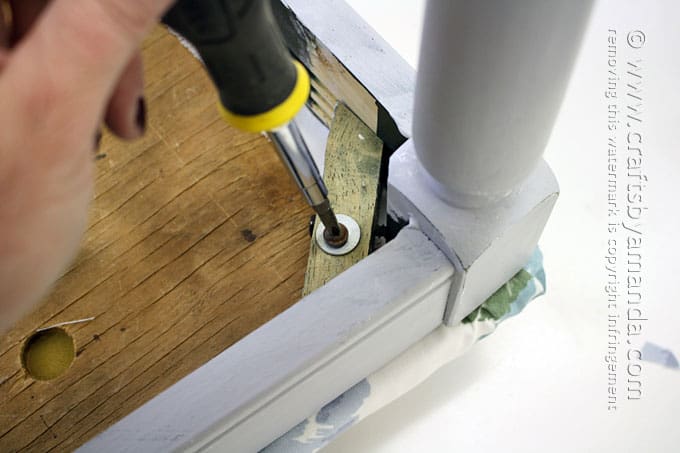
All I needed was a Phillips screwdriver to remove the cushion from the stool frame.
Simple enough.
I painted each stool with a thin coat of the chalky finish paint. There’s no prepping required, just wipe down the surface and make sure it’s clean before you start painting. No sanding or priming required!
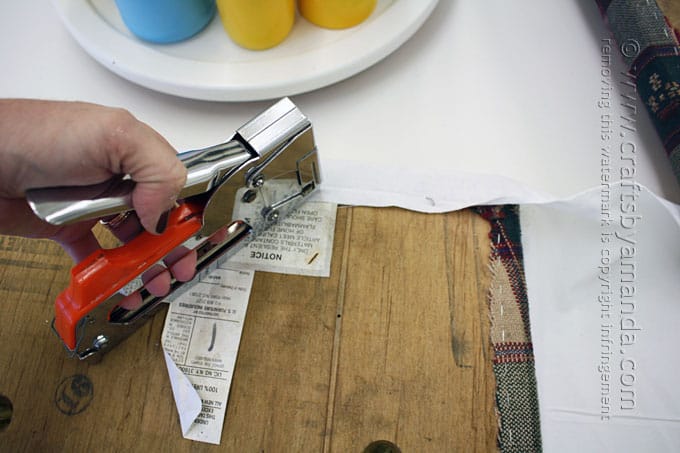
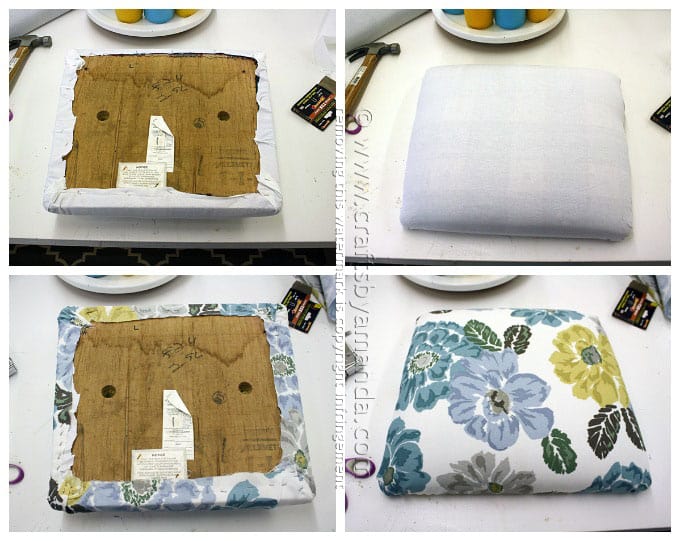
While the paint was drying I used a staple gun to attach white cotton fabric to the cushion, covering up the old fabric. I did this because when I placed the floral fabric over the original cushion, you could still see the green pattern below. So I added a layer of white fabric to help conceal it.
This was a lot easier than I thought. I just made sure that I pulled the fabric tight and stapled it in place. Then I did the same with the floral fabric.
It took about four total coats of the chalky finish paint to cover the way I wanted.
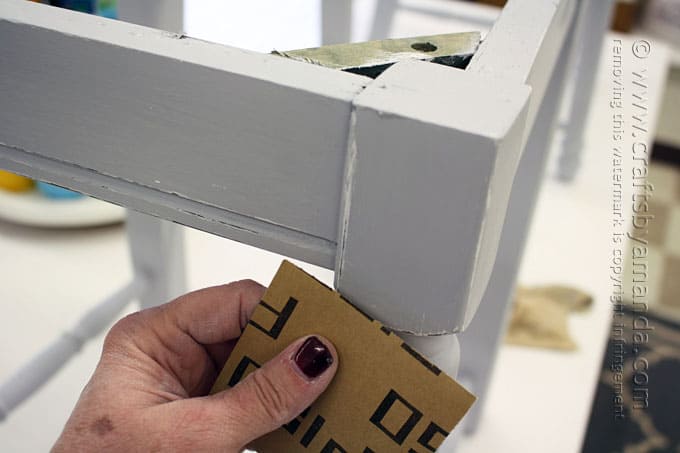
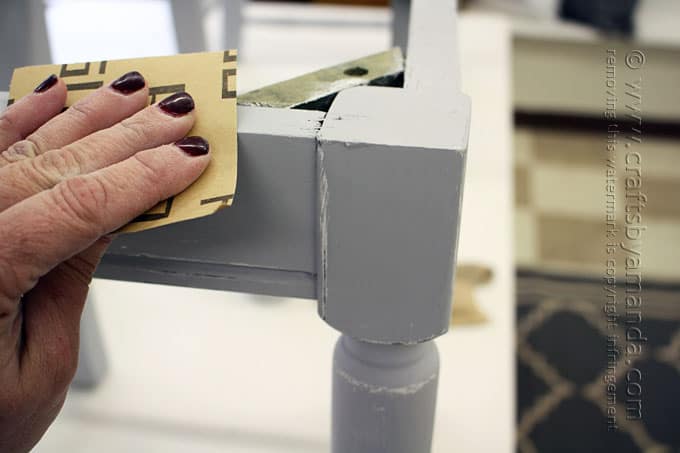
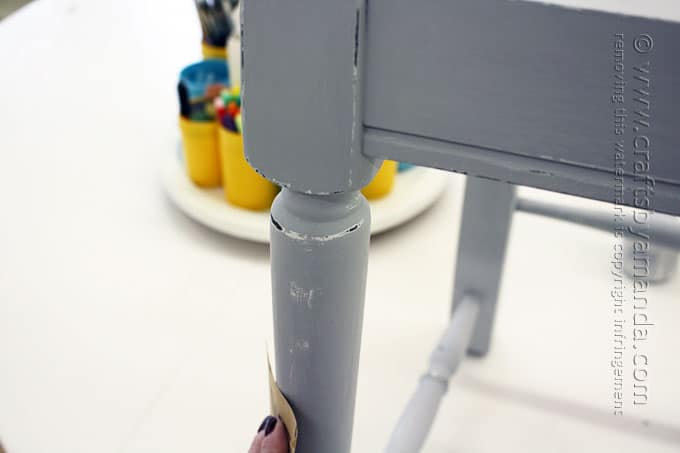
I let them dry overnight and then sanded the edges. Having the white underneath worked out pretty well actually, even though it was a mess-up. Since I ran out of the white and switched to the gray, I now had a layer of white between the green and gray.
So when I started distressing, I was able to reveal white below the gray. It’s nice when things work out that way!
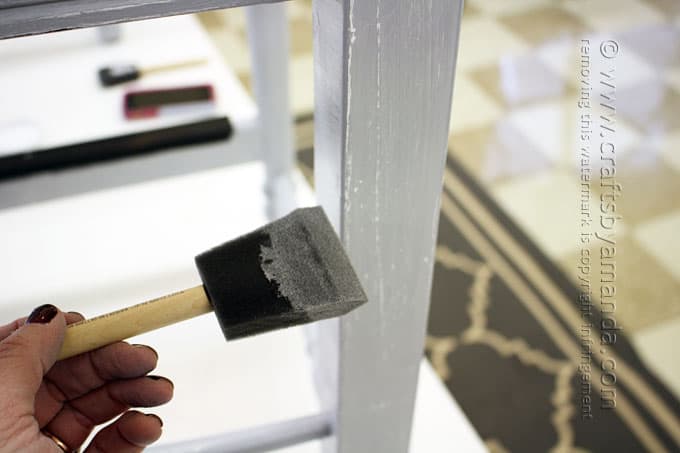
I used a simple foam brush to apply the satin varnish. Two coats did the trick.
When everything was dry I simply put them back together with my handy Phillips. Nice!
I’m super happy with how they came out. Plus it gave me such a great sense of accomplishment!
I’ll have more details on my new studio soon. A few more pieces of wall art and I need to make my valances. Then I can share it with all of you! If you follow me on Instagram you’ve definitely seen the entire thing come together. :)
See you soon!
- Watercolor Luminaries - February 11, 2025
- Free Valentine Printables: Cards, toppers, and tags - February 4, 2025
- Valentine Hugs - January 31, 2025


Marion says
I absolutely love the no-sew projects. I plan to try the cloth napkin valence. Your colors are so cheerful and springy.
I also want to try the no-sew table runner. Please keep easy projects like these coming.
celeste consbruck says
what did you add to the chair rod in front. is it so your feet don’t wear on that rod?
Amanda Formaro says
Hi, Celeste. The chair actually came with the foot pad already. Not sure what would make a good cushion for chair rods… Maybe a home depot or Lowe’s employee could help better with that question!
VALERIE IsSuchaNerd says
They look amazing! Like whole new chairs. Love what you’ve done to them.
Suganya says
Hi Amanda,
All the very best for your studio !
I just wanted to ask about the acrylic paint storage unit which sits on top of the table. Can you please let me know from where did you buy that?
Thanks,
-Suganya
Amanda Formaro says
Hi Suganya! Actually, I stumbled across it at a flea market for SEVEN DOLLARS! The vendor was using it to display fishing lures. But these can be found on ebay, but aren’t cheap. Usually around $80 and up.
Nina Lewis says
Love the chairs! They are gorgeous. Your new office is beautiful, too! I bet you’re loving all of the space that you have now to do your magnificent crafts!
HelenPilecki says
This is a great site. So glad I found it. The directions are wonderful and I will be using very soon the directions for recovering my dining room chairs.
Marianne L says
I love the way the stools turned out, very classy! My dining chairs need to be reupholstered too, but I don’t know how much fabric to buy. Any tips?