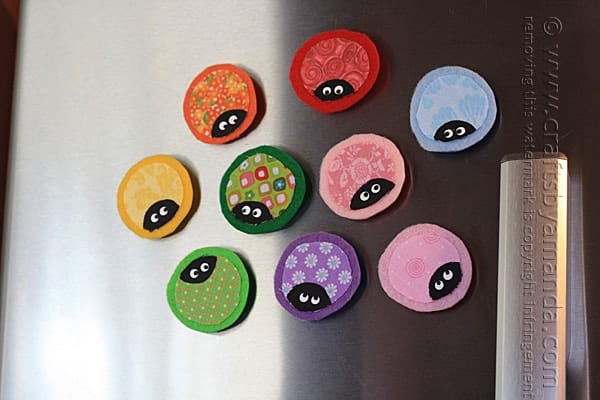
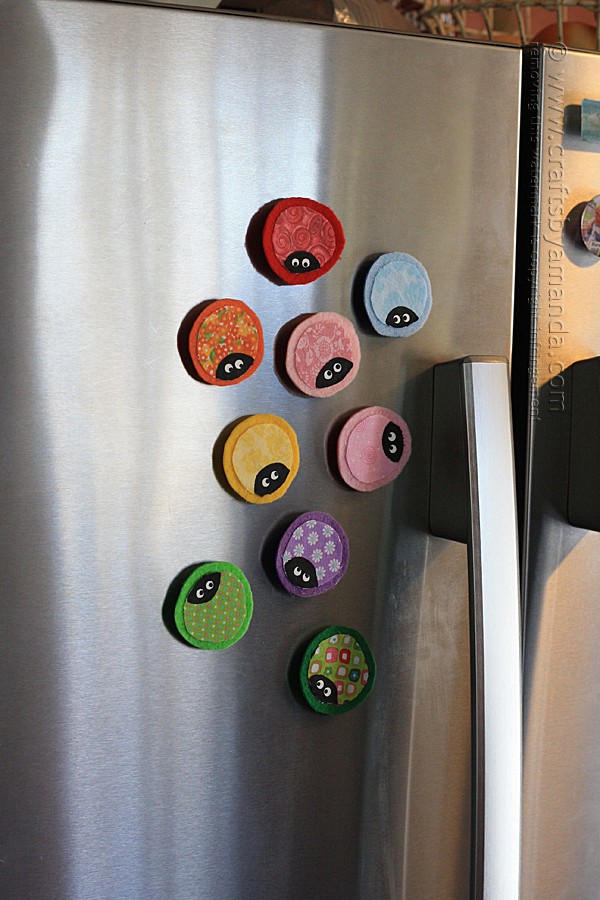
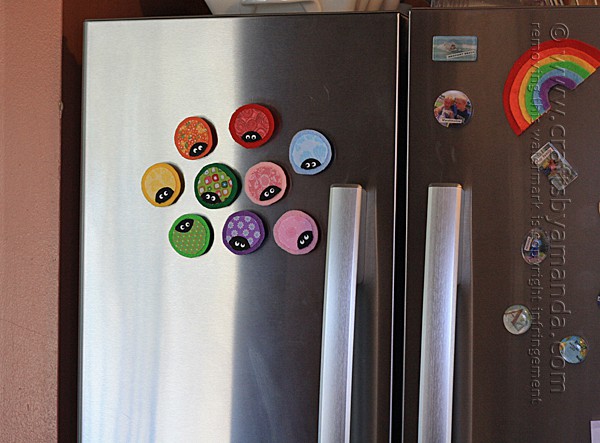
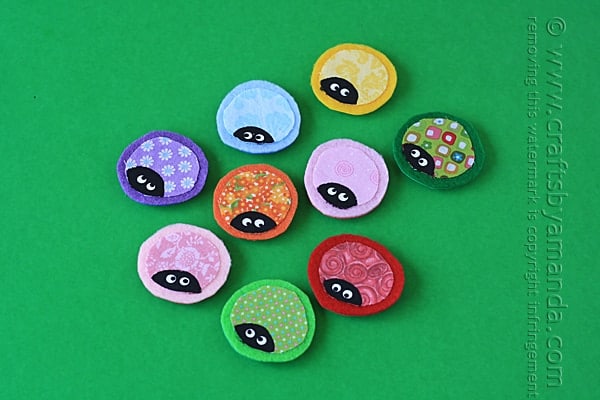
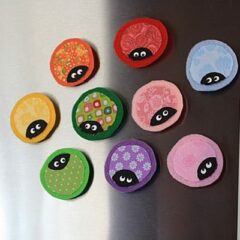
These colorful little ladybug magnets make great gifts when you need to have several on hand. They remind me of my plastic lid ladybugs, but with a bit more color from the fabrics. Drop them into party bags, send to a secret sister, or put one at each place setting if you partake in tea parties. Fun just for a smile too!
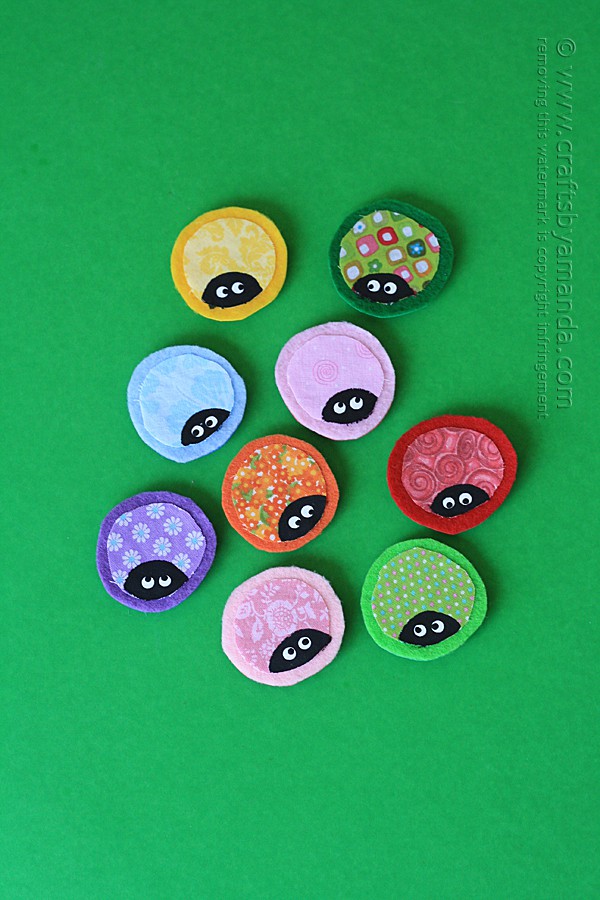
Fabric Scrap Ladybug Magnets
I have always loved ladybug crafts because they are so darn cute. And, in case you haven’t noticed, I’m kind of a magnet freak too. In making these magnets I was able to use up some fabric scraps, so that was a major bonus.
Plus, they’re darn cutesy, don’t you think? That makes this project a win all the way around.
These ladybugs are made from fabric scraps and coordinating felt and card stock colors. They are really easy to make, so let’s get started!
As always, a full printable supply list and instructions are at the end of this post.
For this project you will need the following supplies:
- Fabric scraps
- Round plastic lid
- Felt
to coordinate with your fabric
- Card stock
- Black and white craft paint
- Round magnets
- Tools: scissors, pen, paintbrush, toothpick, glue stick
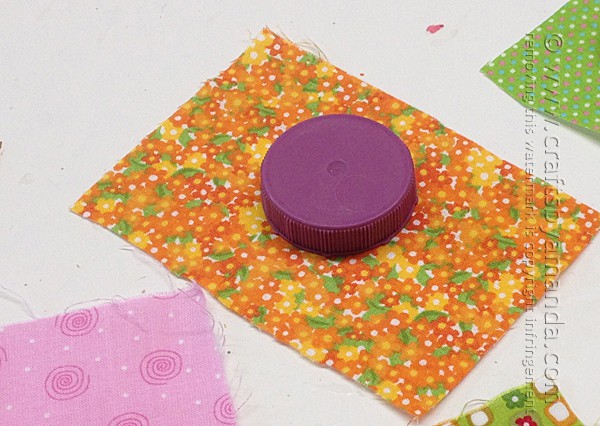
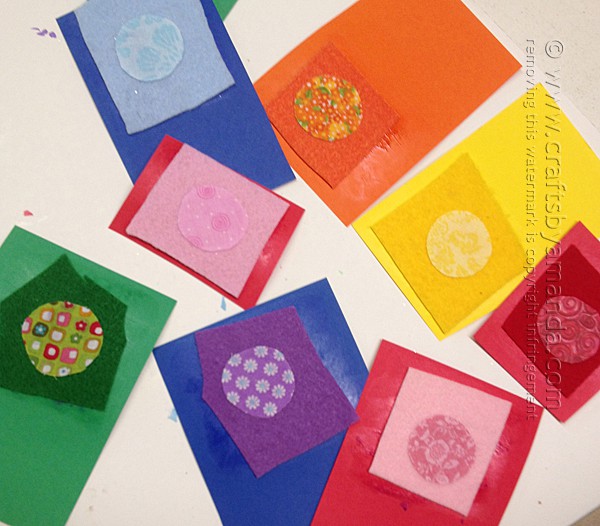
Trace around the round plastic lid onto the fabric. Use scissors to cut out the circle.
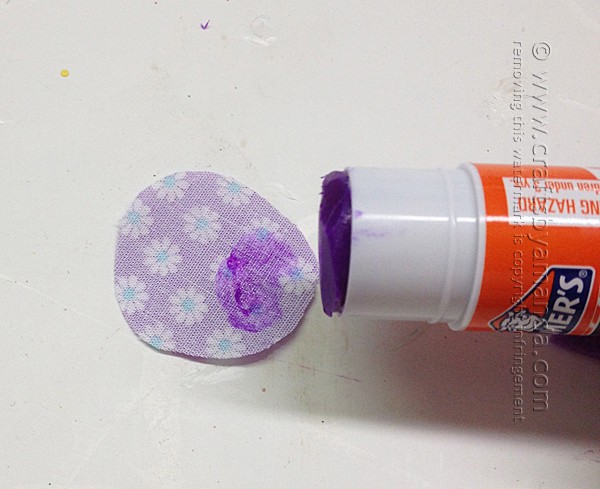
Cover the back of the fabric circle with a glue stick.
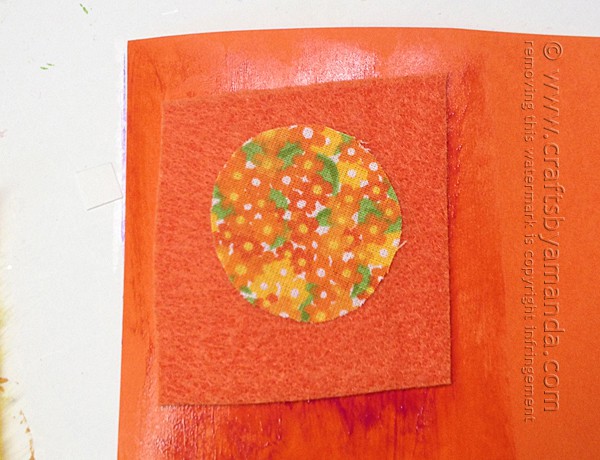
Stick the fabric circle to coordinating felt.
Glue the felt to the card stock.
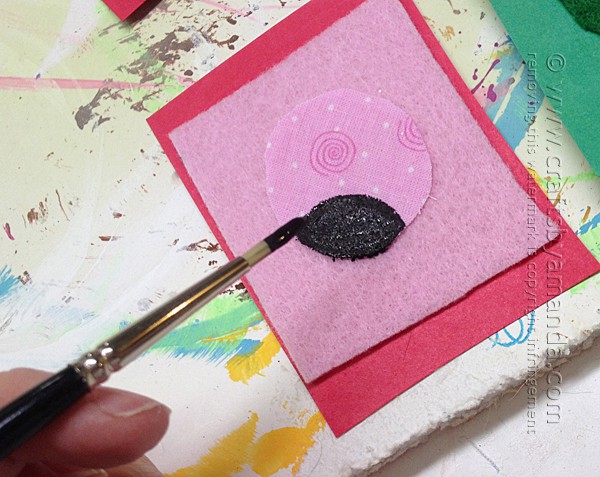
Paint a semi-circle for the head with black paint.
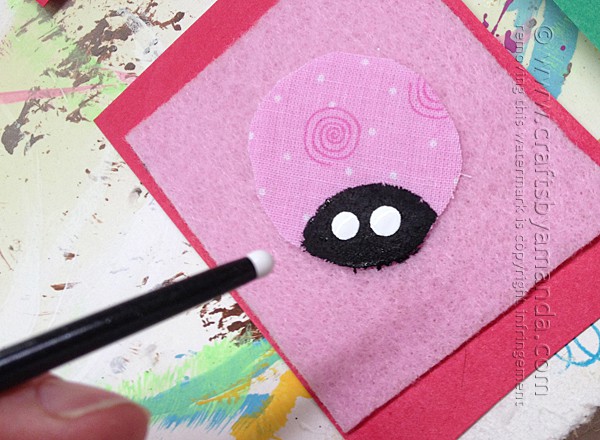
Use the handle end of the paintbrush to dot on the whites of the eyes. let everything dry completely.
When dry, use a toothpick to dot black onto the whites of the eyes. Use scissors to cut around the ladybug leaving a felt border. Attach a magnet to the back with white craft glue.
And that’s it! I told you it was easy. :)
More ladybug crafts
Like I said before, I love ladybugs. I’ve chosen a few of my favorites for you below. I hope you enjoyed the project and are having a great summer!
- Swirling Twirling Ladybugs
- Ladybugs from Egg Cartons
- Recycled CD Ladybugs
- Ladybug Baseball Hat
- Paper Plate Ladybug
Ladybug Fabric Scrap Magnets
Supplies
- Fabric scraps
- Round plastic lid
- Felt to coordinate with your fabric
- Card stock
- Black and white craft paint
- Round magnets
- Tools: scissors pen, paintbrush, toothpick, glue stick
Instructions
- Trace around the round plastic lid onto the fabric. Use scissors to cut out the circle.
- Cover the back of the fabric circle with a glue stick.
- Stick the fabric circle to coordinating felt. Glue the felt to the card stock.
- Paint a semi-circle for the head with black paint.
- Use the handle end of the paintbrush to dot on the whites of the eyes. let everything dry completely.
- When dry, use a toothpick to dot black onto the whites of the eyes.
- Use scissors to cut around the ladybug leaving a felt border.
- Attach a magnet to the back with white craft glue.
This project was first published here on Jul 23, 2014
- Watercolor Luminaries - February 11, 2025
- Free Valentine Printables: Cards, toppers, and tags - February 4, 2025
- Valentine Hugs - January 31, 2025


Vicky says
These are so cute!
Becky says
I have a 2 year old and a 7 year old. Trying to keep them busy at the same time is hard because of there age difference. The 7 year old has been out of school for month’s now and was already struggling any ideas on what incan do to help both them learn and have fun at same time thank you and advance
Jackie says
These are adorable! They look very easy to make, also. I think my granddaughters would like making them…Thanks for sharing!
Jackie