
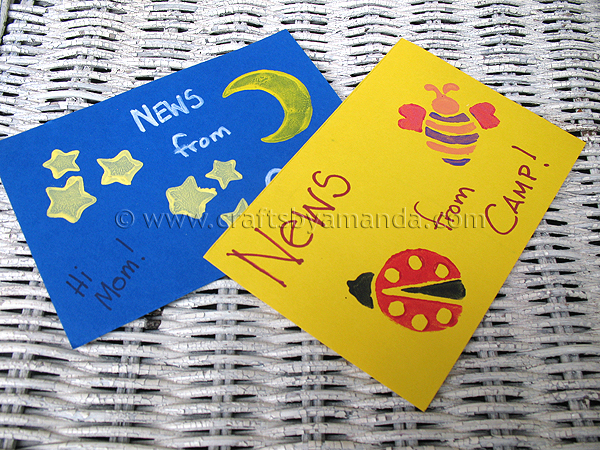
Instead of buying postcards, your kids can keep in touch from camp by making their very own, legally mailable postcards out of card stock. We used foam stamps to decorate ours, but you are only limited by your creativity! Decorate to your liking for a great camp keepsake.
The post office has specific guidelines for what can be mailed as a postcard without an envelope. Your postcards should be a minimum of 3.5” x 5”, and a maximum size of 4.5” x 6”. Using card stock provides a sturdy medium that will hold up to postal handling.
card stock
Scissors or cutting board
Foam stamps
Acrylic craft paint
Marker
Pen
White address labels (for dark card stock)
Stamp
Cut your card stock to fall within the post office guidelines (see tip above).

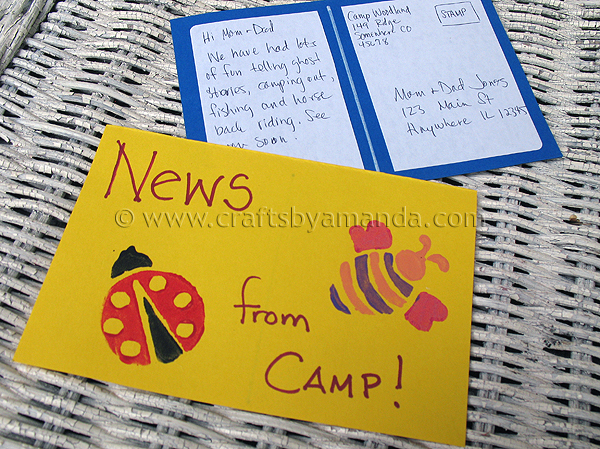
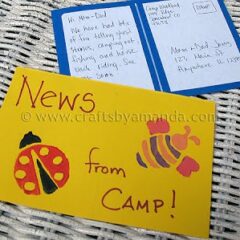
On one side, use a ruler or straight edge to draw a line vertically down the center of the card. Write your message on the left, and your return address and the address you are mailing to on the right.
If you are using a dark colored card stock, like our blue card, You can trim large address labels down to fit on the left and right sides so that your message and addresses are easier to read.
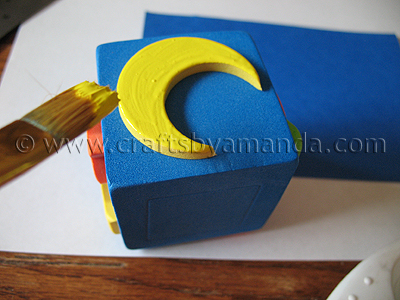
To decorate, choose the foam stamps you want to use and add a light coat of paint to the stamp.

Firmly but gently, you don’t want your stamp to slide out from under your hand, press the painted stamp onto the card stock. Remove the stamp by lifting straight upward.
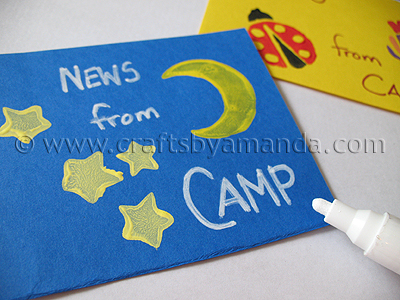
Use a marker to write “News from Camp” on the front of the postcard.
Allow the paint to dry completely before mailing. Don’t forget the stamp!
News from Camp Postcards
Supplies
- Acrylic craft paint
- Marker
- Pen
- White address labels for dark card stock
- Stamp
Instructions
- Cut your card stock to fall within the post office guidelines (see tip above).
- On one side, use a ruler or straight edge to draw a line vertically down the center of the card. Write your message on the left, and your return address and the address you are mailing to on the right.
- If you are using a dark colored card stock, like our blue card, You can trim large address labels down to fit on the left and right sides so that your message and addresses are easier to read.
- To decorate, choose the foam stamps you want to use and add a light coat of paint to the stamp.
- Firmly but gently, you don’t want your stamp to slide out from under your hand, press the painted stamp onto the card stock. Remove the stamp by lifting straight upward.
- Use a marker to write “New from Camp” on the front of the postcard.
- Allow the paint to dry completely before mailing. Don’t forget the stamp!

Did you enjoy this post? Why not subscribe to my feed, or better yet, to my free newsletter – Foodie in the Craftroom, which provides not only crafts but recipes from my other blog, Amanda’s Cookin’ as well!
- DIY Mosquito Repellent Candles - July 10, 2026
- Mason Jar Solar Lights - July 3, 2026
- Patriotic Pinwheels - June 23, 2026


creativejewishmom/sara says
very cute, and great to see you again on Craft Schooling Sunday! Love the button banner too!
Jen says
This is great for your son or daughter! It makes them have to write home too!
shopannies says
these are really cute and love the size of them with all the great things that happen at camp they would have plenty of room to share come visit us at http://shopannies.blogspot.com if you find time