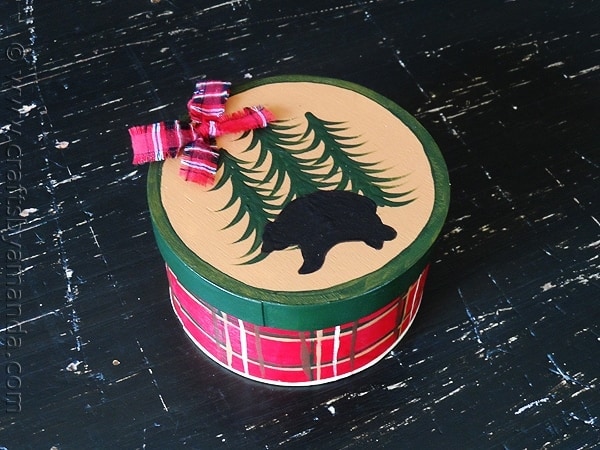
North woods items are quite popular, but they really seem to flourish at Christmastime. Silhouettes of bears, deer, moose, trees and canoes are among the most popular, but there are certainly other symbols as well such as pinecones and fish. Colors usually include browns and tans, dark forest greens and rich, deep reds.
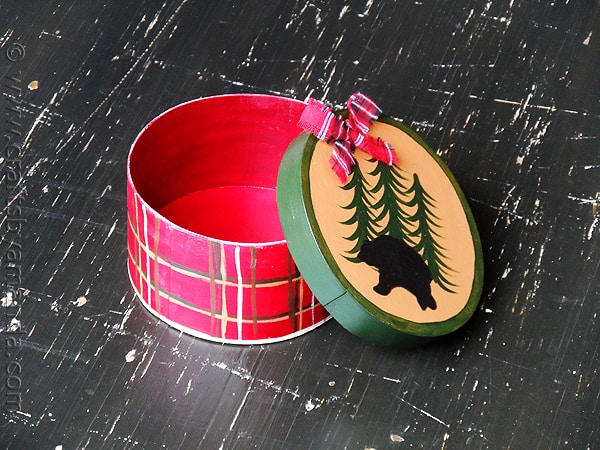
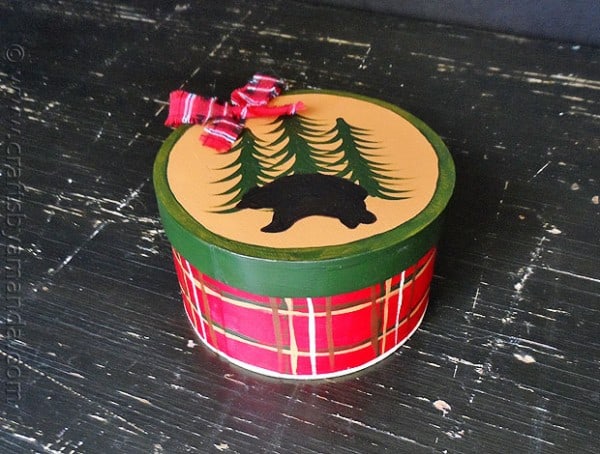
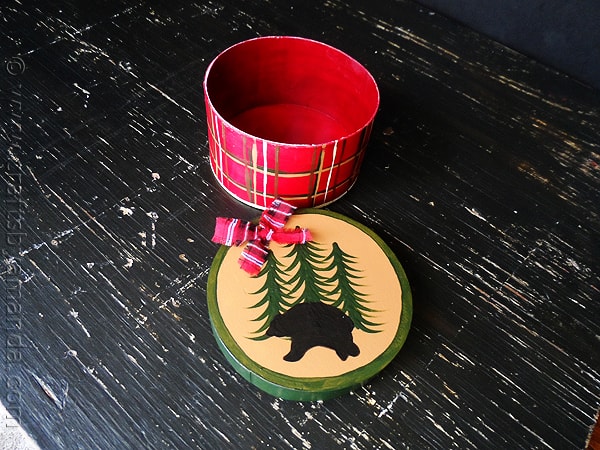
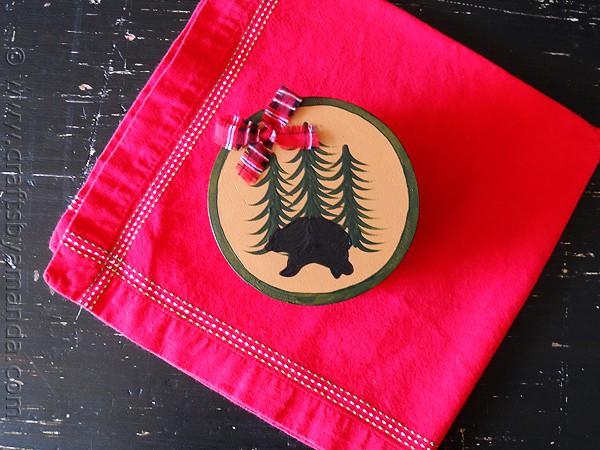
I made this little gift box with all of those things in mind.
You could certainly use this idea on other items such as an ornament or a gift bag, or even a wall plaque.
I used one of those $1.00 round boxes with a lid from the craft store.
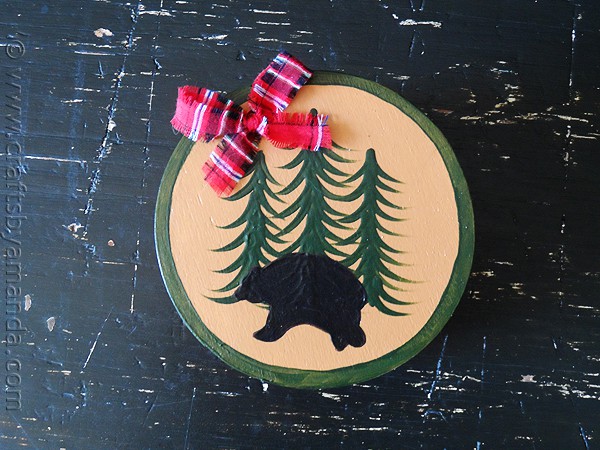
There are full printable instructions below, but here’s the basic idea. I painted the box red and the inside and rim of the lid with a dark green. I’ve also included the exact Americana colors that I used in the instructions below. I then painted the top of the lid with a light brown and used a smaller flat brush to add a dark green border. Lastly, I added gingham striping to the red box with dark green, light brown, tan and dark brown.
If you wanted this box to be a little fancier, you could line the inside with black or red felt, or go all the way and find some velvet or faux fur. Black faux fur, like a grizzly! :)
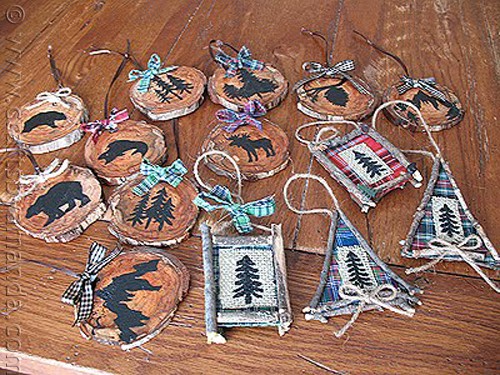
If you really like the north woods theme, you may enjoy this tutorial for Rustic North Woods Ornaments I made for a friend of mine a few years ago.
I hope you enjoyed this project!
Looking for a really unique gift idea? Be sure to check out my dammit doll!
North Woods Gift Box
Supplies
- Small round box with lid
- E6000 Glue
- Gingham fabric scrap
- Small bear cookie cutter optional
- DuraClear Matte Varnish
Americana Acrylic Paints
- Alizarin Crimson
- Plantation Pine
- Dark Chocolate
- Honey Brown
- Sand
- Asphaltum
Instructions
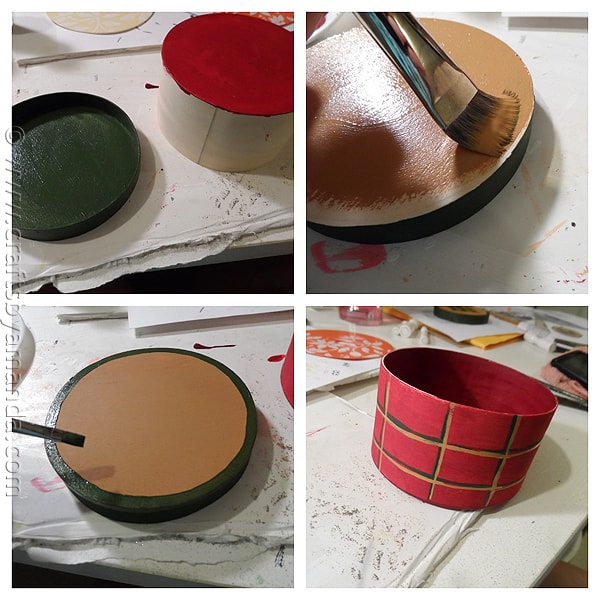
- Remove lid from box and set aside. Paint the inside and outside of the box with Alizarin Crimson. Give the inside a second coat, leaving only one coat on the outside.
- Paint the inside of the lid and the outside rim with Plantation Pine. Repeat for a second coat.
- Paint the top of the lid with Honey Brown. Repeat for a second coat.
- Using a small flat brush, paint a border around the top of the Honey Brown lid using Plantation Pine.
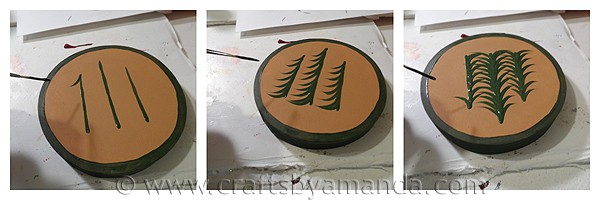
- Use a liner brush to paint the trees on the lid. Paint three vertical lines for the tree trunks then add curved strokes for the tree branches.
- Use a liner brush to paint gingham onto the outside of the box. Paint lines use Plantation Pine, then Honey Brown, followed by Sand and finishing up with Dark Chocolate.
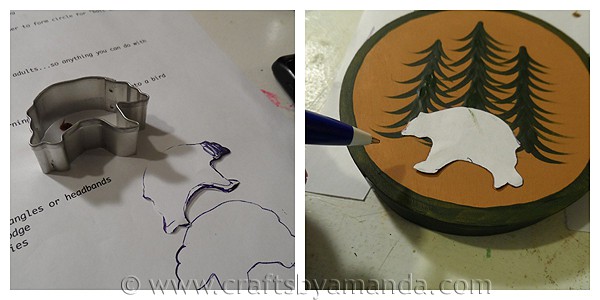
- Freehand a simple bear silhouette or use a small bear cookie cutter to create a pattern. Trace bear lightly onto lid over the dry painted trees. Mix one part Asphaltum with two parts Lamp Black and paint the bear with this mixture using a liner brush.
- When everything is dry, give the entire box, inside and out and the lid 2 coats of DuraClear Varnish.
- Cut a thin strip of gingham fabric and fray the edges. Tie into a bow, trim the ends, fray, and glue onto the lid of the box.
- St. Patrick’s Day Activity Sheets - March 4, 2025
- Watercolor Luminaries - February 11, 2025
- Free Valentine Printables: Cards, toppers, and tags - February 4, 2025


Renee says
wowsers! you are such a creative being!! im so inspired im off to the craft store! :)
Amanda says
Thanks Renee!
Susi says
I love it! it is a bit fairy tale like! :) xo
Kat says
What a lovely, handpainted gift! I was interested, as I happen to have one of those boxes sitting on a shelf in my craft room. What REALLY got me excited was when I scrolled down and saw the cristmas ornaments on the round wood peices … I have a few of those left from last year! My husband cut up some from cedar log, and I had shellaked them, and gave them as costers with a mug filled with candy, all wrapped in clear plastic. Since I am on a very limited budget this year, being able to use items I already have on hand is wonderful! And since I live in the north woods (border town to Canada!), I adore the theme!
Thanks for sharing.
Amanda says
Thanks so much Kat! I am so glad you like them and will be able to use the patterns :) :)
Deborah Jennings says
Amanda, when I first saw this I thought of a drum. =) I love this! I will soon be printing the directions off. I just bought some round tins to use for Christmas candy that I will be making. I wonder if I can get hubby to rough them up with sand paper so I can paint them similar to this. Where can I find the other animals that you showed? We live in the Piney Woods of East Texas, and have all kinds of wild animals here. And we live by a lake, too. Watch the deer every morning.