

A couple of weeks ago we painted our house. It needed it badly! With a fresh coat of paint on the house, I thought it might be fun to spruce up the old bird feeder in the backyard too. The bird feeder was built by the first owner of this house and it was painted to match. Many years have gone by, so I pulled out the paint and got to work. When I was done it looked a little plain. It was right about that time that I received some fun stencils to try out.

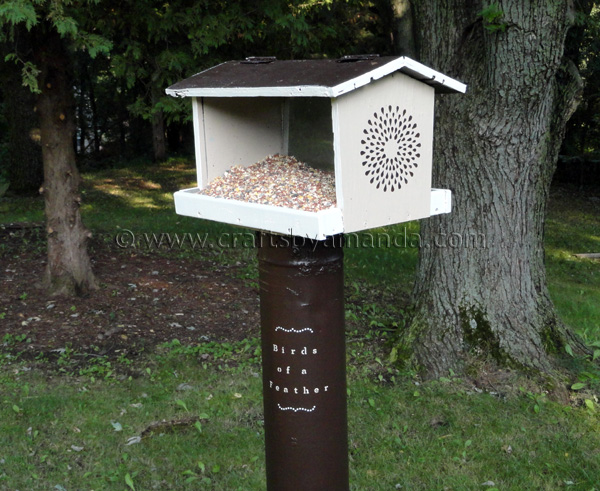
Martha Stewart has a brand new line of multi-surface paints and a variety of tools to use them with. This line is only available at Michael’s craft stores, one of my favorite places to be! There are 160 colors to choose from and several finishes and mediums. I received a big package of goodies to try out (more tutorials to come!) and decided to try out a couple of the stencils I received to add a little flair to my plain bird feeder. I definitely wanted a little something to add to the side of the feeder, the flower burst pattern was a perfect choice.

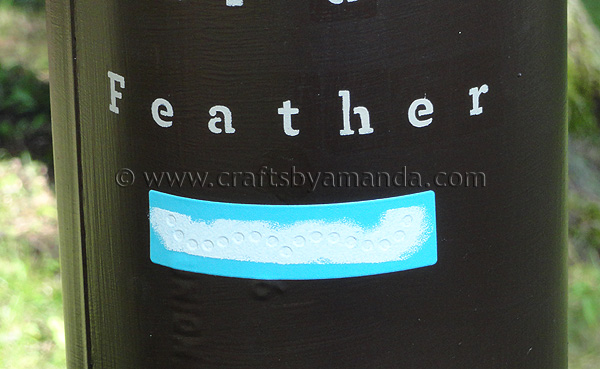
For the squirrel guard (that’s the metal tube under the feeder that stops squirrels from being able to climb up and eat all the bird seed!) was begging for a little typography. Martha has these awesome adhesive stencils that are absolutely perfect for rounded surfaces!
I think these are my all time favorite so far and wish every stencil was made this way!
Since I had already painted the bird feeder before receiving several of Martha’s paints, I went ahead and used the same house paint with these stencils. But don’t worry, I have other projects planned and will share those later!
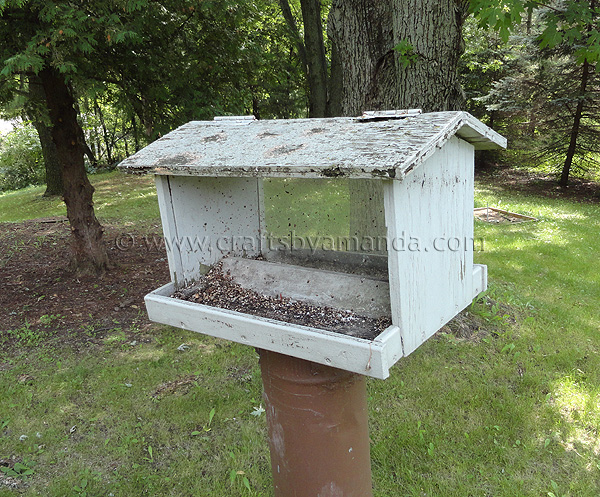
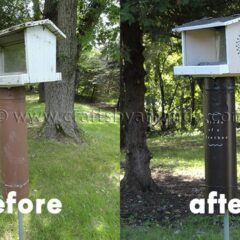
Take a look at this before nastiness. Yuck right? Admittedly the wood is rotted on the roof and really needs to be replaced, but that’s a project for next spring. For now, I just cleaned it up, gave it a quick sanding with my palm sander and got to work.
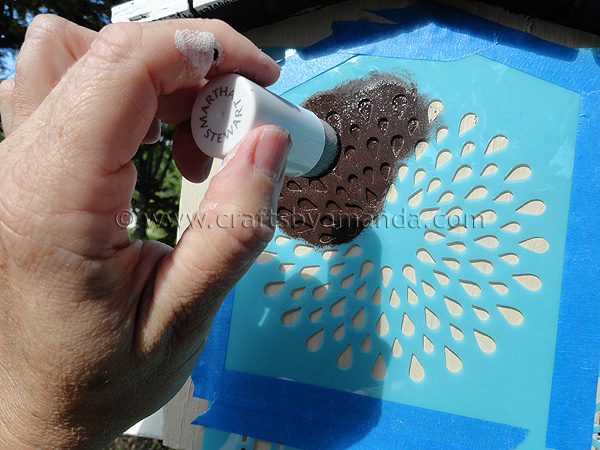
I stenciled the flower burst onto the side of the feeder. This was trickier than I thought, but I’m impatient and don’t like to follow the rules :-P Because I didn’t properly tape this in place or use a spray adhesive (would have been MUCH smarter!) I did have some seepage under the stencil. I think that had a lot to do with the fact I was using exterior house paint to and probably didn’t get enough excess off my pouncer first. However, I just used a thin paintbrush and touched up around the areas that had seepage and all is well.
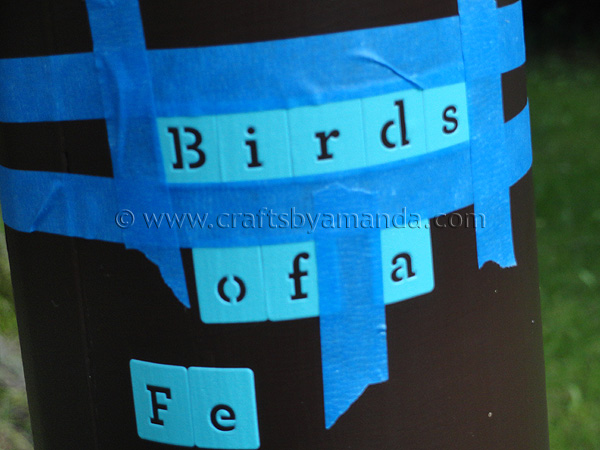
For the wording Martha suggests using a straight edge to create a line so that your words will line up. I’m a rebel and didn’t do that, instead I just lined up the adhesive stencils side by side and went to town. I really LOVE these adhesive stencil, they are fab! I did use some painter’s tape so I didn’t accidentally pounce over the edges of the stencils.
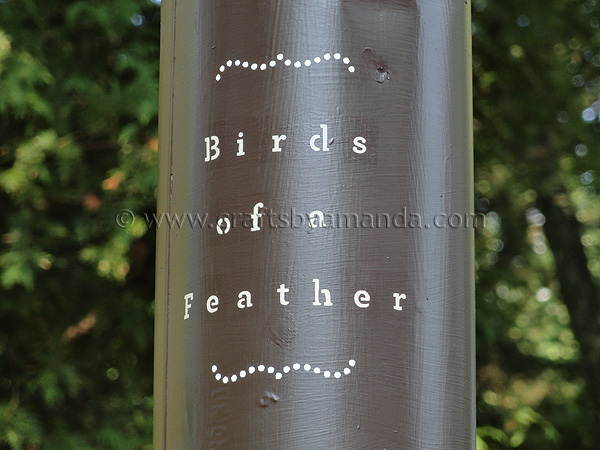
Here’s a close up.
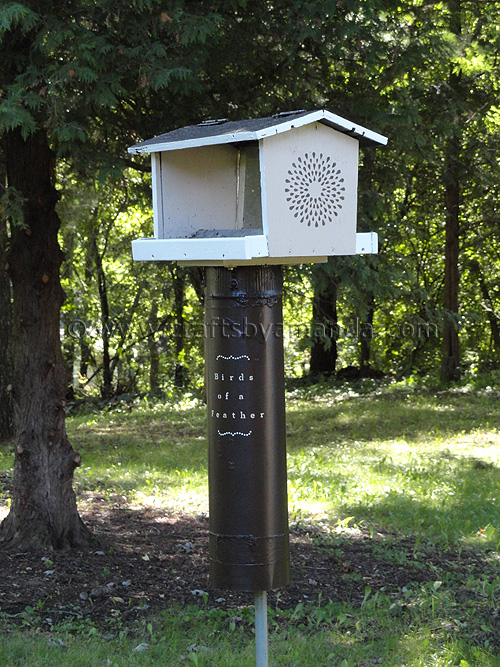
I’m really pleased with my spruced up feeder. I just added some bird seed so the birds can enjoy it again as well. :)
Revamped Bird Feeder
Supplies
- stencils
- Martha Stewart’s multi-surface paints
- palm sander
Instructions
- For now, I just cleaned it up, gave it a quick sanding with my palm sander and got to work.
- I stenciled the flower burst onto the side of the feeder.
- I just used a thin paintbrush and touched up around the areas that had seepage and all is well.
- For the wording Martha suggests using a straight edge to create a line so that your words will line up. I’m a rebel and didn’t do that, instead I just lined up the adhesive stencils side by side and went to town. did use some painter’s tape so I didn’t accidentally pounce over the edges of the stencils.
- Tie Dye Beach Towels - July 24, 2026
- Swirling Twirling Ladybugs - July 21, 2026
- Drip Tie Dye Backpack - July 17, 2026


Laura S. says
Great to know, thanks! As long as the squirrels can get to the birdseed around here, they tear into our roof and move into the attic and chew through the wiring. We do love to feed the birds and watch them though.
Laura S. says
Very nice. I have a question, does the squirrel guard work? We’ve been unable to keep the squirrels out of the seed.
Amanda Formaro says
It absolutely DOES work, yes! I’ve seen the squirrels try to go up, but they always slide backdown haha!
Mod Podge Amy says
What a great revamp – looks good as new! And I love that saying. I'm not sure why but I always have :D
Lynnie says
I love this! What a lovely revamp!
Jen says
Cute! I love it!
Amanda says
Thanks so much! I agree that stencil really made a difference :)
Let's Lasso the Moon says
When my family moved to a house with a big wooded backyard a few years ago I became a birder. I admit shamefully that I always thought it was sort of dorky previously. Cest la vie. We have a wonderful selection of birds from orioles, hummingbirds, chickadees, gold finch to even herons. The variety is wonderful.
This summer we studied birds with our two little girls. It is amazing what they can retain. They are actually waaaaaay better at remembering the calls than I am. Their brains are sponges. :-)
I love that you took the time to decorate your bird house. The quote is sweet, but what really stands out to me is the gorgeous stencil on the house itself. Such a tiny detail making such a big difference… {love it}
Katie says
Super cute! I love the circular floral stencil. I used that on my project as well!
Johnnie says
Adorable birdhouse! I am a new follower and am participating in this campaign too. Loving the new line. Blessings…
Thrifty Thursday.
Amy@Sassy Scarlett says
That's really cute!
Anonymous says
That is just beautiful. Thanks for spurring me on!
Cris says
It came out so cute!