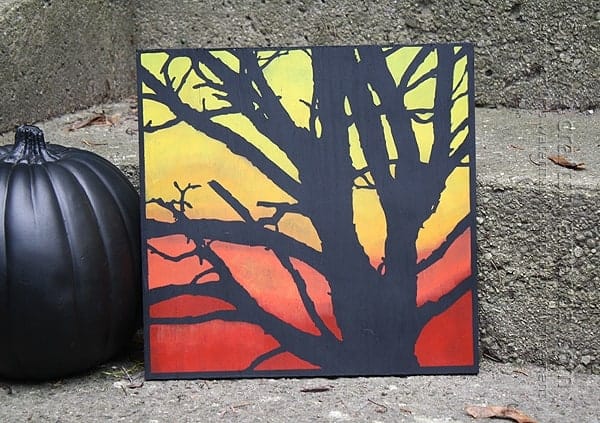
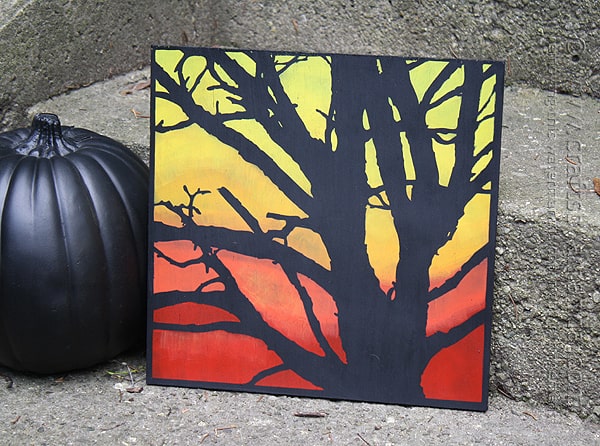
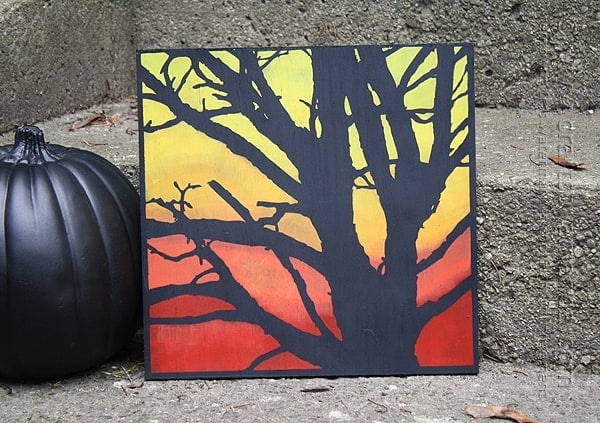
Halloween is my favorite holiday. It’s such a fun holiday to decorate for, but looking through all of my Halloween crafts I realized I didn’t have anything in the spooky tree category! I had some wood left over from another project, so I found a great tree stencil and made this easy painting, which is perfect for your Halloween mantle.
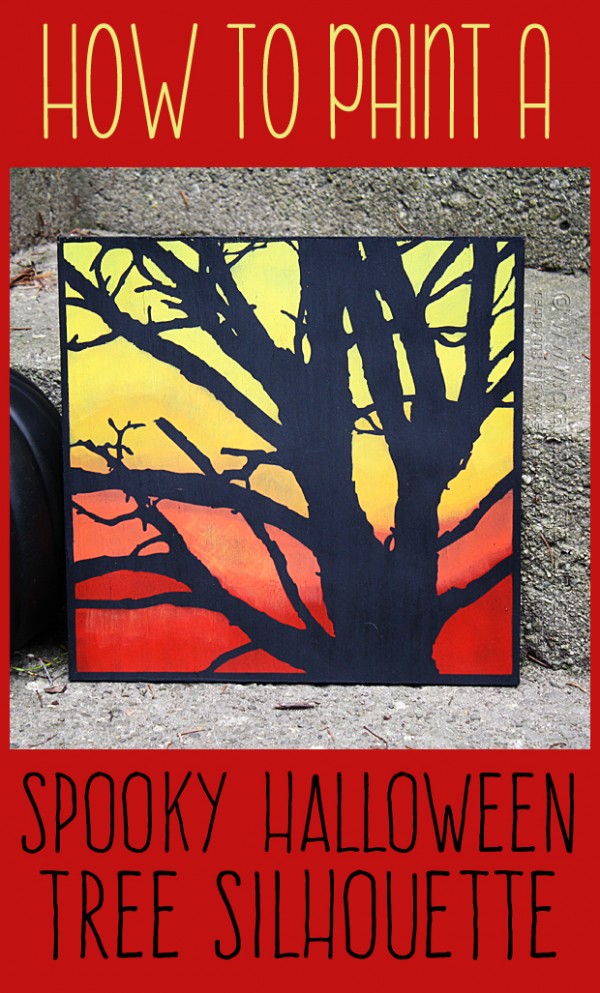
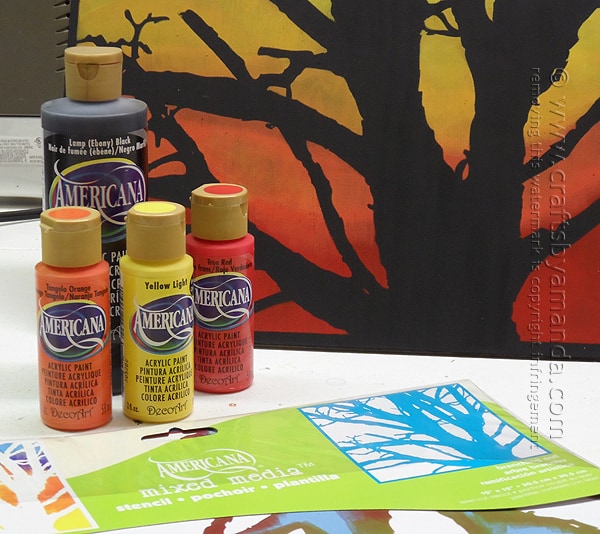
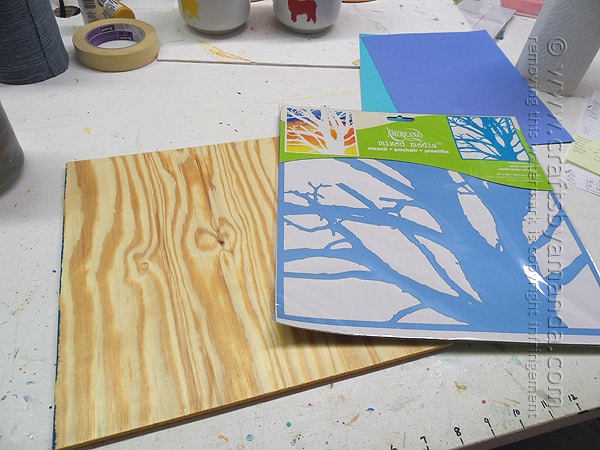
You’re going to need the stencil called “Branching Out” (pictured below), along with a piece of plywood of about the same size. Canvas would work too if you can find a square one.
I used Americana paints for this project and Americana acrylic sealer spray to finish it off.
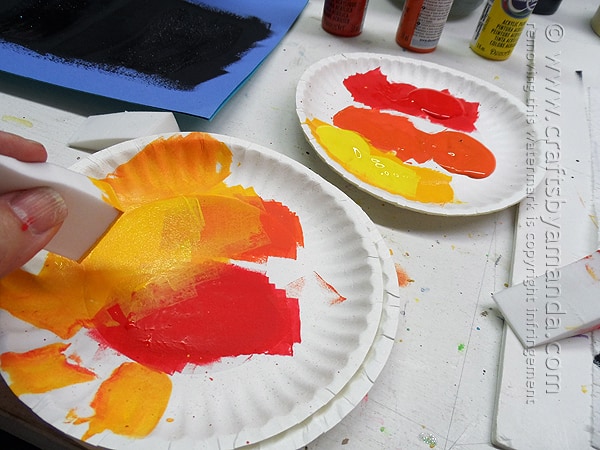
Oh! And don’t forget cosmetic sponges for stenciling and little paper plates for holding your paint.
Note: some links below are affiliate links. That means if you happen to buy something, a small percentage of that sale goes back into this site, which enables me to continue to bring you free tutorials such as this one. So, thanks!
As always, a full printable supply list and instructions are at the end of this post.
For this project you will need the following supplies:
- Branching Out
tree stencil
- Plywood or canvas
- Americana acrylic sealer spray
- Cosmetic sponges
Americana acrylic paints
How to Paint a Spooky Tree for Halloween
I had the best luck. I just happened to have several pieces of cut plywood that fit this stencil perfectly leftover from another project. You can also find square canvas at the craft store.
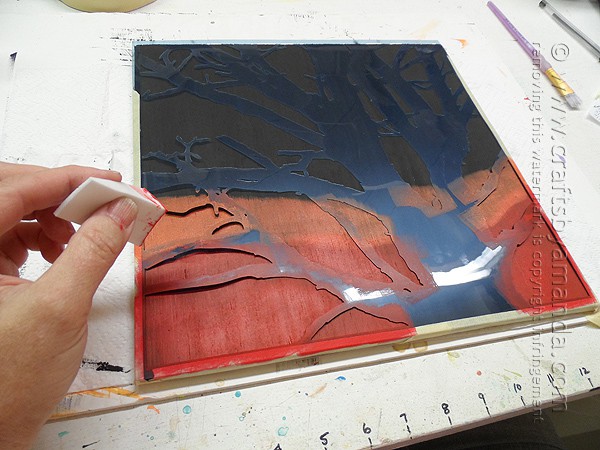
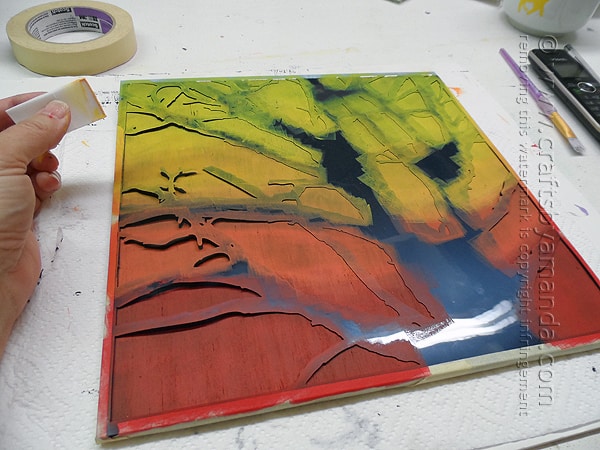
The very first step is to paint the board completely with Lamp Black and let it dry. When it’s dry, position the stencil in place, I held my edges down with masking tape. Use the cosmetic sponge to apply True Red to the bottom section of the stencil.
Gradually I changed from True Red to Tangelo Orange, never once cleaning my sponge or changing to a new one. Doing so allows the paint to mingle for a more natural color transition on your finished work.
I kept working my way up the board, finishing at the top with Yellow Light.
That’s it! Well, almost. Remove your stencil and let your painting dry. Finish it off with a couple coats of Americana acrylic sealer; I used matte finish.
Display on your mantel or on a shelf for a fun and spooky addition to your Halloween décor!
More Halloween decor you might like:
I have a large collection of Halloween crafts, for both adults and kids. Here are some of my adult crafts for Halloween:
 |
 |
 |
 |
DIY Spooky Tree Painting for Halloween
Supplies
- Branching Out tree stencil
- Plywood or canvas
- Americana acrylic sealer spray
- Cosmetic sponges
- Masking or Painter's Tape
Americana acrylic paints
- Lamp Black
- Tangelo Orange
- Yellow Light
- True Red
Instructions
- Paint the board completely with Lamp Black and let it dry. When it’s dry, position the stencil in place, I held my edges down with masking tape. Use the cosmetic sponge to apply True Red to the bottom section of the stencil.
- Gradually make a paint change from True Red to Tangelo Orange, never once cleaning your sponge or changing to a new one. Doing so allows the paint to mingle for a more natural color transition on your finished work.
- Keep working your way up the board, finishing at the top with Yellow Light.
- Remove your stencil and let your painting dry. Finish it off with a couple coats of Americana acrylic sealer in matte finish.
- St. Patrick’s Day Activity Sheets - March 4, 2025
- Watercolor Luminaries - February 11, 2025
- Free Valentine Printables: Cards, toppers, and tags - February 4, 2025


angela perez says
I like to craft ,, an i think this is just beautiful,,love things like this ,,sometimes i run out of ideas,,but ur good can i try to make one?
Amanda Formaro says
Hi Angela. Hope you have fun making it!