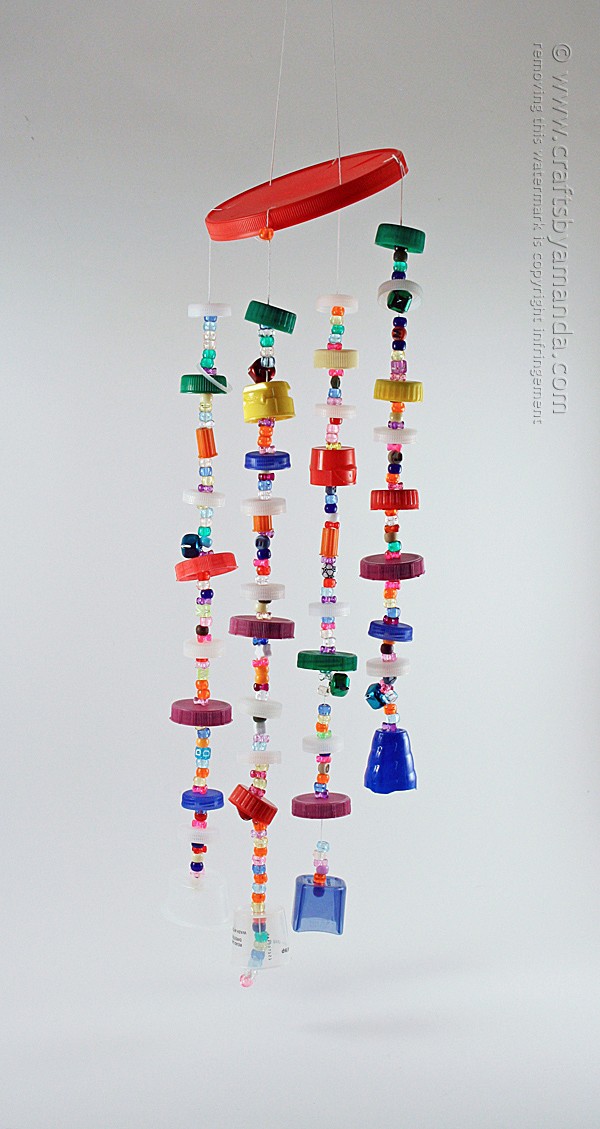
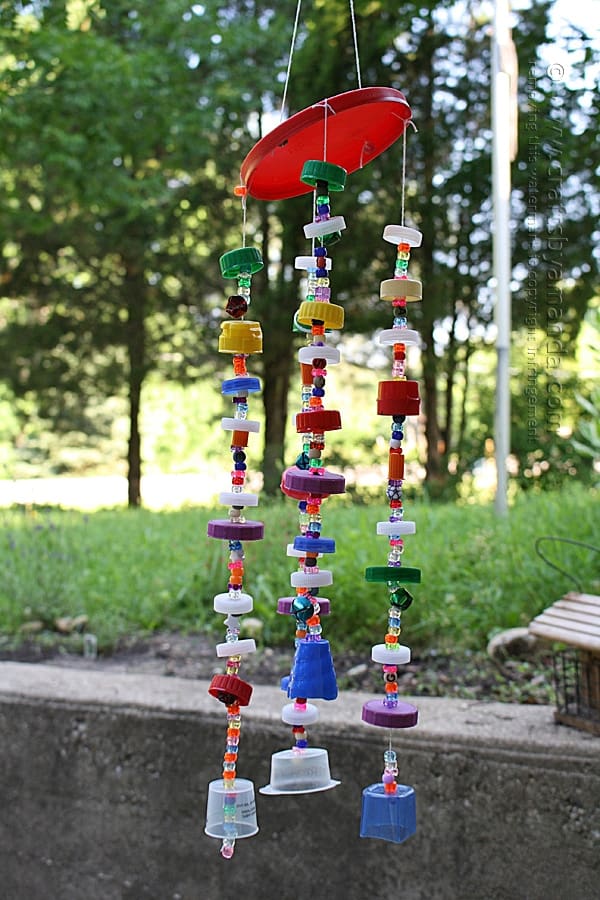
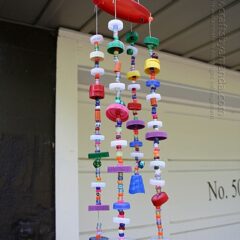
Making a wind chime out of recycled materials is a fun project for kids and adults. Using colorful plastic lids that can’t go in the recycle bin is a great way to keep them out of the landfill.
After making this recycled lid wind chime, start collecting your buttons and make my rainbow button wind chime too!
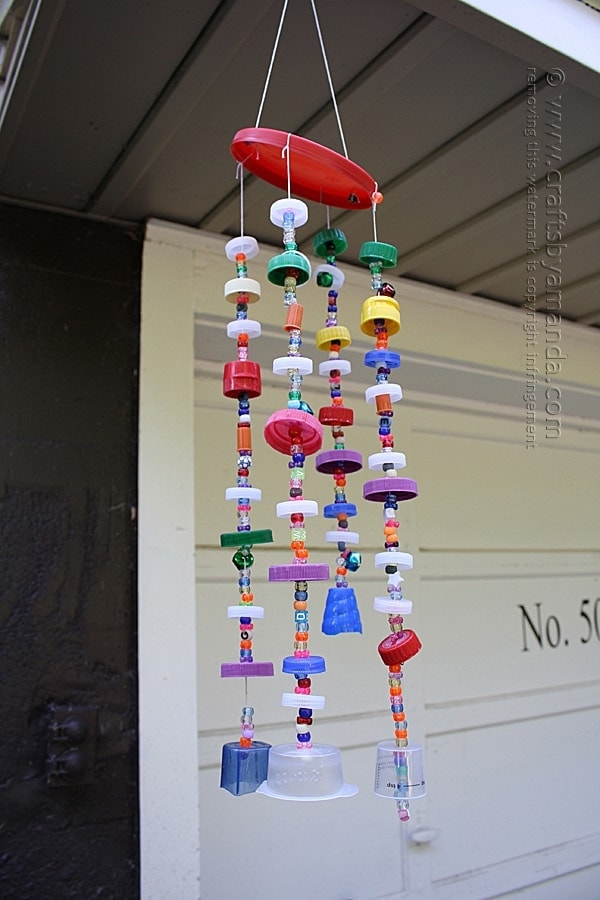
Recycled Plastic Lid Wind Chime
I have been saving plastic lids for a while now. It’s amazing how fast they accumulate when you start collecting them. I’ve saved a few here and there and made a few plastic lid crafts, but this was different.
These are things that we would normally throw away or toss into the recycle bin (although I’ve heard that many of these lids can’t be recycled). Once I started saving them, I was shocked at just how quickly they added up!
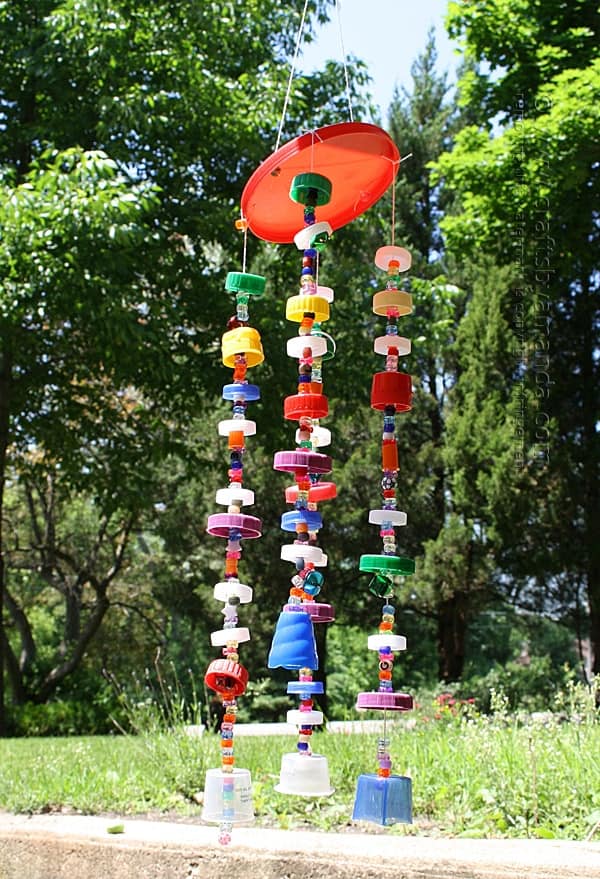
I recently posted on Instagram about this wind chime as it’s still hanging above my herb garden. I love it!
Supplies you need to make this recycled wind chime
I’ve included the different types of plastic lids I used:
- Measuring cups from liquid cough & cold medicines
- Milk jug lids
- Syrup bottle lids
- Water bottle lids
- Soda bottle lids
- Top from a can of whipped cream
- The top of the wind chime is from a Coffee Mate powdered creamer container
I also used:
- Pony Beads
- Jingle bells
- String
- Needle
- Flat nose pliers,
a thimble,
hammer
and a nail
Ready to get started?
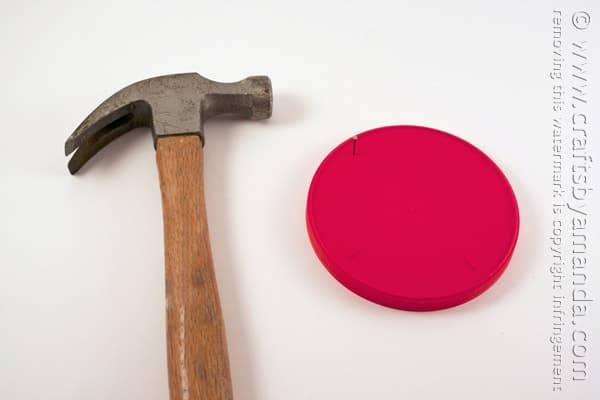
- Use the hammer and nail to make four holes (like a plus sign) in the large lid. Set the lid aside.
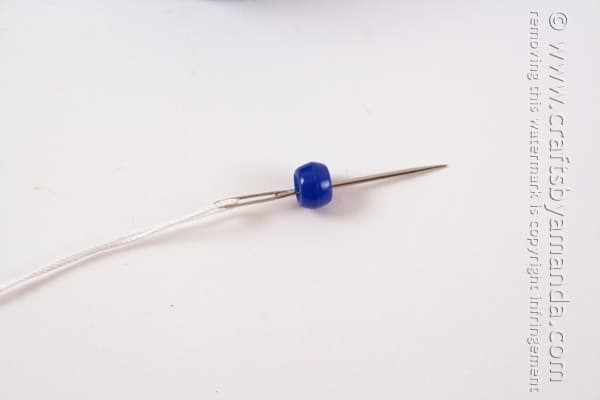
- Thread needle with a piece of string. The amount of string you use is up to you, it just depends on how long you want your chimes to be!
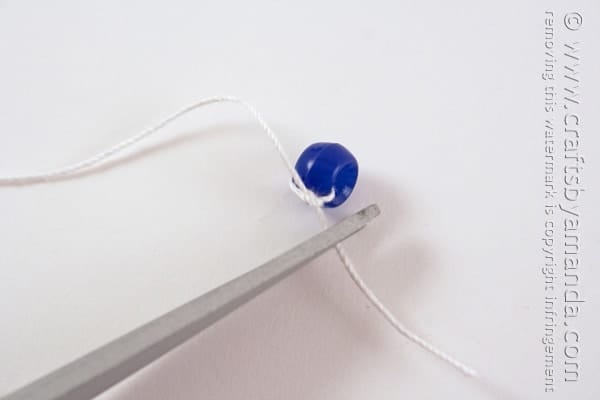
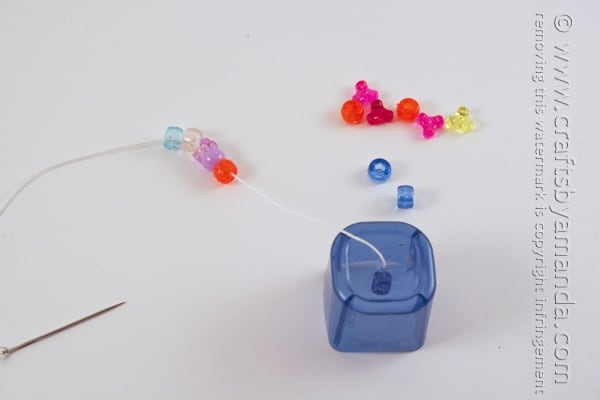
- Thread the needle through one bead. Tie a few knots around that bead at the end of the string.
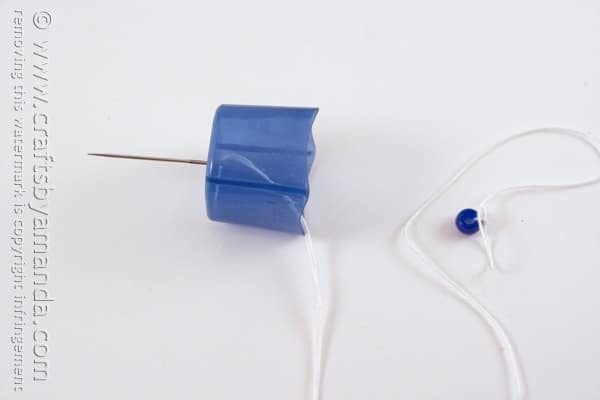
- Poke the needle through center of the inside of a deep plastic lid, like a cough medicine cup.
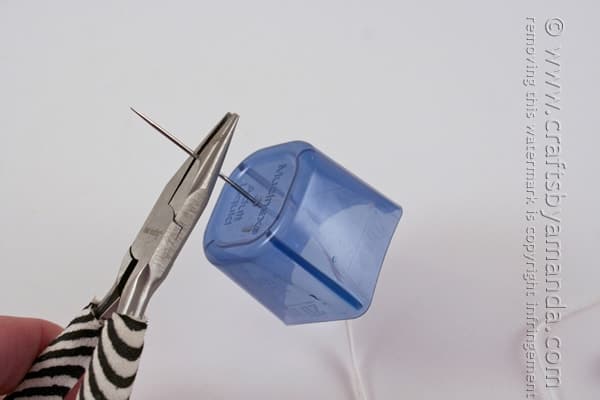
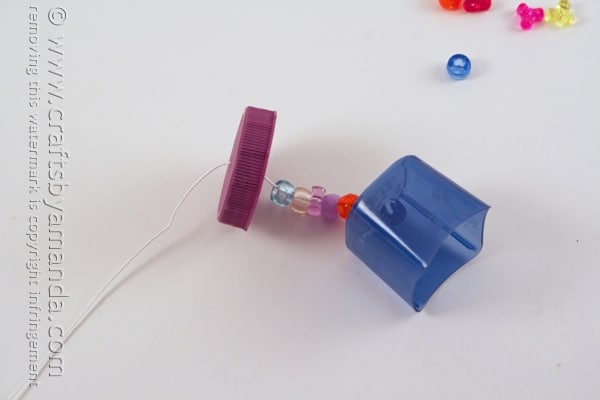
- Pull the needle through, pushing the plastic lid all the way to the end, touching the bead. If you have trouble pulling the needle through, use flat nose pliers. Don’t grab the needle at the eye, it’s weaker there and the pliers will break it.
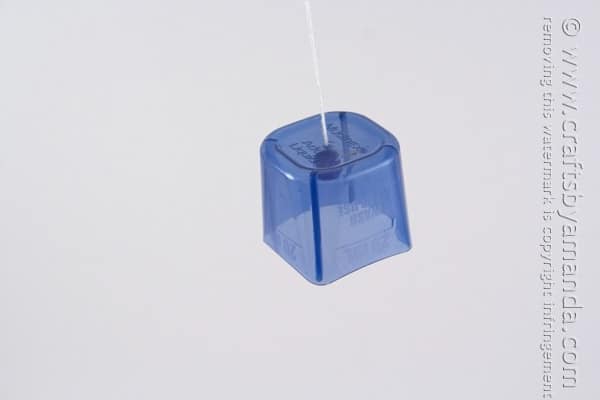
As you can see, it hangs like a bell :)
- Add several beads to the string and push them to the end.
- Add another plastic lid, pushing it to the end.
- Continue with the above steps until you have reached the length you like.
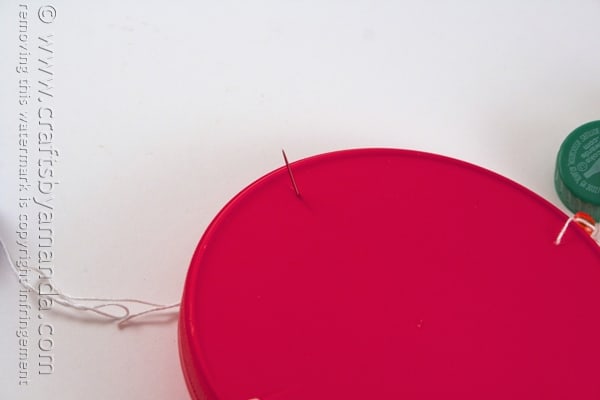
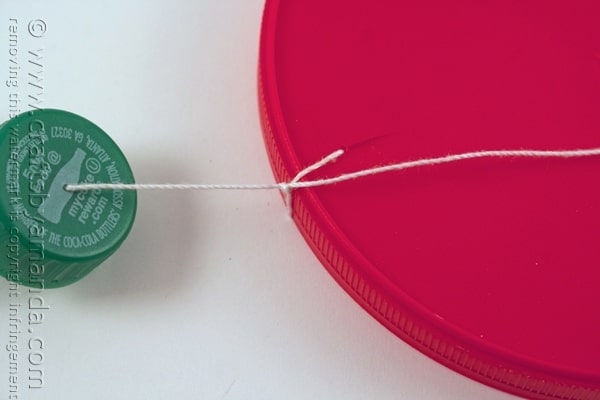
- Poke the needle through one of the holes you made in the large lid in step 1.
- Tie a knot a few times and trim off the excess string. Repeat these steps three more times for the remaining chime strings.
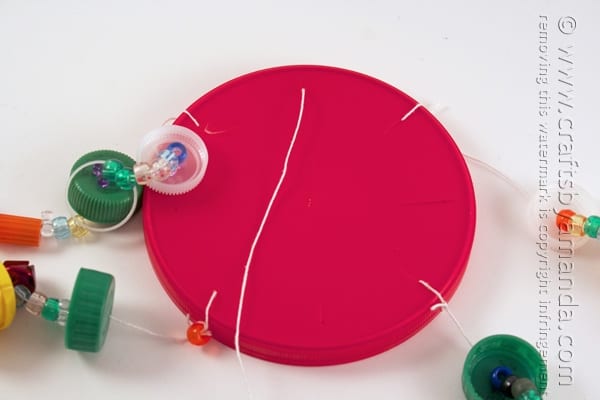
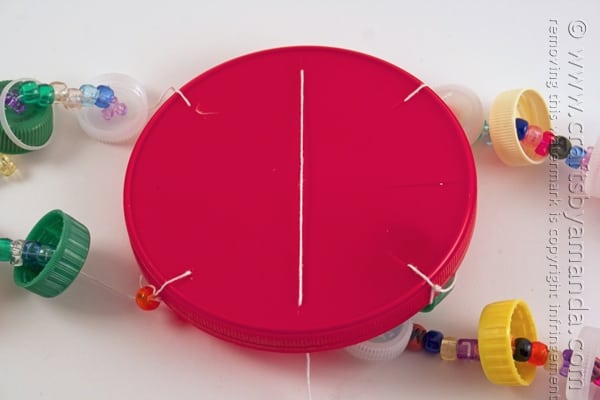
- To make the hanger, use a hammer and nail to poke two more holes in the large lid, across from each other.
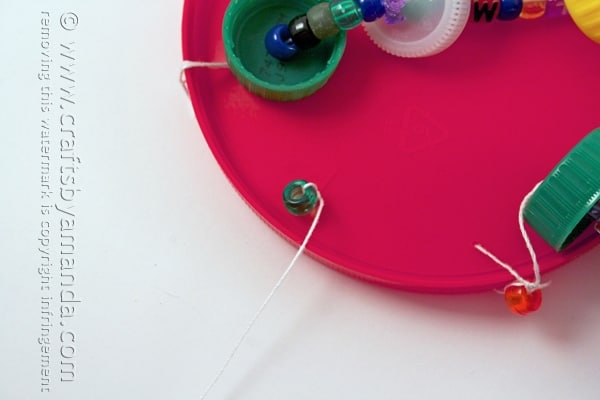
- Thread a needle with string and tie a bead to the end. Poke it through one of the new holes in the large lid and pull it through the top. The bead will stop it from coming out the other side.
- Poke the needle back down through the second hole and pull it snug. Pull the string out as long as you want the hanger to be.
- To keep the hanger at that length, turn the lid over and tie a bead to that string to keep it in place. Trim any excess string.
Totally fun! Hope you liked it. Mine is hanging outside, and the lids will fade from exposure to the sun. It’s still a really fun way to recycle!
More fun recycled lid crafts:
 |
 |
 |
Recycled Plastic Lid Windchime
Supplies
- 1 large sturdy lid
- Lots of plastic lids water bottles, milk jugs, soda bottles, etc
- A few cup type lids from medicine bottles, lids from hair mousse, whipped cream, etc
- Colorful pony beads
- Jingle bells
- String
- Tools: thimble flat nose pliers, hammer, nail, needle
Instructions
- Use the hammer and nail to make four holes (like a plus sign) in the large lid. Set the lid aside.
- Thread needle with a piece of string. The amount of string you use is up to you, it just depends on how long you want your chimes to be!
- Thread the needle through one bead. Tie a few knots around that bead at the end of the string.
- Poke the needle through center of the inside of a plastic lid.* Pull the needle through, pushing the plastic lid all the way to the end, touching the bead.
- Add several beads and an occasional jingle bell to the string and push them to the end.
- Add another plastic lid, pushing it to the end.
- Continue with steps 5 and 6 until you have reached the length you like.
- Poke the needle through one of the holes you made in the large lid in step 1.
- Tie a knot a few times and trim off the excess string.
- Repeat steps 2-9 three more times.
- To make the hanger, use a hammer and nail to poke two more holes in the large lid, across from each other.
- Thread a needle with string and tie a bead to the end. Poke it through one of the new holes in the large lid and pull it through the top. The bead will stop it from coming out the other side.
- Poke the needle back down through the second hole and pull it snug. Pull the string out as long as you want the hanger to be.
- To keep the hanger at that length, turn the lid over and tie a bead to that string to keep it in place. Trim any excess string.
Expert Tips & FAQs
- Free Valentine Printables: Cards, toppers, and tags - February 4, 2025
- Valentine Hugs - January 31, 2025
- Scratch Off Valentine Gift Certificates - January 28, 2025



Shay says
I loved this project. I think dental floss may last longer than thread. Thanks for sharing.
Joy says
We did this project last summer with a group of Kindergarten through 4th graders. They turned out very cute and it was a project they all seemed to be able to handle. I had all of the holes pre-punched. I used a pointed end wood burner to make the holes and was done in no time. I have lids and caps leftover so I am planning on adapting your Beaded Garden stakes and use my leftovers. Thanks for the great ideas. Former FC friend
Amanda Formaro says
So glad you guys had fun with it Joy! Nice to “see” you!
Mrs Bobbie Gallienne says
fun projects for any age, great way to re-cycle.
Jill Friedman says
Where do the bells come in? Where and how are they attached?
Amanda Formaro says
Hi Jill. They jut get added with the beads randomly, wherever you want to put them
colasa castillo merejo says
muy lindo
Julie says
Really lovely idea!
Amanda Formaro says
Thanks Julie!
rosiel says
Nice recycle
Sally says
I collect windchimes and this is absolutely amazing. What a wonderful way to teach about recycling and beauty. I love it!!!!
Amanda Formaro says
Thank you so much Sally!
Rita says
Muy Bonito..me gusta por que en mi escuela ..soy docente..trabajamos en un proyecto de recilage..
Joyce Fowler says
Thank you so much for this idea to use lids that have been saved! Knew there was something that could be done with them.
Amanda Formaro says
Thanks Joyce, hope you enjoy it!
Rosali says
Super bonitos! Great!
Amanda Formaro says
Thank you Rosali!
Julia says
how do you make the holes in the pastic lids. A needle won’t poke through, the plastic lids are to hard
Amanda Formaro says
For the harder lids I used a small nail and a hammer :)