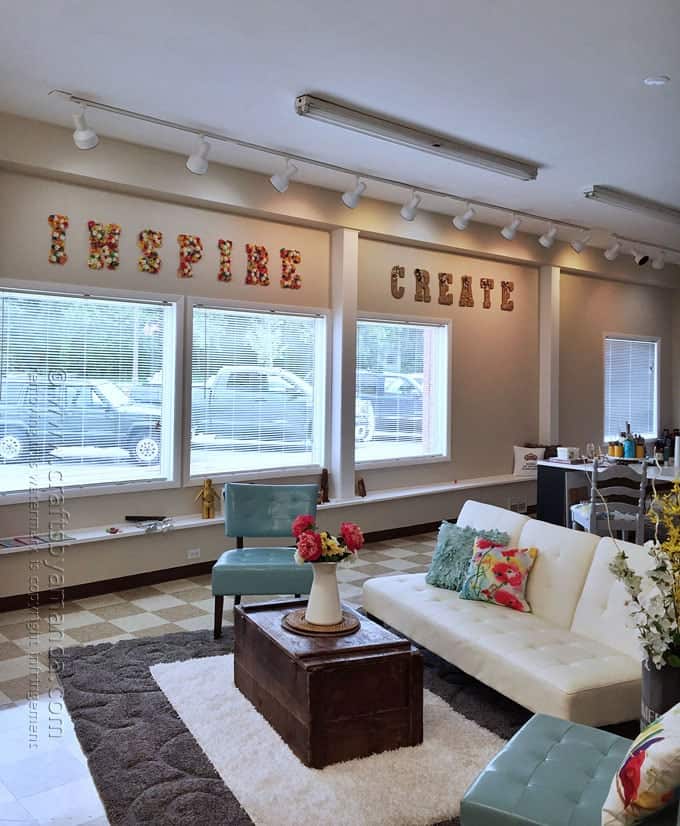
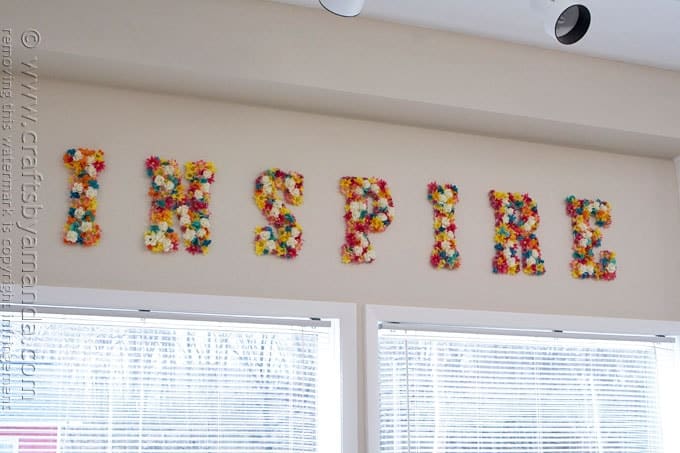
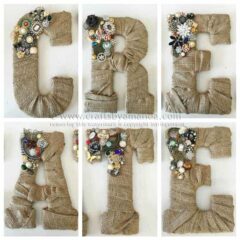
When I moved into my studio at the beginning of April, I knew I wanted to hang wall letters spelling out Inspire, Create and Craft. I had decided to use flowers for the word “inspire”, which I posted about in mid-April. I wasn’t entirely sure what I was going to do with the other words, until a month ago when I was inspired by a beautiful combination of burlap with vintage and costume jewelry.
My studio is 900+ square feet and the full length of the wall that faces Main Street has four big windows.
Each wall section measures over ten feet, so I needed letters large enough to be impactful.
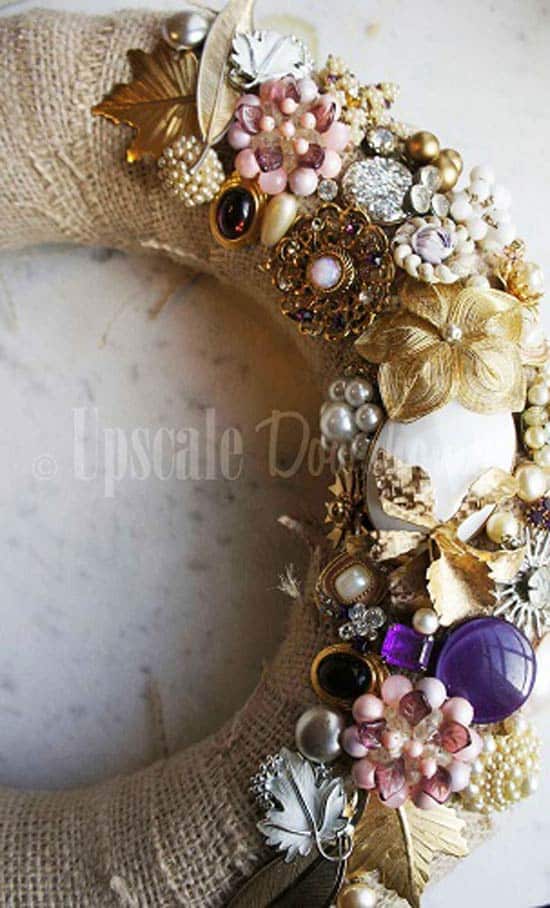
I came across this gorgeous wreath on BlogHer shortly after posting the flower wall letters. I loved the way the burlap and the vintage jewelry pieces looked together. That got me thinking. I had a bunch of vintage and costume jewelry pieces saved, but not enough for all the letters I wanted to make.
So I asked if any of my blogging friends had some they could spare. Beckie from Infarrantly Creative sent me some gorgeous pieces from the Tori Spelling collection, my neighbor Debra gave me quite a few shiny baubles, and two other blogging friends sent me care packages as well. So special thanks to Debra, Beckie, Lisa of Condo Blues and Adrianne from Happy Hour Projects for digging through their stash to be part of this project! I feel like they are part of my studio now, and it’s great to have friends here with me!
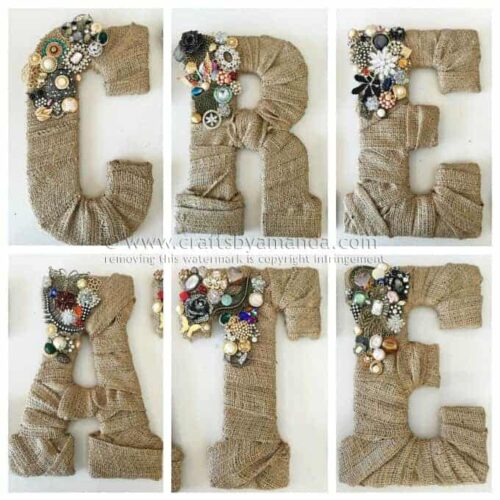
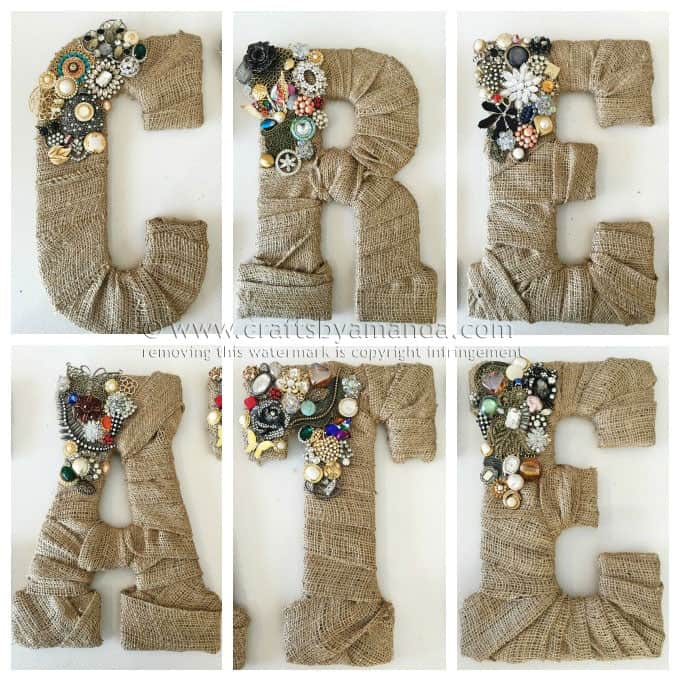
Vintage Jewel Burlap Wall Letters
I really do love the way they came out. Only one more word to go on the third wall. Hopefully I’ll have those wall letters done soon!
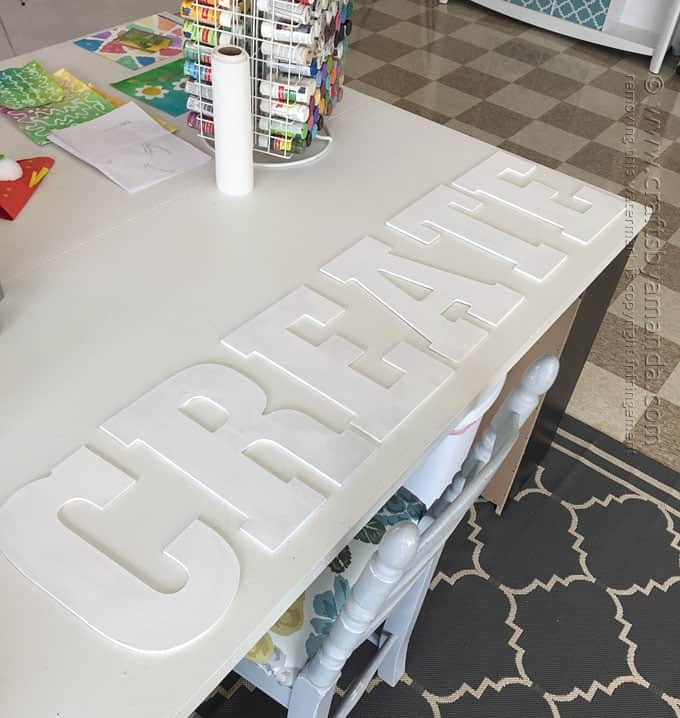
I bought these MDF letters at Hobby Lobby on sale for $2.44 each. Most of the letters in the store were around $12.00 each, so these were definitely a bargain!
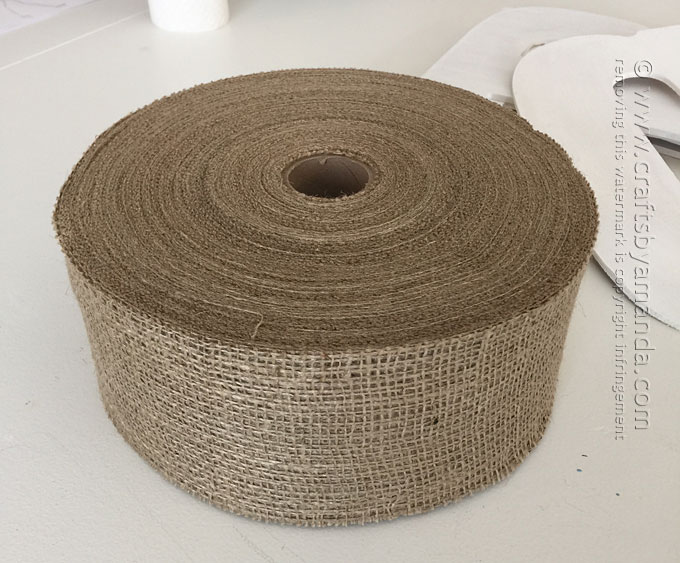
I bought a big roll of burlap which worked out perfectly. I didn’t use it all, but I did use a lot.
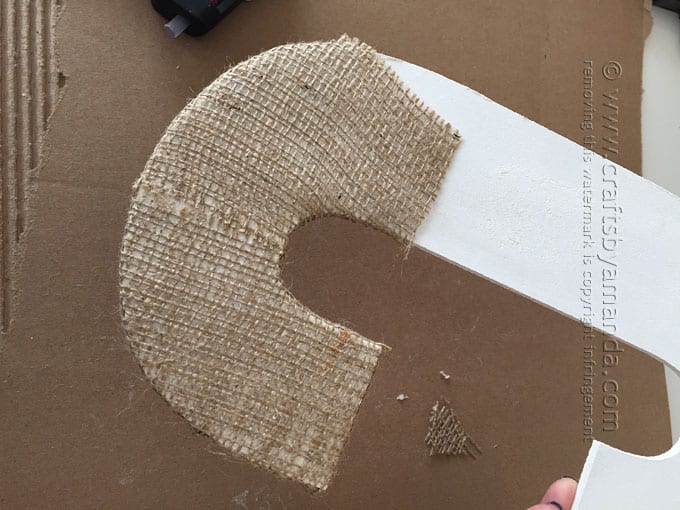
When I made my flower wall letters I painted ALL of my letters white. In hindsight, especially after wrapping the burlap I would suggest leaving them natural. With them painted white I ended up having to cover the letters with burlap and then wrap them in burlap so the white didn’t show through.
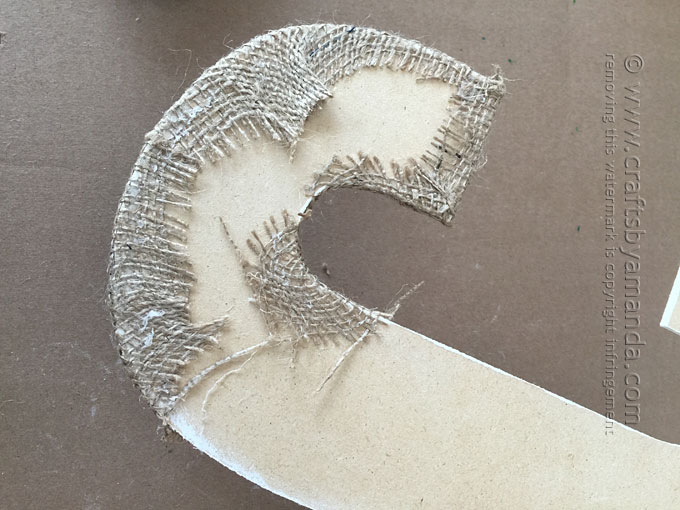
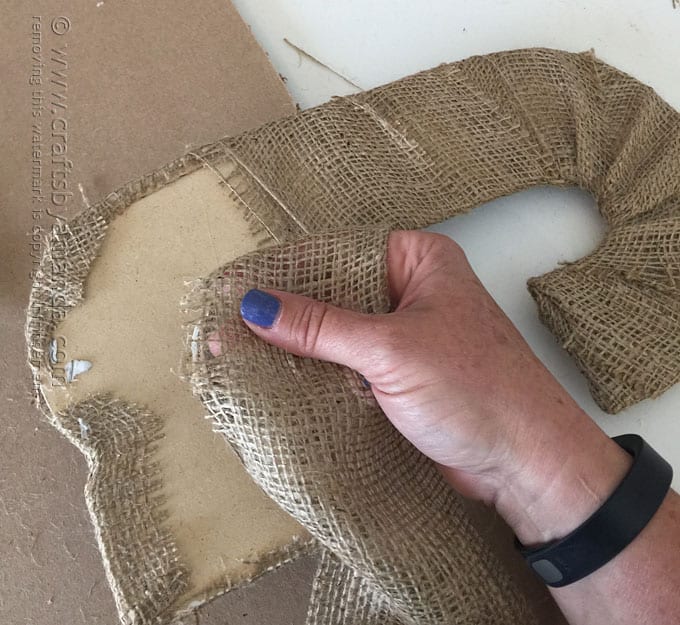
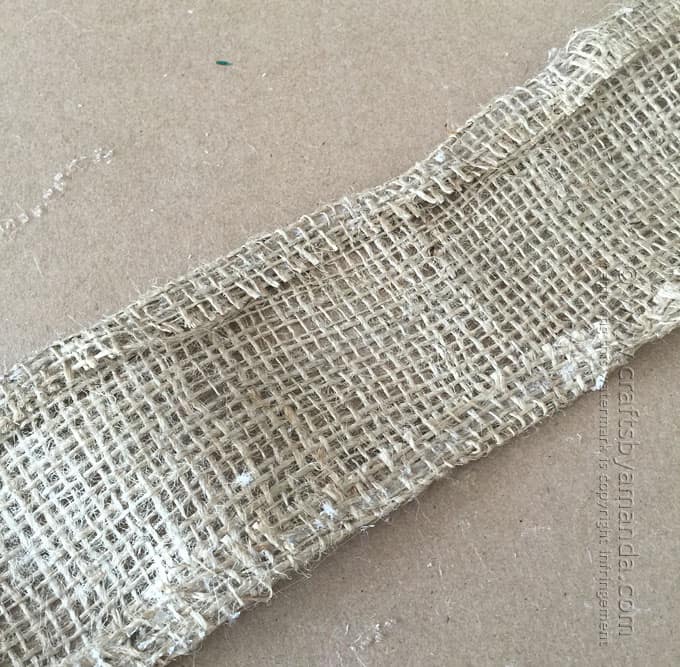
Another thing to note, when I started wrapping the burlap around the letters the edges began to fray and made it really difficult to work with.
So I took my glue gun to a long strip of burlap and “hemmed” each side. That did the trick.
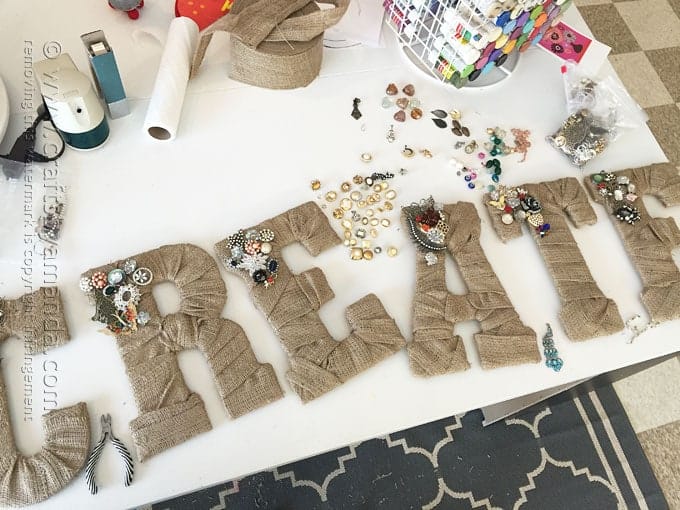
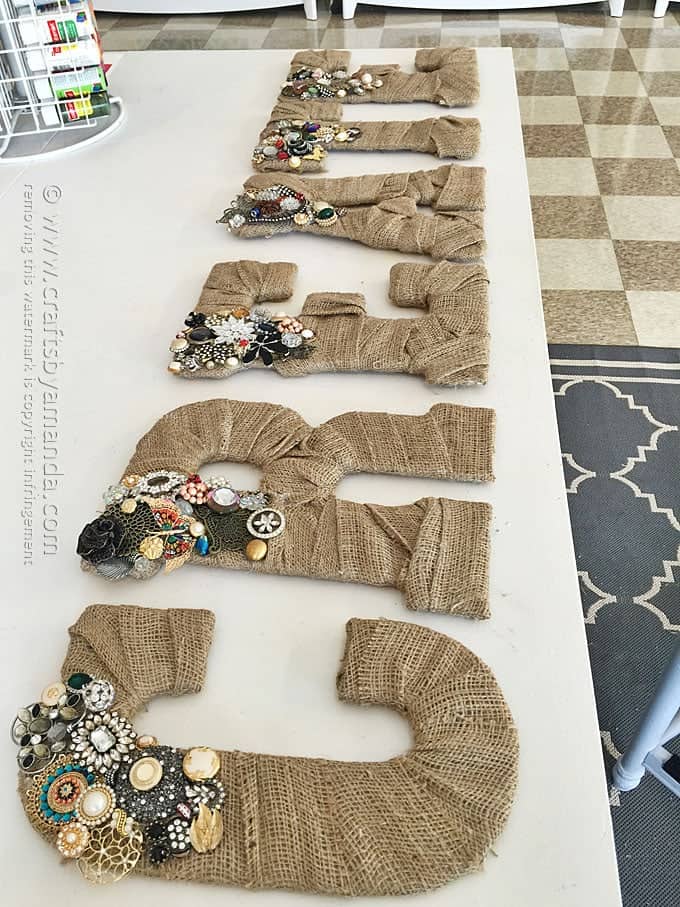
It took me about two and a half hours to wrap all the letters. So it was a bit time consuming. After wrapping them all, I layed out the jewels and started layering. I started with the largest pieces, then gradually worked down in size, filling in tight spots with small pieces and small shank buttons.
My other concern was attaching the Command Strips to the back of the letters. I was worried that they wouldn’t stick well to the burlap, so I actually cut away at the burlap on the back and glued the cut pieces in place. Then I attached the Command Strips. The other issue was that the burlap was thicker than the Command Strips, so I had to double and sometimes triple them up in order to build up their height so they would touch the wall. That was it though, and they are hanging beautifully!
Jeweled burlap letters are hung. Now to write the blog post. #craftsbyamanda #amandasstudio
A photo posted by Amanda Formaro (@amandaformaro) on
I hope you enjoyed this project as much as I did!
Here are my Flower Wall Letters if you would like the tutorial for those!
More you might like:
- BURLAP & DOILY LUMINARIES
- BLEACHED BURLAP VINTAGE JEWELRY LUMINARIES
- METALLIC VINTAGE BIRD DECOR
- BURLAP WREATH
Vintage Jewel Burlap Wall Letters
Supplies
- Burlap
- MDF letters
- Hot glue gun
- Vintage and/or costume jewelry
- Decorative shank buttons
- Command strips
Instructions
- Cover and wrap letters in burlap tacking with hot glue as you go.
- Glue jewels onto one corner of the letters, starting with large pieces and layering as you go.
- Hang with Command Strips.
- Watercolor Luminaries - February 11, 2025
- Free Valentine Printables: Cards, toppers, and tags - February 4, 2025
- Valentine Hugs - January 31, 2025



Jasmine says
Seems like this would be a great project for our Girl Scout Holiday Extravaganza where teens get to make holiday gifts. Could you estimate how much burlap would be needed to cover one letter assuming I don’t need extra layers due to the color? Thanks
Caroline says
Where do you get the jewelry
Amanda Formaro says
You can find some costume jewelry here >> http://amzn.to/2quoymU OR here >> http://tidd.ly/53c3c4b Good luck!
Monica says
Hi Amanda
This is beautiful such a great idea and you inspired me to make my own letters :)
Amanda Formaro says
Awesome have fun!
Renee says
This is such a cool idea. Somehow the burlap makes the gawdy costume jewelry elegant. ;)
Jo Puhrmann says
Love the letters, I have heard awesome things about your store, next time I make a trip I will be stopping in to check it out!! What size letters did you use?
Amanda Formaro says
Thanks Jo! I’m not at the studio right now to measure, but I would guess they are about 12-14″ tall :)
Cara Bohart says
These are so beautiful…. Thank you so much .You have inspired me to get busy crafting. <3
Amanda Formaro says
Thanks so much Cara, hope you create something fun!
Georgia says
So pretty! Such an awesome idea, thanks for sharing :)
Amanda Formaro says
Thank you Georgia!
Laura / Pet Scribbles says
OMG I am totally and completely in LOVE with these letters! Such a great idea to use costume and vintage jewelry on just parts of each letter! I love that with the burlap – such a nice mix of textures! I’m in TOTAL love with these letters! Your studio is lookin’ great Amanda!
Jo says
Hi Amanda!
I am new to your site and just love these letters! I have been looking for ways to dress up my letters that also spell CREATE! I love the look of the costume jewelry on burlap! I have tons of inspiration now thanks to you! And WOW @ a 900square foot studio space! Is this space a place you rent out for your pleasure or for business? Just curious!
Hugs,
Jo
xo
Amanda Formaro says
Hi Jo! So glad you like the letters, hope you are able to create something that you love! The studio – yes for business. But I take great “pleasure” in being here every day! :)