
I made this darling little button doll to hang out in my studio. You could use this button doll tutorial with a group of adults (a great project for seniors too) or with children. It’s an easy adult craft but it also great for developing and fine tuning dexterity in kids. If you have a big stash of buttons, this button doll is a great way to use up some oddball colors!
Over the years I’ve only made one other doll, and that’s this dammit doll. But I have made several different button crafts, in fact, I wrote a book about it! All my books are marked WAY down on Amazon right now, so be sure to check them out! This particular button doll project comes from that book’s pages and I wanted to share it with you here. Some of the other crafts with buttons I’ve made include this button tree, my pretty button lamp and this colorful season inspired button wall art.
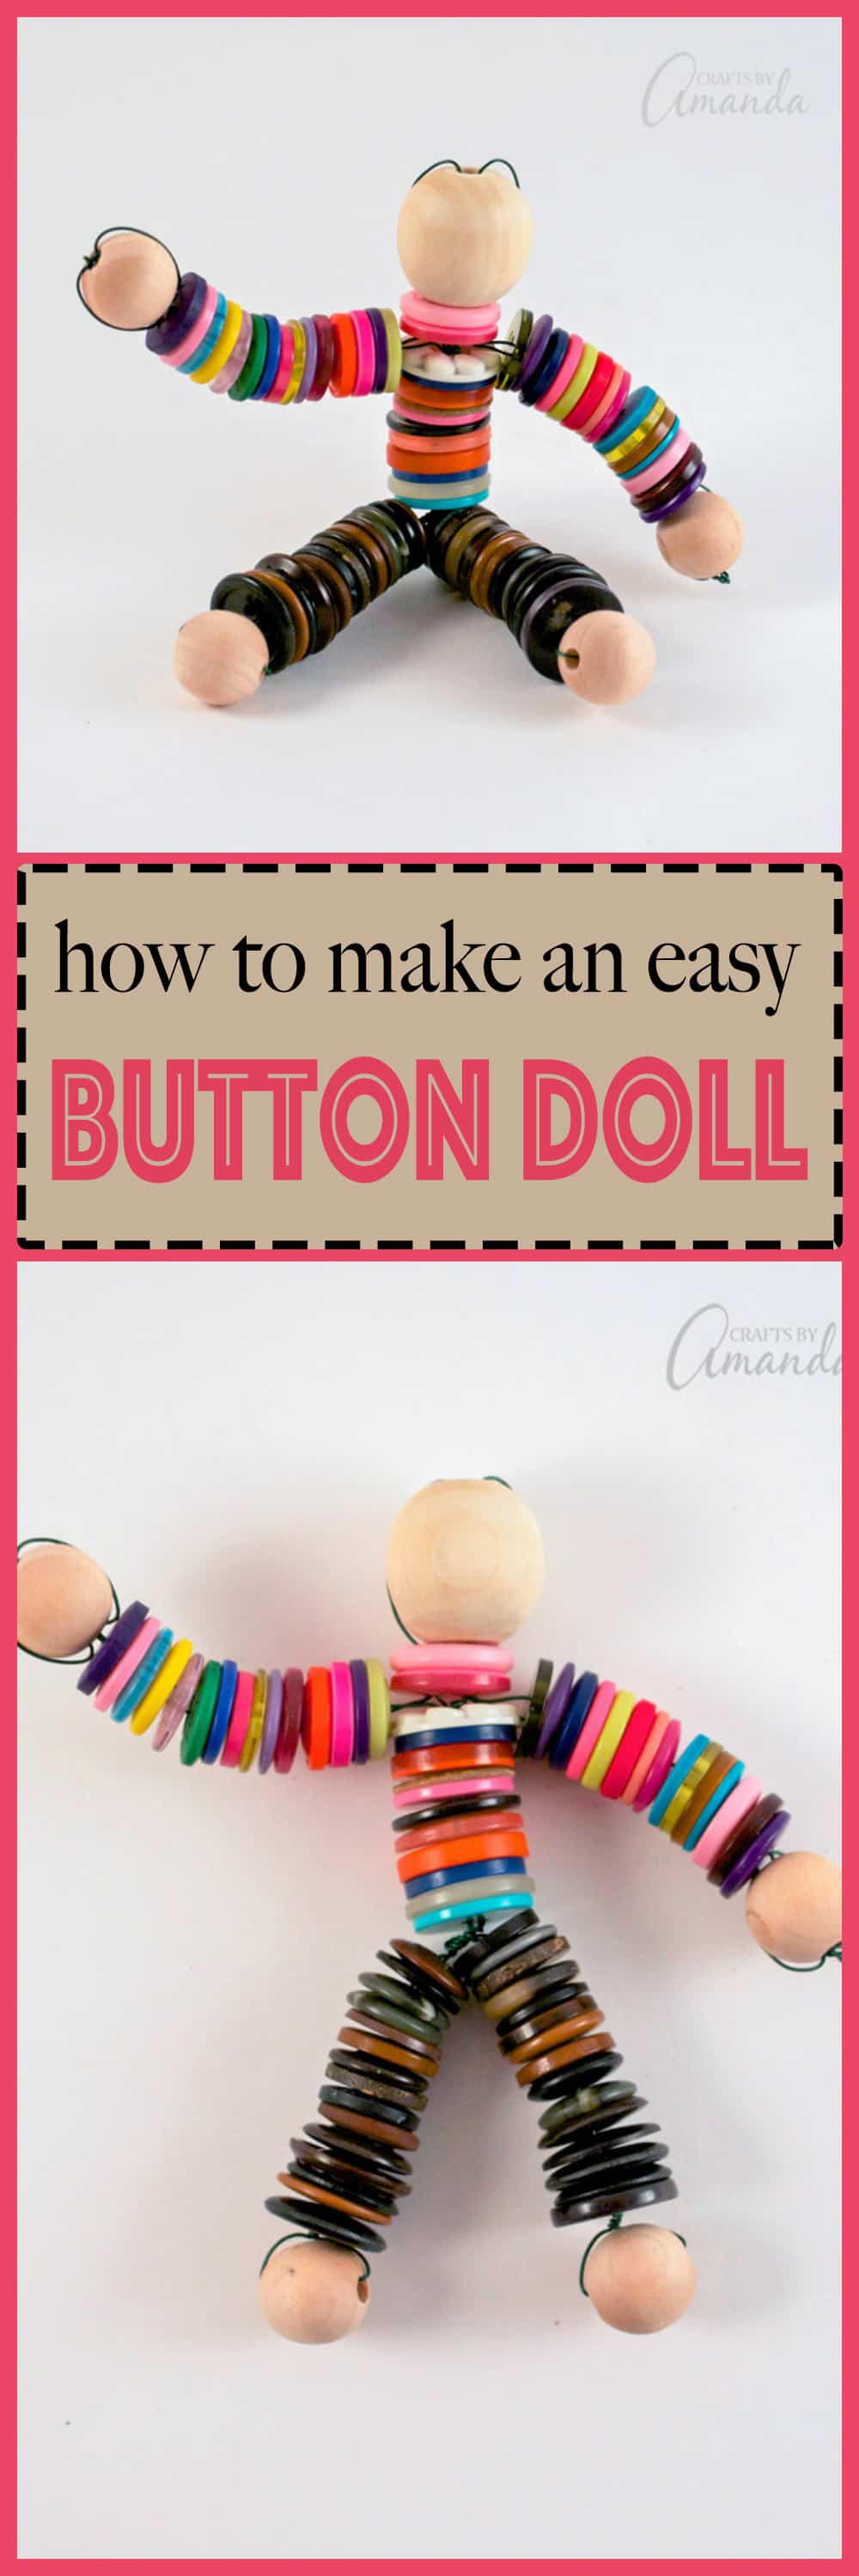
How to Make a Button Doll
If you like, you can use specific colors for the legs to make it look like your button doll is wearing pants. You can even make flared jeans by using larger buttons at the bottom and adding smaller buttons as you work your way up!

Here are the supplies you will need:
- Lots of buttons similarly sized
- 24-gauge floral wire (64″, cut into two pieces)
- 4 small round wooden beads
- 1 large round wooden bead
- Wire cutters
- Round or flat nose pliers
Instructions for making a button doll:
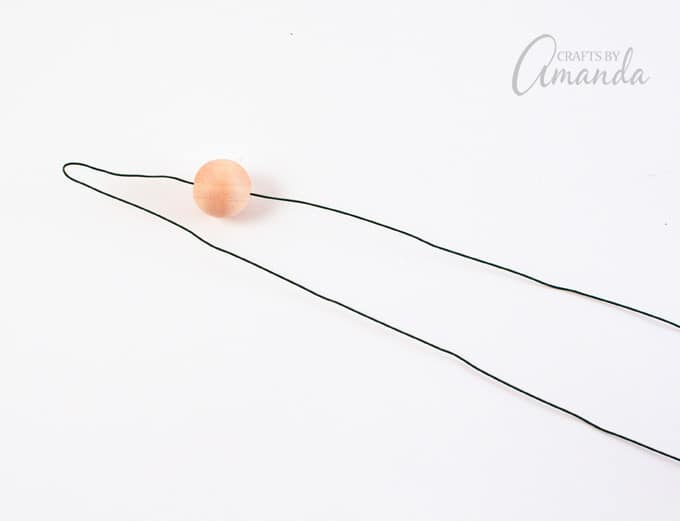
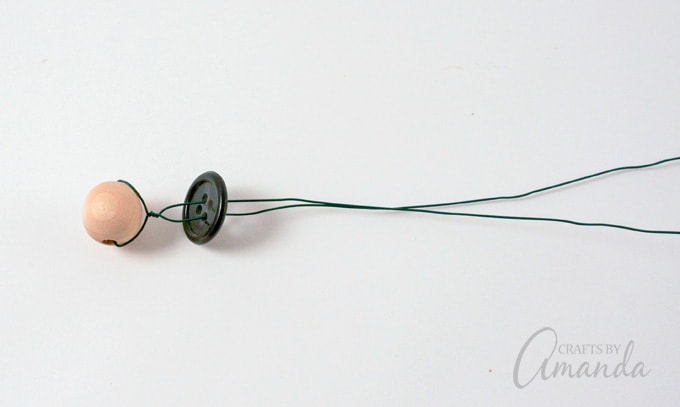
Fold each piece of wire in half. Thread a small round bead onto one end of a wire.

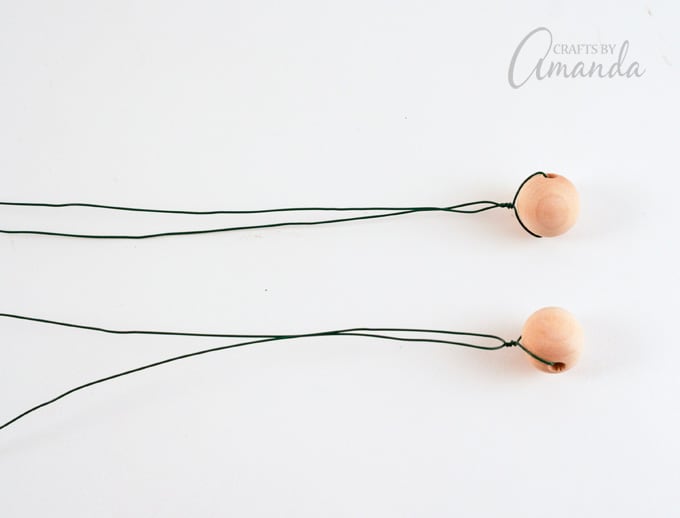
Twist the wire a few times to secure the bead. Repeat for the second wire.
To make the legs, thread buttons onto the wire, putting each wire through a separate buttonhole.
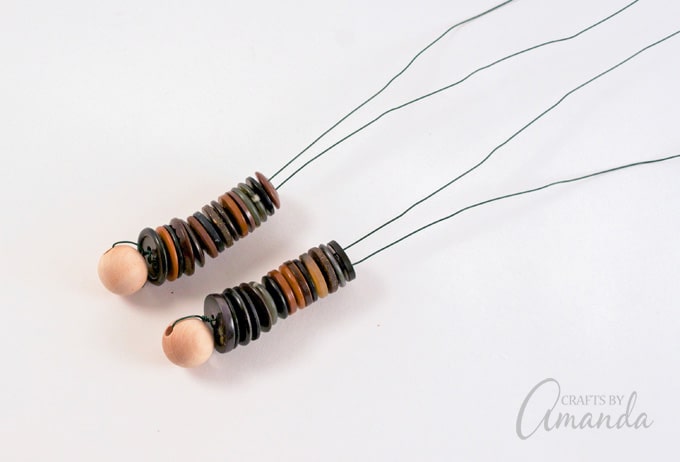
Add as many as you like, we stopped at 15.
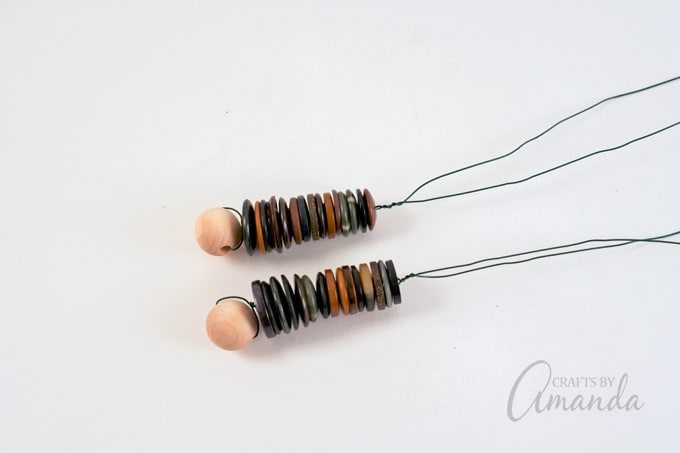
Twist the wire a few times at the end of the last button.
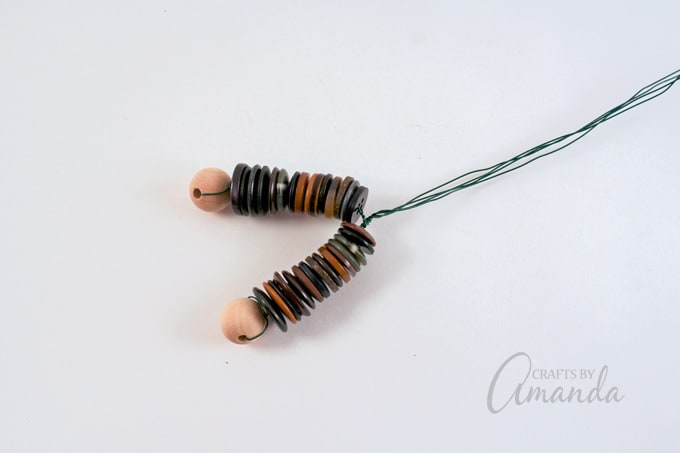
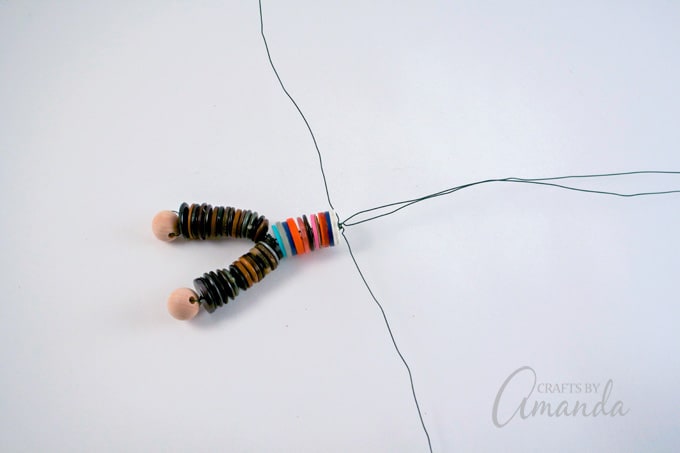
Twist both wires together to connect the legs.
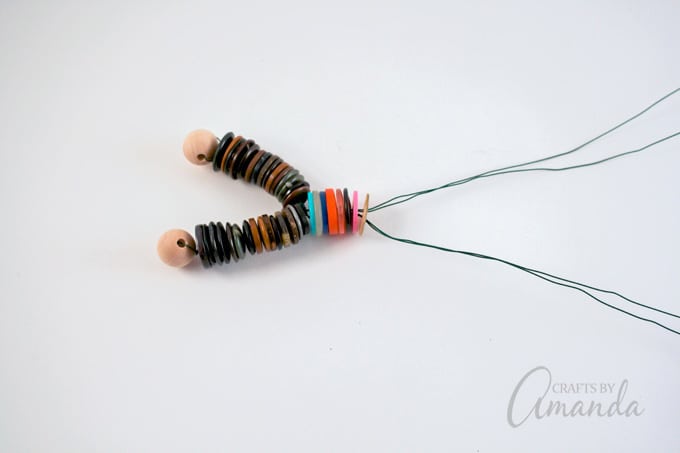
Separate the wires, two on the left and two on the right. Thread buttons onto the wires, threading two wires through the same hole on the left, and two wires through the hole on the left. Add as many as you like, we used 11.
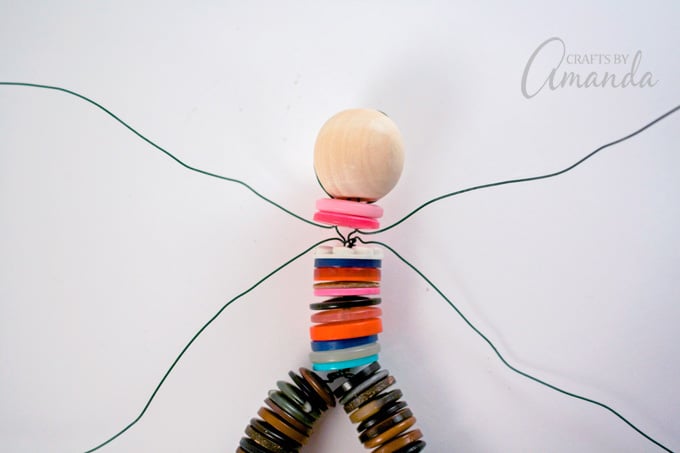
Separate the wires, one left, one right and two up.
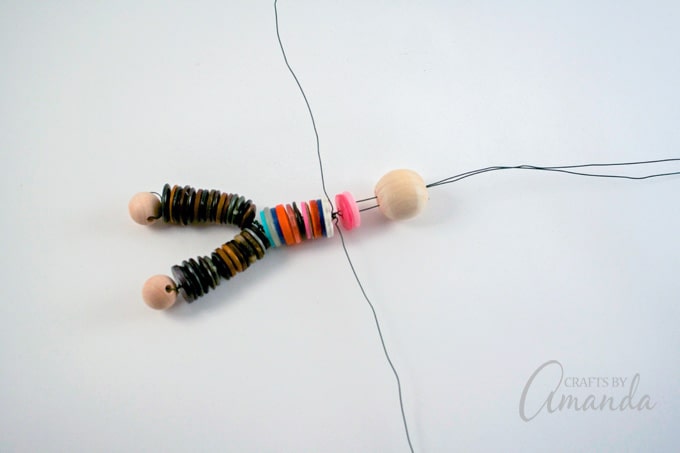
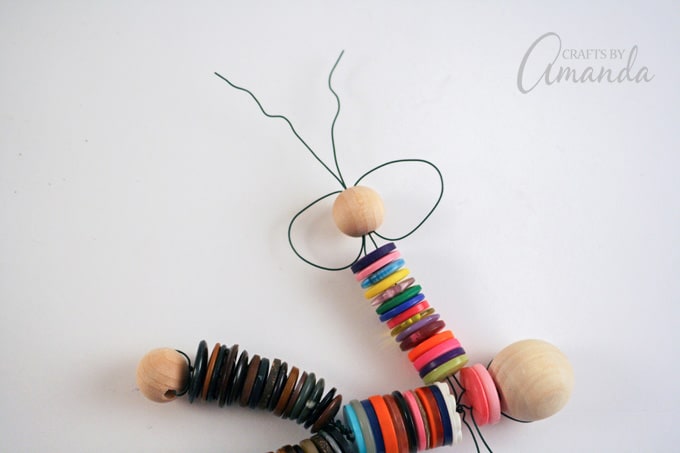
Add two buttons to the wire pointed up then add the large round bead.
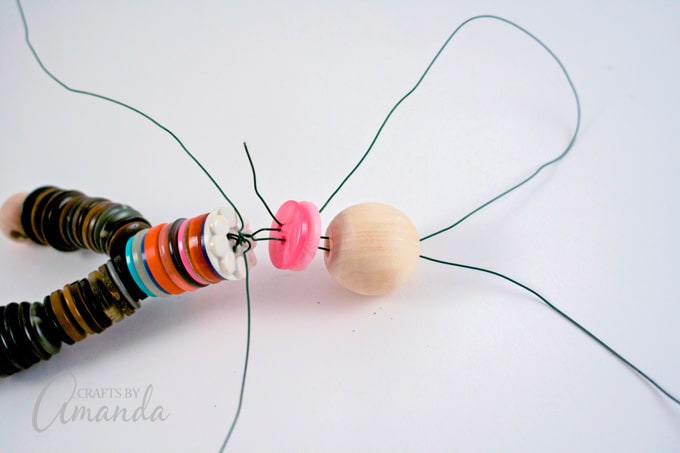
Take the wires from the top of the bead and thread them back down through the two buttons below. Do this on both sides of the bead and pull the wire all the way through.
You will now have two wires on the left and two on the right.
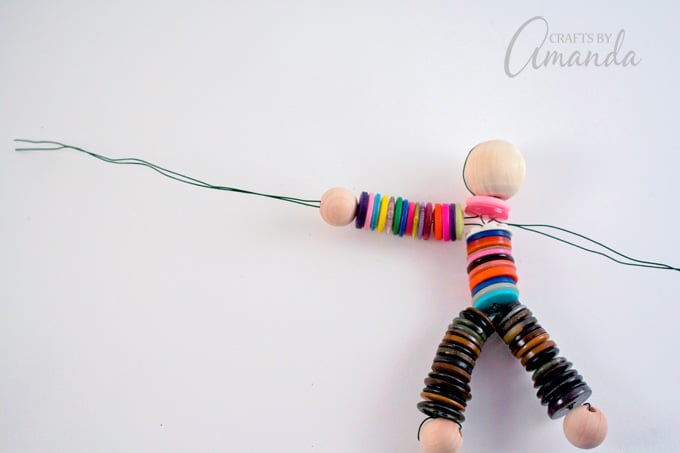
Thread buttons onto the left and right wires for the arms; we used 15 on each.
Thread both of the arm wires through a small round wooden bead.
Bring the wire out the top of the bead and down each side then thread the wire back up through the bottom of the bead to secure it.
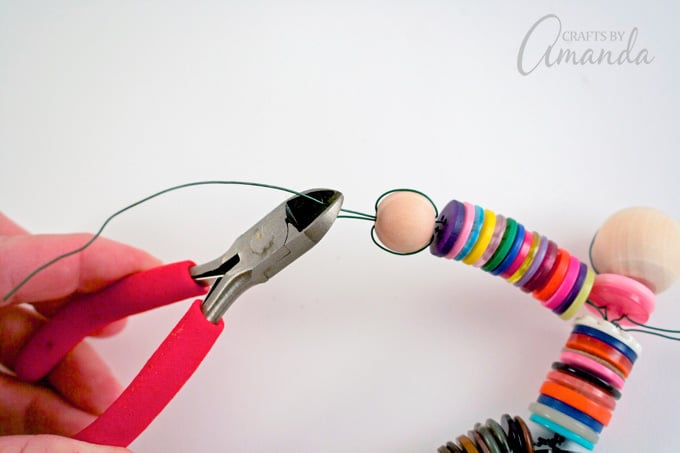
Pull it tight against the buttons. Use wire cutters to snip off all but 1-inch, then twist the excess and tuck it into the bead opening. Pliers are helpful in this step. Repeat for the other arm.
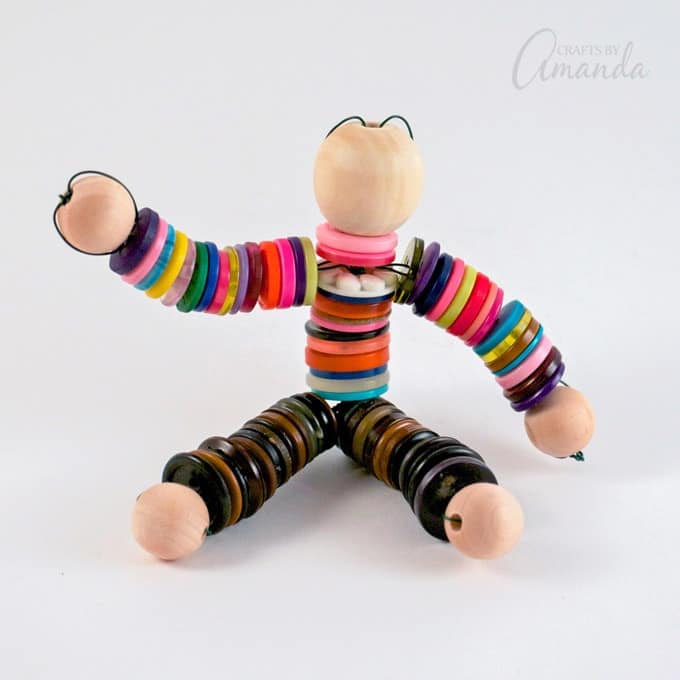
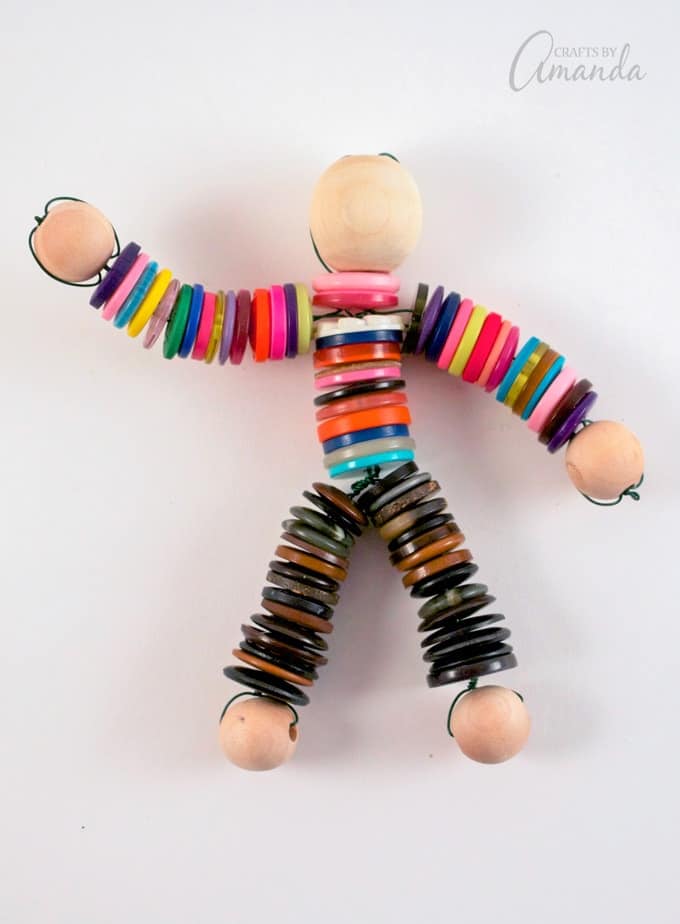
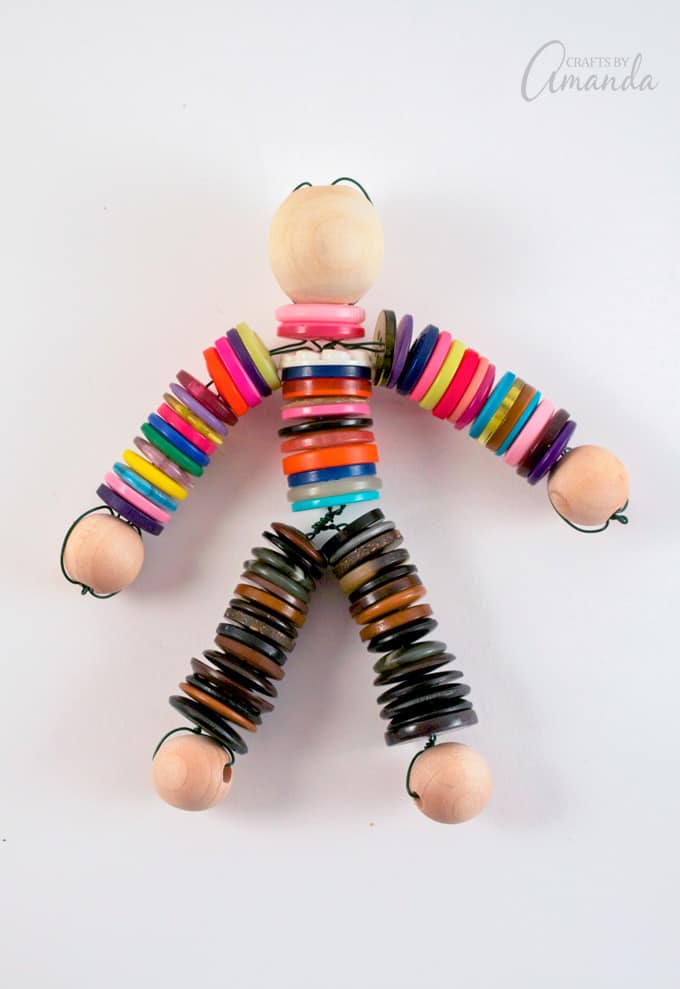
You’re all done making a button doll! Now you can pose him however you like and you have a fun shelf sitter for your craft room, kitchen, office or a child’s bedroom.
I hope you enjoyed making this button doll with me. If you love button projects, especially with kids, be sure to check out my book Button Mania before they are completely sold out! You can also check out my other button projects on this blog.

How to Make a Button Doll
Supplies
- Lots of buttons similarly sized
- 24- gauge floral wire 64”, cut into two pieces
- 4 small round wooden beads
- 1 large round wooden bead
- Wire cutters
- Round or flat nose pliers
Instructions
- Fold each piece of wire in half.
- Thread a small round bead onto one end of a wire and twist the wire a few times to secure the bead. Repeat for the second wire.
- To make the legs, thread buttons onto the wire, putting each wire through a separate buttonhole. Add as many as you like, we stopped at 15.
- Twist the wire a few times at the end of the last button. Twist both wires together to connect the legs.
- Separate the wires, two on the left and two on the right. Thread buttons onto the wires, threading two wires through the same hole on the left, and two wires through the hole on the left. Add as many as you like, we used 11.
- Separate the wires, one left, one right and two up. Add two buttons to the wire pointed up then add the large round bead.
- Take the wires from the top of the bead and thread them back down through the two buttons below. Do this on both sides of the bead and pull the wire all the way through.
- You will now have two wires on the left and two on the right.
- Thread buttons onto the left and right wires for the arms; we used 15 on each.
- Thread both of the arm wires through a small round wooden bead.
- Bring the wire out the top of the bead and down each side then thread the wire back up through the bottom of the bead to secure it. Pull it tight against the buttons. Use wire cutters to snip off all but 1-inch, then twist the excess and tuck it into the bead opening. Pliers are helpful in this step. Repeat for the other arm.
- Tie Dye Beach Towels - July 24, 2026
- Swirling Twirling Ladybugs - July 21, 2026
- Drip Tie Dye Backpack - July 17, 2026


Rita says
I tried to make button doll. Was not able to complete it as I couldn’t follow instructions. I need pictures along with instructions.
Laura Blosky says
Looking forward to making this doll❣️
Do you have any pictures of old school
button doll’s ? I will be (want to be) making
doll’s of color.❣️
Susana says
Ainda não tentei mas gostei como está a explicar
Sanja says
I really liked your idea and decided to make this doll. It turned out OK, although not as neat as yours. However, I think that it would look better if the trunk was a little bit longer, and arms and legs shorter. Or at least the arms and legs shouldn’t have been the same length.
Amanda Formaro says
Well I’m glad you had fun with it anyway ;)
Natasha says
Really fun! Our first is due this fall – Pinning so I can remember this project for her in a few years!