The classic God’s eye is a time-honored craft that many adults remember making as a child. Just about every Sunday school teacher and camp counselor had them in their curriculum or schedule. It’s a great kid’s craft perfect for any time of year.
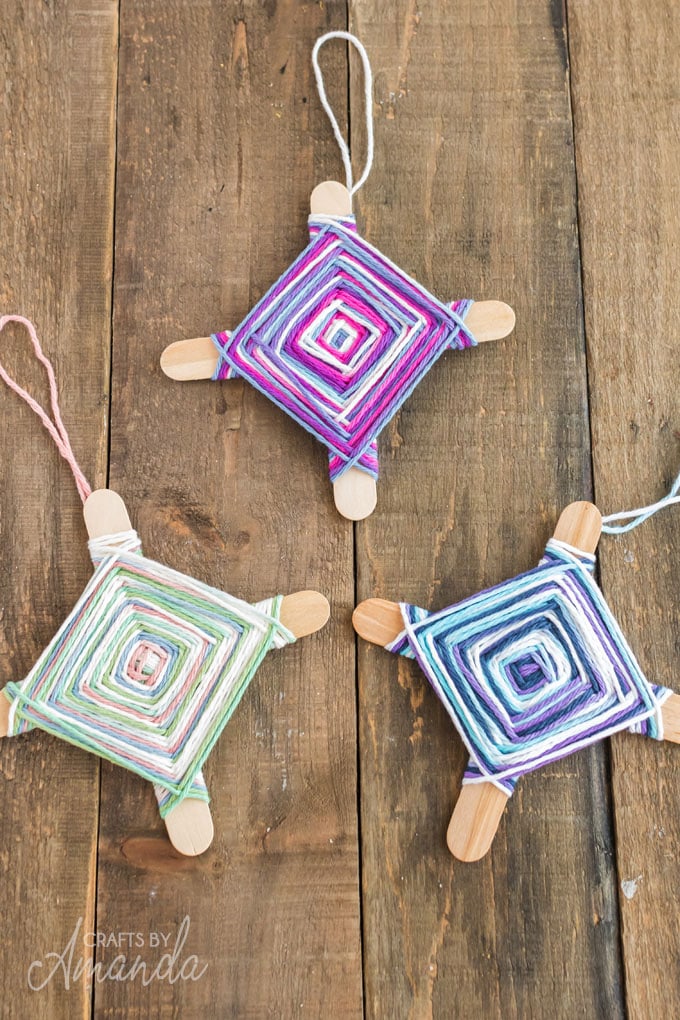
God’s Eye Craft Tutorial
If you’re ready to make this craft with your kids but need your memory jogged, here are some easy instructions for making a God’s eye. This craft originates from the Ojo de Dios (Eye of God) cultural symbol made by the Huichol Indians of Mexico. The four points represent earth, fire, air, and water, and provided God’s watchful eye over their people.
This God’s Eye is the perfect camp craft or school craft to do with the kids. They will love being able to choose the yarn colors and creating their very own God’s eye.
Crafty Tips
- For this project, you can use just about anything, including twigs, straws, skewers (trim the pointed ends off) and even pencils.
- You can make smaller versions by using toothpicks and embroidery floss.
- Try changing up the yarn by using several solid colors, changing color after several wraps by switching colors in the back of the project.
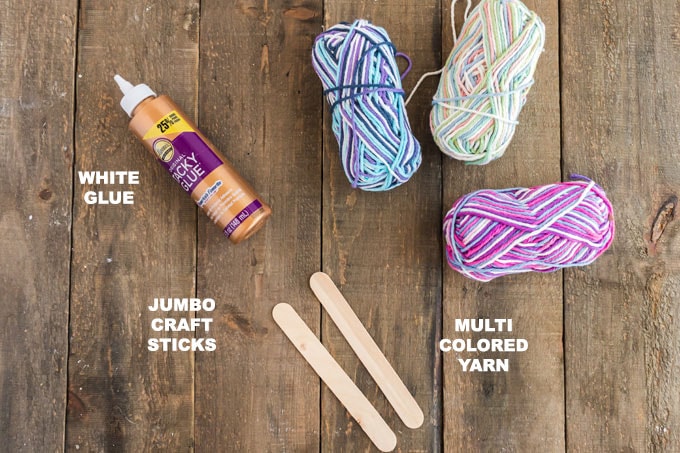
Supplies you will need
How to make a God’s Eye
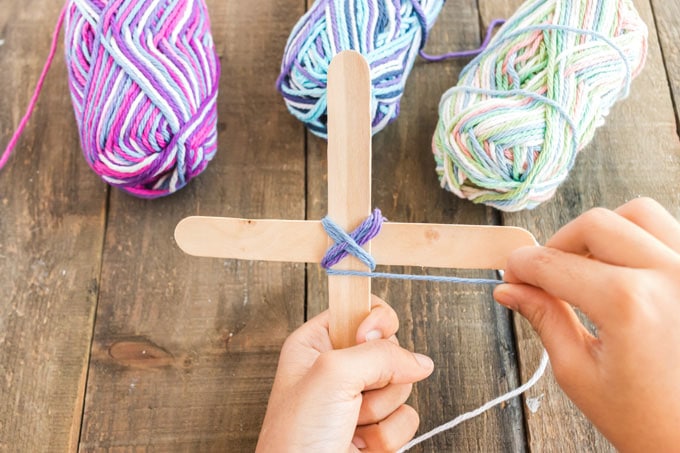
- Place the two craft sticks so that they cross each other. Wrap yarn around the center to hold the two craft sticks together. For smaller children, you can glue the sticks together first.
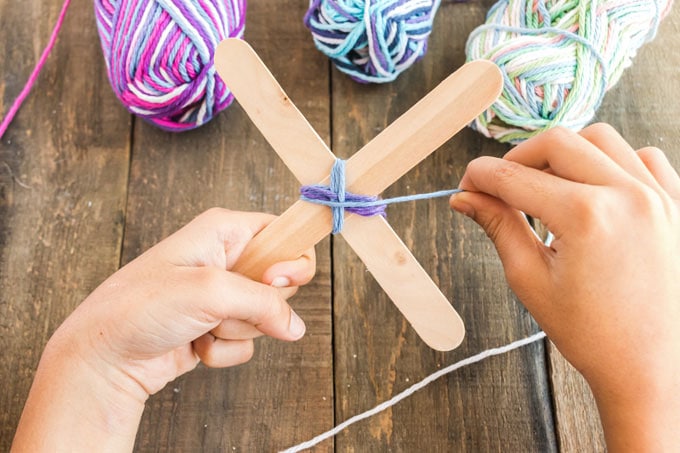
- Once the center is secure, wrap the yarn once around one stick, then turn the cross 90 degrees and wrap yarn around the next stick, continue this process, pushing the yarn snugly toward the center as you work.
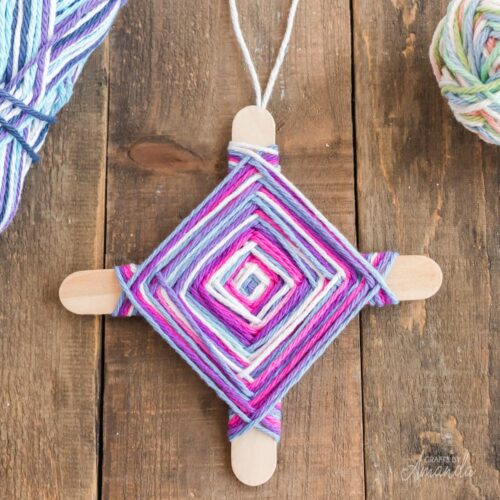
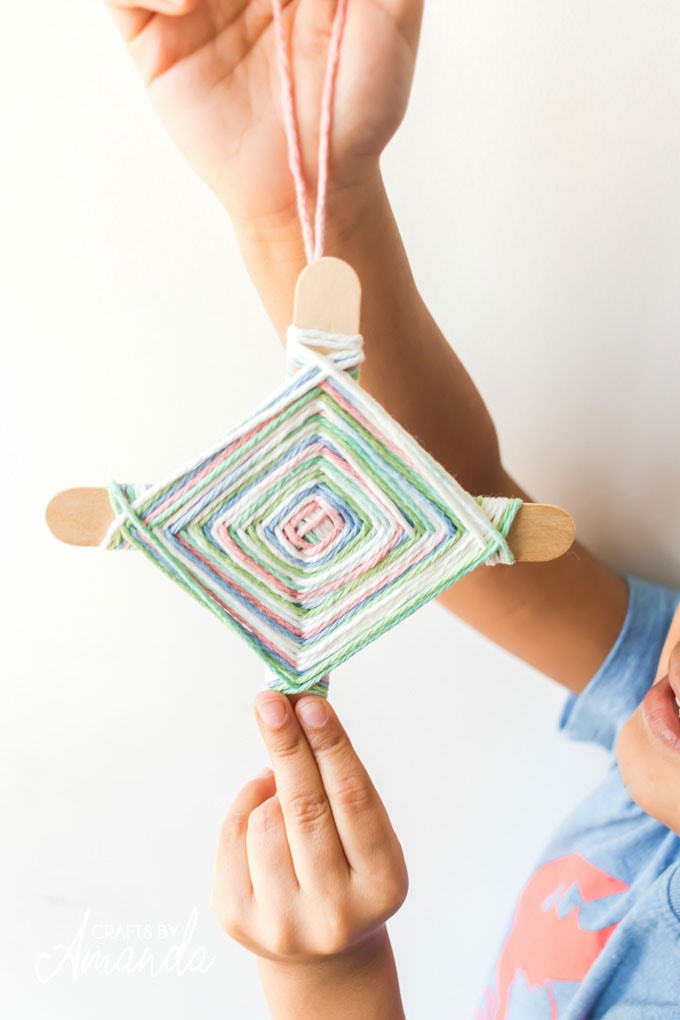
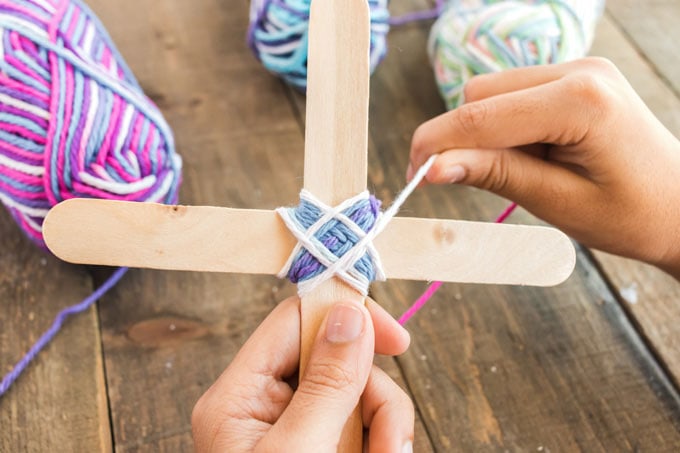
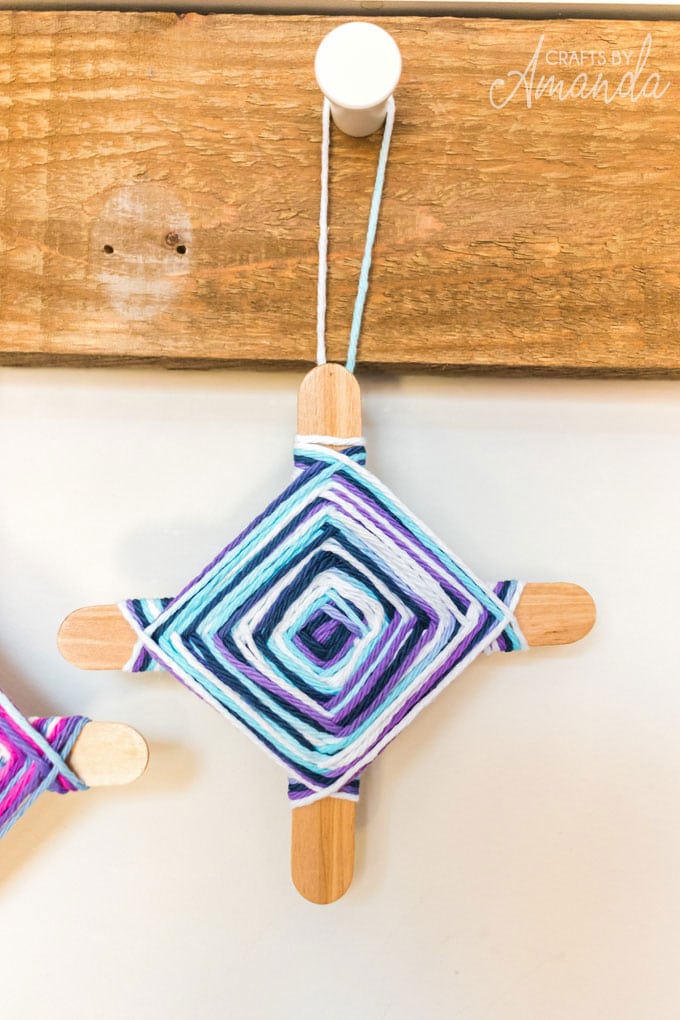
- As you work your way around, you will begin to see the weave being created. Continue the weave until you have about an inch of exposed craft stick on each point of the cross.
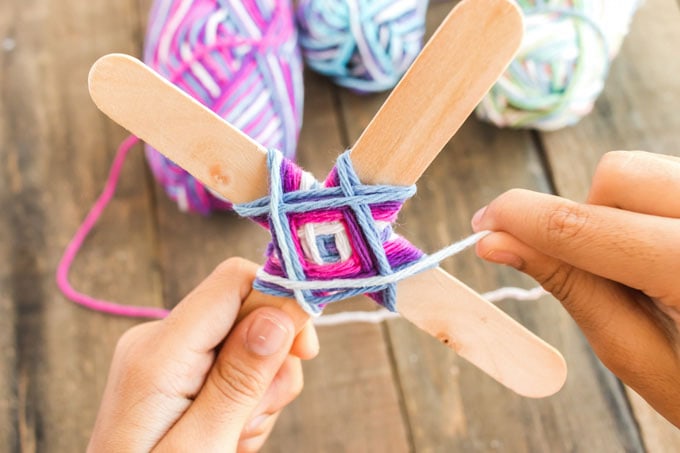
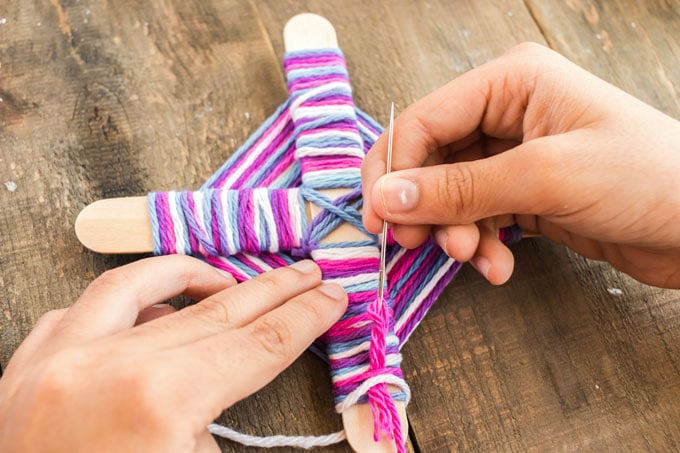
- From the last stick where you wrapped your yarn, trim it with scissors, leaving about 12 inches of yarn to work with. Thread the end of the yarn into a needlepoint or child’s needle, then push the needle through a few of the strands on the back of the cross.
- Pull enough yarn through to create a loop and tie off.
I hope you enjoy making this God’s eye craft! For some outdoor summer fun try these Cardboard Tube Binoculars! For more awesome easy crafts for kids or camp crafts check out these super easy DIY Birdseed Ornaments using a handful of supplies you more than likely already have on hand you can create your own bird feeders! Or check out this collection of 28+ Kid’s Garden Crafts for great inspiration.
I love to craft and create and share my tutorials with you! I know it’s hard to remember to come back and search, so I’ve made it easy for you with my weekly newsletter! You can subscribe for free and I’ll send you delicious recipes and fun crafts every week right to your email.
God's Eye Craft
Supplies
- 2 jumbo craft sticks
- Multicolored yarn
- White craft glue
Instructions
- Place the two craft sticks so that they cross each other. Wrap yarn around the center to hold the two craft sticks together. For smaller children, you can glue the sticks together first.
- Once the center is secure, wrap the yarn once around one stick, then turn the cross 90 degrees and wrap yarn around the next stick, continue this process, pushing the yarn snugly toward the center as you work.
- As you work your way around, you will begin to see the weave being created. Continue the weave until you have about an inch of exposed craft stick on each point of the cross.
- From the last stick where you wrapped your yarn, trim it with scissors, leaving about 12 inches of yarn to work with. Thread the end of the yarn into a needlepoint or child’s needle, then push the needle through a few of the strands on the back of the cross.
- Pull enough yarn through to create a loop and tie off.
Expert Tips & FAQs
- For this project, you can use just about anything, including twigs, straws, skewers (trim the pointed ends off) and even pencils.
- You can make smaller versions by using toothpicks and embroidery floss.
- Try changing up the yarn by using several solid colors, changing color after several wraps by switching colors in the back of the project.
This post was originally published on this blog on Aug 4, 2011 but was recently updated with new photos.
- Watercolor Luminaries - February 11, 2025
- Free Valentine Printables: Cards, toppers, and tags - February 4, 2025
- Valentine Hugs - January 31, 2025


Valerie says
So glad you posted this. I was telling my friend about it and low and behold you posted it. Thanks. My grandones love it.
Merecedes says
thank you so much for this information! I´m giving a workshop about how to make these God´s Eyes, but I didn´t know the signification about it, now I can tell the people who I´m teaching what it means. Thank you!
Kiss Kiss Mercedes
Amanda says
Awesome, have fun and enjoy!
kate says
Hi, I have always encouraged our campers to make them of branches in the original way- saying that just like our homemade God’s eyes we are all beautiful and different- and none are perfect-
This is partly because the younger children’s fine motor skills create imperfections just like first or new knitting/ knitters and all arts.
I love the beauty and color of the God’s eye and like the addition of the buttons-
Daffy's Dream says
Wow!brilliant project,great craft work for kids. thanks for sharing.
I would like you to invite for my First Free giveaway at daffydream.blogspot.com.
daffy
Melony Bradley says
Fantastic project Amanda. Great kids crafts for camp or VBS are so hard to find. Very original!
http://mel-designs.typepad.com/my-blog/2011/06/uncle-sams-trousers.html
Terri says
I love this project! I have great memories of making them as a kid!